Modelkasten Tiger I tracks tutorial.
EDIT: moved from techniques forum.
Well here is a thread on how to make a set of Modelkasten Tiger I tracks that I did for another forum, thought I would share with everyone here aswell just in case it can help anyone. I will start by showing how to construct the tracks and further down, I'll show you how to paint and weather them.
The purpose of this thread is to remove some of the fear that many people has when it comes to Modelkasten tracks, and ofcourse give what I believe to be useful hints.
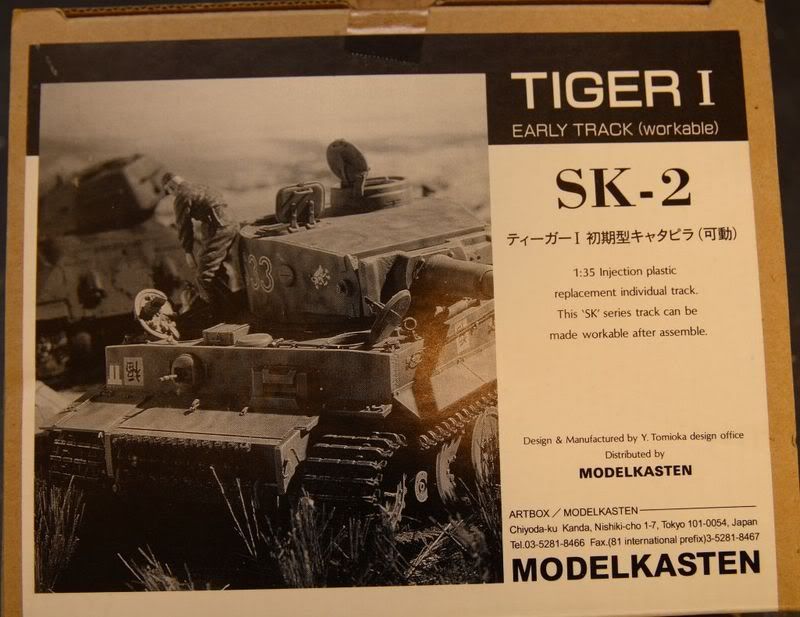
The tracks that I will be building are set number SK-2 Tiger I early model (workable)
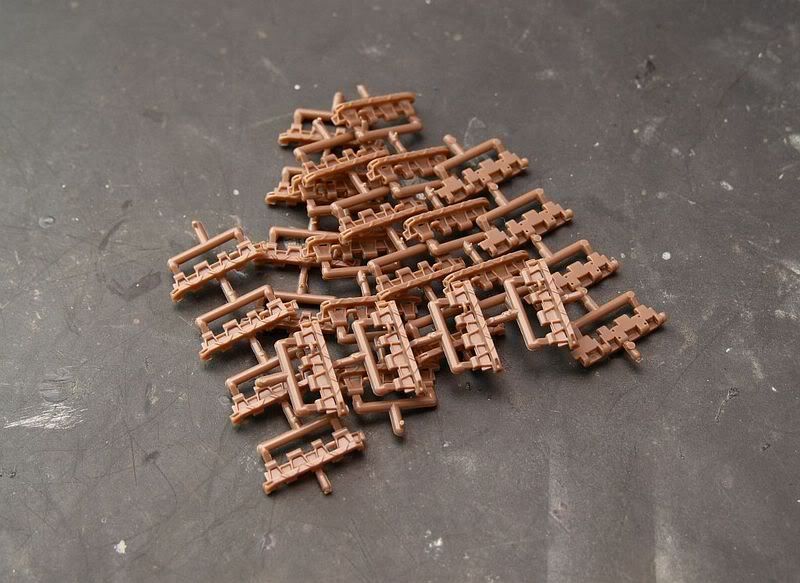
In the box you get a lot of sprues with track links. In this picture its track links from a set of late Tiger I tracks, as i had already cut and cleaned the ones from the early set when I took these pics.
You also get a lot sprues with pins, guide horns and other parts. Again im using the ones from the late set as an example. In the early set part number 4,5,6 and 7 in the lower left hand corner are not included, instead you get new side skirt hanger lugs, turret spare tracks supports and lifting points for the armored exhaust guards.

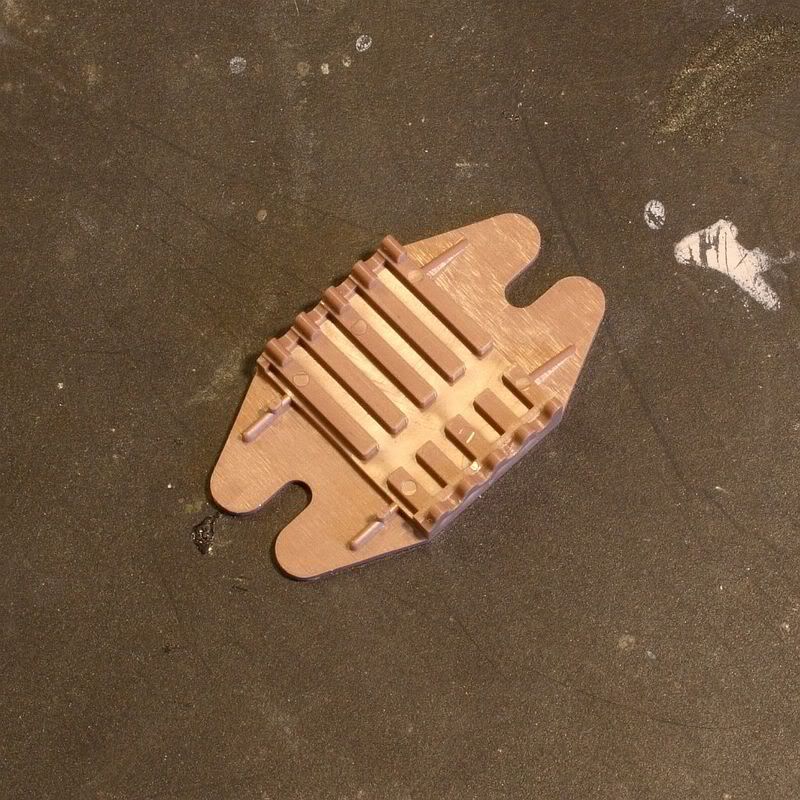
And last but not lest you get an assembly jig.
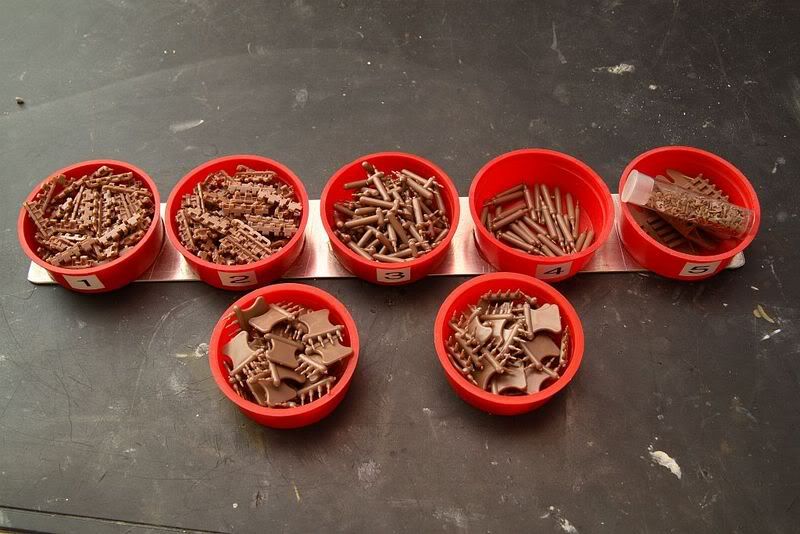
I start by cutting all the parts from the sprues, clean them and divide them into seperate containers, I keep the small guide horns in an old knife blade container which has a lid.

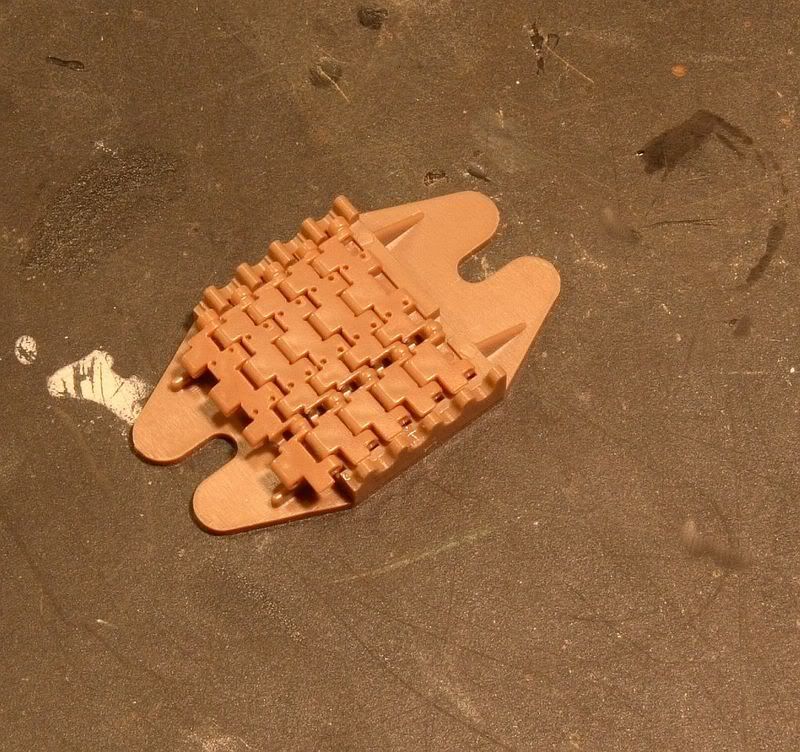
Now I can start to assemble the tracks. I start by taking 5 track links and load them into the jig.
I now take one of the small "handles" with pins and use an old brush size "000" and brush some glue on the base of the pin ... and only the base, put no glue on the tip of the pin or you will end up with frigile tracks or nonworkable tracks. I use a rather thick glue which gives me more control.
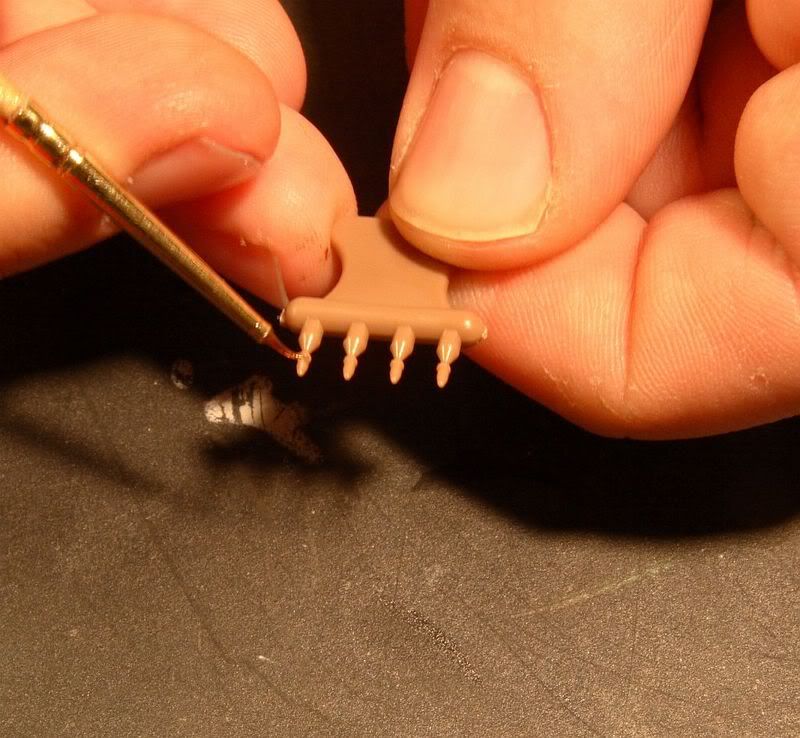
I then insert the pins in the track links.
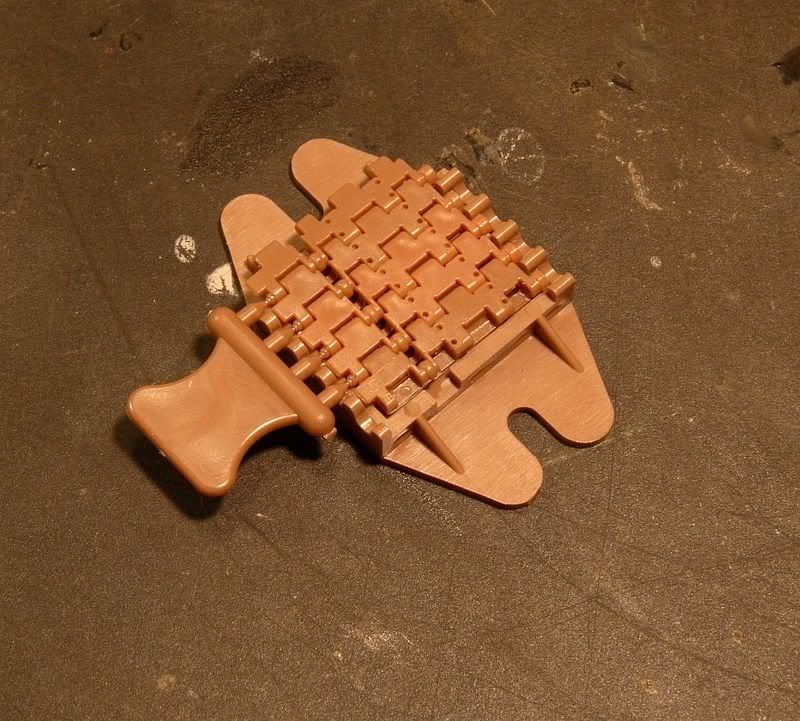
I do the same on the other side. I then remove the links from the jig and reload it with new links and repeat the above steps.
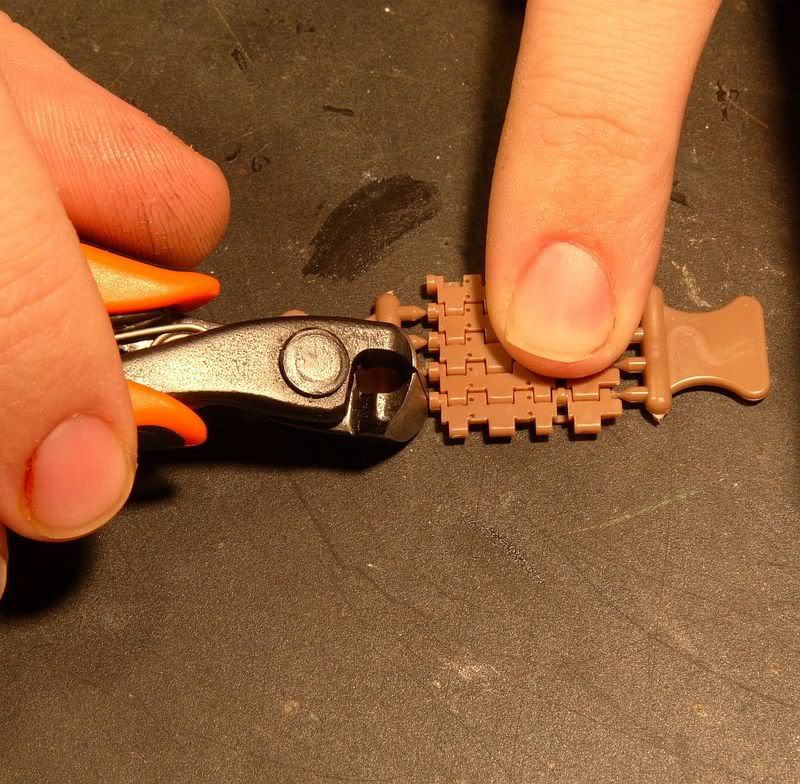
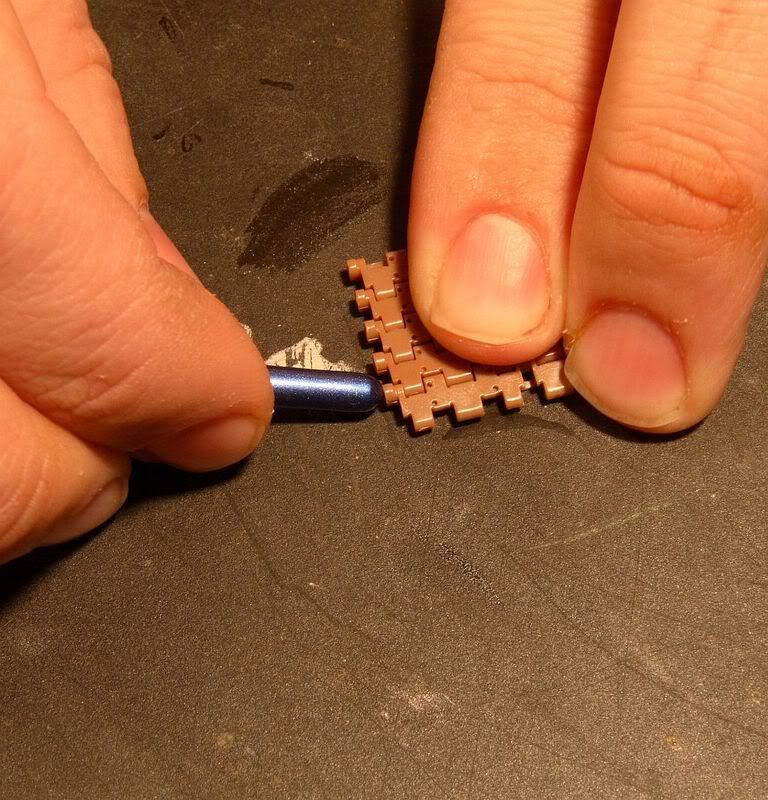
When I have done 3 sets I take the first set and remove the "handles" from the pins.
With a brush handle I now push on the end of the pins to make sure they are fully inserted and leave the links to cure for a couple of hours.
You need to do 19 sets of 5 links each, to have enough for one track ... after a dry fit however I discovered that I needed to add an extra link or would be too tight.
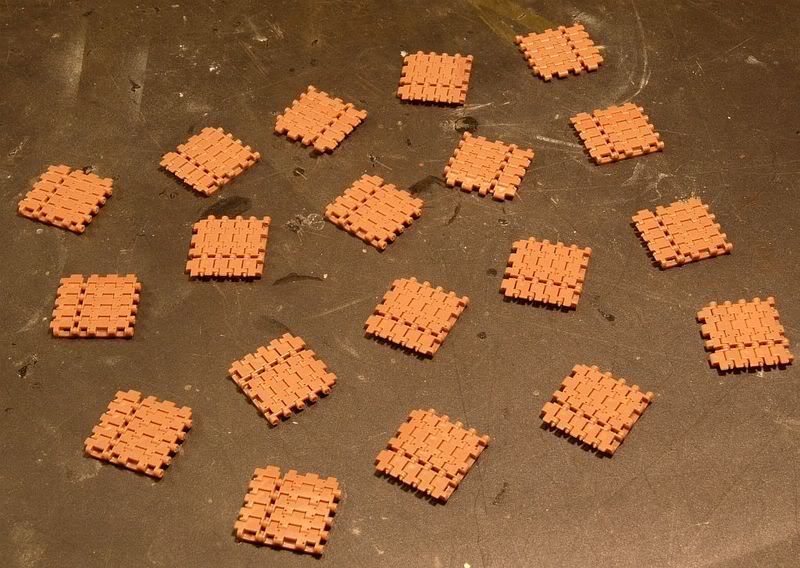
Now its pretty simple you just assemble all the small sections of track with some pins.
It is now time to install the guide horns. As much as I love Modelkasten tracks, I have to admit that I hate doing guide horns. They are small, and there are soooo many of them. But there is no easy way around it. I usually only pour out 10 guide horns at a time, glue them on, take a 2 min break and then do another 10 and continue in this way until im done ... 384 guide horns later. Folow the instructions carefully here or you could get in trouble. Don't use too much glue either.
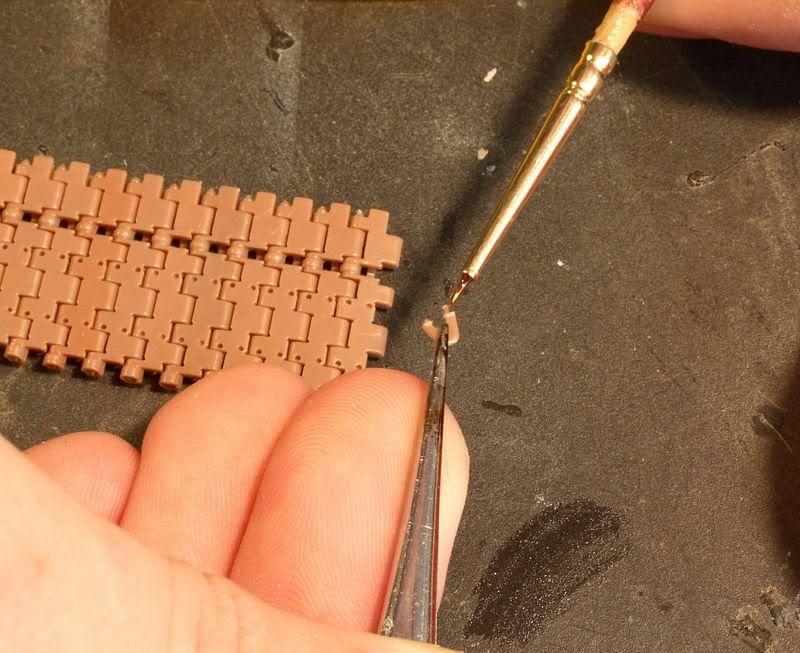
When i cut the guide horns from the sprues in the begining I didn't clean them, they are just too small to handle, so now is the time to clean them for excess plastic.
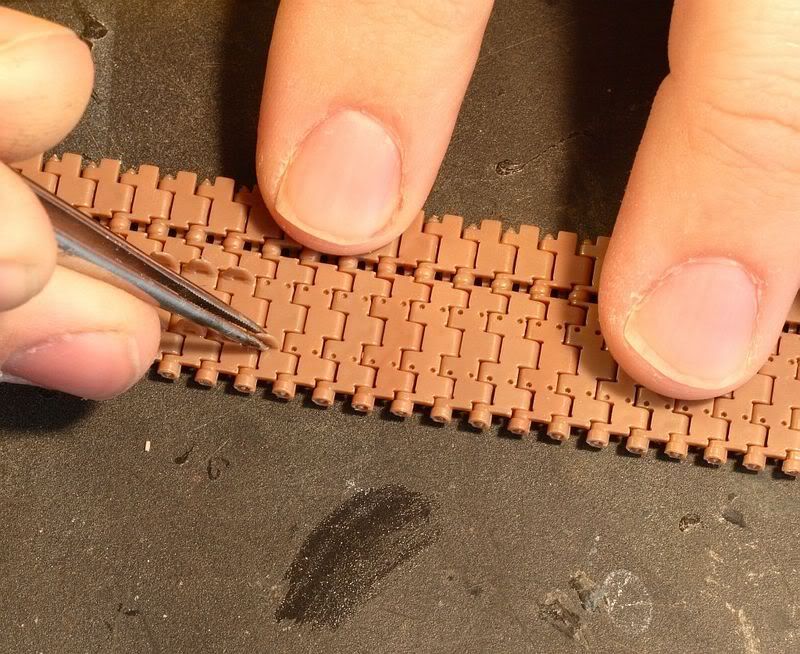
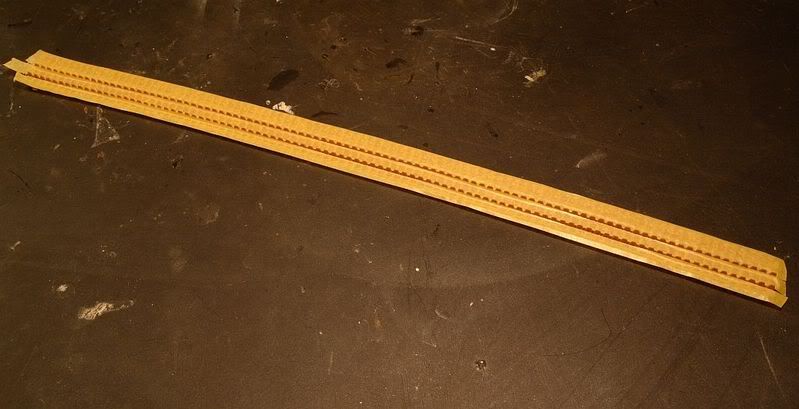
I start by adding some low tack tape to the tracks to make them more stiff.
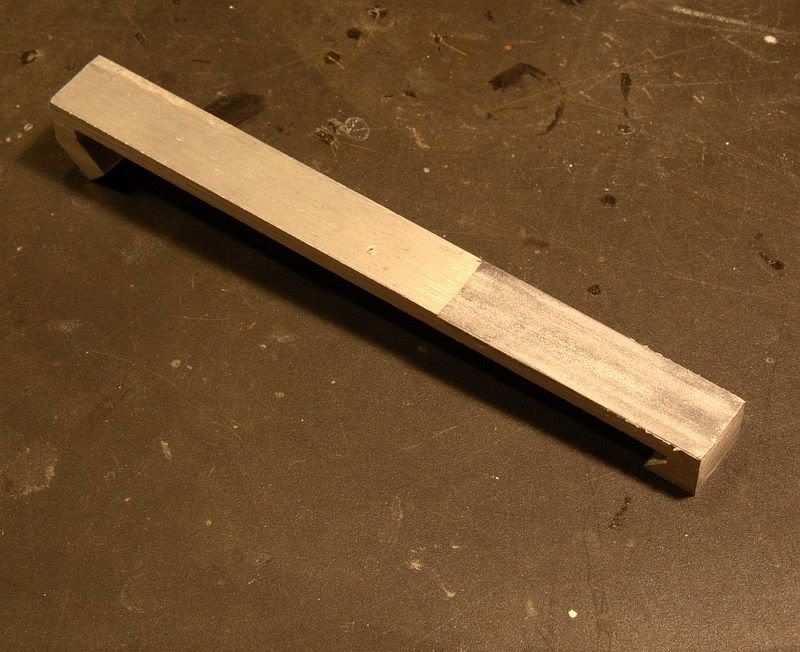
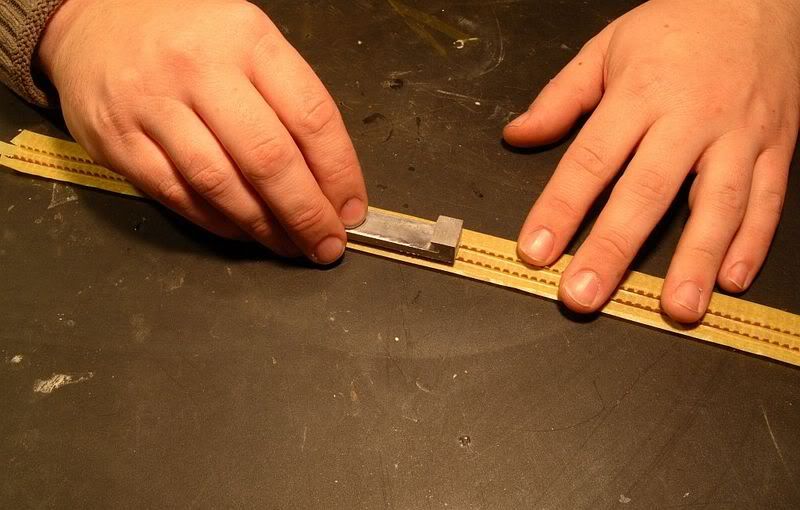
I then take a home made sanding stick, which is basicly just a piece of metal with some double sided tape and a piece of 600 grid wet or dry sanding paper. I gently sand the top of the guide horns and then remove the tape again.
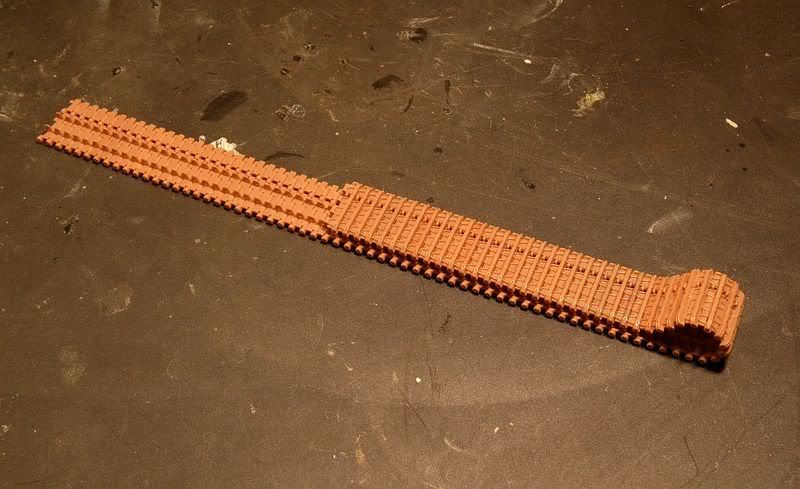
The track is now ready for paint.
After I had finished assemblying the tracks and they had had a day to cure, I washed them in warm soapy water with and old soft toothbrush. Be gentle when you do this.
I blew most of the water off with my airbrush and then loaded the airbrush with some isopropyl alcohol and sprayed that on the tracks. This will remove any grease left and make the remaining water evaporate faster.
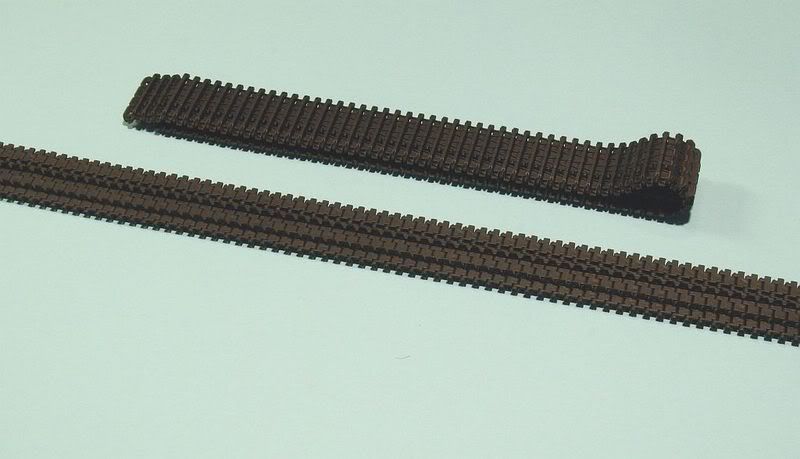
After the tracks had had a couple of hours to dry I loaded the airbrush with Modelmaster metalizer #1405 gun metal and sprayed both tracks with this.
After they have dried they look something like this.
I then add some low tack tape to the tracks again to make them more stiff.
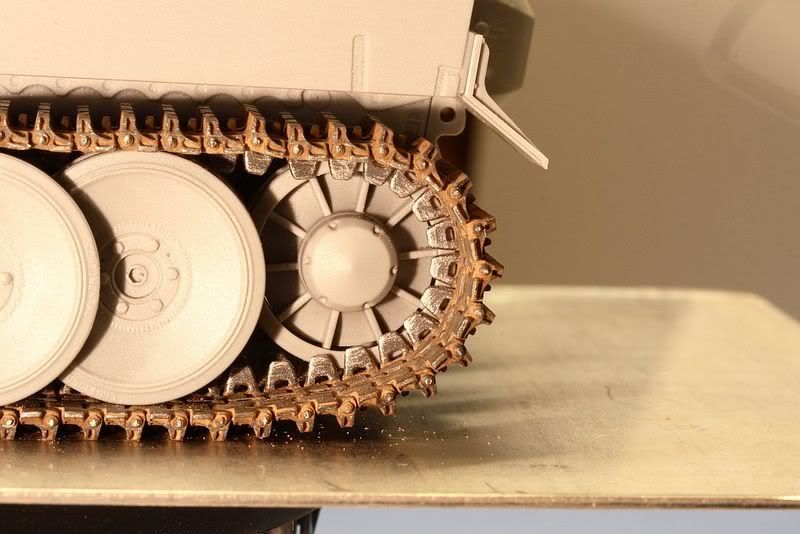
I now treat the tracks with MIG pigments. I use a blend of African earth P038, Dry mud P232, Dark mud P033 and Europe dust P028 this mixture is pretty light in color and is just used as a base weathering, because the secret to good track weathering in my oppinion is to work in layers.
Into the mixture I pour some denaturated alcohol or rubbing alcohol as I believe you call it. And then I just a apply it with a brush.
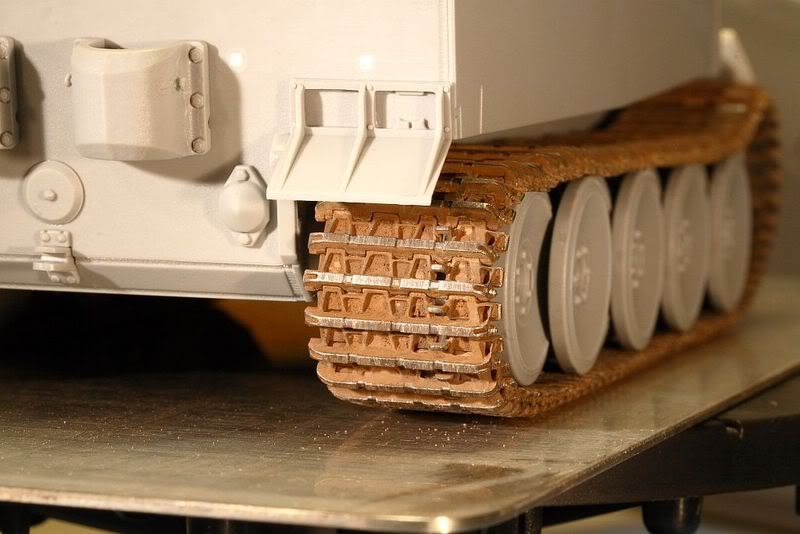
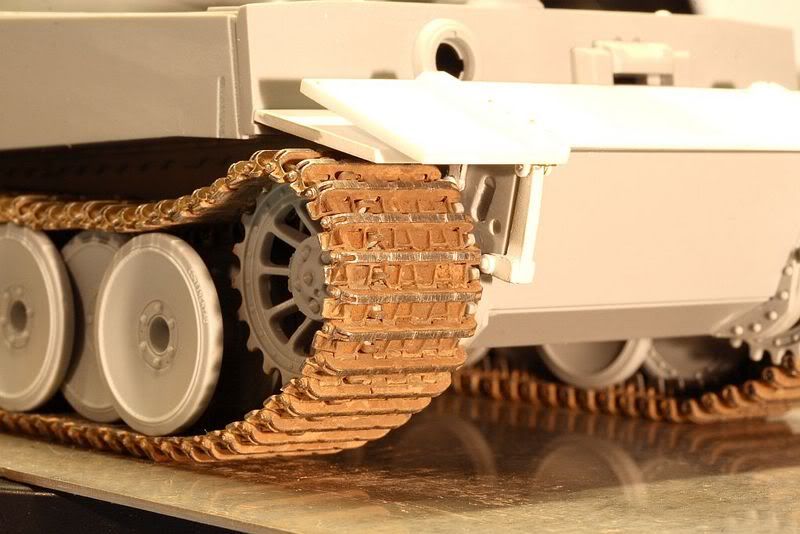
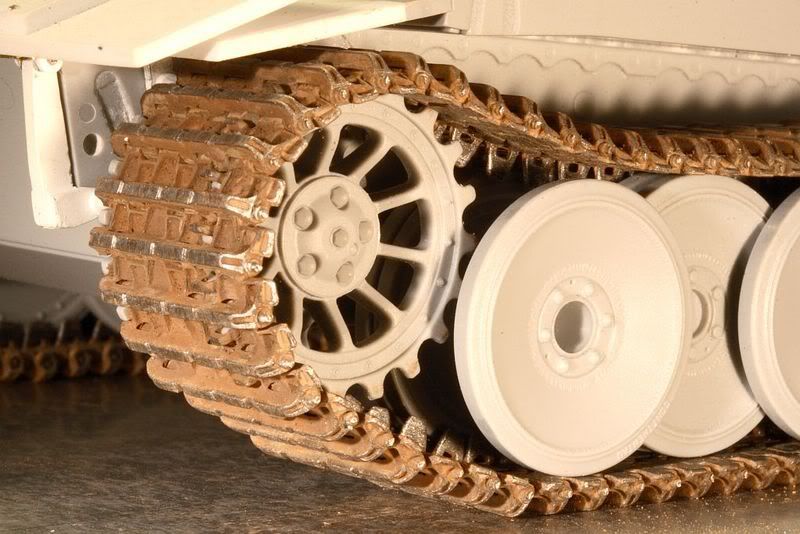
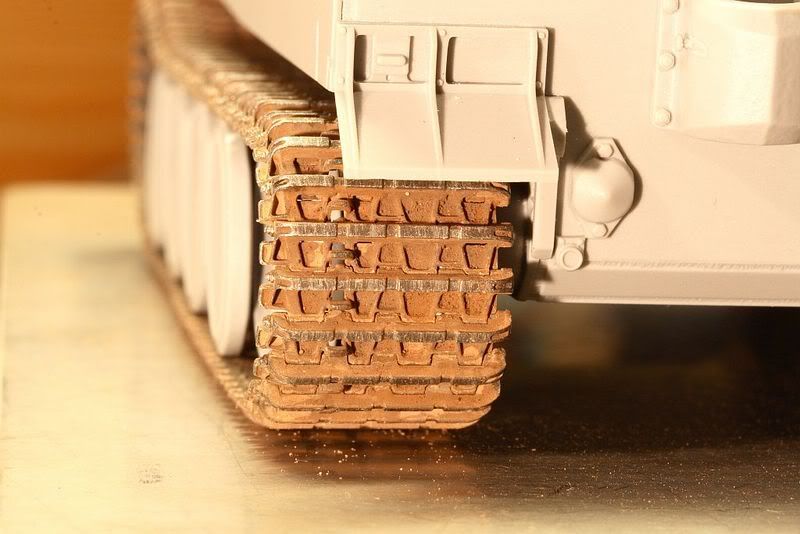
After this has dried I take some Dark mud P033 and mix with alcohol and apply it more randomly. Then I make a mixture of Dark mud P033 and Russain earth P034, mix it with alcohol and again apply it randomly. I keep adding these two mixtures randomly until I get the look I want which is a brown earthy look, I live in Denmark not very far from Germany so I know how the earth looks there and thats what I was going for.
When it dried I removed the pigments from the tread surfaces with a cotton swab and dry brushed the wear surfaces with chrome silver. I also removed the tape from the tracks and dry brushed the guide horns with chrome silver.
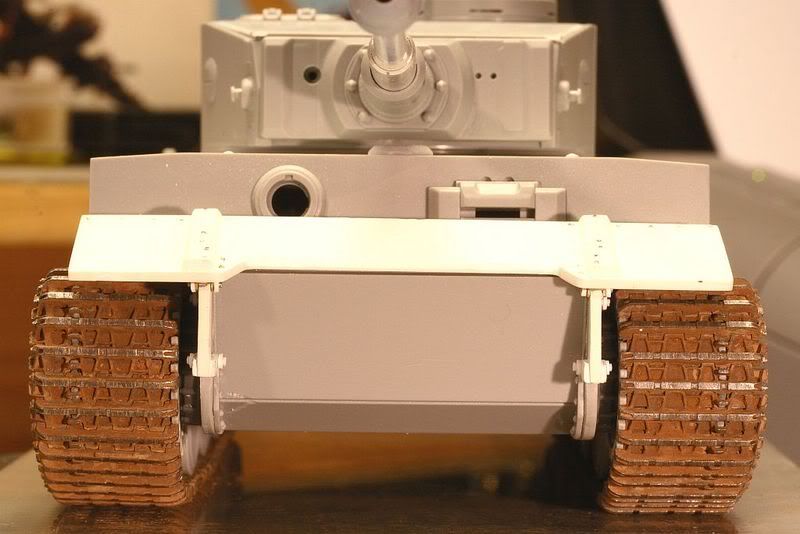

Well this is how I did it. There might be other ways of doing it but this one works for me.
Hmm I think this is a first for me .... I finish the tracks before I have finished the model. Hope you enjoyed this.