It’s been a few weeks but I have been picking away. The kit is fairly good but lacks some details. You know how I am with details so I spent a bunch of time studying the photographs of the M667/M752 and went off to my bench to work on the model.
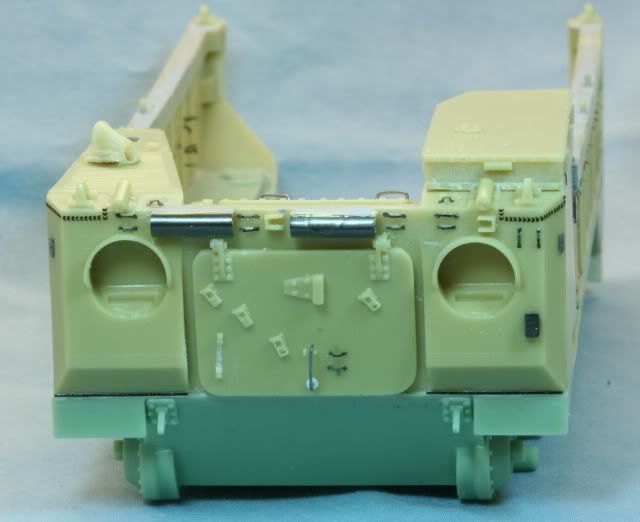
First I tackled the front of the M667/M752. There were two big half round resin blobs on the kit which represent tool holders. I first used my Dremel to remove the resin blobs and then cut some scrap PE to the right size. Using a 1/8 inch drill bit, I rolled and shaped the PE into the hollow half round tubes. All of the PE was applied with Gator Glue and then the tube glue joints were sealed with Mr. Surfacer 500.
There were a number of resin tie downs which like styrene molded ones were not the best. I removed those using an x-acto knife and added PE tie downs from the M548 Eduard set. These are used to tie down the tools which are the handle, pick head, pry bar and shovel.
There was no holder for the pick head so I used the PE holder from the set.
There is a hole in the front door to mount the moving handle which I filled with punched styrene and then mounted a 26 SS wire handle.
There are weld marks in many places on the M667/M752. In the front the lifting hook plates are welded in place. I used Archer weld bead to show those welds.
The carriage welds on the bottom are Archer fine weld which welds the cab to the carriage.
The mirrors are attached with a plate to the cab on either side. Going through my scrap PE I found two plates which were close and had the hole for mounting the mirror assemblies.
I used the Dremel and knife to clean off the shovel holder which I will use a PE holder and will mount with the shovel later. Here is the detailed front.
The driver’s side has a cover door over the oil fill which I again found something close in the scrap PE pile.
From the M548 PE set I used the T hold down latch for the roof of the driver’s cab which is shown in the collapsed position for firing. There is one on this side and one on the opposite side.
Where the cargo sides meet the cab on the driver’s side, the top reinforcement is muted on the molding of the cab and to correct the fit and look I used some .020 styrene sheet to build it up. Again I used Archer Weld bead and fine Weld bead for the welds to the cargo panel to the cab.
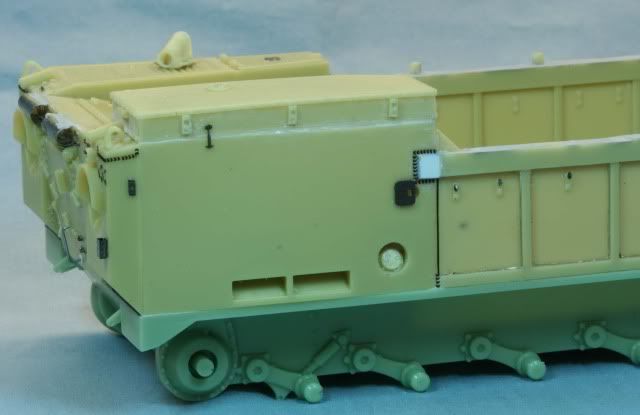
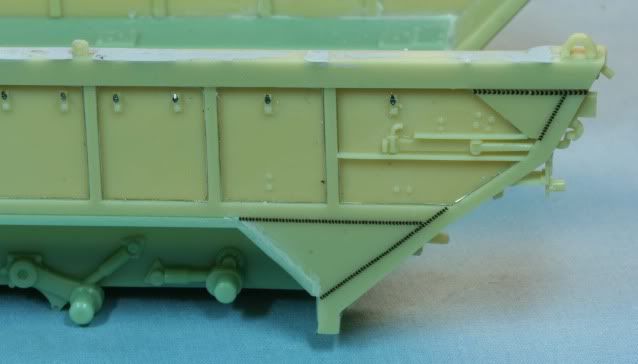
The cargo panel has a number of weld beads in the rear again using Archer weld bead. Inside each panel square I made the bead using 32 gauge SS wire and attaching it with landscape glue.
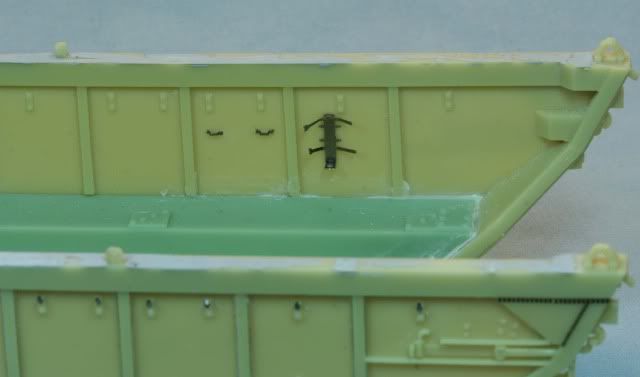
Running down the side are 10 hooks to hold down a canvas. There are bolted with block through to the inside. The kit has the block and bolts but no hooks. Again, there were from the M548 PE set and applied to both sides for 20 in all.
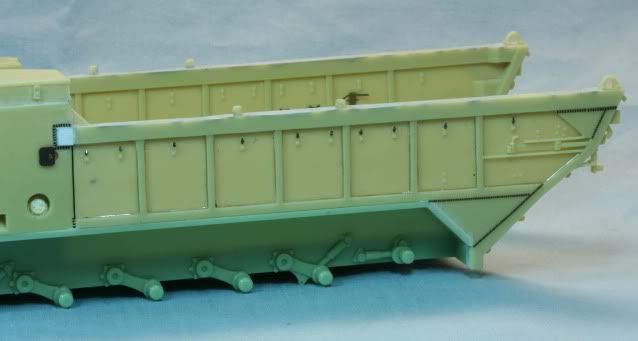
Close up of the rear welds
The inside battery cover is just a marking on the molding as opposed to the raised plate with raised X across the plate. The plate is .020 styrene cut to size. The X is using Archer fine welding bead and the locks are from the scrap PE pile.
Next to the plate are a number of connectors. The slave receptacle uses a plate from scrap PE and .040 hex rod. Below it, is a .090 diameter connector punched from .040 styrene. The two blocks are made from .040 styrene and .032 diameter punched connectors from .040 styrene.
Over the engine there are two grab handles which are made from 26 gauge SS wire, drilled and glued into place.
The screen is molded into the kit is YUCH. Using the Dremel I removed the screen and replaced with Eduard 6x6 screen.
The engine access cover has a small square plat on top which is missing on the kit. I found a plate of the right size in the PE scrap pile.
Lastly a couple of PE tie downs were added on the inside wall. Also you can see the T hold down latch on this side.
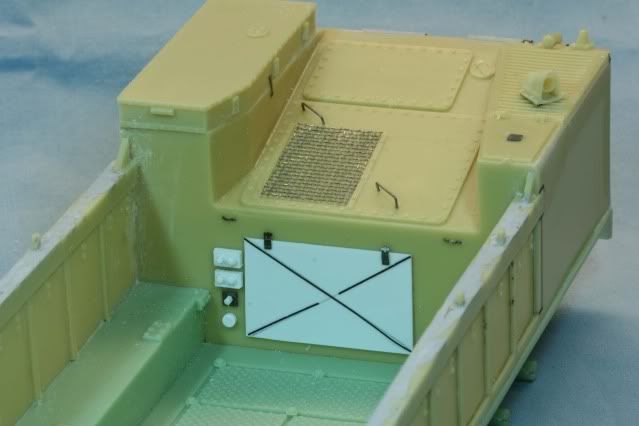
On the inside wall is a fire extinguisher. The kit supplies the extinguisher with no bracket. I solved this using the M548 PE bracket. Also two tie downs next to the bracket and directly across on the driver’s side.
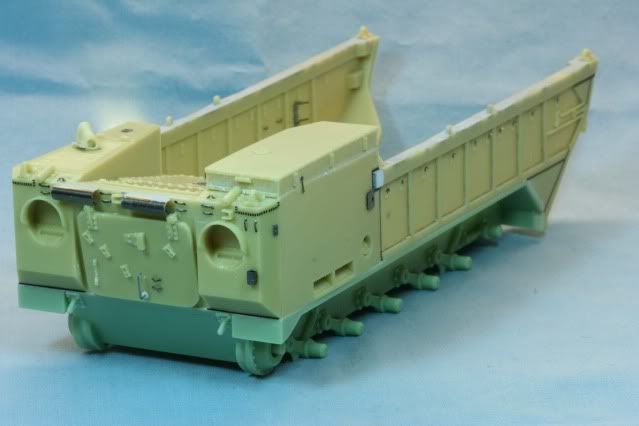
Here is the overall body as it stand now which after a bit of cleanup is ready for the primer coat.
During the week days, I would pass the time at the TV and assemble the tracks. After clean up I used ½ inch Sequin pins and assembled the tracks.
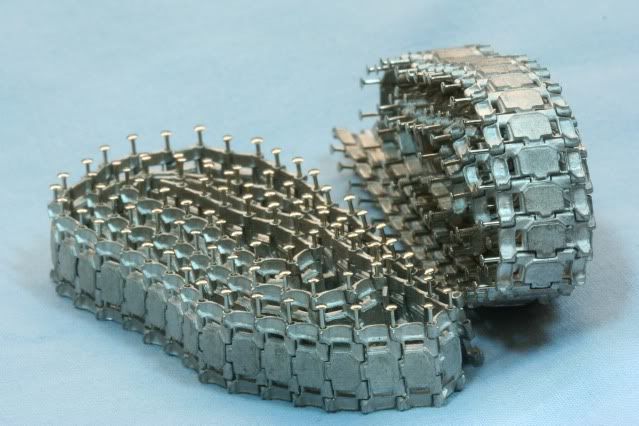
These are ready to have the pins clipped then a vinegar wash and then a dip in blacken-it.
That’s it for right now. Off to the paint booth for the chassis and launcher, cleaning and dipping for the tracks and time to cleanup and get the road wheels ready.
As always, all comments are welcome and thanks for stopping by.
Rounds Complete!!