Thanks guys, The model was a heafty investment, and not one that I make very often. But to save on costs I didn't get some of the option packs ie, the sound, smoke, and the blank gun. I will be adding some of these functions my self which will save on the budget.
I have completed 96% of the rear wall detailing.
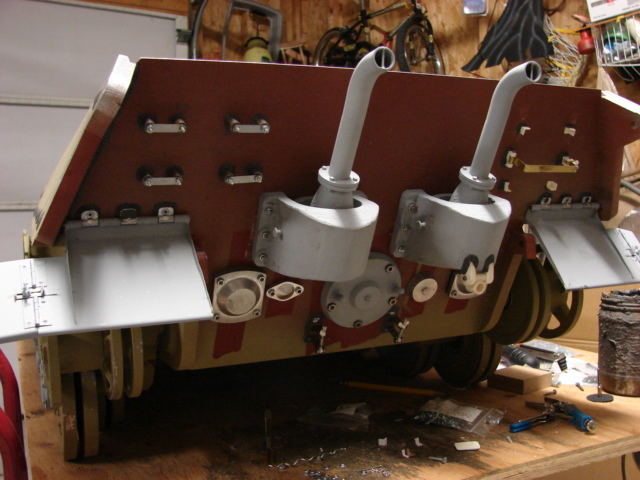
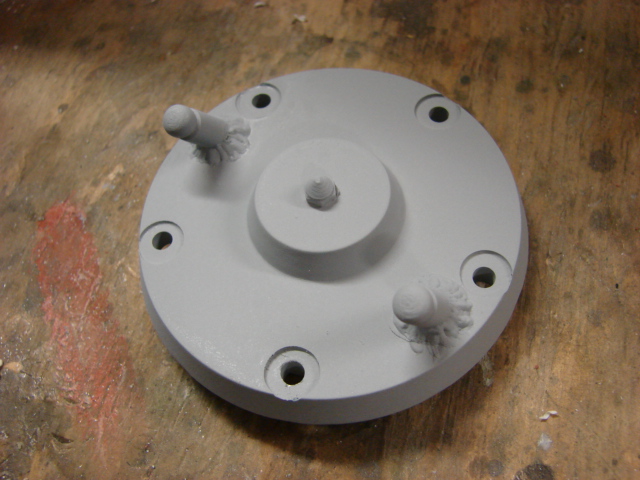
The tank's rear engine access hatch / engine started was reworked and added.
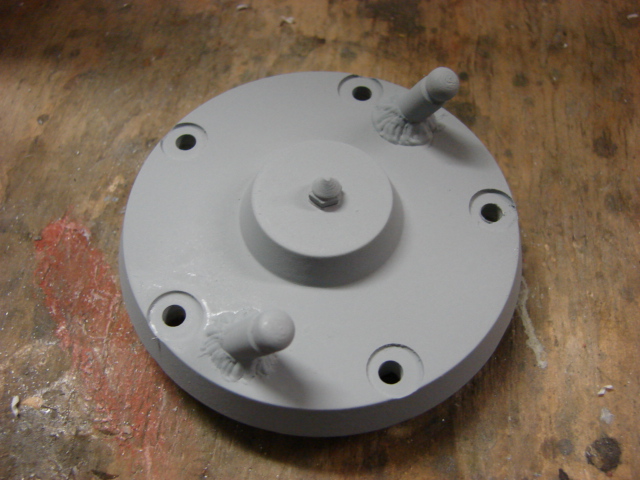
The kit supplied piece was made of CNCed turned aluminum and is the correct size and shape.
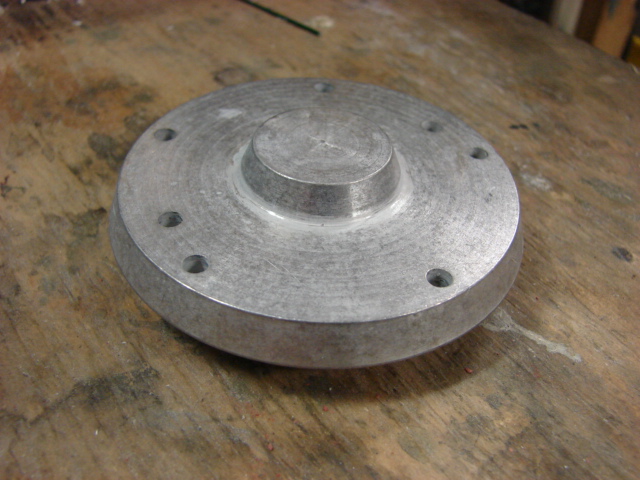
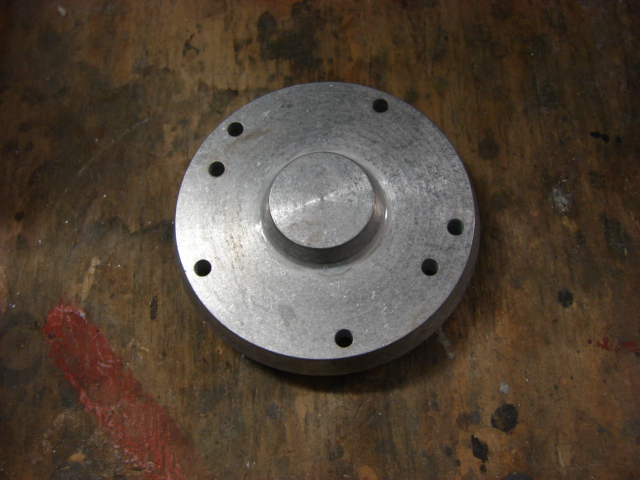
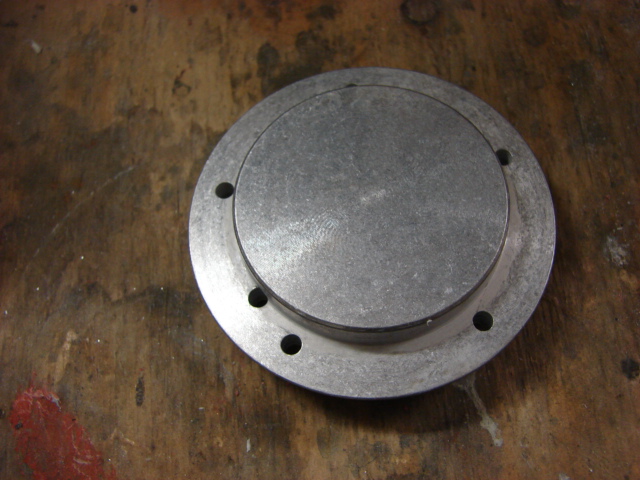
All that was needed to improve the part was I milled recessed divots into each of the locations that the mounting nuts are located, I added a resin Acorn nut to the center of the access hub, and I added two resin cold weather starter electrode nubs that was from my Tiger I cold weather starter kit.
The tank's tow hook swing mounts were added. These mounts are nicely done out of the box and the only mods that were added were the weld beads. The kit supplies you with cast bronze wing nuts that thread onto the exposed threaded shaft. The kit also supplies you with two cast brass tow hooks. These appear to need no further mods and will be added once the tank is painted.
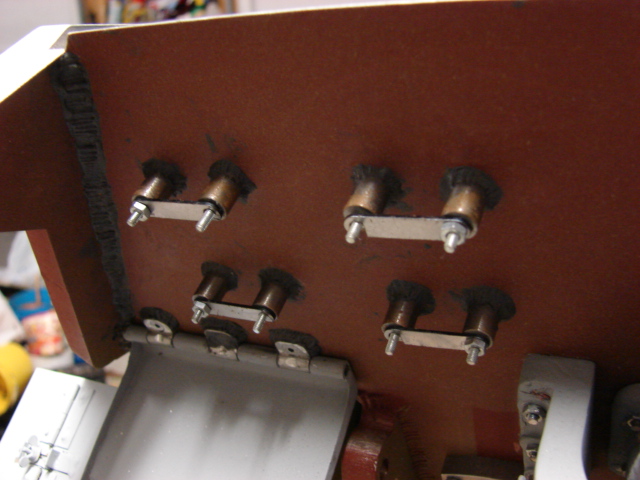
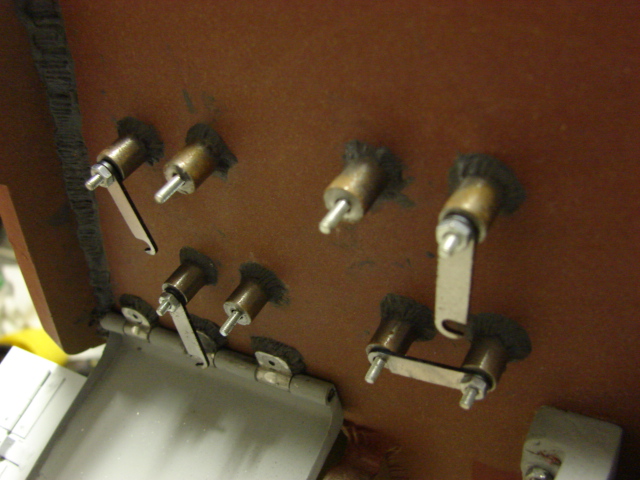
The tank's jack mounts were added. The kit supplied mounts are made out of two laser cut and pre shaped sheet steel strips. The kit supplied mounts are made to swing open. On the real tank the mounts are welded to a longer plate and have a bulkhead welded to the lower portion of the mount for more strength. On my component I made the bulk head and the longer base plate out of a brass strip that was then soldered onto the kit supplied jack mount.
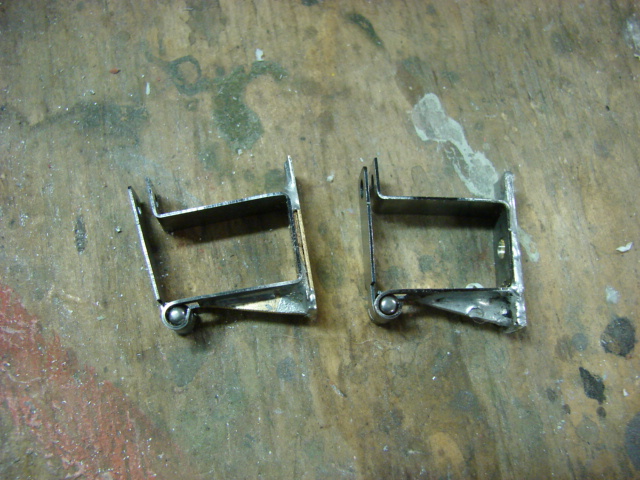
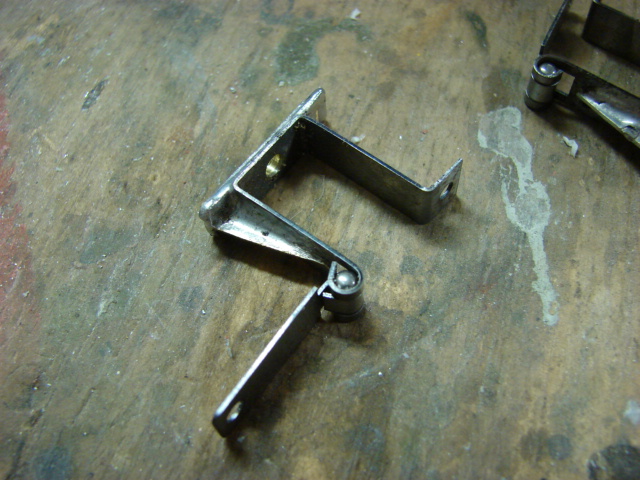
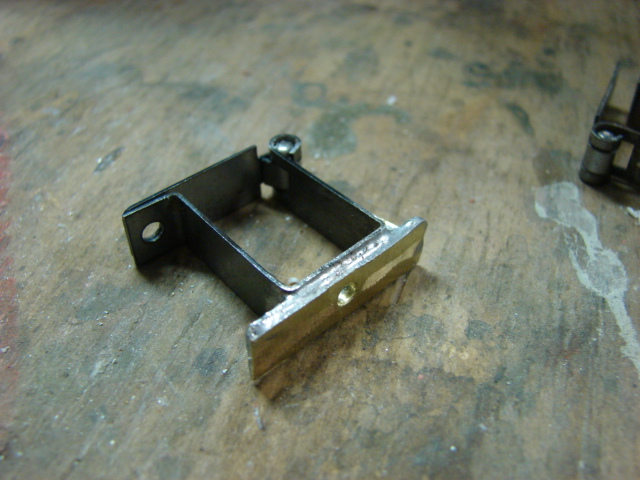
At first I was going to install the component with the kit supplied hinged gate, but after reviewing the real component I decided to rework the jack mounts further. To do this I removed the kit supplied gate and replaced it with a threaded rod that was soldered to a brass tube. The new rod swings in place where the old gate once went. The op portion of the jack mount was to be secured by a singe Allen screw and nut, this part of the mount was bent straight and a threaded shaft size notch was then cut into the now protruding steel. A resin wing nut will hold the unit together.
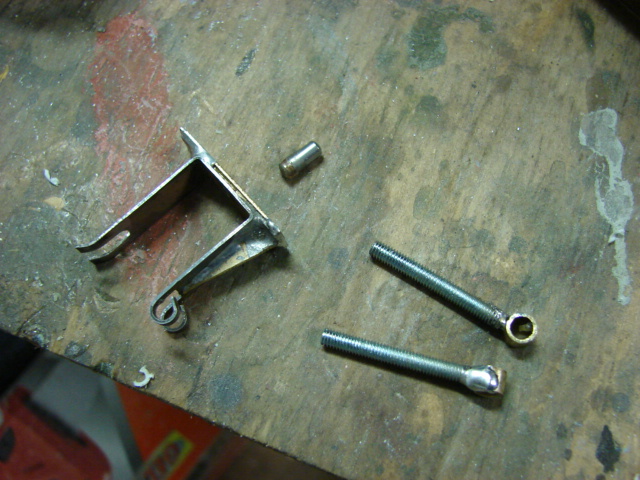
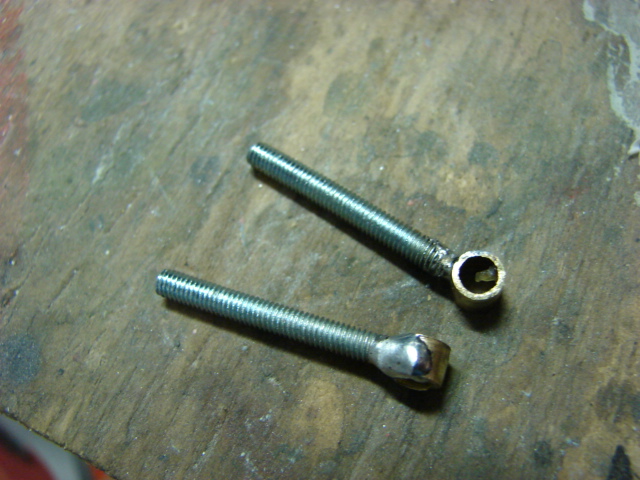
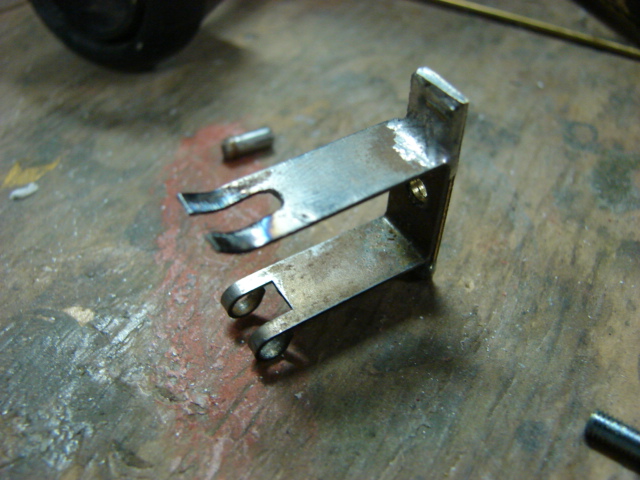
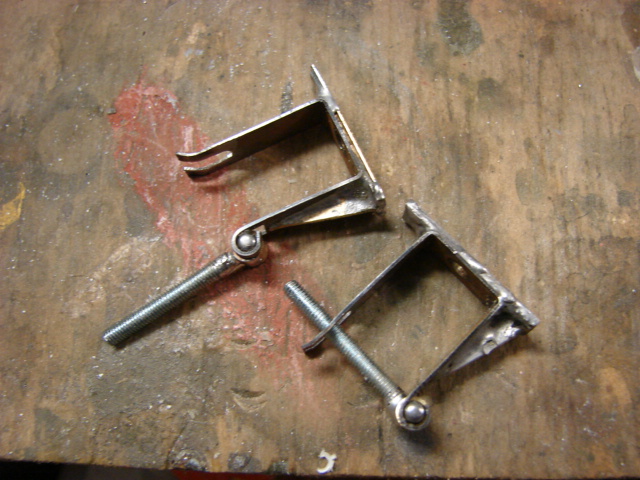
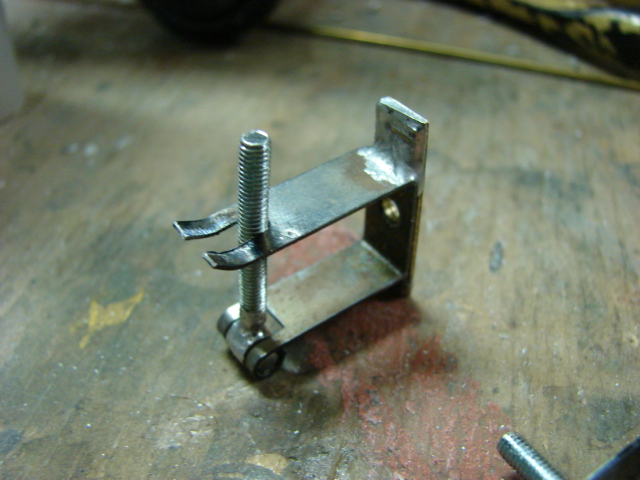
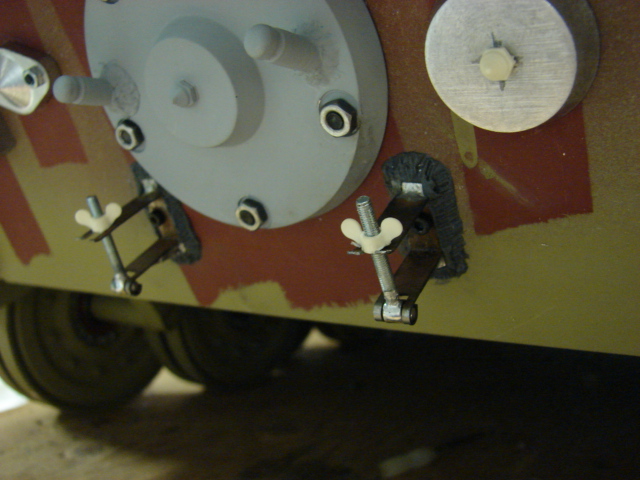
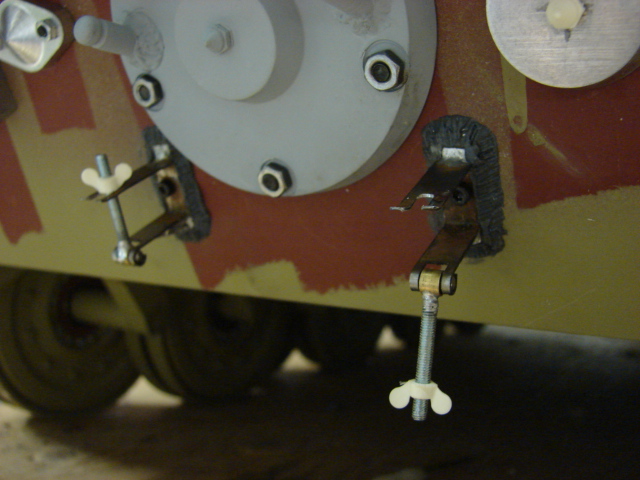
As for the tank's Jack, the kit comes with an Armorpax Resin and metal King tiger Jack, which is an excellent bit of kit. This too will be added later.
The tanks Rear mud flaps have also been assembled and installed.
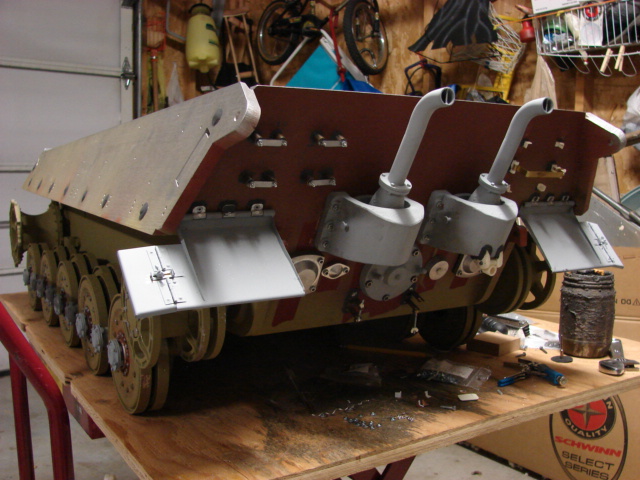
The kit supplied mud flaps are all made out of pre shaped laser cut sheet steel, brass hinges, copper rivets, and two machined aluminum one piece hinges.
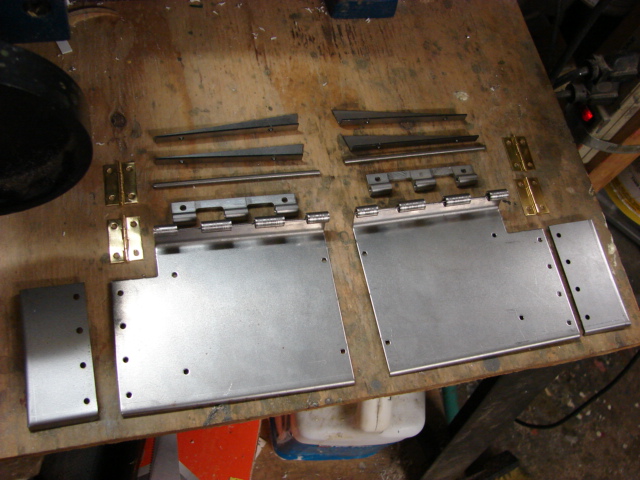
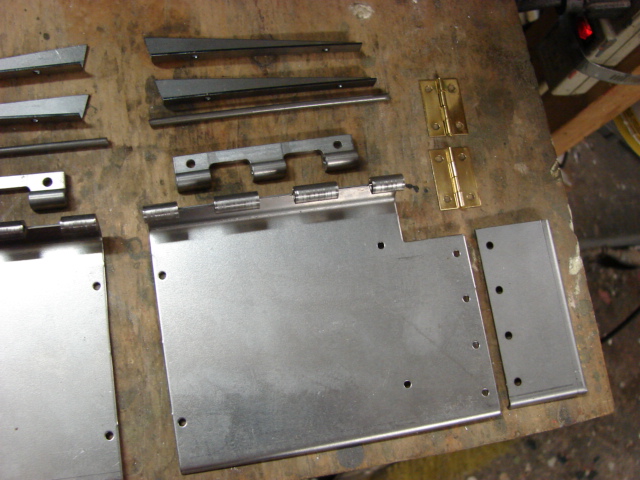
The kit supplied mud flap bulk heads were not used. New sheet steel bulk heads were fabricated and soldered to the mud flap in it's place. The original mounting holes for the kit supplied bulk heads were plugged up with solder and were sanded smooth.
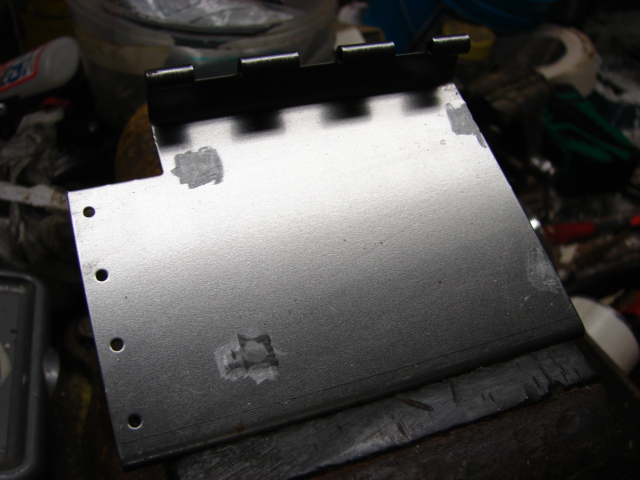
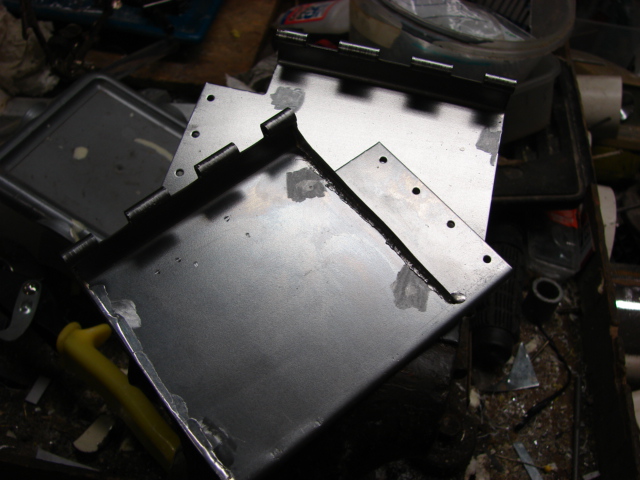
All of the hinges and copper components were soldered directly onto the mud flaps. The mud flap corner hinged section had it's adjustment plate detail added. These details were all scratch built out of brass. A resin wing nut adds the last bit of detail to the section.
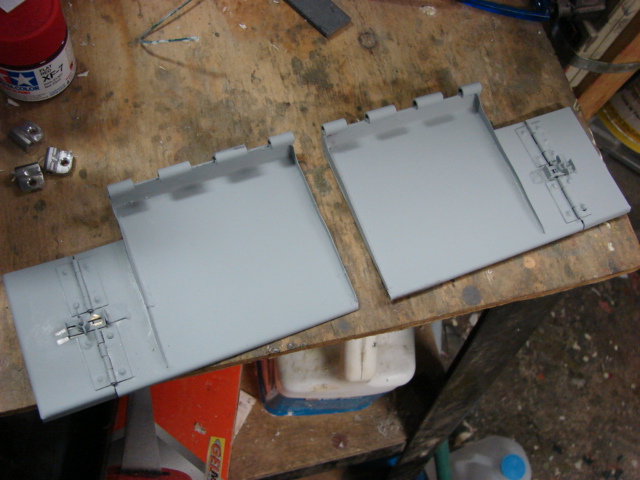
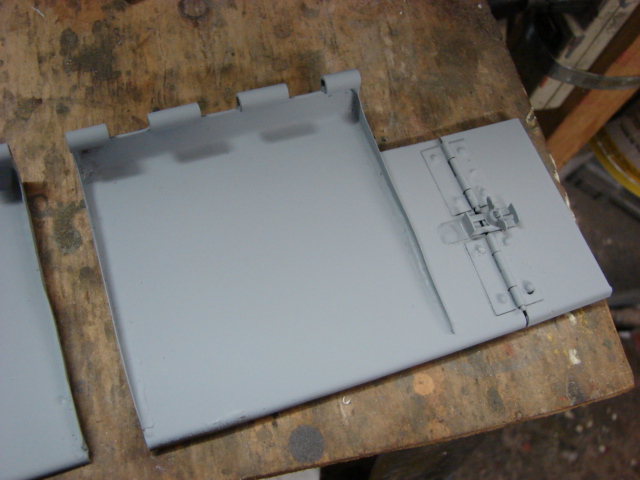
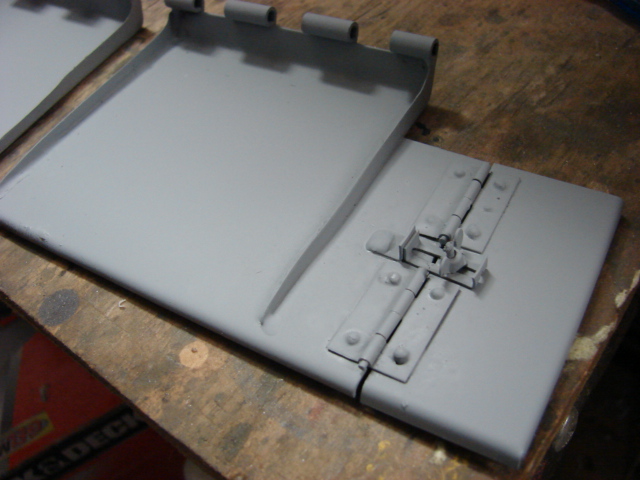
To complete the mud flaps, the one piece main hinge needed to be reworked.
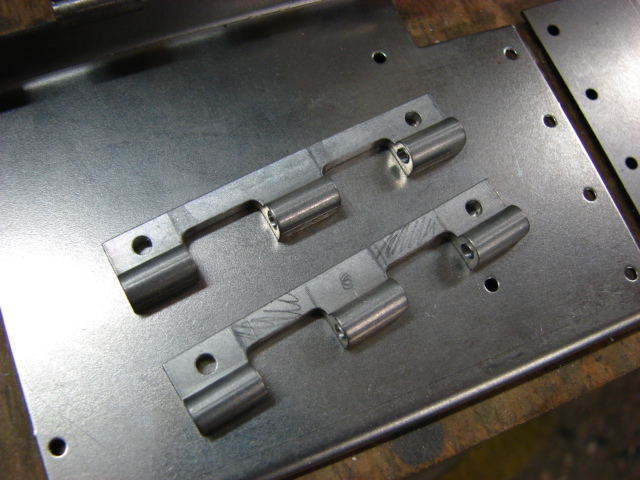
On the real King tiger the mud flap hinge was comprised out of three separate small blocks. To make the alteration I cut the one piece hinge into three small blocks. A hole was added to the center block hinge, and all six blocks had counter sinks drilled into them. The counter sink bolts will replace the cap screws that armortek recommends in their instructions. They all were then mounted to the tank with counter the sink bolts and weld beads. All that needs to be done to finish them up is to have some small putty work done to the counter sink bolts making them flush with the hinge.
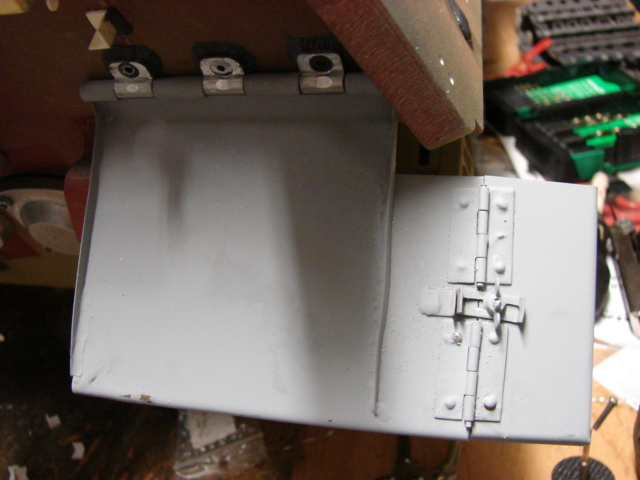
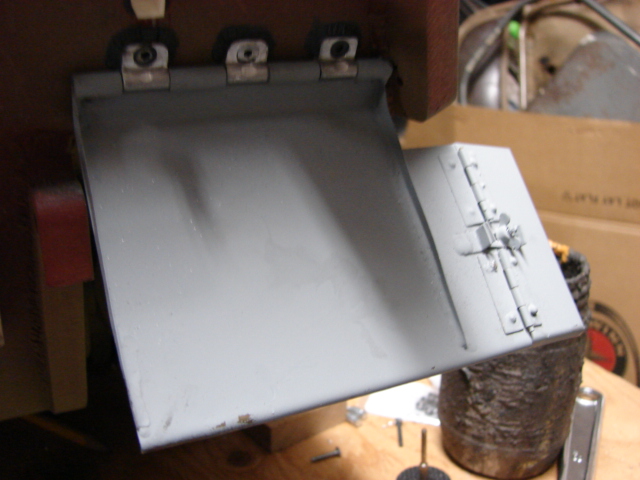
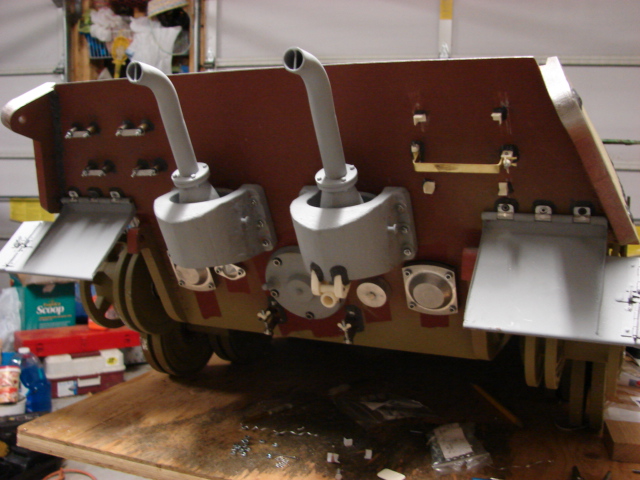
The mud flaps retain all of their functionality, and are very sturdy
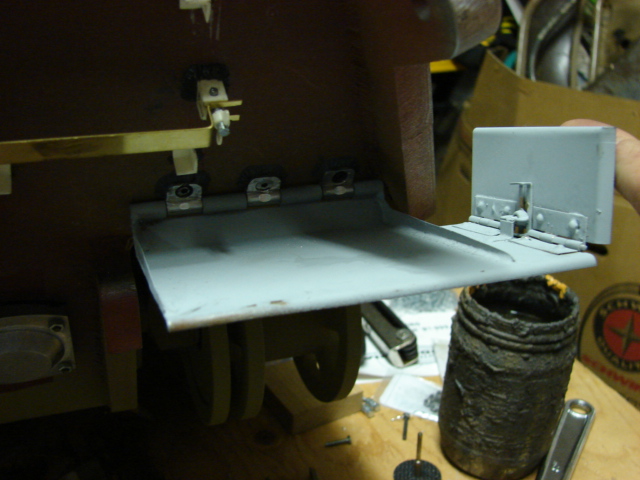
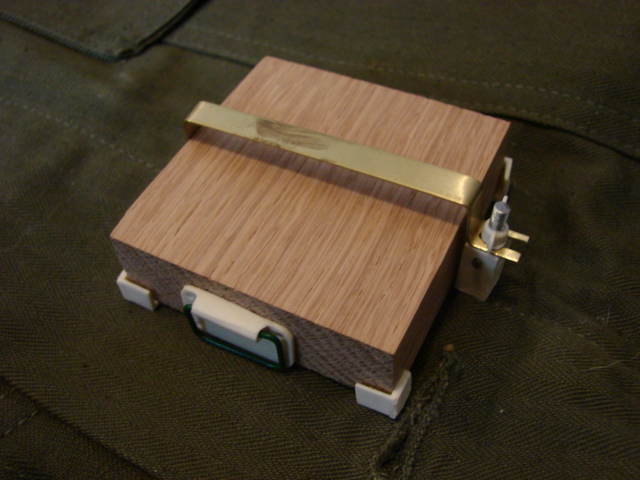
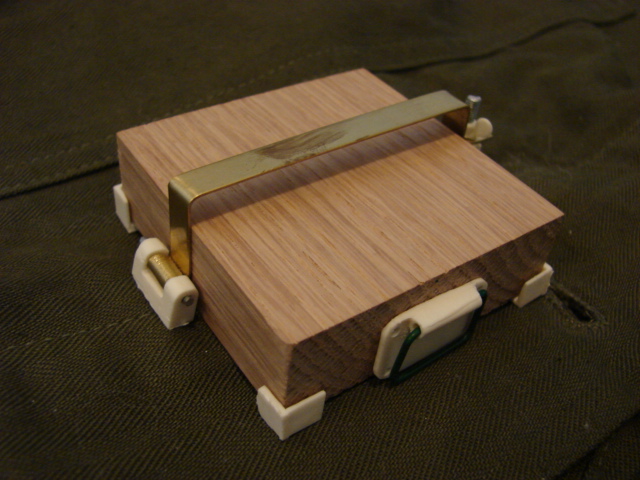
The tank's new jack block mounts were added. The Kit supplied jack block is comprised of a block of wood and a singe laser cut pre bent strip that gets bolted to the tank.
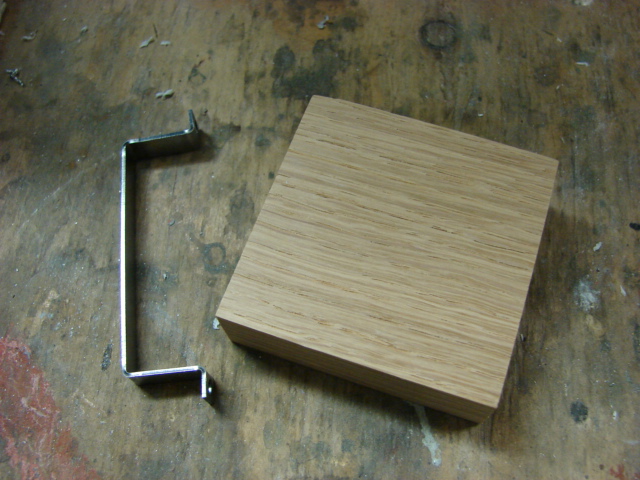
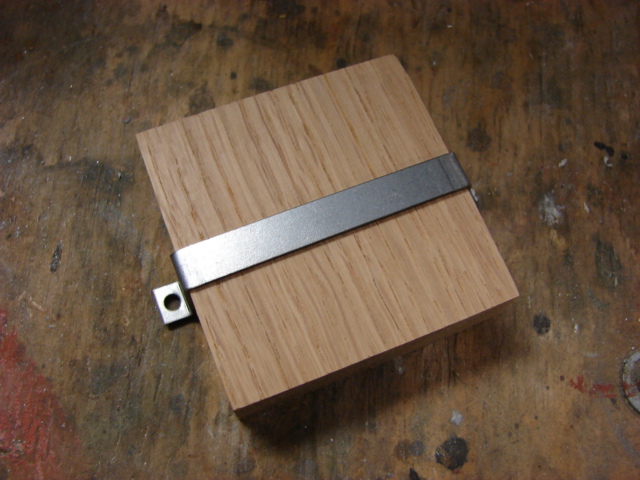
I decided to fabricate new jack block mounts that were full function and were more accurately detailed than the basic kit supplied version.
htp://eastcoastarmory.com/german_parts/king_tiger_box/DSC00040.JPG
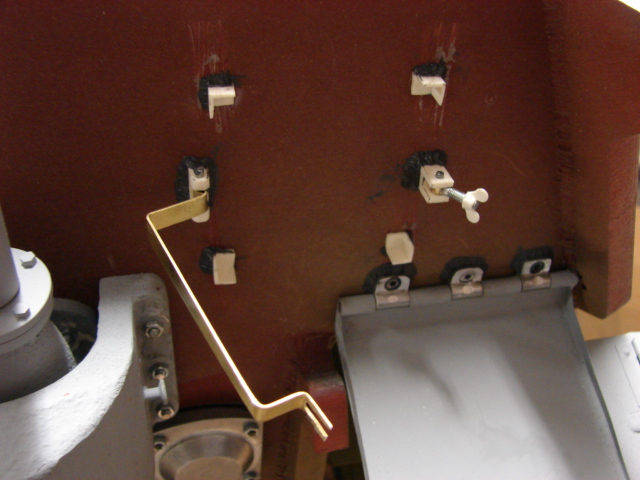
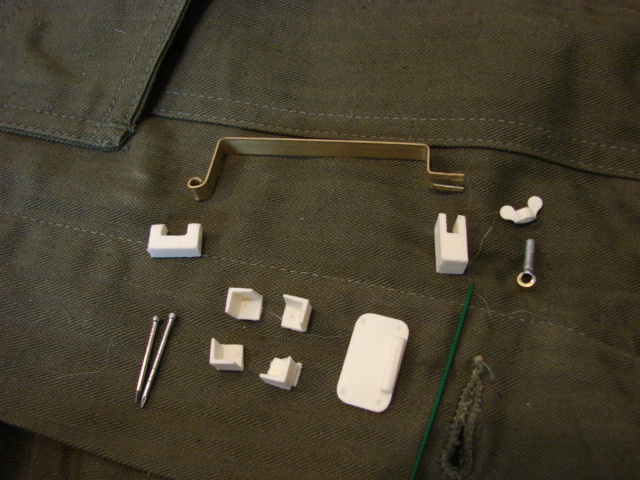

In addition to the new jack block mounts I also made the jack block carrying handle.

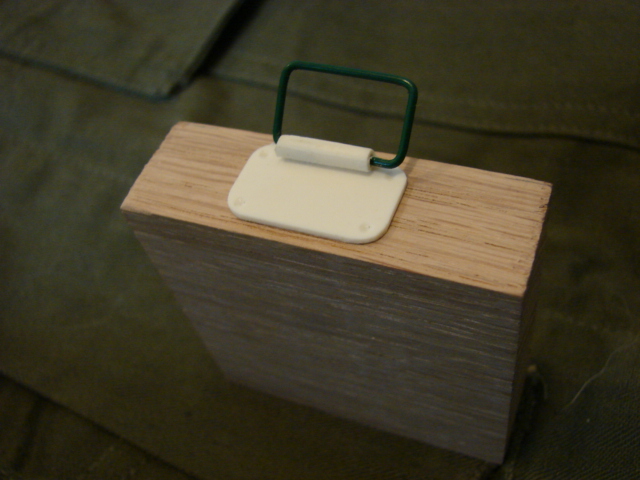
The pivoting crank handle guide was added to the tank’s right hand armored exhaust cover. The component does have a small length of chain and will be added once the tank is painted.
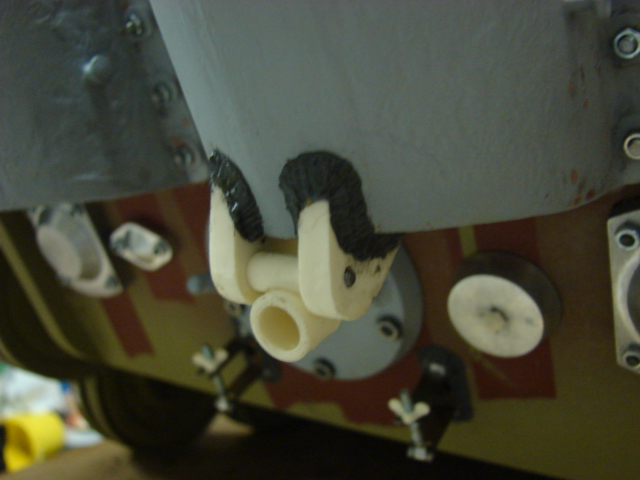

both the jack block detail upgrade and the pivoting crank handle set have been added to the product line.
http://eastcoastarmory.com/germanparts.htm
All that remains left to be fabricated is the tube tail light and the lower tail light. Once those parts have been completed the rear wall is 100% finished. More progress to follow!