Fire Mission
1/35 Italeri M108 105mm Self Propelled howitzer.
Introduction
I was commissioned for this build to be used at the 1 BN 40 Field Artillery reunion later this year. Only two units served in Vietnam with an M108. First the 3/6 FA in June 0f 1966 followed by the 1/40 in October of 1966. During the time the 1/40 served in Vietnam, they fired in excess of 165,000 rounds and have the distinction of being one of the few Army units to have a Marine Corps citation, for their support of the Marines in the Dong ha area.
here are a few shots. First is an M108 from the 3/6. Te last two are the 1/40 M108s.
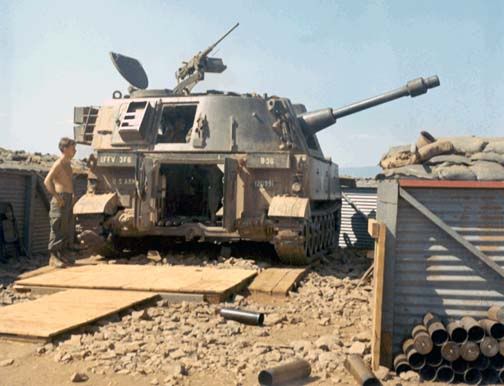
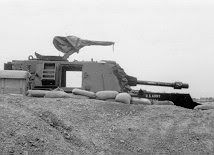
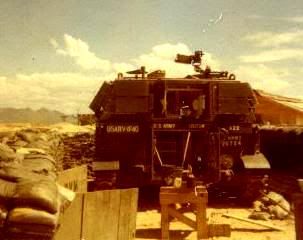
Photos above are taken from each unit’s respective web site. I would like to credit not only the photographer but all the members of each unit!!
The build
I will be using the Italeri kit # 238 M108 which is OOP but available from time to time on eBay. The kit is very straight forward and simple from an assembly stand point. I will be switching out the kit supplied “rubber band” tracks with the AFV M108/109 individual link kit.
Warning in general, this kit suffers from what most Italeri kits do….excessive sink holes, injector pin marks and poor alignment. I will be using plenty of Mr. Liquid Putty and Mr. Surfacer to get this close.
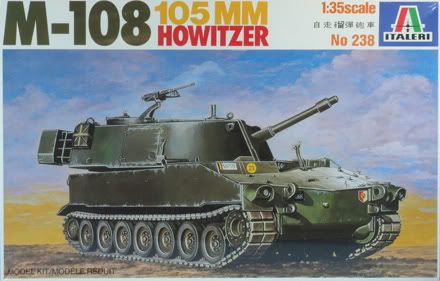
The first two steps are assembling the lower hull and adding all the suspension elements. The road wheels are left off for ease of painting.
The side panels and rear require “clamping” to hold in place for the best gluing results. This is the lower hull after the first two assembly steps
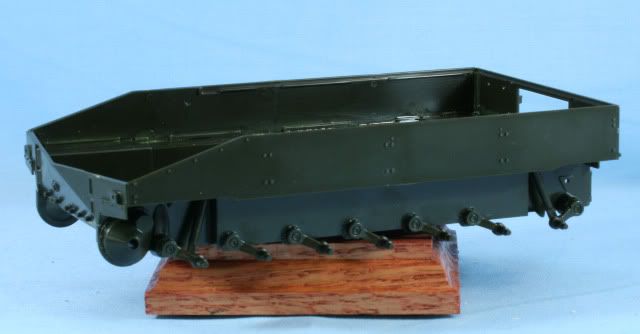
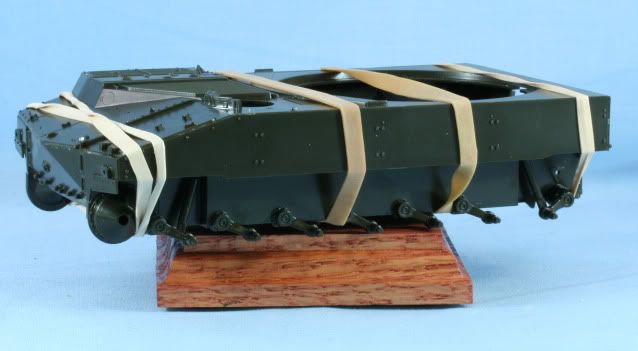
Step 3 includes adding the top of the lower hull. After some sanding to fit, rubber bands are required to hold the top in place while gluing. It is best to make sure everything is in place, glue well and allow overnight to set up well.
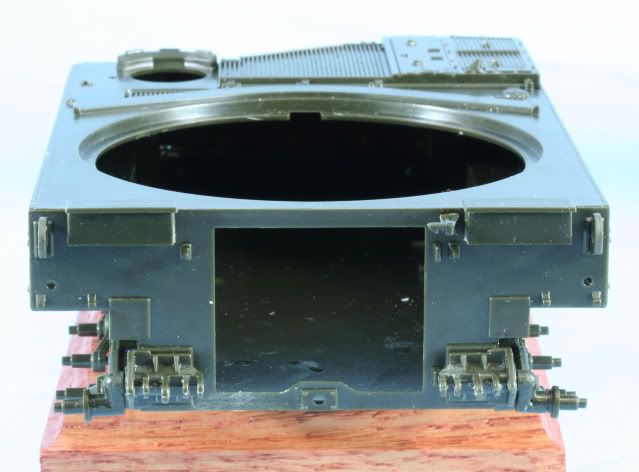
Step four has some rear details added like the lifting hooks. I left the lower rear door off at this point. I will not have an interior but may leave the door cracked open….Undecided at this point
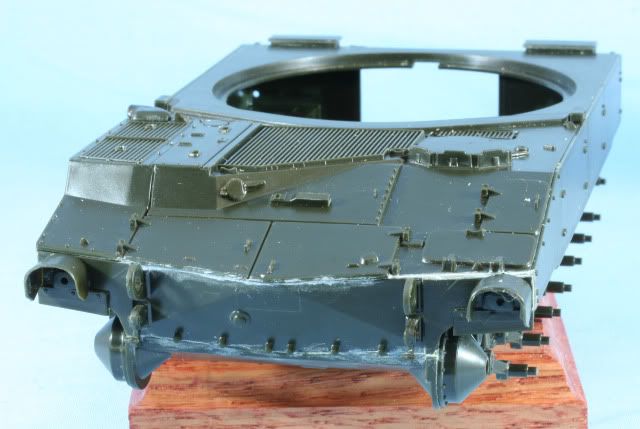
Steps 5 & 6 add details to the front and deck. Some of these like the barrel travel lock I left off to facilitate painting. The front (and back) lights are left off for ease of detail painting. You can see the remnants of seam work also. I used multiple coats of Mr. Putty and Surfacer to close minor seams and major holes.
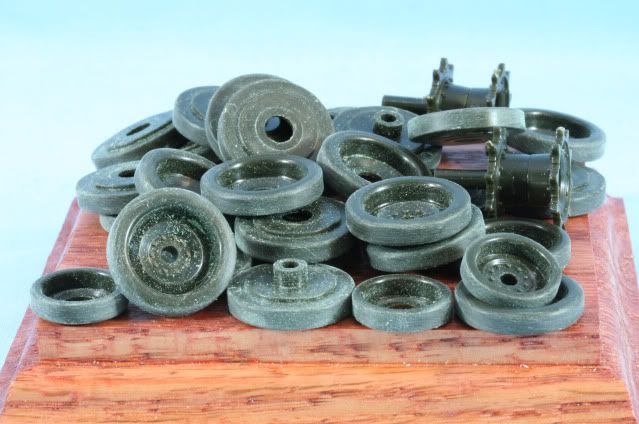
All the road wheels were removed from the sprue cleaned up and the rubber areas sanded wit a scotch brite pad to create more realistic wear.
That’s it for now. I am in the middle of a major putty job on the barrel and mounting.
As always thanks for stopping by. Your comments good or bad are always appreciated.
Rounds Complete!!