Cdn Colin
On second reading, I'd suggest giving the judge a slap.
Seriously, if that's the only improvement they could recommend, it must have been an outstanding diorama! Where are the pictures?
I kinda have to agree here!
Personaly, I have yet to find a GREAT solution to the issue. "Prop Blur" is a good effect, at a distance. I've never really cared much for the clear disc...even the best ones I've seen just didn't quite do it for me. Actually motorizing the prop is the best effect, but is not always very practical in the long run. I just leave the blades out and fill the holes where they would go.
Then there's the "snap-shot in time" argument...
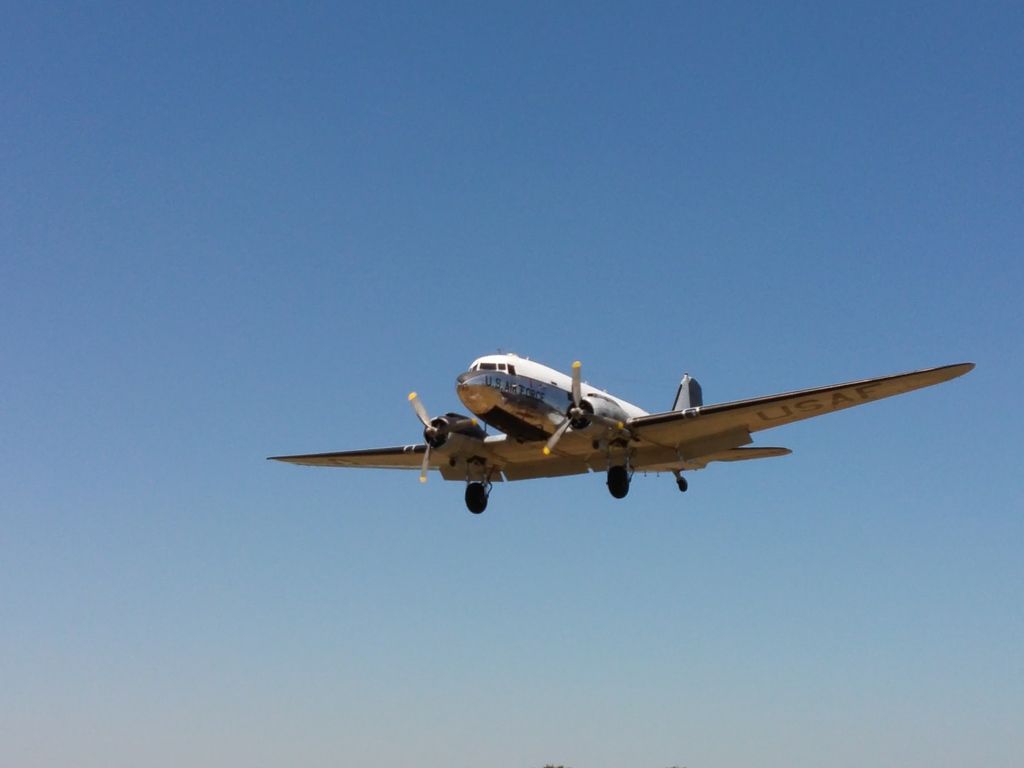
This airplane is very clearly flying, no doubt....check them props!
Anyway...if ya go with the clear disc...I'd recommend getting a circle cutter. Micheals (probably any craft store) has them for about 5 bucks. "Olfa" is the brand I have. It is quite handy to have at the bench, and gets regular use.