ridleusmc
I like the glass idea. I checked the LoweDepot website, and it's not expensive. I also like those display shelves.
-Chris
The glass is nice! Mine cost zero dollars, as it was left here from the previous owners.
My display shelves were a new addition, this Spring.
Right, left and the one in the doorway...
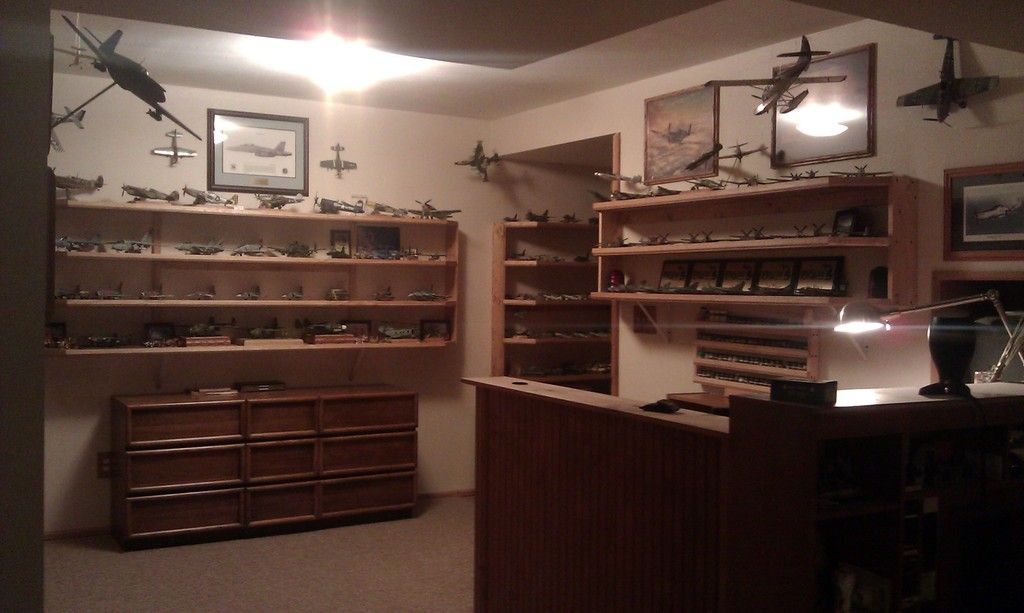
The one in the doorway...at the bottom of the steps, goes down to the floor. I don't like having models below waist level, so I filled those shelves with books and mags.

Then there's the main display...built in, when I built the room (stash cabinet underneath)
It even has its own lighting!
