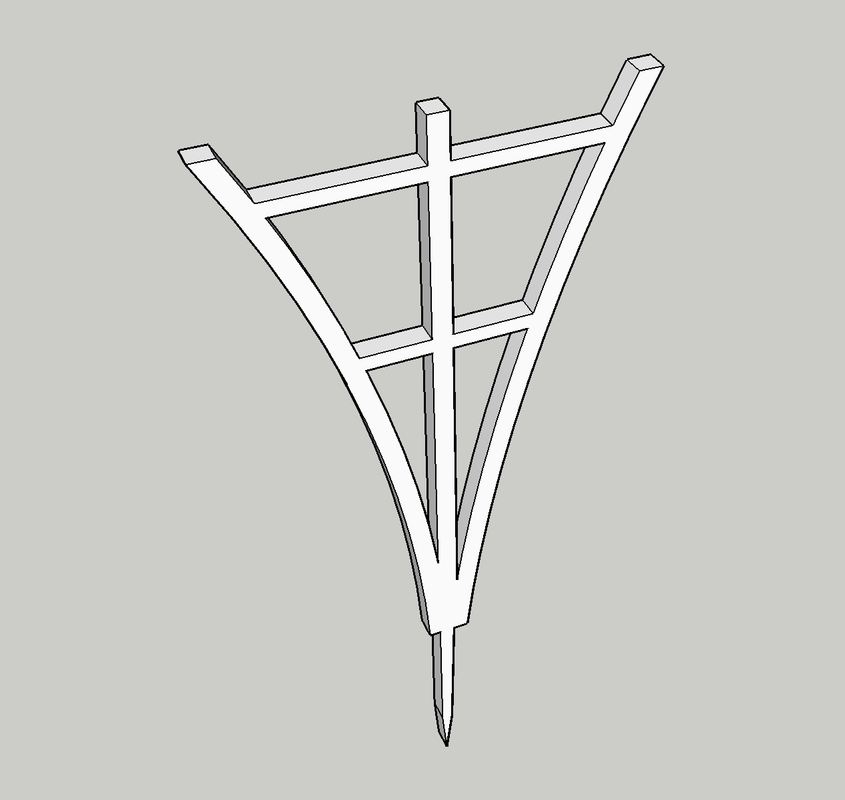
All good thoughts. However, with SketchUp and a 3D printer, I took literally a few minutes, drew a trellis, and printed it. The print took all of 15 minutes. Took longer to clean it up than it did to print them. The design was very simple so drawing time was very quick.
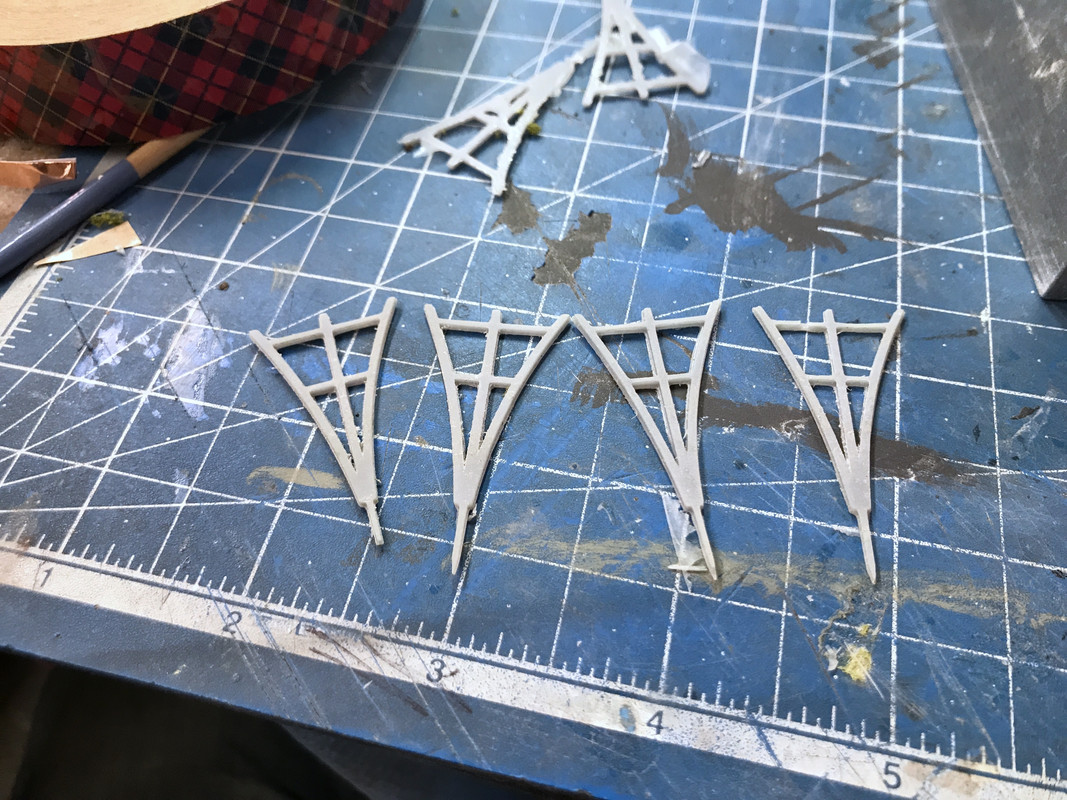
Here are the printed parts during the cleaning process.
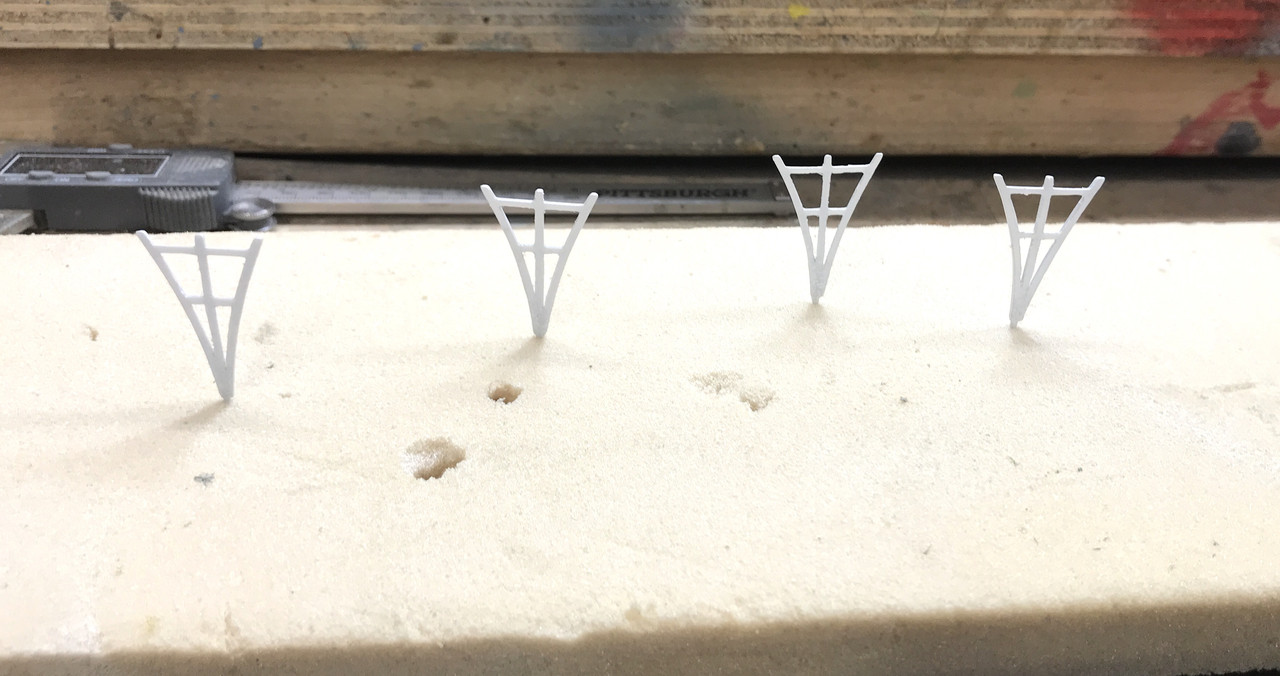
I simply stuck them into some floral foam and shot them with Krylon Gloss White and they were done.
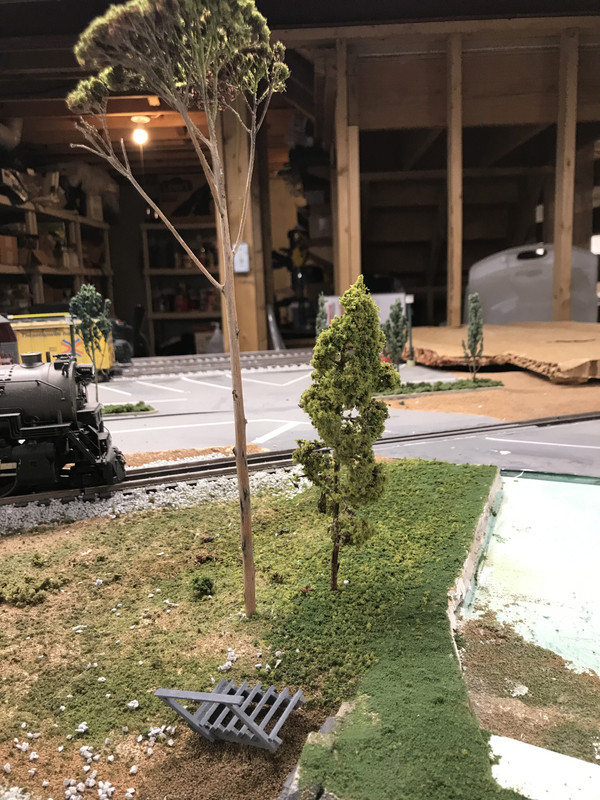
I had trimmed some dried Oak Leaf Hydrangia blossoms a couple of years ago thinking I was going to turn them into trees. They had a pretty good shape and could either be deciduous or evergreen. I was discouraged since I thought I have to remove all the little un-opened blossoms before flocking them, so they just sat on a box on the floor. I was going to throw them out in my cleaning spree, but after looking at their shape again, didn't toss them. Then today I realized that those un-opened blossoms would serve as more surface area to glue the flocking.
I had to clip the dried actual blossoms, but left all the un-opened ones. I then sprayed them with the 3M-99 and dipped the branch into a pile of medium and dark green coarse turf and the results were pretty decent. Of the pile of branches that I have, most had a pretty severe bend in the top branches, so I didn't use them. The bush has a bunch more dead blossoms and I'm going to collect them. They have a good branching structure that's better than the W-S plastic trees, AND THEIR FREE.
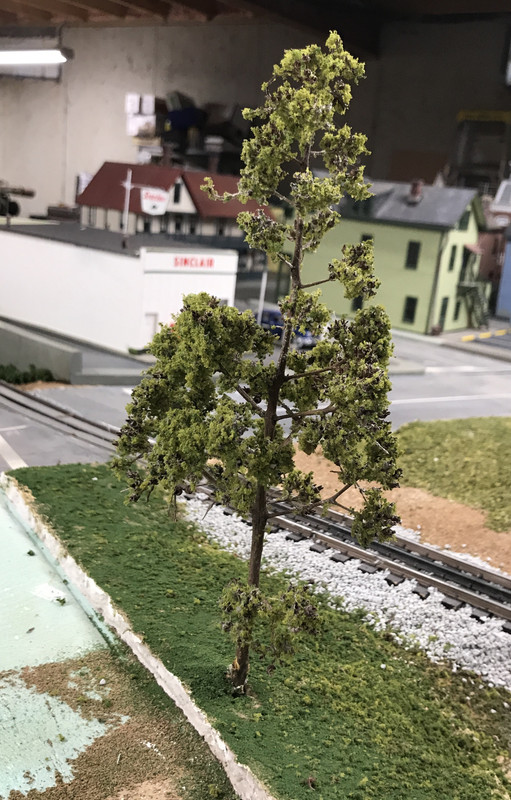
The other one is smaller so I put it near the other existing tree. Incendetally, I simply pulled the old tree out and inserted the new big tree in the same hole.
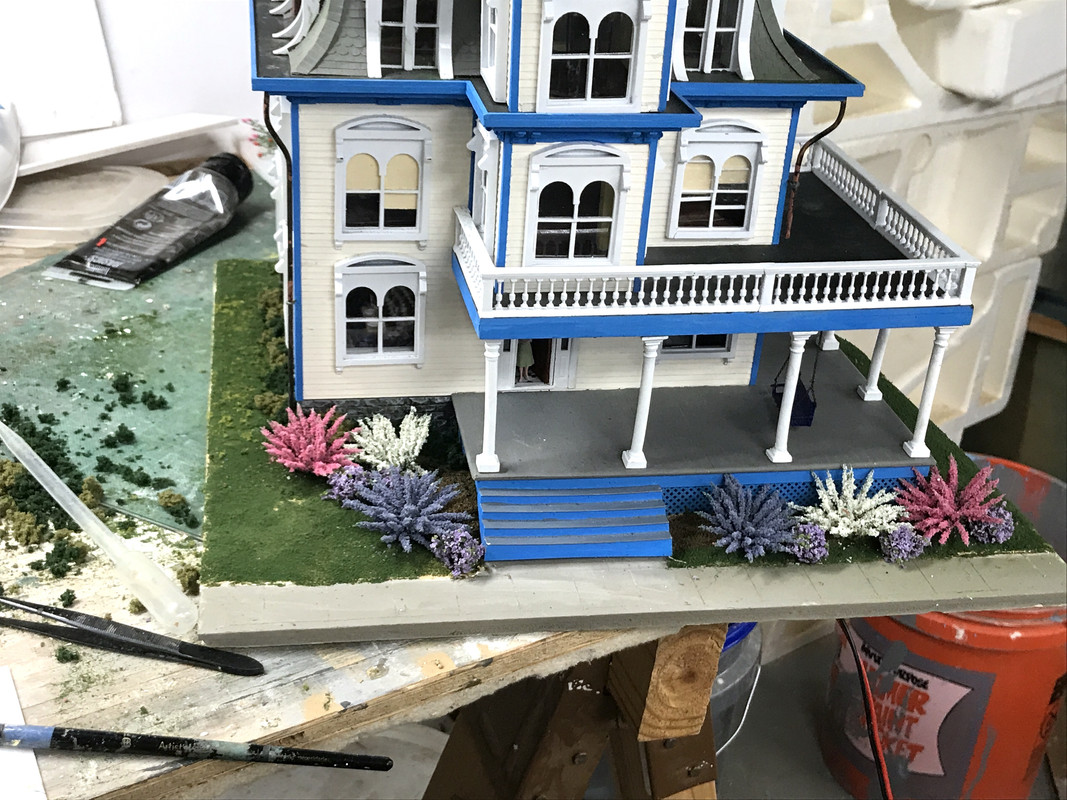
With yesterday's ground cover nice and dry and I added all the garden flowers. I laid down a glob of W-S Scenic Glue and placed the plants in nice places. Then I went around the two sides and placed W-S undergrowth in alternating colors around the foundation.
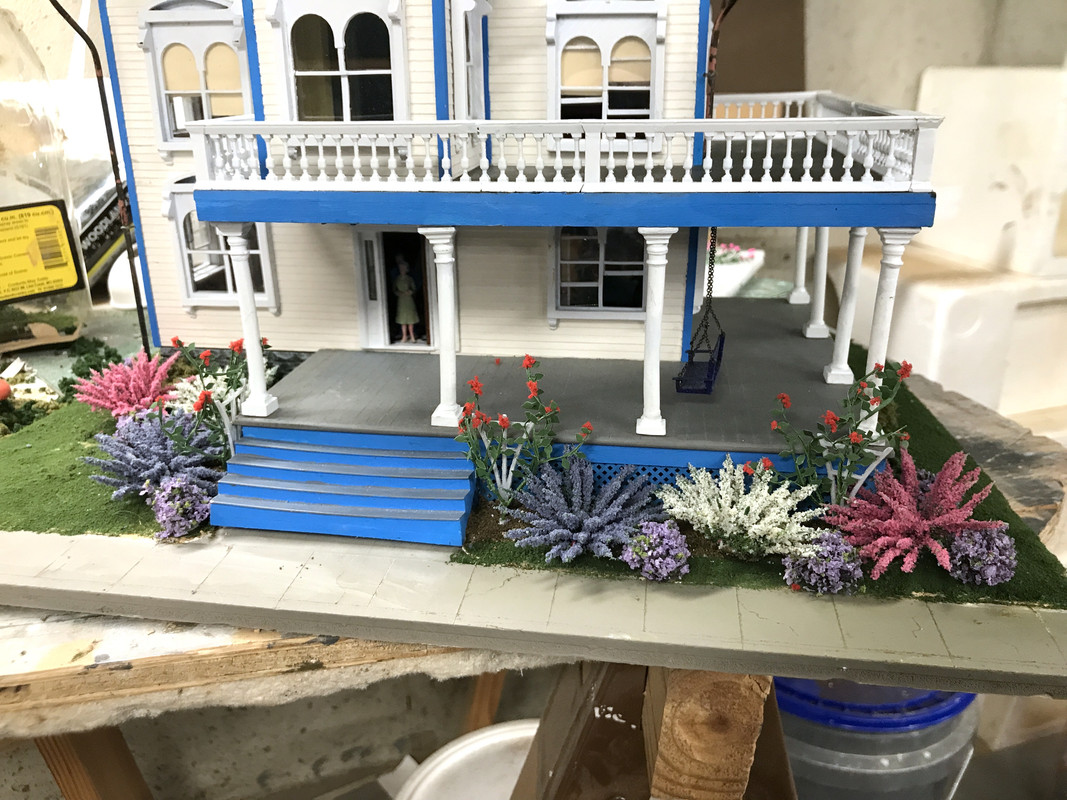
It was time for the roses. I used a #53 drill and pin vise to drill two holes; one for the trellis and ther other for the roses. Another blob of glue and they were in. I needed my phone light to see the holes through the ground cover that wanted to fall back into the holes.
I placed the house back into the socket to take a status shot, but it's not fitting quite right and I'll have to remove it tomorrow and do a little more shaving. Some of the spackle found its way into the socket tightening up the fit a tiny bit.
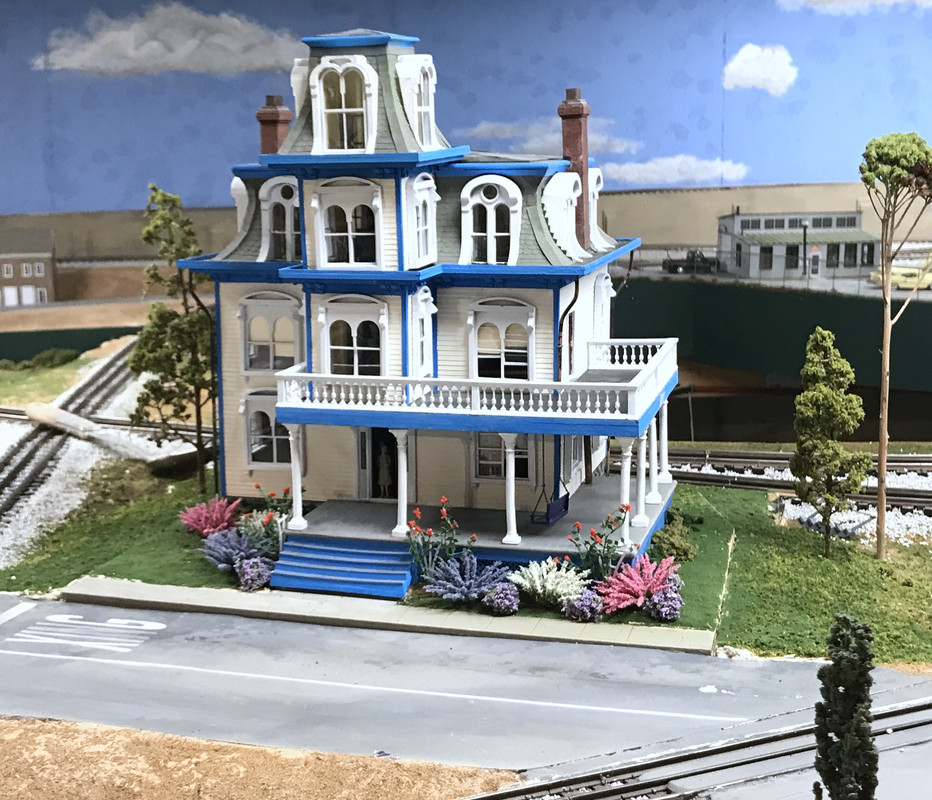
When it's fully seated it's going to look really good.
I painted the laser-cut hairpin fencing while still in its fret. I airbrushed it with gloss black.
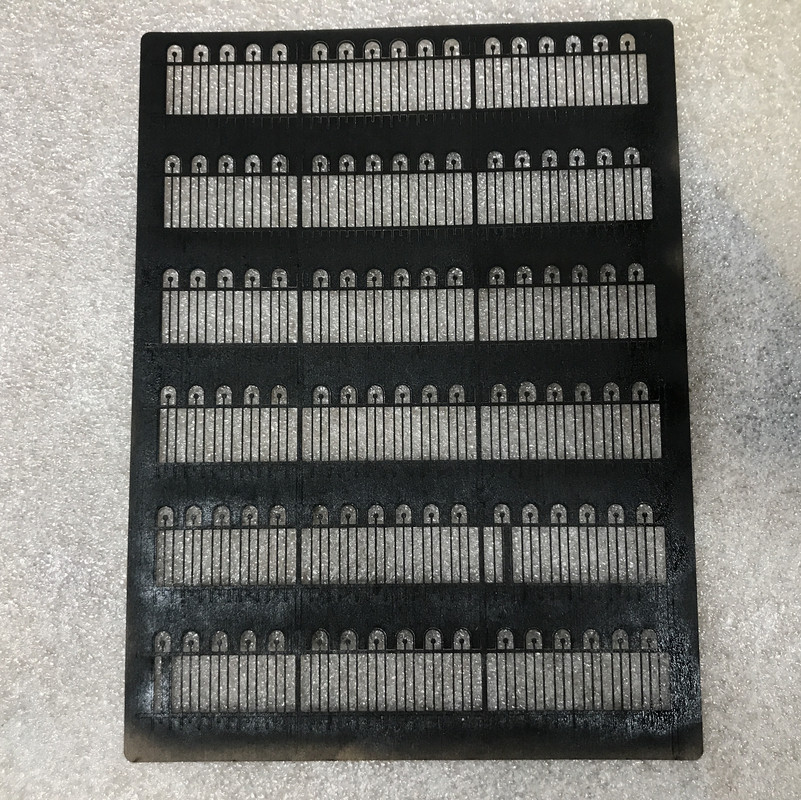
After clipping them out of the fret, I made a dilling jig to simplify the field work.
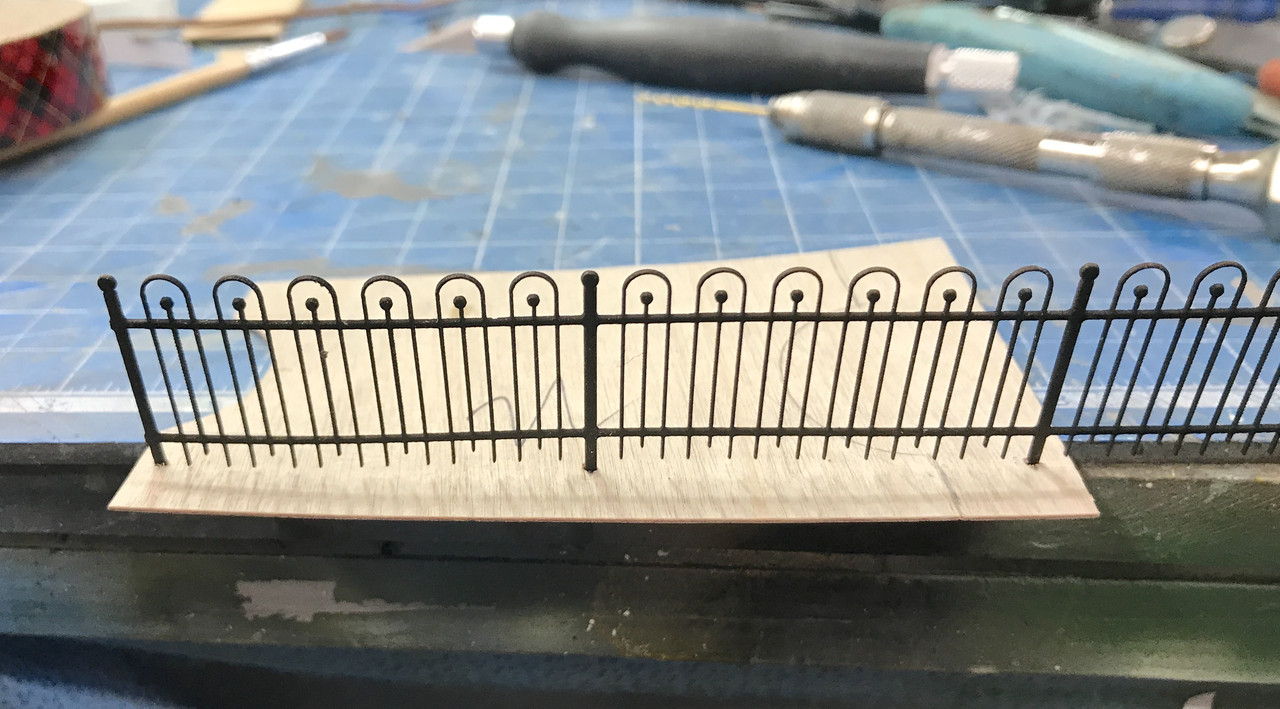
This is why I had the #53 drill in the pin vise. It the clearance hole for the fence posts. Here's the pile ready to install tomorrow. The distance from the steps to the left edge is exactly two fence sections. I don't know that the length is going towards the right.
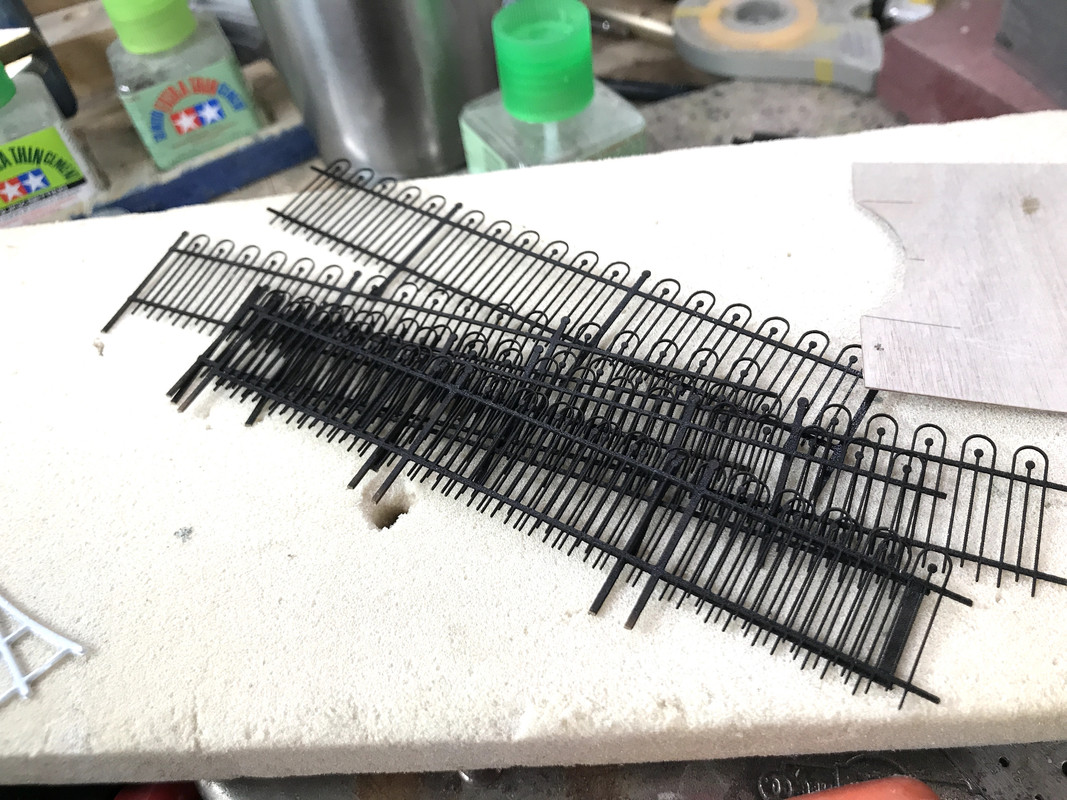
I'll fit the fence tomorrow when the House is off the layout. I'll have to be careful putting it back in the socket, which is another reason why I need more slop in the socket. I don't want to force anything. Once it's finally in the socket, I clean up the joint gap, hook up the lighting power underneath and the HOUSE PROJECT WILL BE DONE.