SEARCH FINESCALE.COM

Enter keywords or a search phrase below:

Finished Revell 1/48 EF-2000 Eurofighter

12456 views
15 replies
1 rating 2 rating 3 rating 4 rating 5 rating
  • Member since
    December 2006
  • From: Phoenix, AZ
Finished Revell 1/48 EF-2000 Eurofighter
Posted by Fly-n-hi on Tuesday, June 7, 2011 4:53 PM

Hi guys.

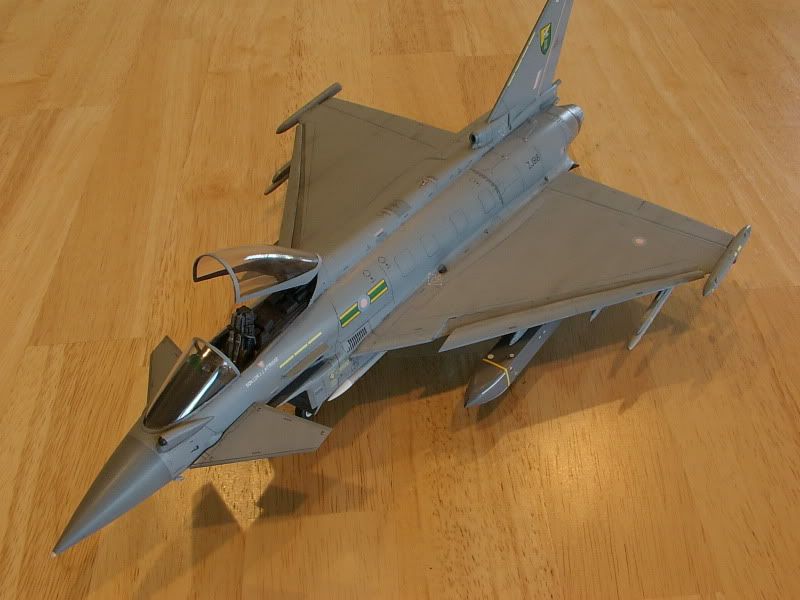
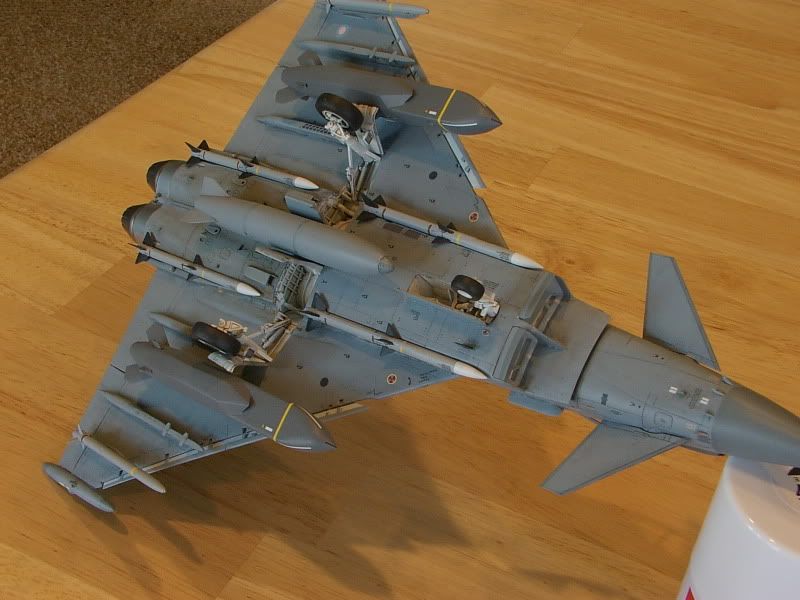
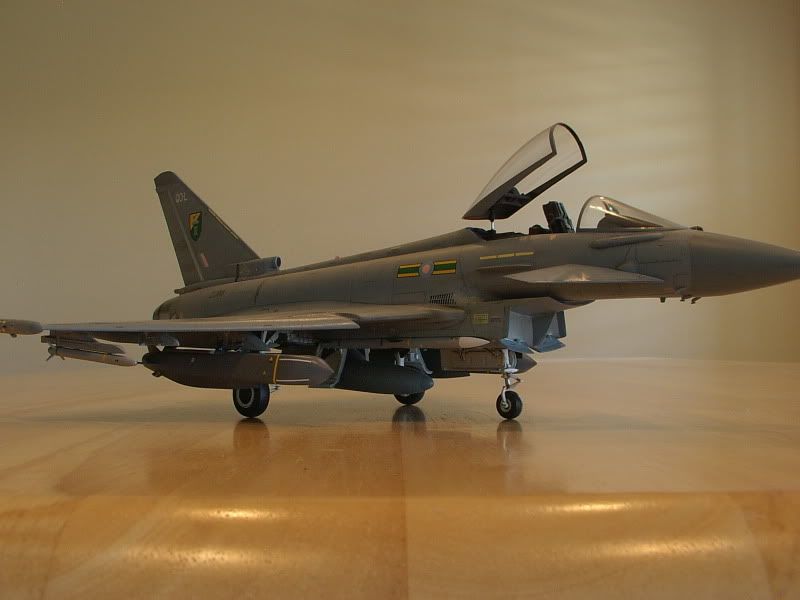
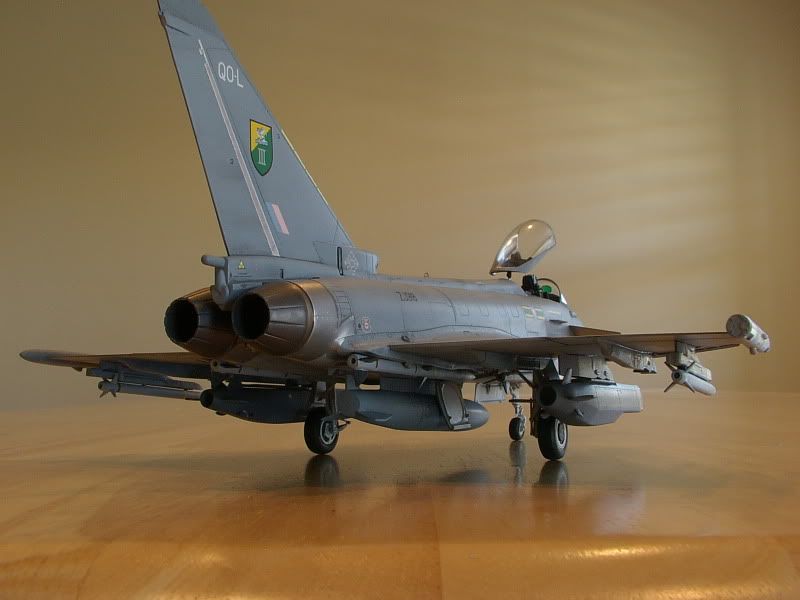
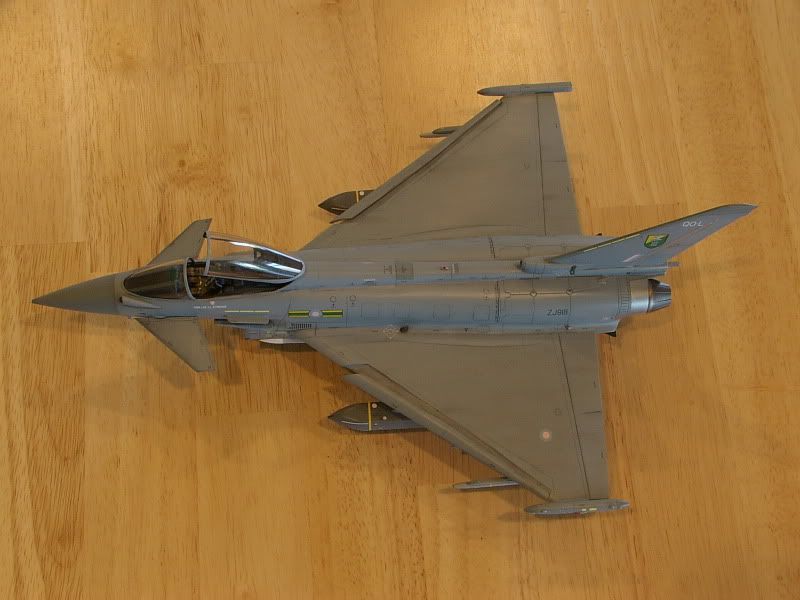
I'm gonna call this one finished, although I might add some bombs to the empty pylons.

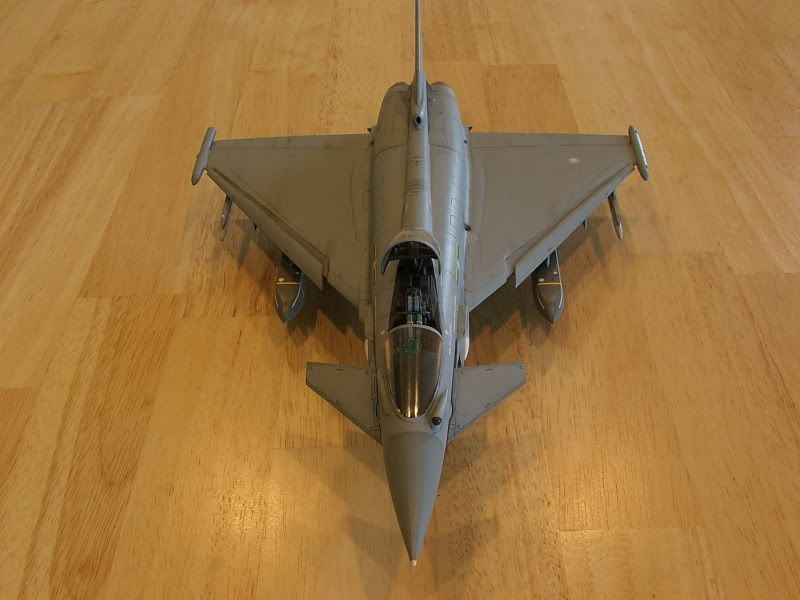
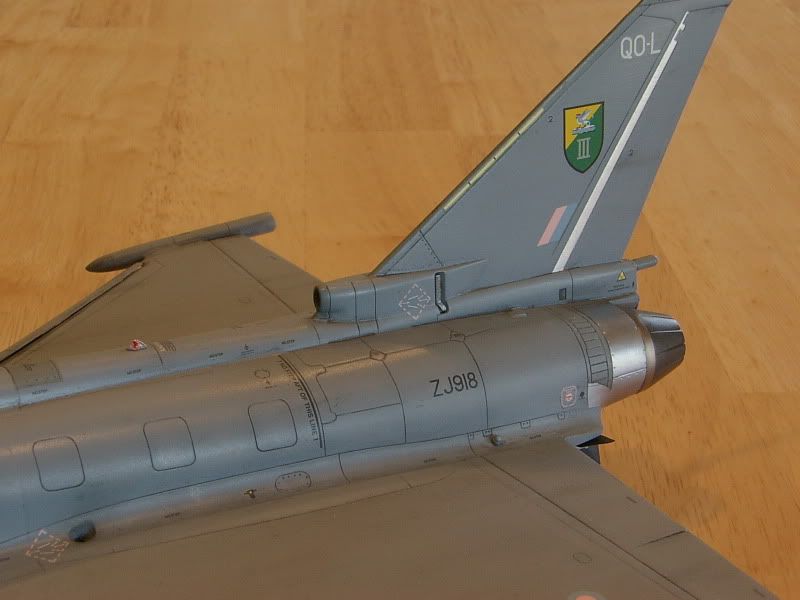
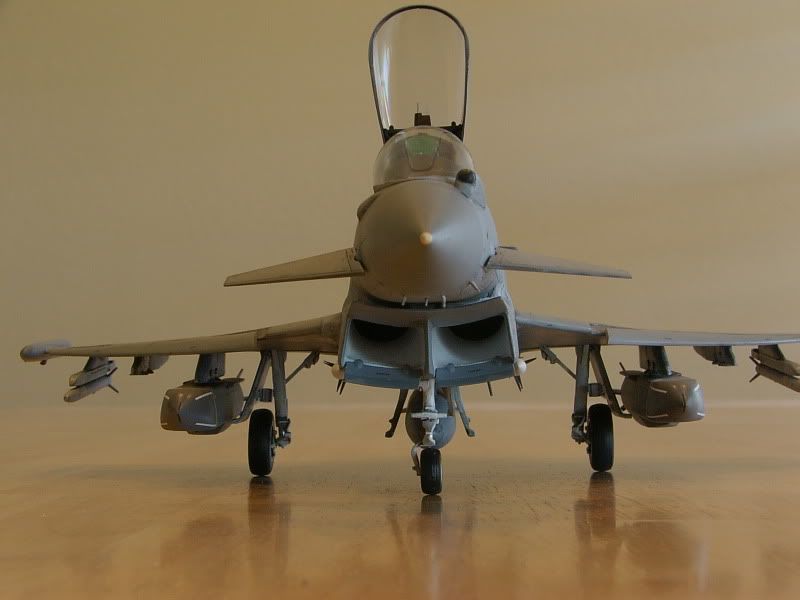
This kit was ok.  Not the greatest fitting kit I've built and there are some trouble areas.  The intakes are very difficult to make seamless...but it's doable.  And the parts around the mouth of the intake didn't fit very tightly, either.  The "hump" that runs from the canopy to the tail took alot of work, as well.  The airbrake was a pain in the butt.  I think they intended for it to be displayed open because it really didn't fit well at all.  The seam where the wings meet the fuselage actually went together very snugly!

This kit is completely OOB.  I only added a small tube for the APU exhaust, metal foil seat belts and some filler strips where I cut out the leading edge slats.  

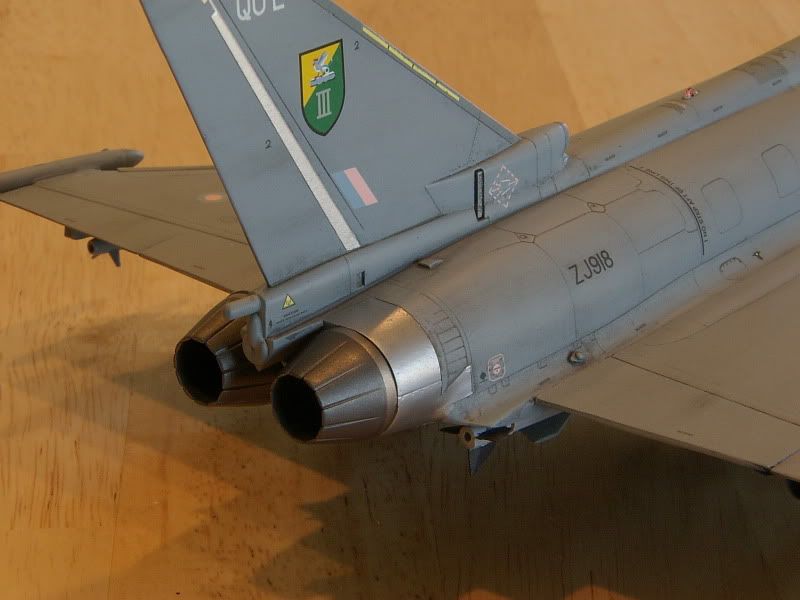
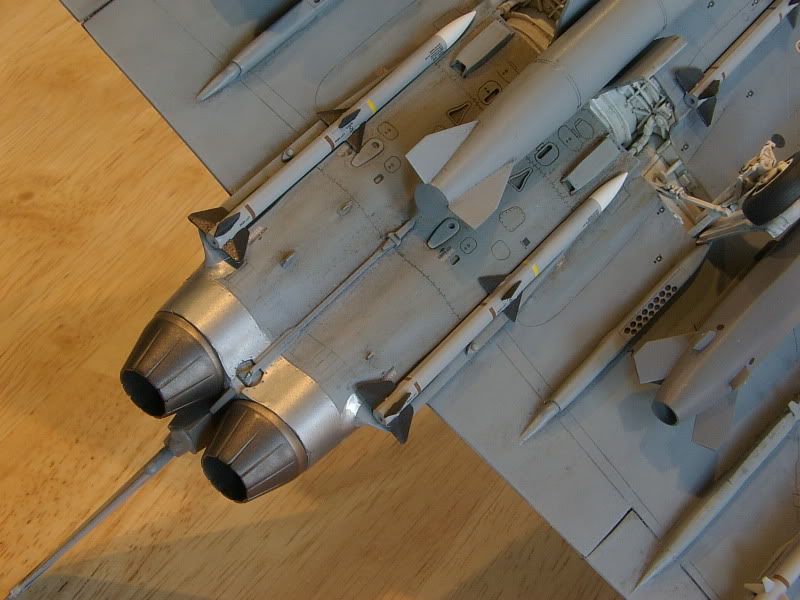
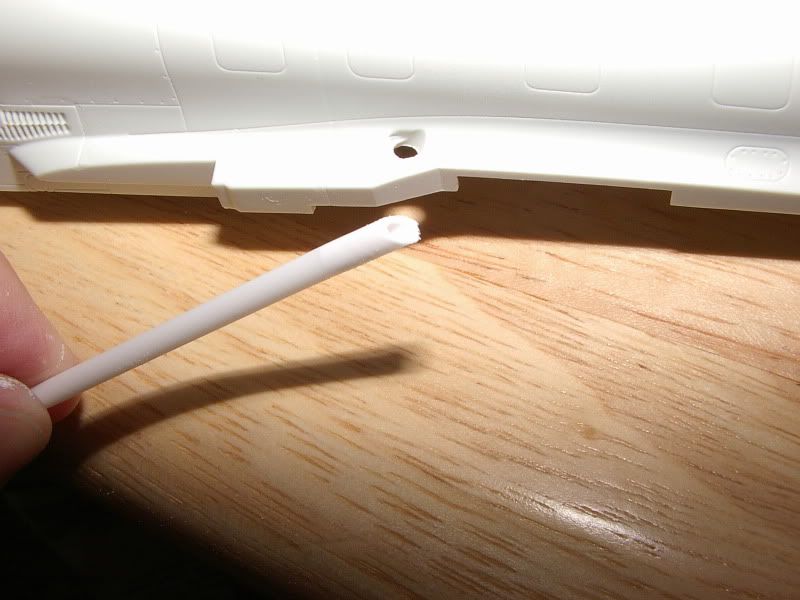
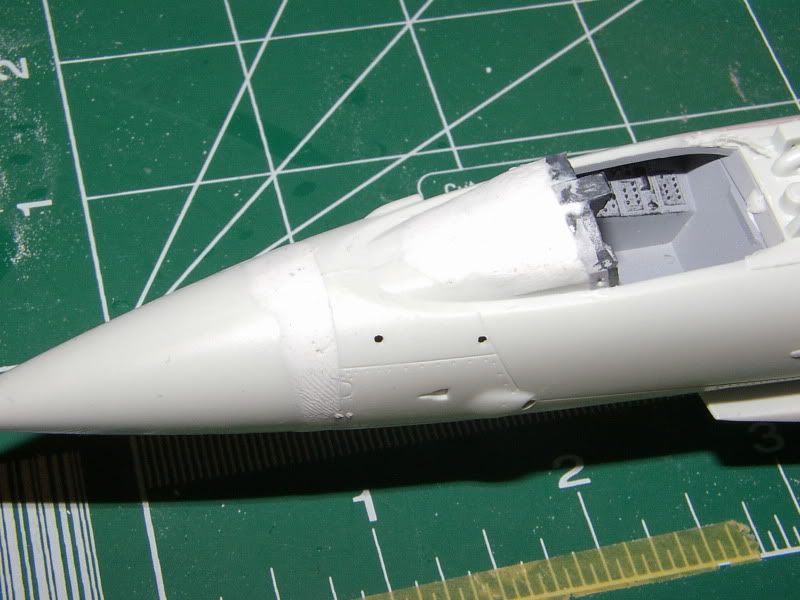
I drilled out the hole for the APU exhaust.  The kit just has an indentation molded in.  I used a piece of tube styrene to give it some depth.

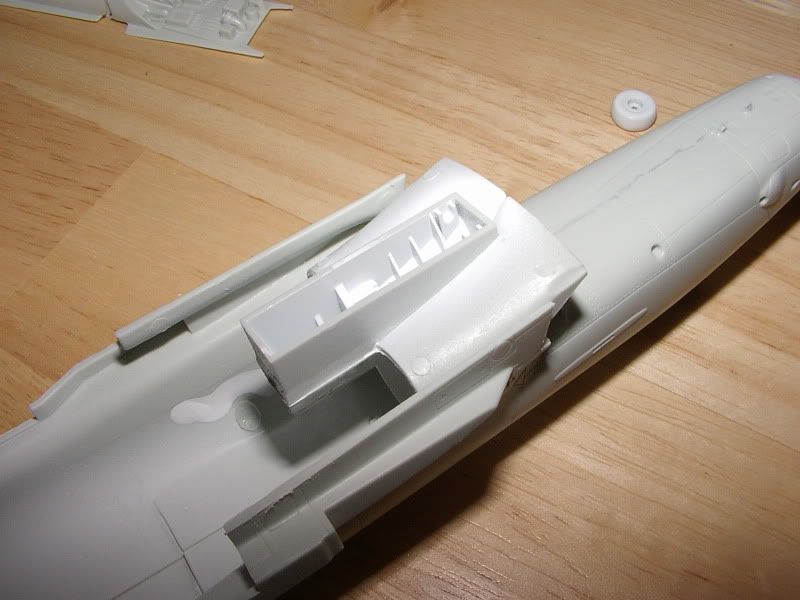
In the pic above you can see that I glued the intake sub-assembly to the upper part of the fuselage.  The directions called for it to be attached to the lower part.  I found that it was easier to get a more seamless intake by attaching it to the upper half instead.

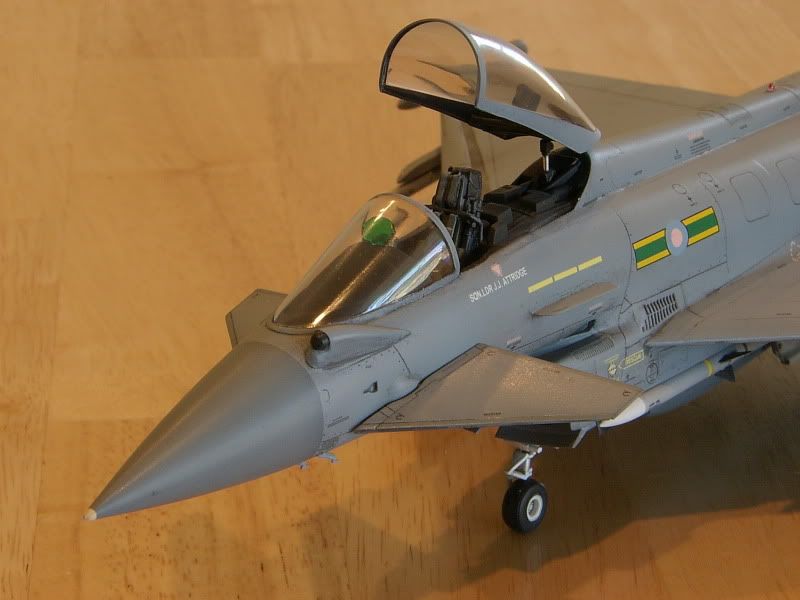
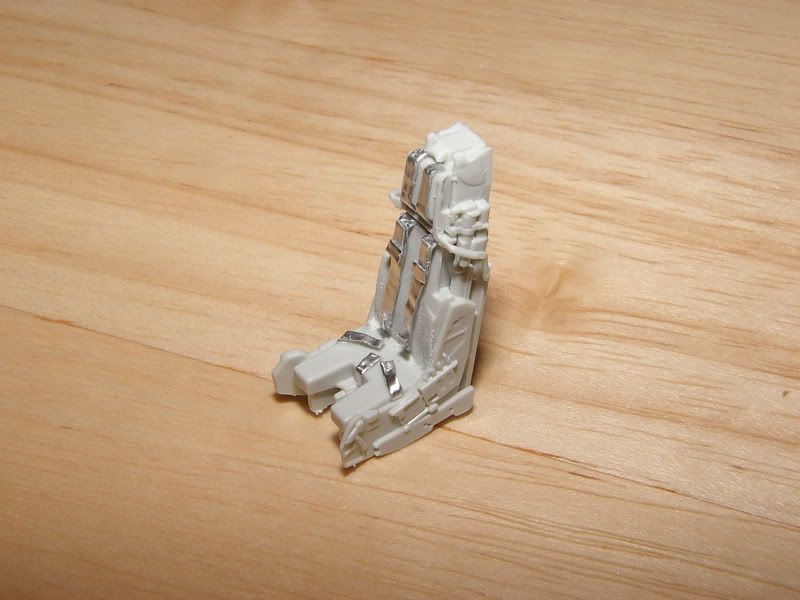
I sanded off the lame seatbelt detail on the seat and made my own seat belts out of metal foil tape.

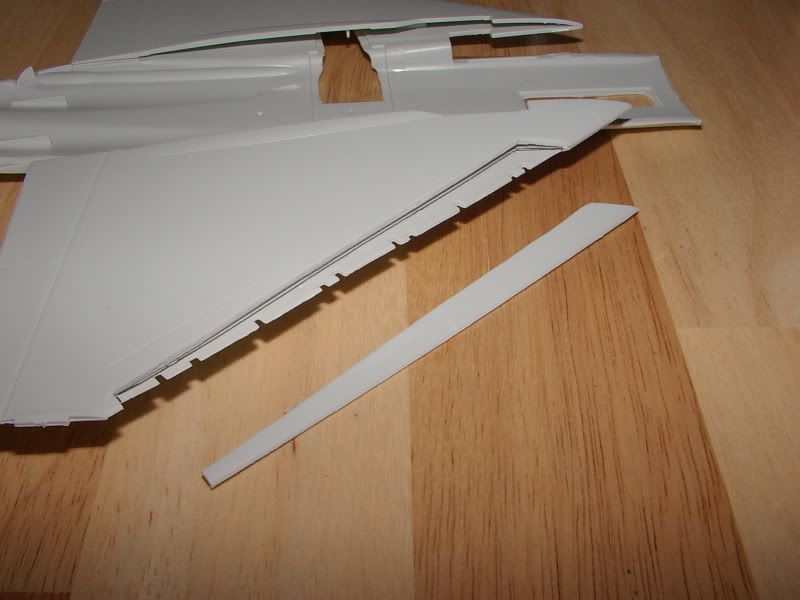
To make the leading edge slats I just cut along the panel lines.

The instrument panel sat about 1.5mm higher than the glare shield.  I looked at alot of photos of Typhoons and it looked like it was flush on the real plane so I filled it in with putty and smoothed it out.

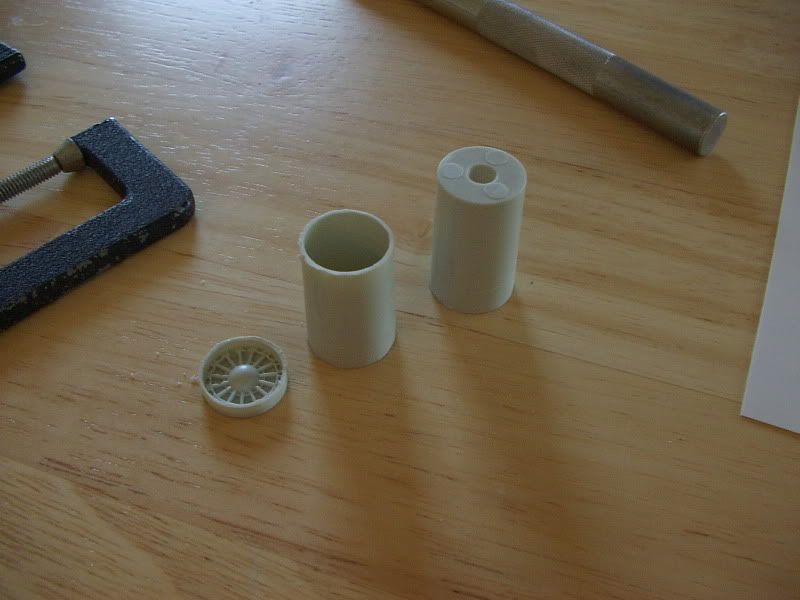
I cut the burner cans so that I could paint the engine parts separately.

I'm not sure if I'd recommend this kit or not.  Those intake seams are a real bear and the dorsal spine/air brake was more work than it should have been.  If you've got the patience and are willing to put in some extra time then this can be a fun kit.  If you've been spoiled by Tamiya F-16s and Hasegawa Super Hornets this kit will slap you in the face.

Thanks for looking!

  • Member since
    January 2003
  • From: Spokane, WA
Posted by rbkep on Tuesday, June 7, 2011 5:47 PM

Whatever problems you encountered during the build, you certainly overcame them "swimmingly!" What an amazing job! Thanks for sharing.....and inspiring!

  • Member since
    July 2007
  • From: Southern New Jersey
Posted by troublemaker66 on Wednesday, June 8, 2011 7:07 AM

You did a great job on your build! I have the Italeri Eurofighter and I`m wondering if it`s a re-box of the Revell kit?

Len Pytlewski

  • Member since
    February 2003
  • From: Cameron, Texas
Posted by Texgunner on Wednesday, June 8, 2011 7:19 AM

I agree, you did a great job!  Very nice outcome indeed.  Thanks for sharing it with us.

Gary


"All you mugs need to get busy building, and post pics!"

  • Member since
    February 2007
  • From: Brunswick, Ohio
Posted by Buckeye on Wednesday, June 8, 2011 11:32 AM

Looks great!Yes

  • Member since
    December 2006
  • From: Phoenix, AZ
Posted by Fly-n-hi on Wednesday, June 8, 2011 11:54 AM

Thanks guys.  I appreciate the comments.

I did some photo searches and realized that the rear of the canopy should be touching the aircraft instead of being suspended in mid air like it is on my build so I cut it off and fixed it.  I'll get a pic of the correction.  The kit directions were completely unhelpful there.

  • Member since
    November 2009
  • From: SW Virginia
Posted by Gamera on Wednesday, June 8, 2011 2:52 PM

Great looking model and nice job on the modifications you made to enhance the kit!

"I dream in fire but work in clay." -Arthur Machen


  • Member since
    March 2010
  • From: Democratic Peoples Republic of Illinois
Posted by Hercmech on Wednesday, June 8, 2011 2:55 PM

Great looking kit. You nailed the sheen, did you finish it in satin or flat?


13151015

  • Member since
    November 2006
  • From: Coastal Maine
Posted by dupes on Wednesday, June 8, 2011 8:38 PM

Hot build! Devil

I've got the 1/32 version kicking around...trying to come up with some decent markings. I get so tired of all of the "just gray" birds these days. May have to do something a bit more "future" or "what if".

  • Member since
    July 2007
Posted by scorpr2 on Thursday, June 9, 2011 2:44 PM

Whatever troubles she gave you, you handled very well!  Nice job!!!

  • Member since
    November 2008
  • From: Far Northern CA
Posted by mrmike on Thursday, June 9, 2011 4:02 PM

Great looking build! I'm into the 1/32 version now, and your tip about the assembling the intake to the upper fuse will save me lots of aggravation - I could see the fit problem coming, but not the solution. Thanx for the info and the inspiration!

mike

  • Member since
    December 2006
  • From: Phoenix, AZ
Posted by Fly-n-hi on Thursday, June 9, 2011 4:04 PM

Thanks again for the comments guys.

Here's a pic with the corrected canopy.  Instead of being suspended in mid air its now in its correct position:

...as opposed to this:

Hercmech, thanks.  I wet sanded the primer coat and the base color coat with 8000 grit sand paper to make it nice and smooth.  I also brushed on a coat of Future for decal application.  The final touch was Model Master Acryl flat clear coat.  The MM flat clear tends to leave a little sheen on top of a Future coat.

Dupes, funny that you would mention the paint scheme.  As soon as I finished it I thought "Wow, that is a really boring paint job!"  Basically the entire plane is dark ghost grey.  Don't get me wrong...its accurate, but it would look alot better with some kind of desert camo or something like that.


I always try to include the box art in case anyone wants to know which kit this is specifically:

  • Member since
    November 2006
  • From: Coastal Maine
Posted by dupes on Friday, June 10, 2011 6:36 AM

Seriously, man. ANY camo! Desert, Jungle, Aggro, whatever. This modern a/c trend toward dull gray has got me down in the dumps!

  • Member since
    November 2010
  • From: Australia
Posted by MiG-29 on Friday, June 10, 2011 8:22 AM

wow great job! looks very neat. I like it a lot. one of my favourite planes

                                                       "Superiority is our priority"

  • Member since
    March 2010
  • From: Democratic Peoples Republic of Illinois
Posted by Hercmech on Friday, June 10, 2011 8:49 AM

Wet sanding is not something I have built up enough courage to try on a finished paintjob yet...but looking at how it comes out I will have to give it a try.


13151015

  • Member since
    December 2006
  • From: Phoenix, AZ
Posted by Fly-n-hi on Friday, June 10, 2011 2:07 PM

Hercmech

Wet sanding is not something I have built up enough courage to try on a finished paintjob yet...but looking at how it comes out I will have to give it a try.

In reality you're buffing it more than sanding it.  I really didn't use very much pressure when doing it, either.  Think of it like this:  you're wiping down the model but instead of using a cloth you're using a wet piece of 8000 grit sandpaper.  And the piece that I used was the kind that's on fabric...like you get in the polishing kits.

Once you do it you'll say to yourself "Why haven't I been doing this all along?"

JOIN OUR COMMUNITY!

Our community is FREE to join. To participate you must either login or register for an account.

SEARCH FORUMS
FREE NEWSLETTER
By signing up you may also receive reader surveys and occasional special offers. We do not sell, rent or trade our email lists. View our Privacy Policy.