Thanks Joe. =] It's still a working progress. I doubt I'll ever stop trying to improve something like that. The app is called iModelKit. I got the full version. I think it cost about $3. Totally worth it though. It does a lot and it's loaded with color swabs from damn near anything you could want to reference.
This plane's starting to come to life for me. I'll be skipping ahead past some of the boring parts that don't amount to much visually. I've got a clear coat down. Alclad's Aqua Gloss goes down real well. I doubt I'll ever use anything else. And it doesn't change my colors much at all after a coat or two. I used EagleCals AVG Flying Tigers decal set that included Greg Boyington. I did his Corsair about a year ago and I'm in the process of repainting some of the insignia currently. So I had considered getting to his P-40 one day when I decided to do one...and this is it. =] The decal set is great. Plenty of options, crisp in-register decals, and the film is tight around the print. They took a little bit of playing with to get them to set over the raised detail of the Revell kit's rivets and raised panel lines, but after a nice bath of SolvaSet and they settled down real nice.
Here's a few close ups of how that went:
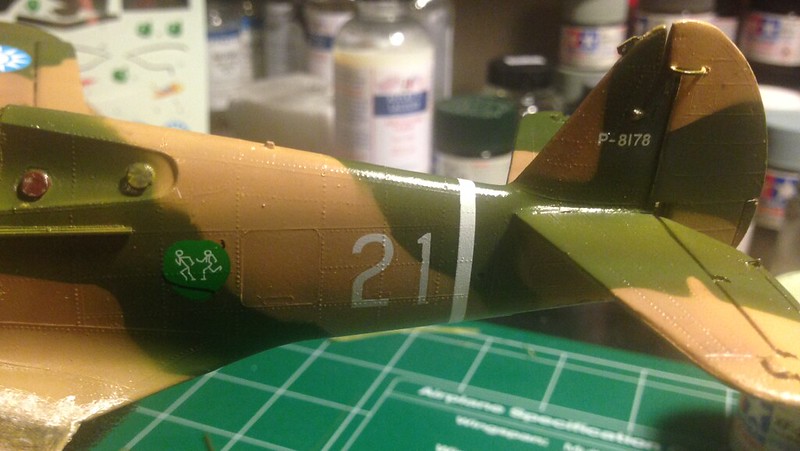 image by brittvallot, on Flickr
I love this smile.
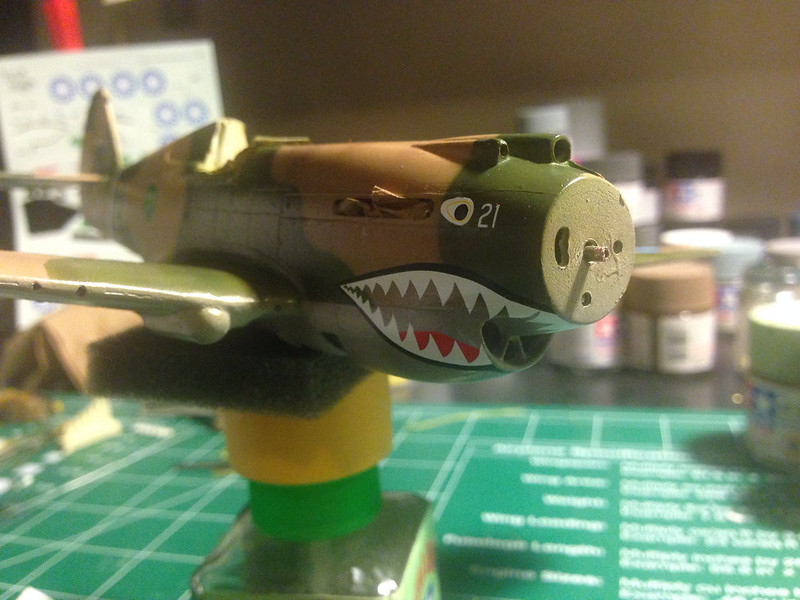 image by brittvallot, on Flickr
With the clear coat down, I wanted to tackle the panel lines next. Now in the past I've often gotten carried away with picking out the panel lines. There's the never ending debate of how much is too much and so on...so here...I wanted to show more discretion and only very lightly define these lines where they were shown to be from photos of the AVG in the Pacific. I picked them out with some Burnt Sienna oil paint I have and thinned it down considerably. When I was happy with the results, I broke out my Alclad Klear Flat to put a coat to seal all this.
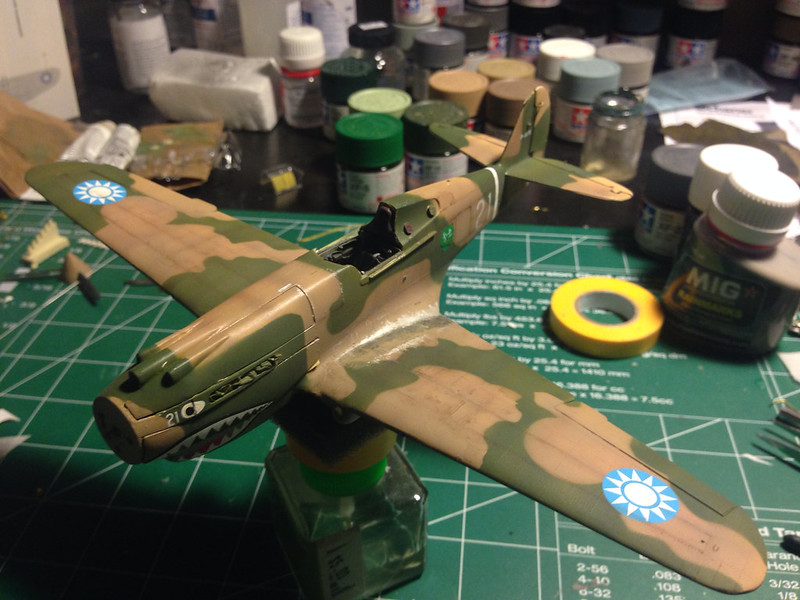 image by brittvallot, on Flickr
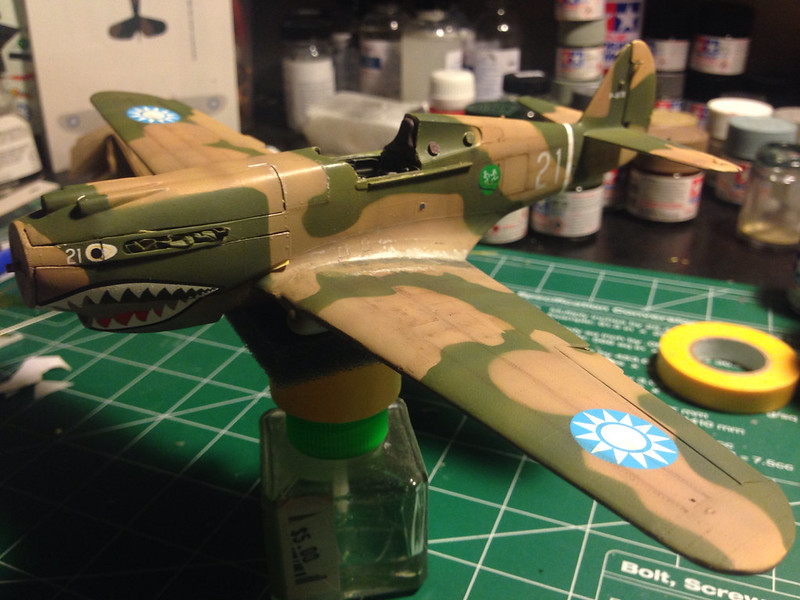 image by brittvallot, on Flickr
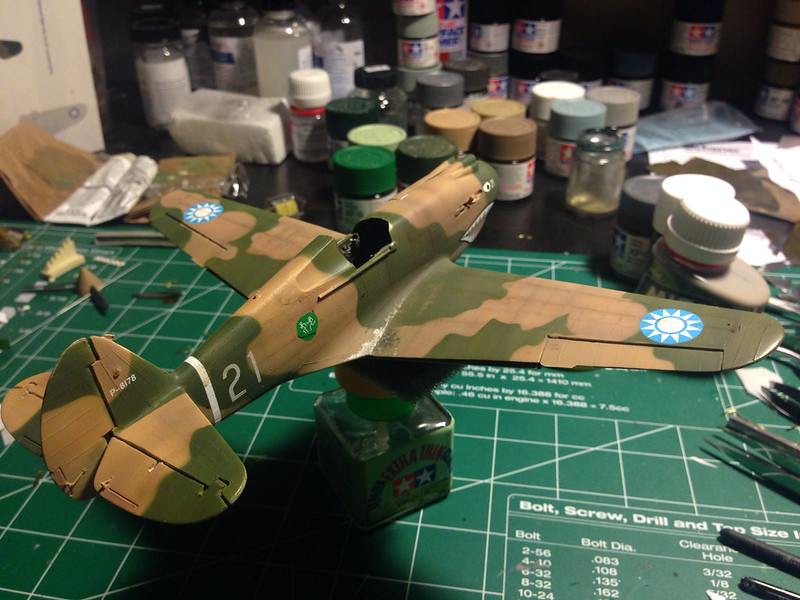 image by brittvallot, on Flickr
Here's a better top view:
 image by brittvallot, on Flickr
Here's the undersurface. I very lightly picked out some lines with Tamiya's Dark Grey actually. Never did it like this before. I was too impatient to wait to drop by Hobby Lobby and pick up a little extra variety of oil paint to use for something just like this and opted for an acrylic wash. It actually worked just fine. I will say, be careful not to rub through your clear coat with an alcohol thinner like I started to do. If you put enough of it on there, it will start to eat through your finish.
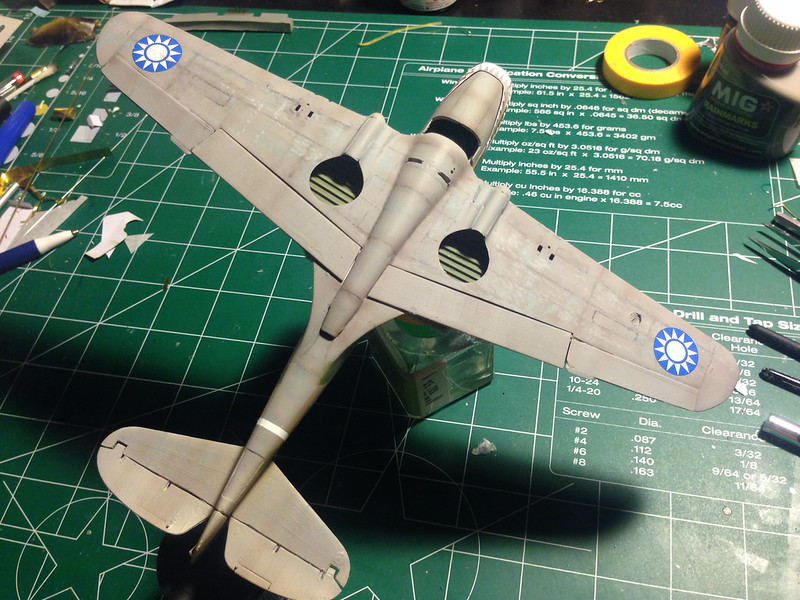 image by brittvallot, on Flickr
One thing I thought was nice was that EagleCals included the "Prestone" decal that went over the coolant expansion tank on the top of the cowling of the fuselage. I was just about to start painting in on when I reviewed the decal sheet once more and caught it! =] It's the little things, right!? =]
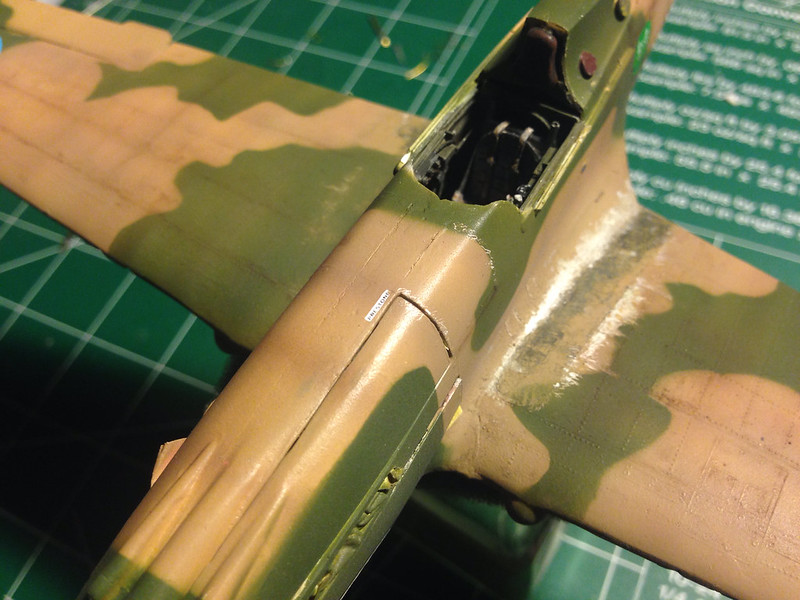 image by brittvallot, on Flickr
Next up, I'll have a few more quick layers of paint to bring out a more weathered and beaten up look that so many of these Hawks had. I'll seal that and move on to dotting the i's and crossing the t's. =]