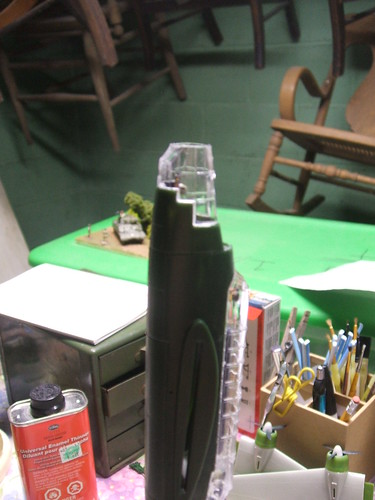
Haha thanks troublemaker! I dig your profile photo- is that a Ki-46? I just picked up a Hasegawa one a few weeks ago. Here's a shot of the nose section- the two halves of the nose were a bit tricky to put on, so I placed the fuselage between the jaws of a large pair of hemostat tweezers on a mount and glued the clear parts on with the body of the aircraft standing upright. It worked and nothing fell off!