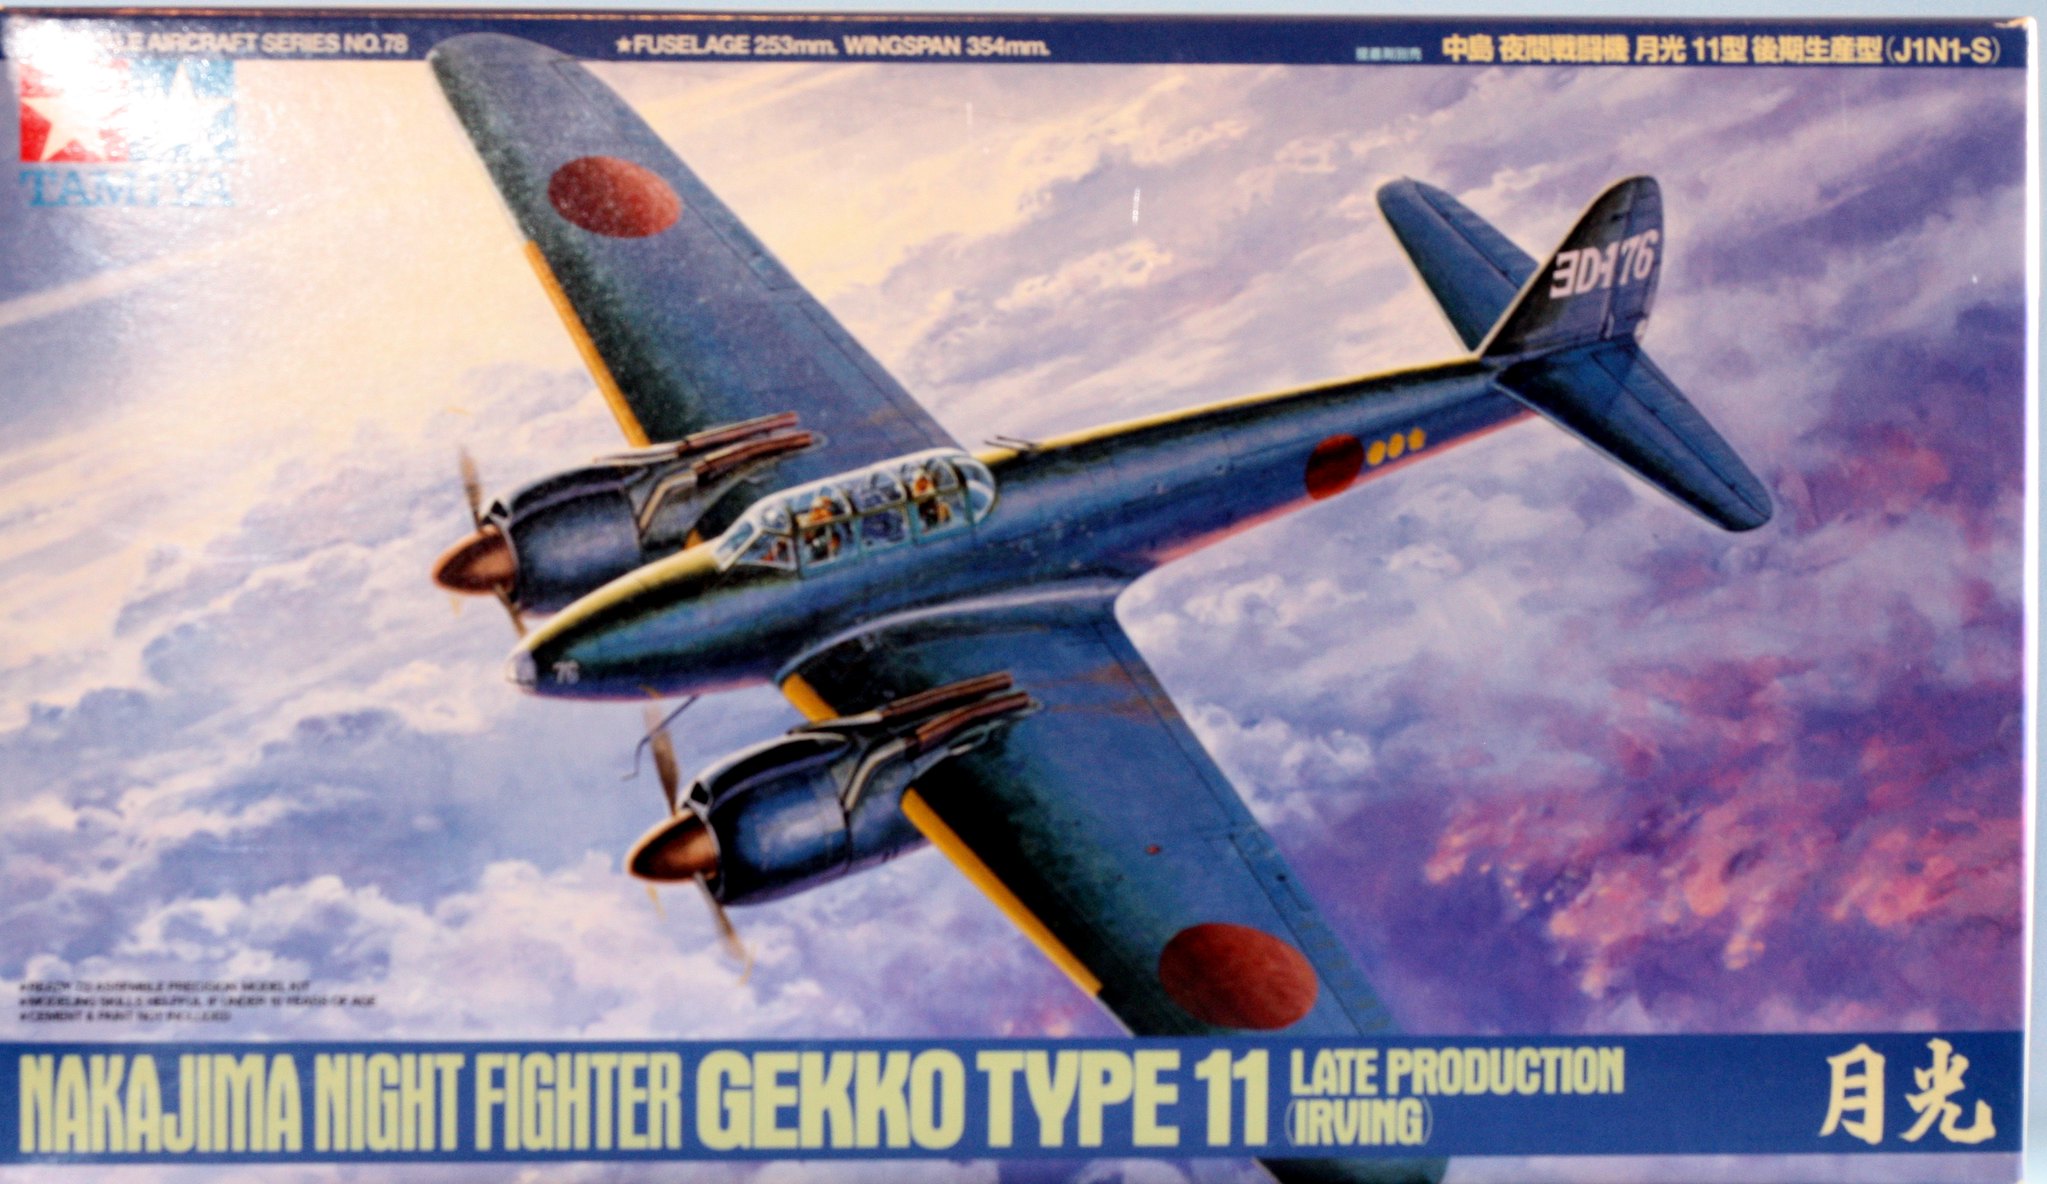
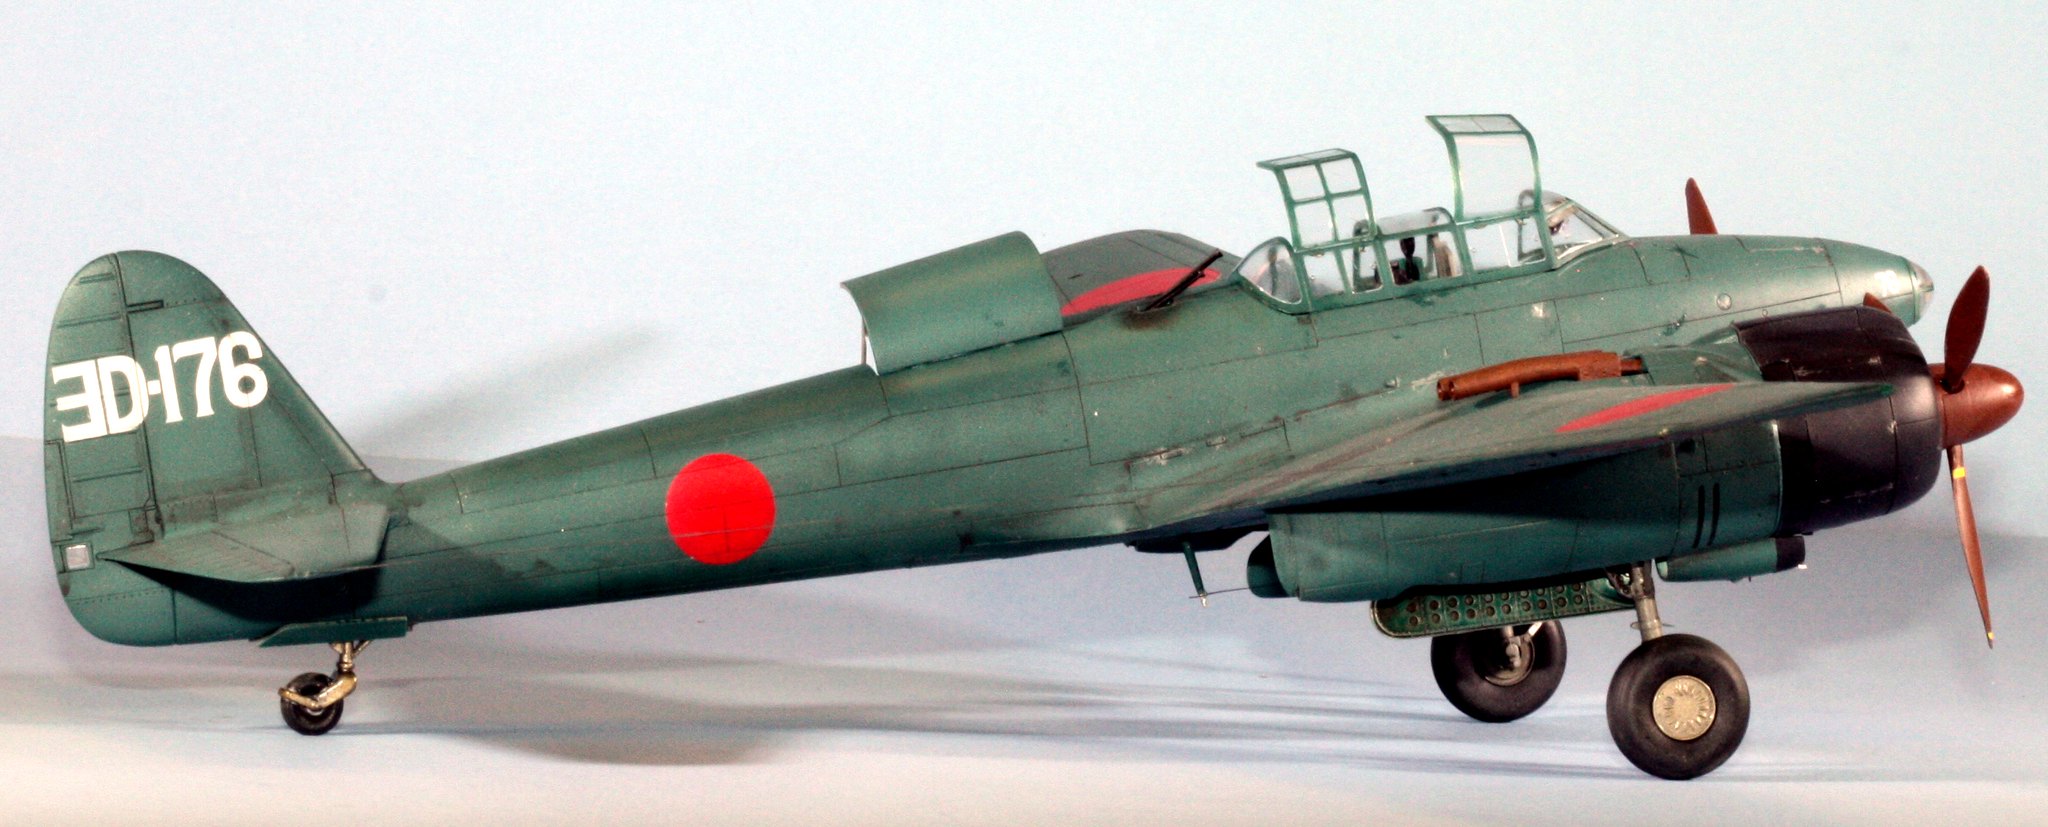
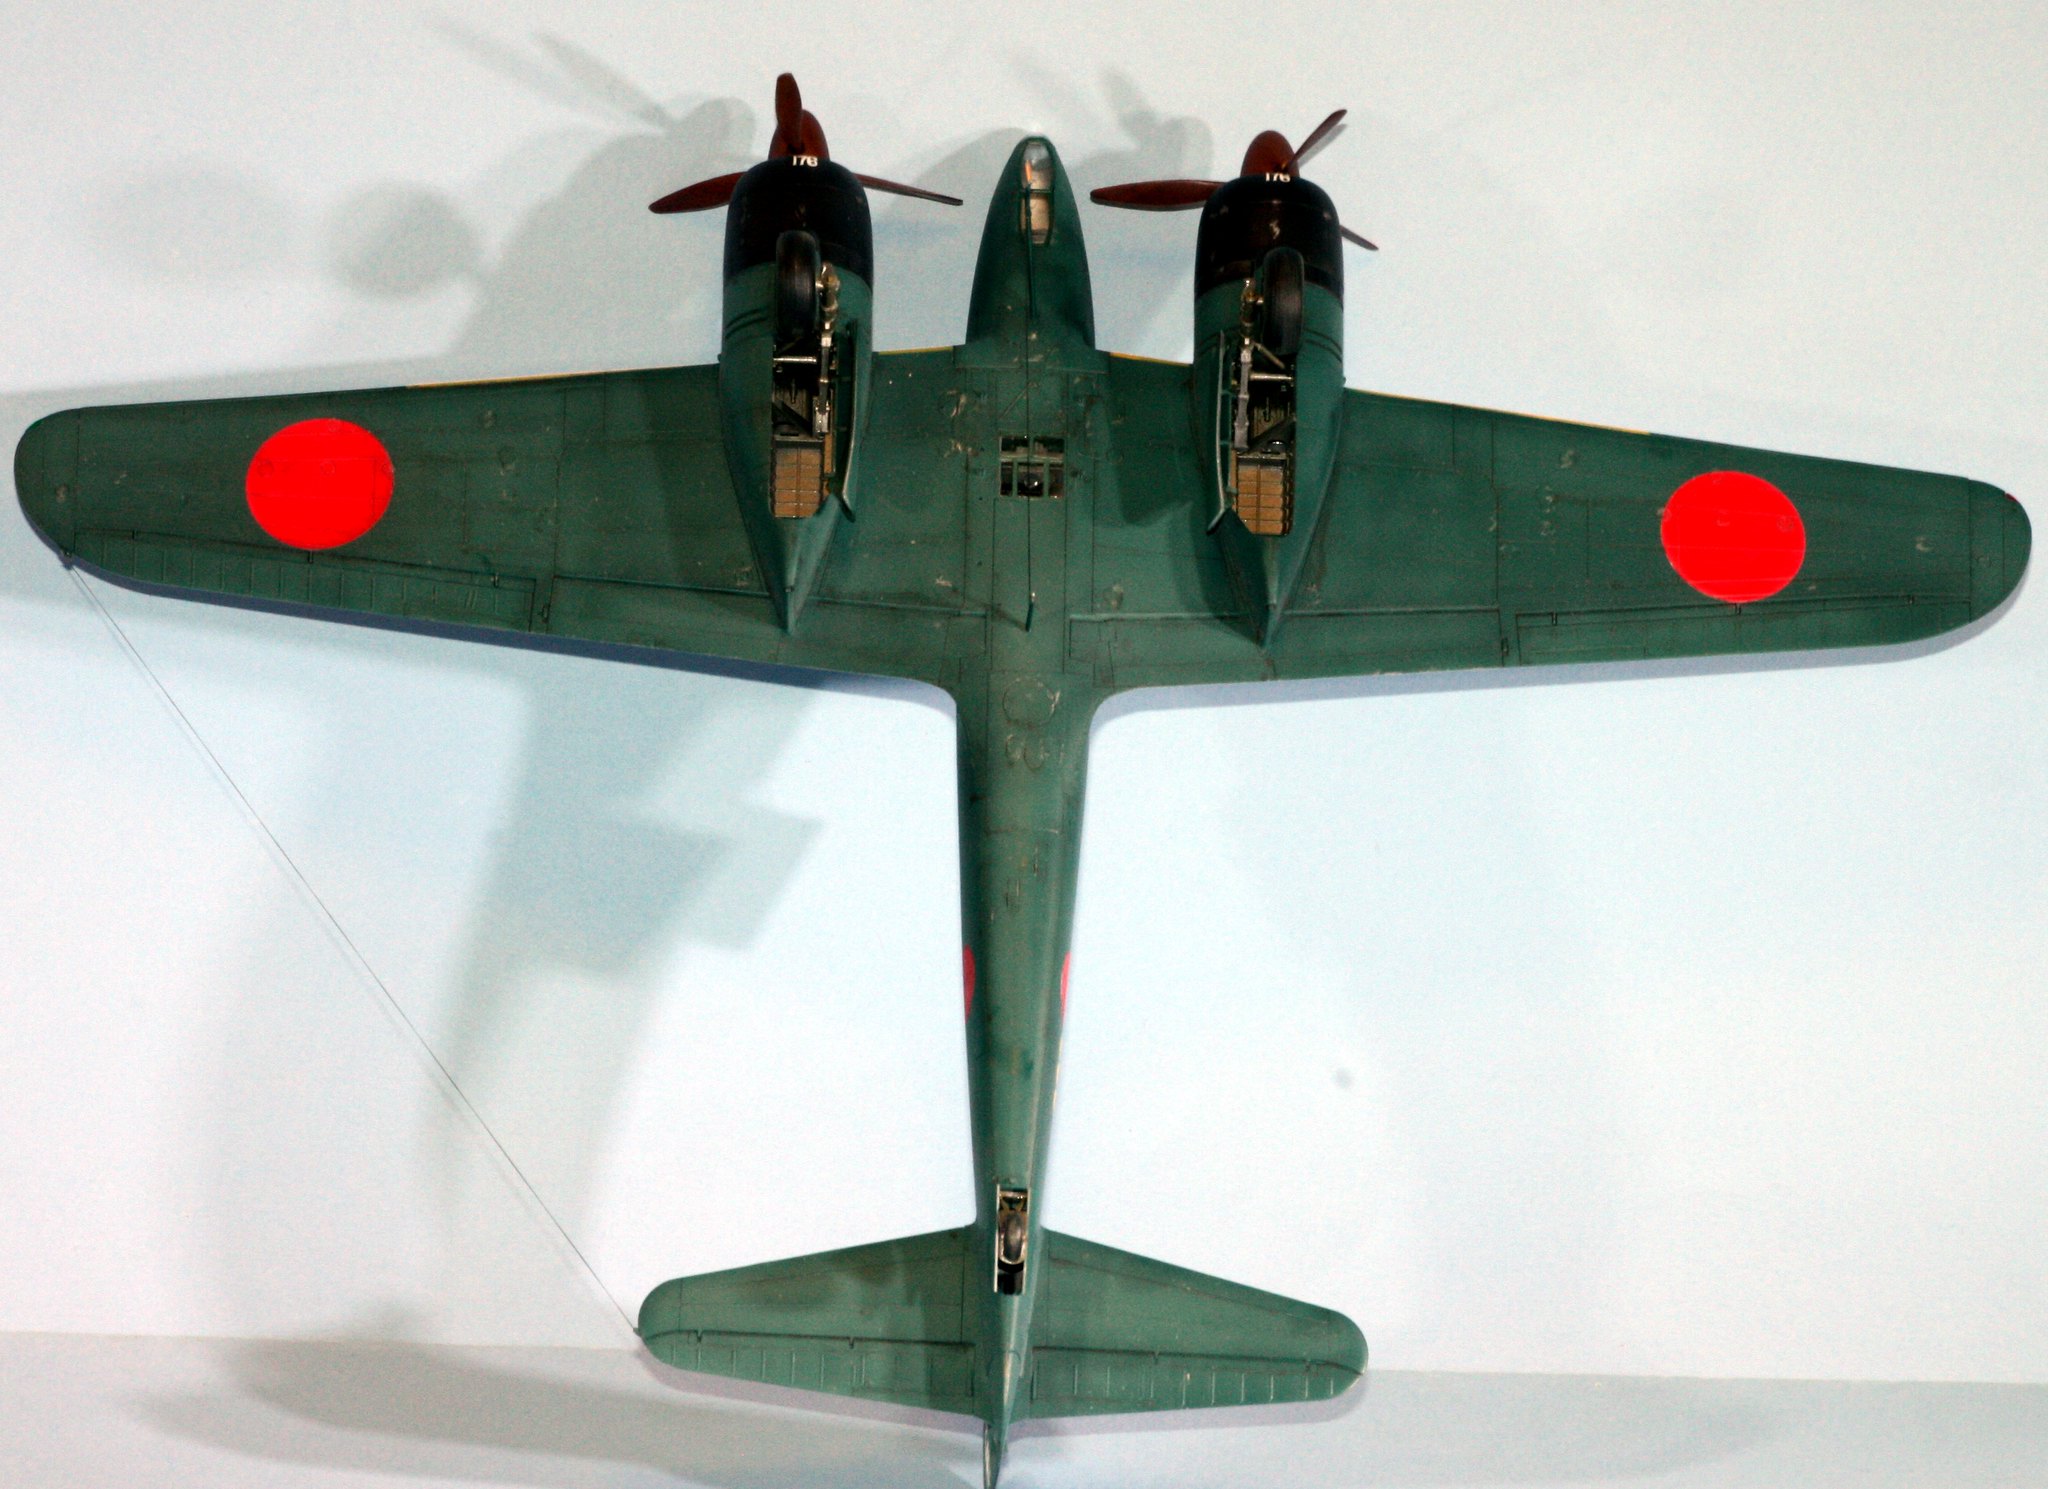
I have completed my ninth entry in my Year of the Axis build. The kit is Tamiya' superb Japanese twin engine night fighter, the Gekko, Allied code-named "Irving". Here is the kit box:
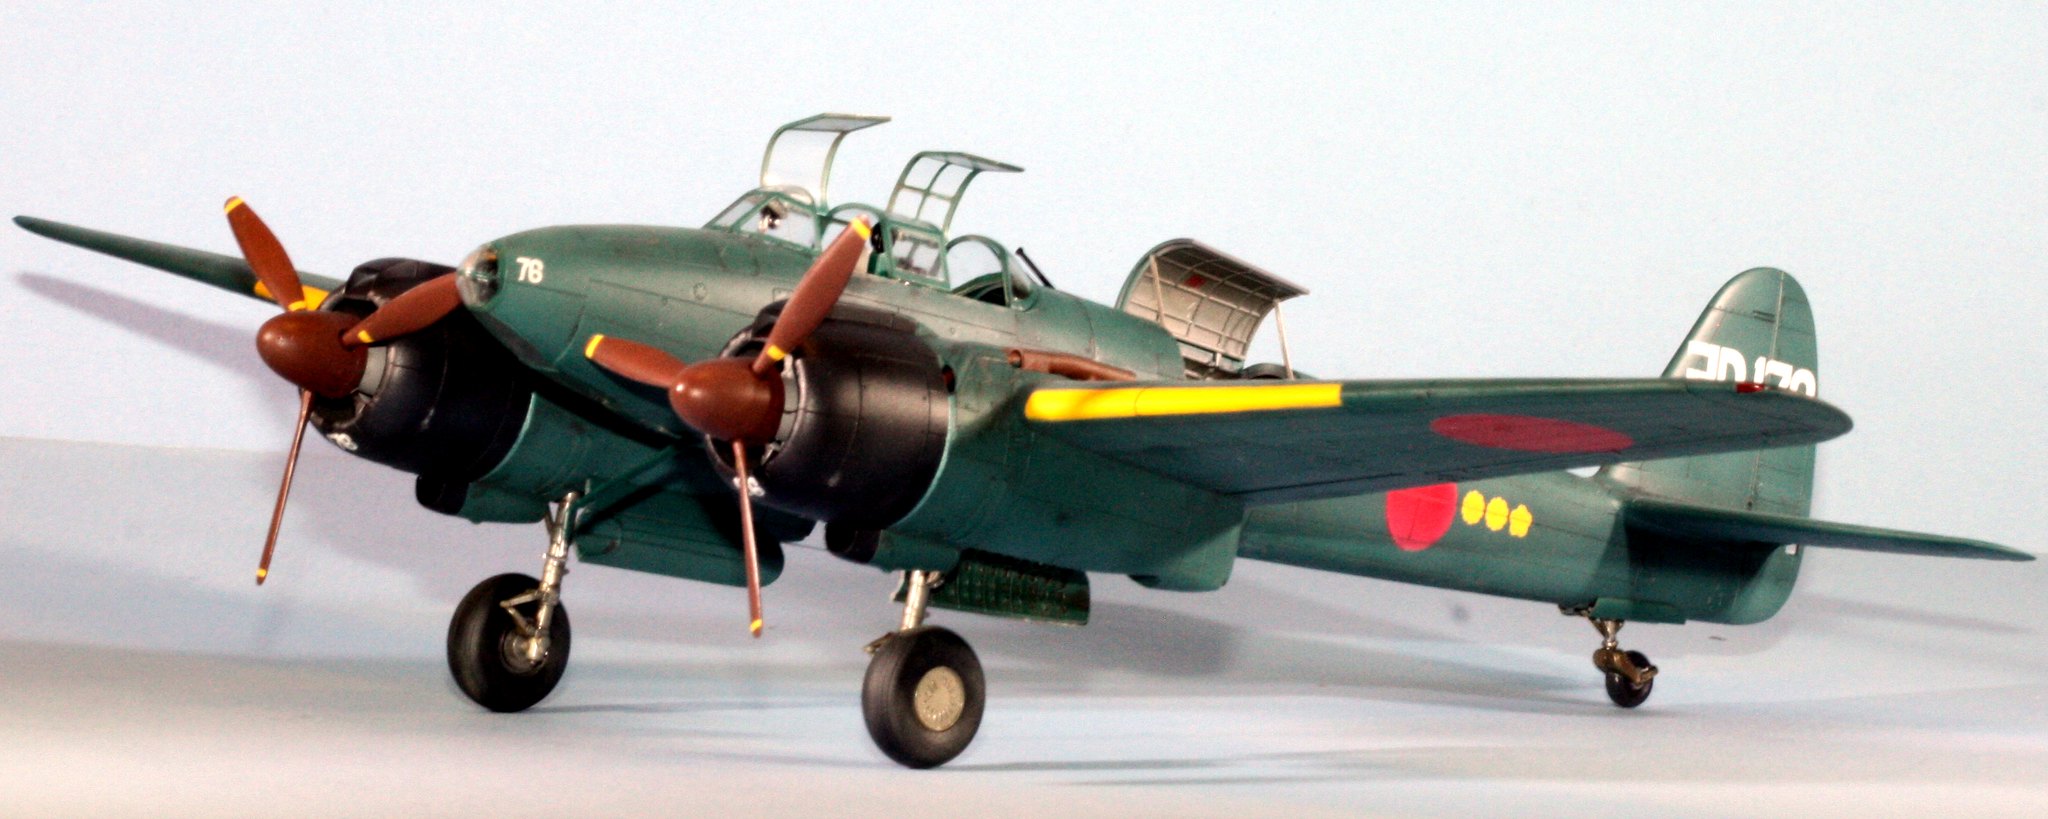
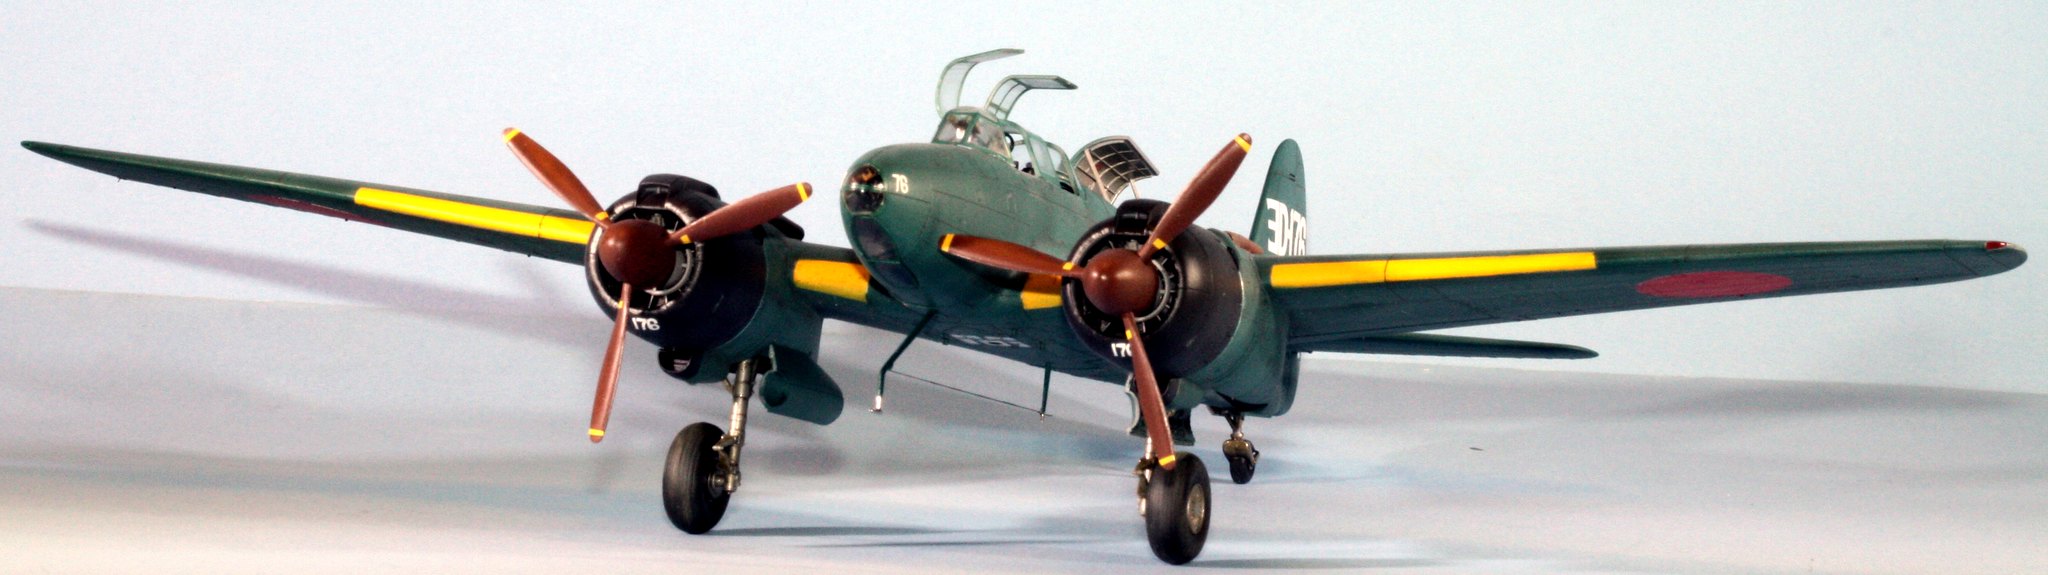
Like so many other Tamiya kits of this vintage, this is a fantastic offering that pretty much builds itself. I had one fit issue with this kit, but I never saw any mention of that in any build reviews that I read so I figure my issue was self-inflicted. The issue I had was in the dreaded wing root connection, where I inexplicably had a sizable gap that I was forced to fill with putty. Photos will show the seam, but the seam that is visible is nothing like what I had prior to dealing with it.
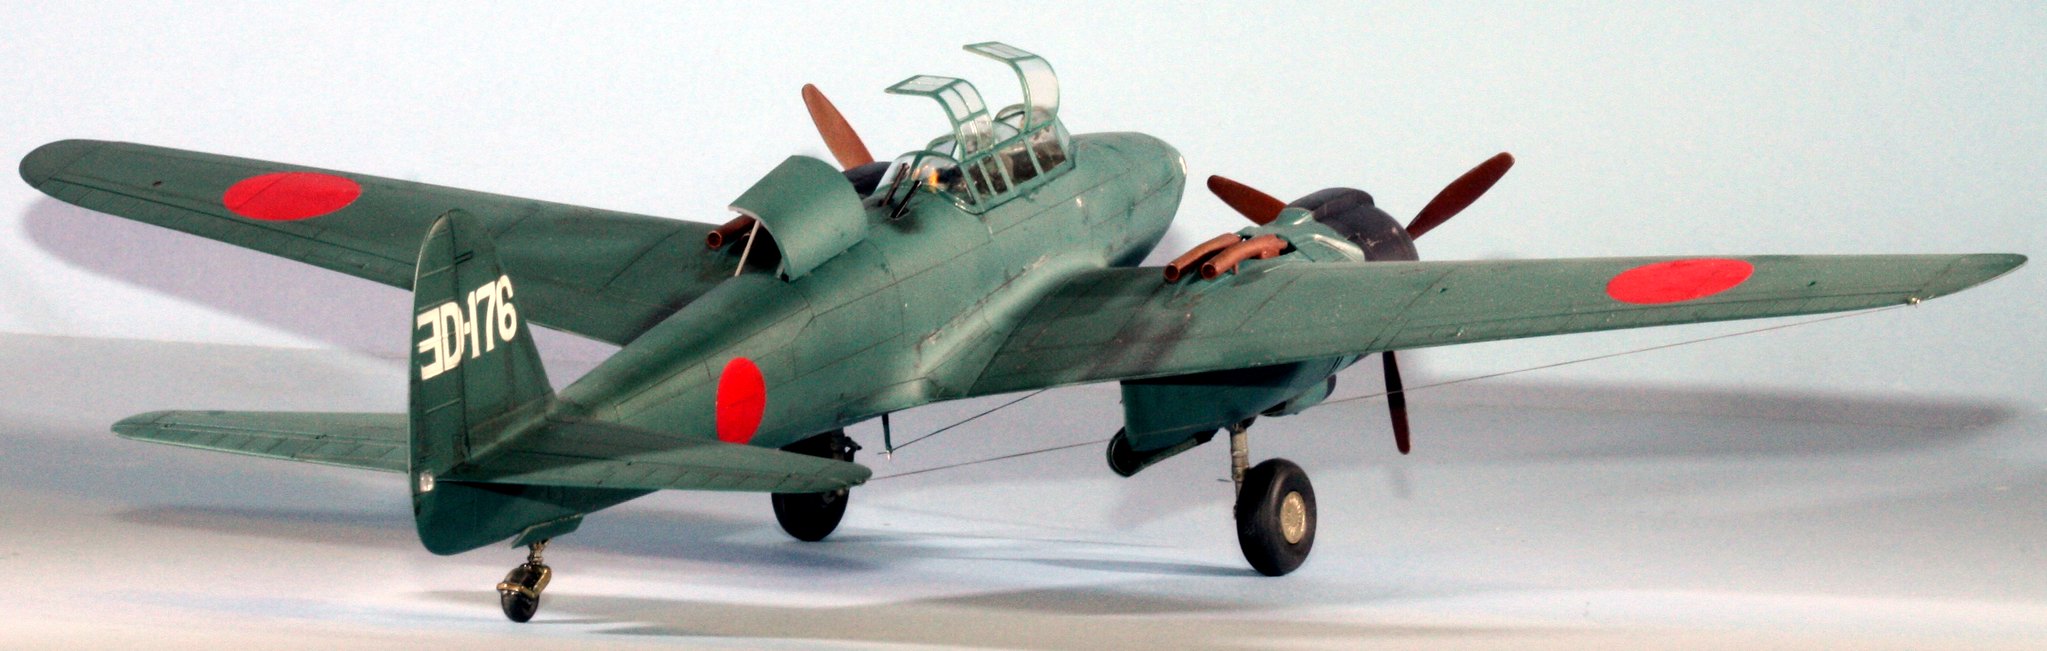
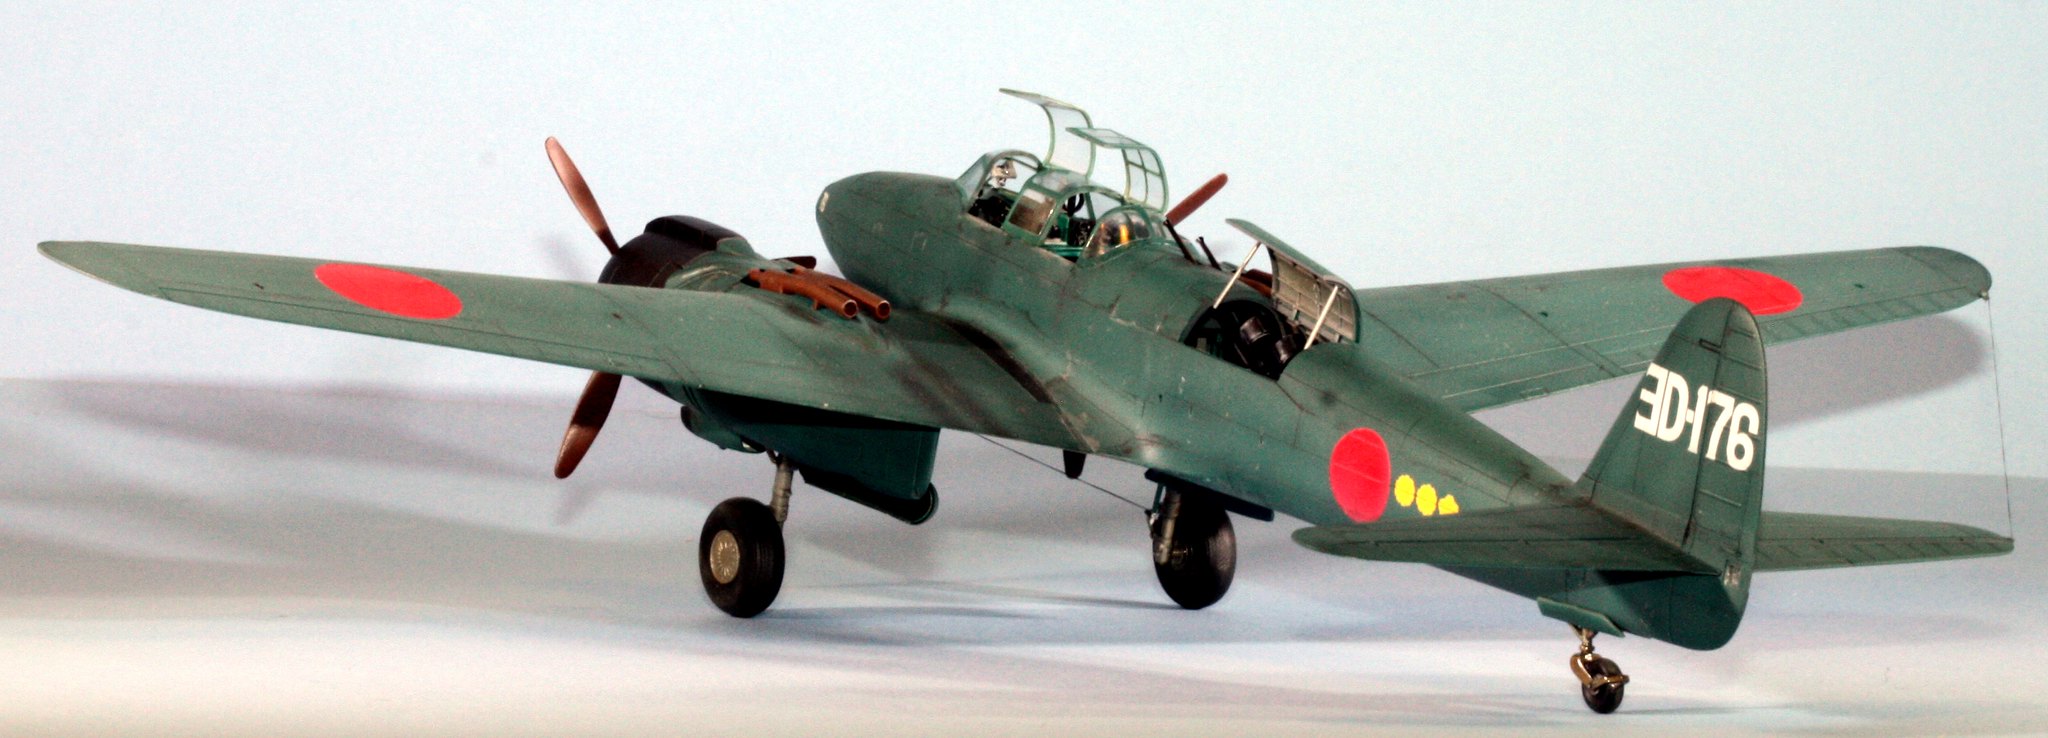
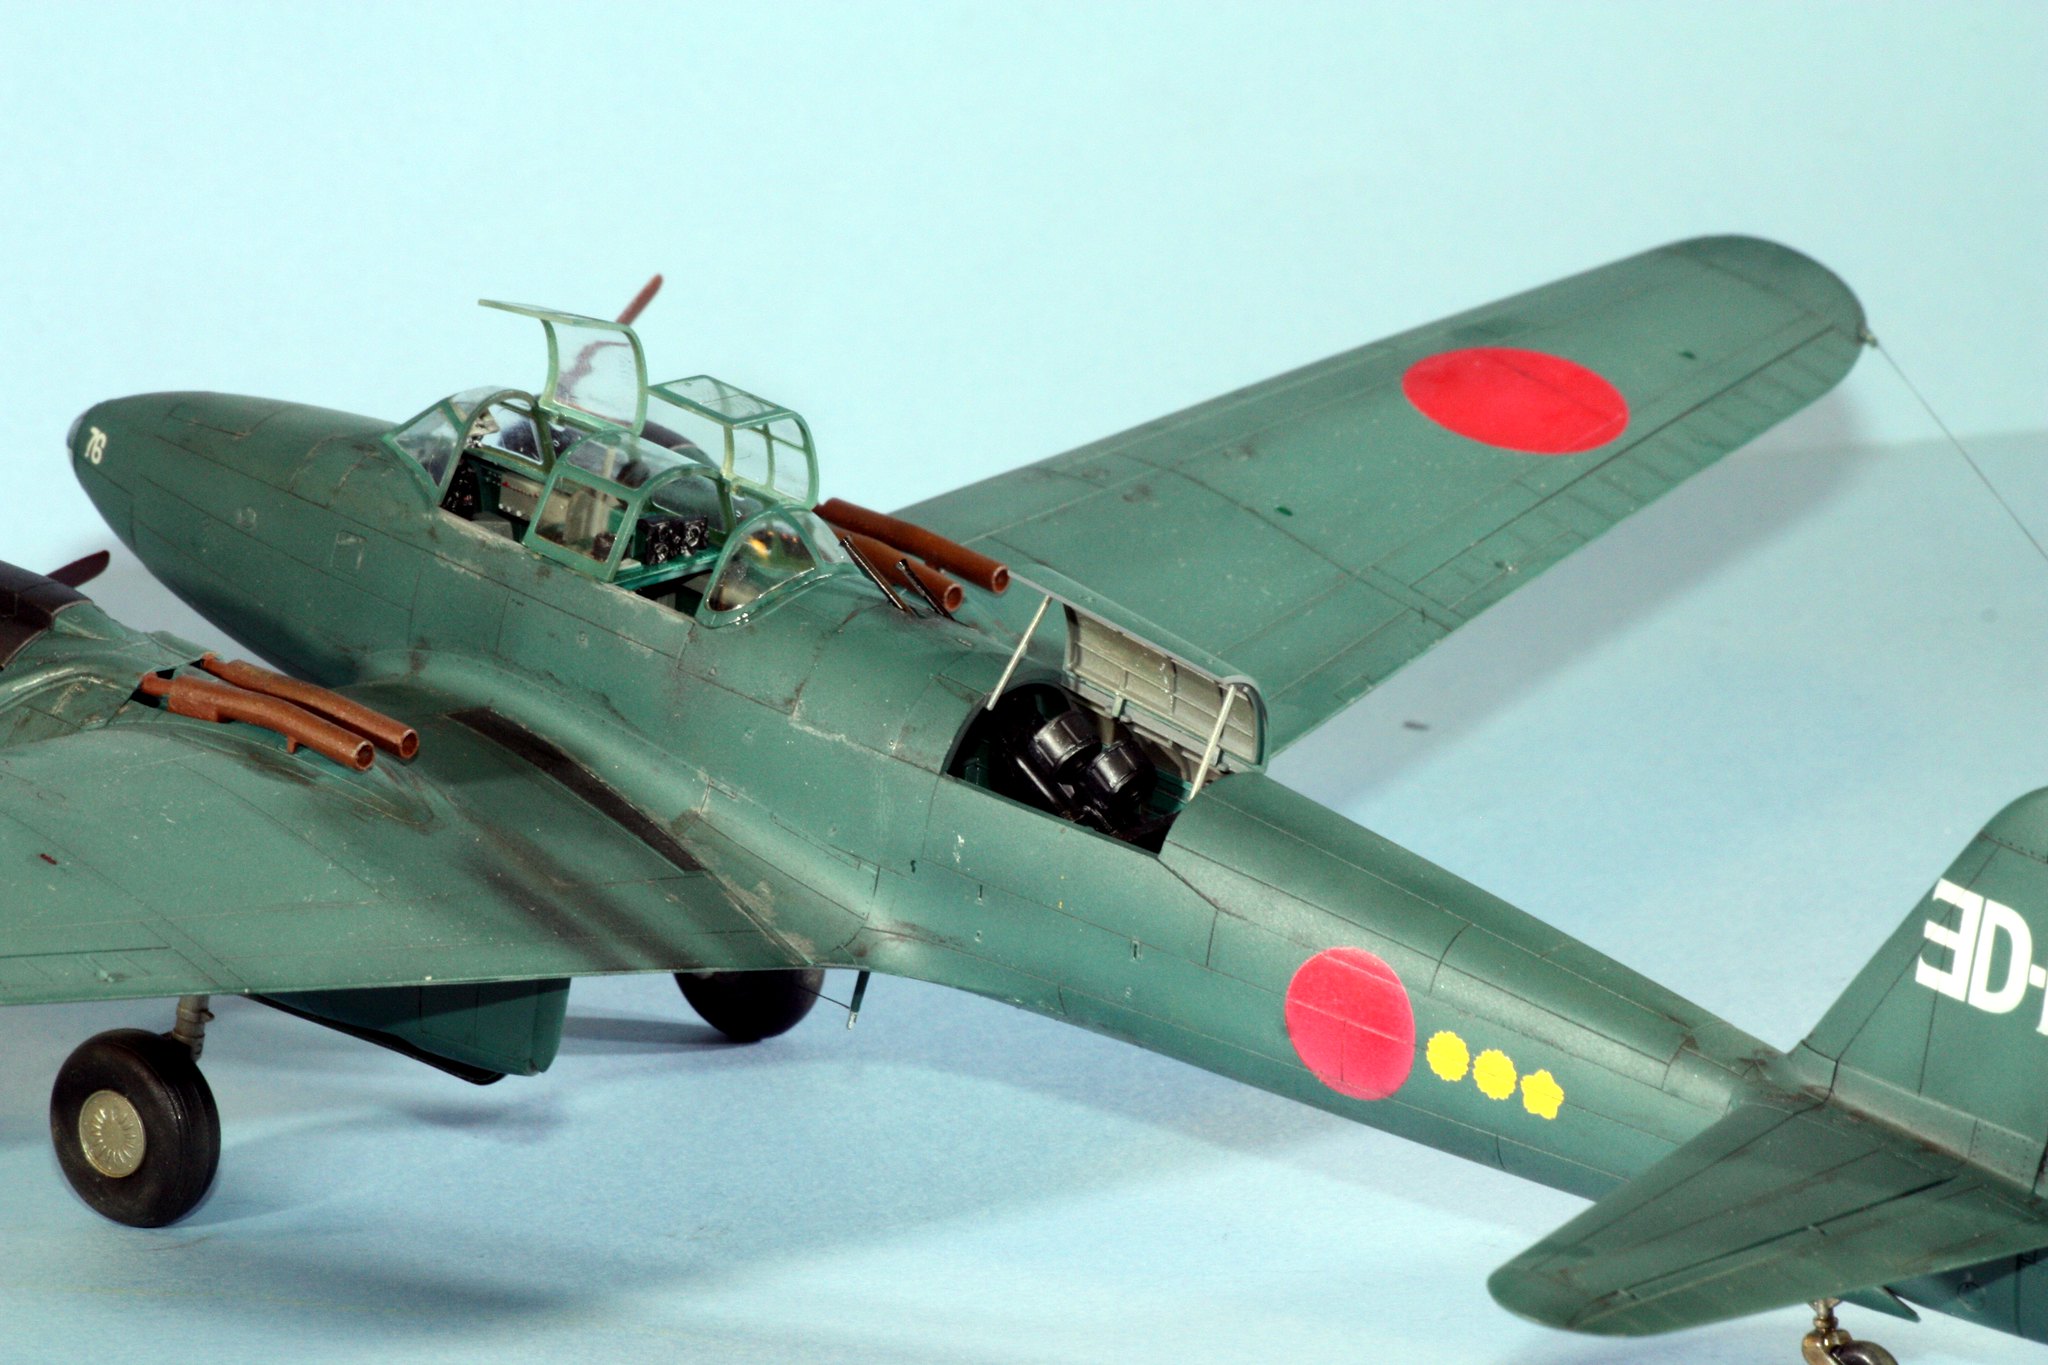
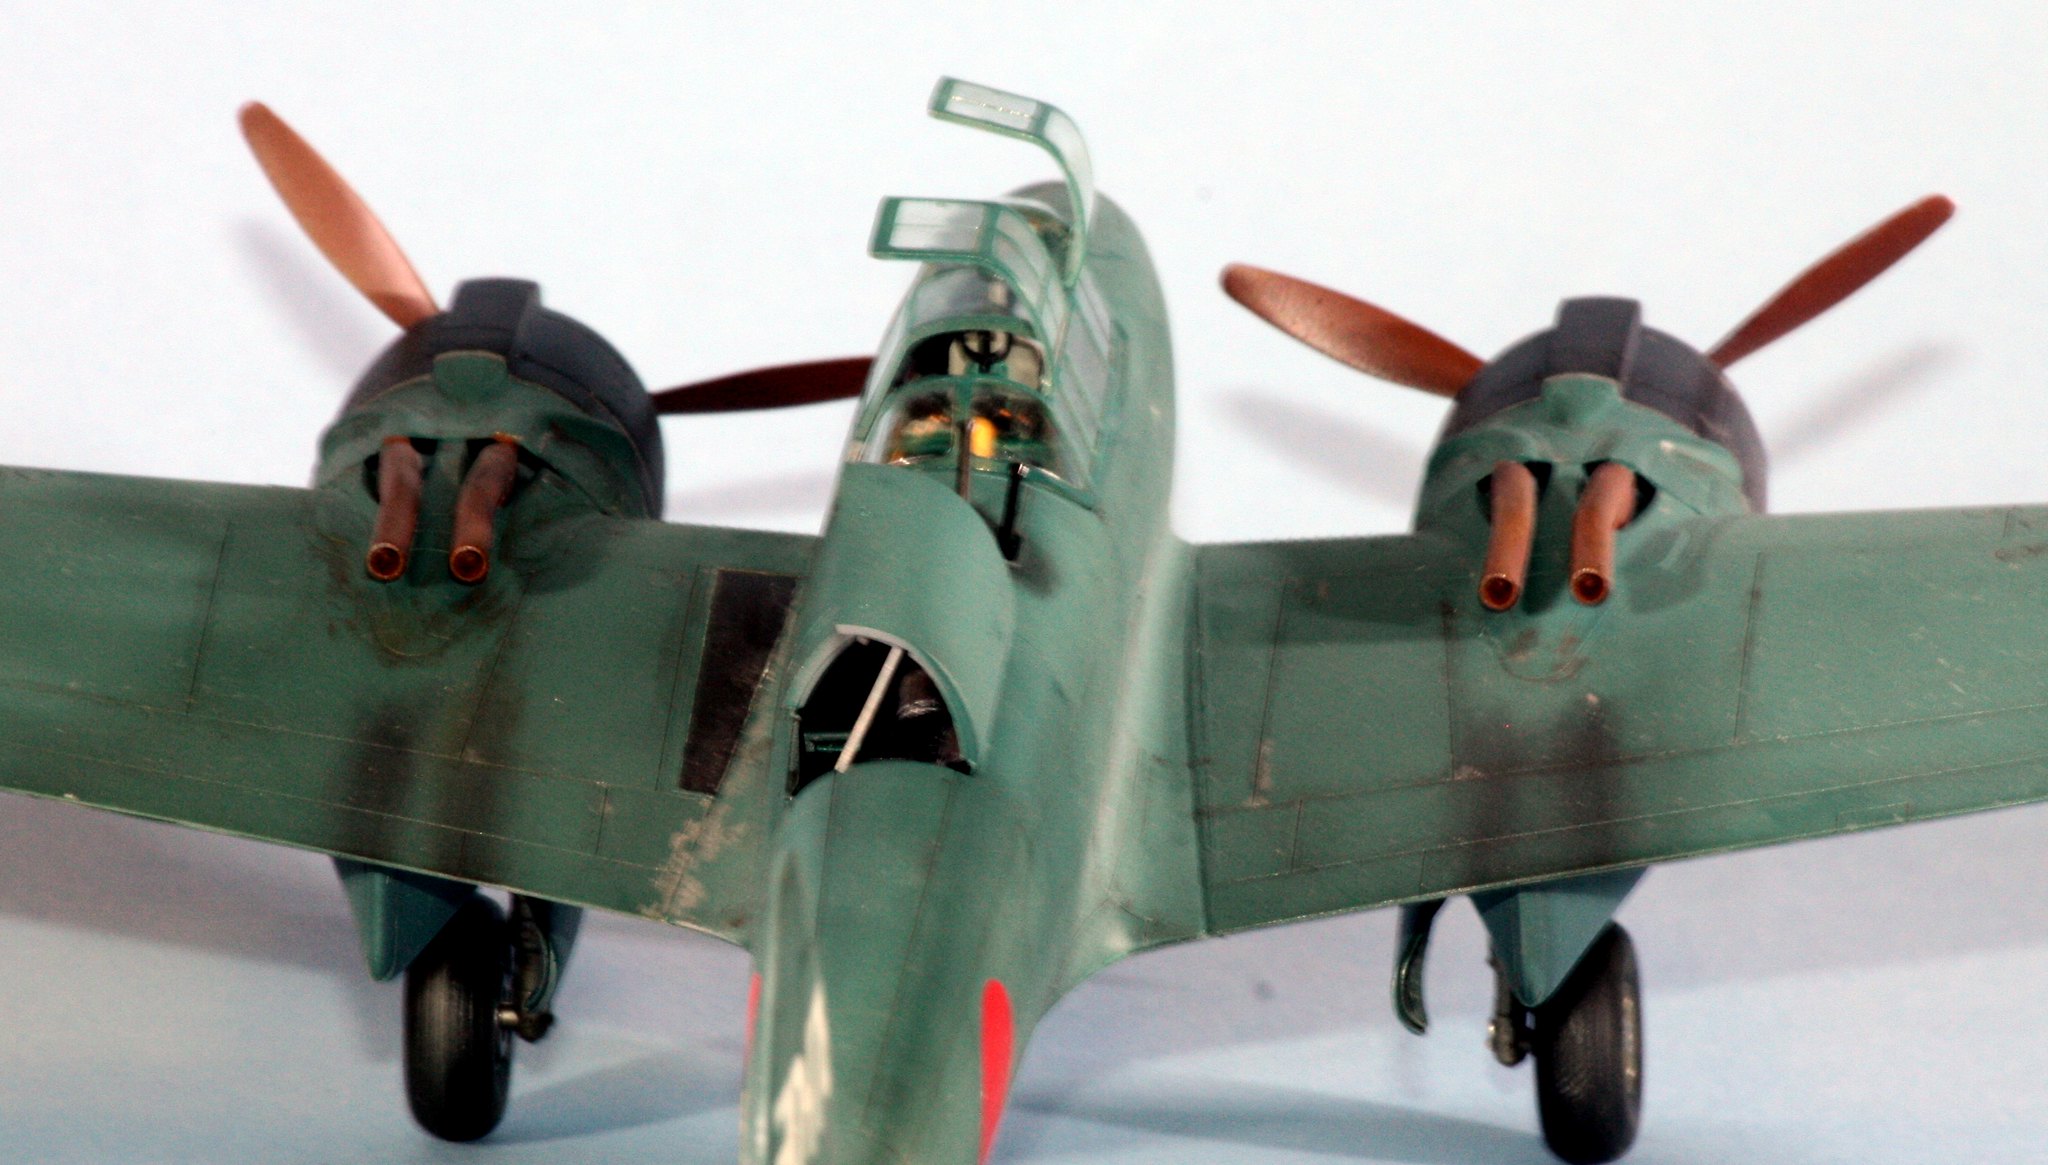
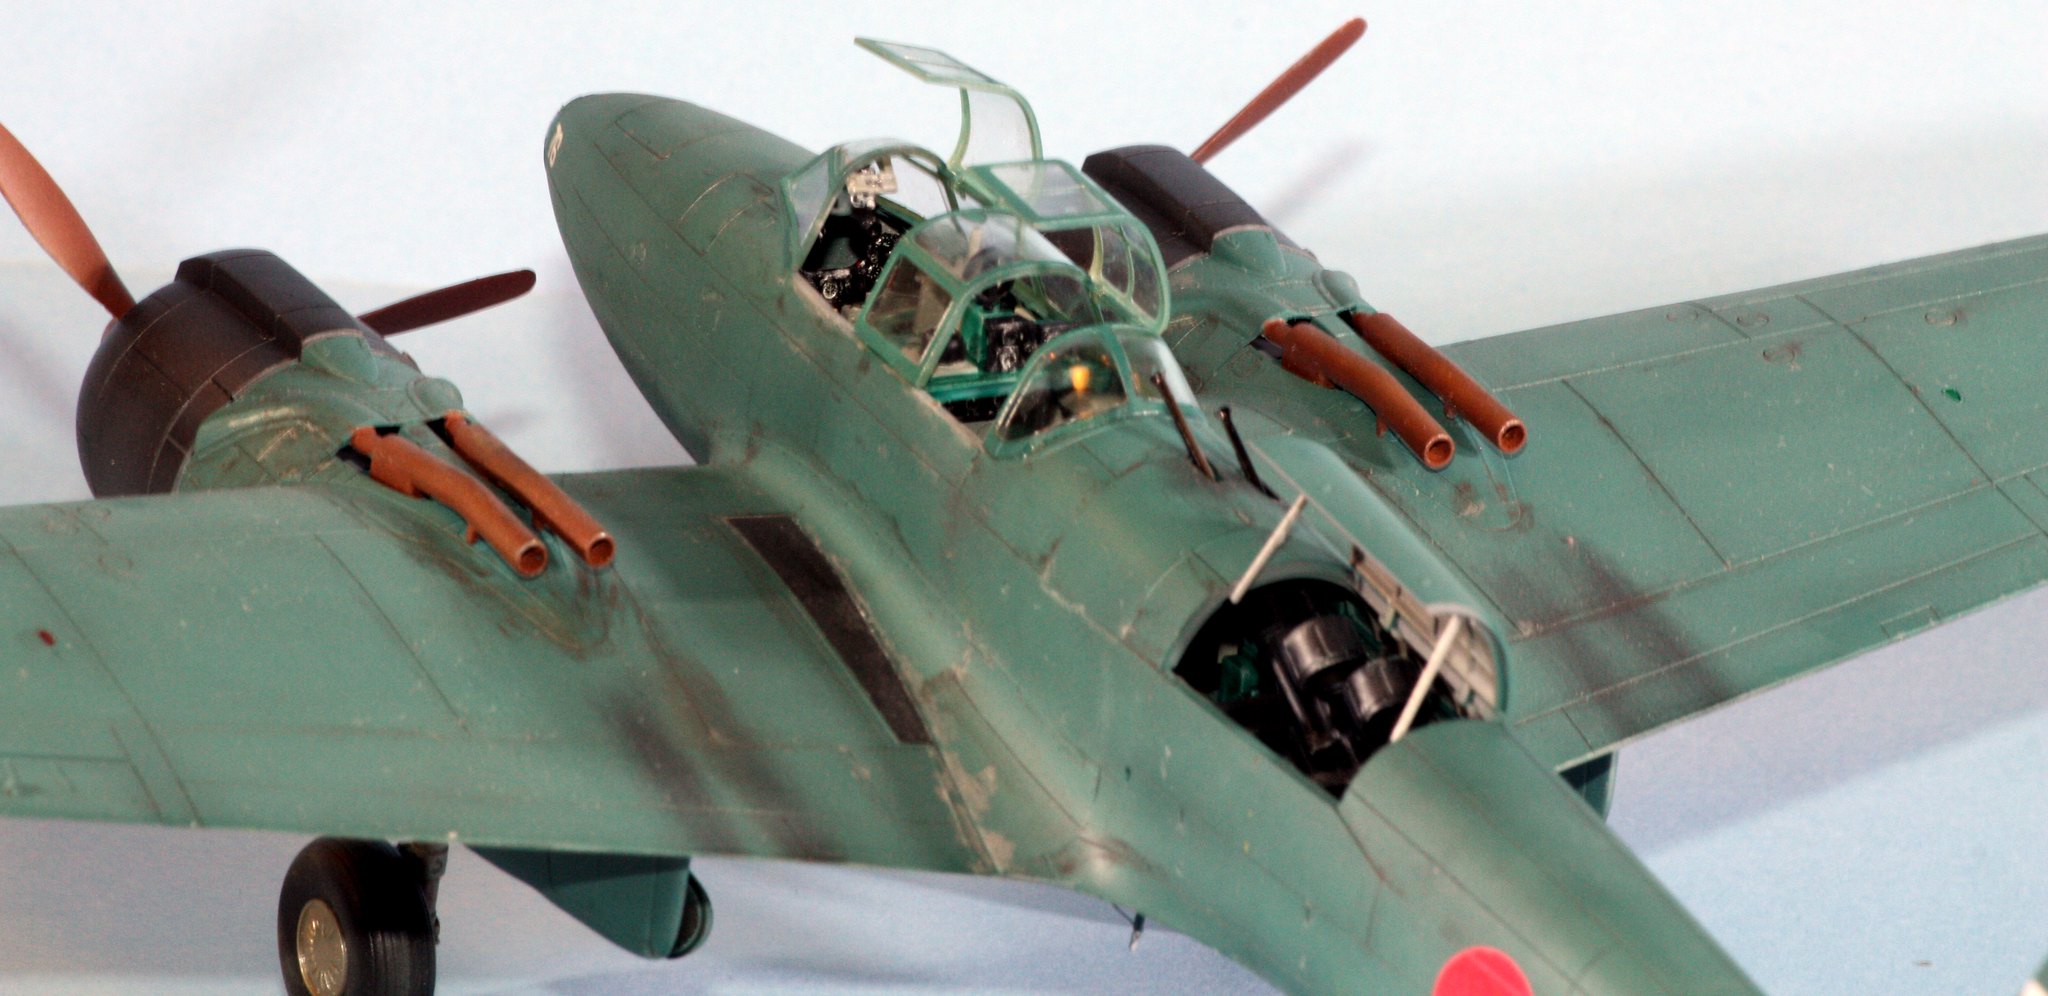
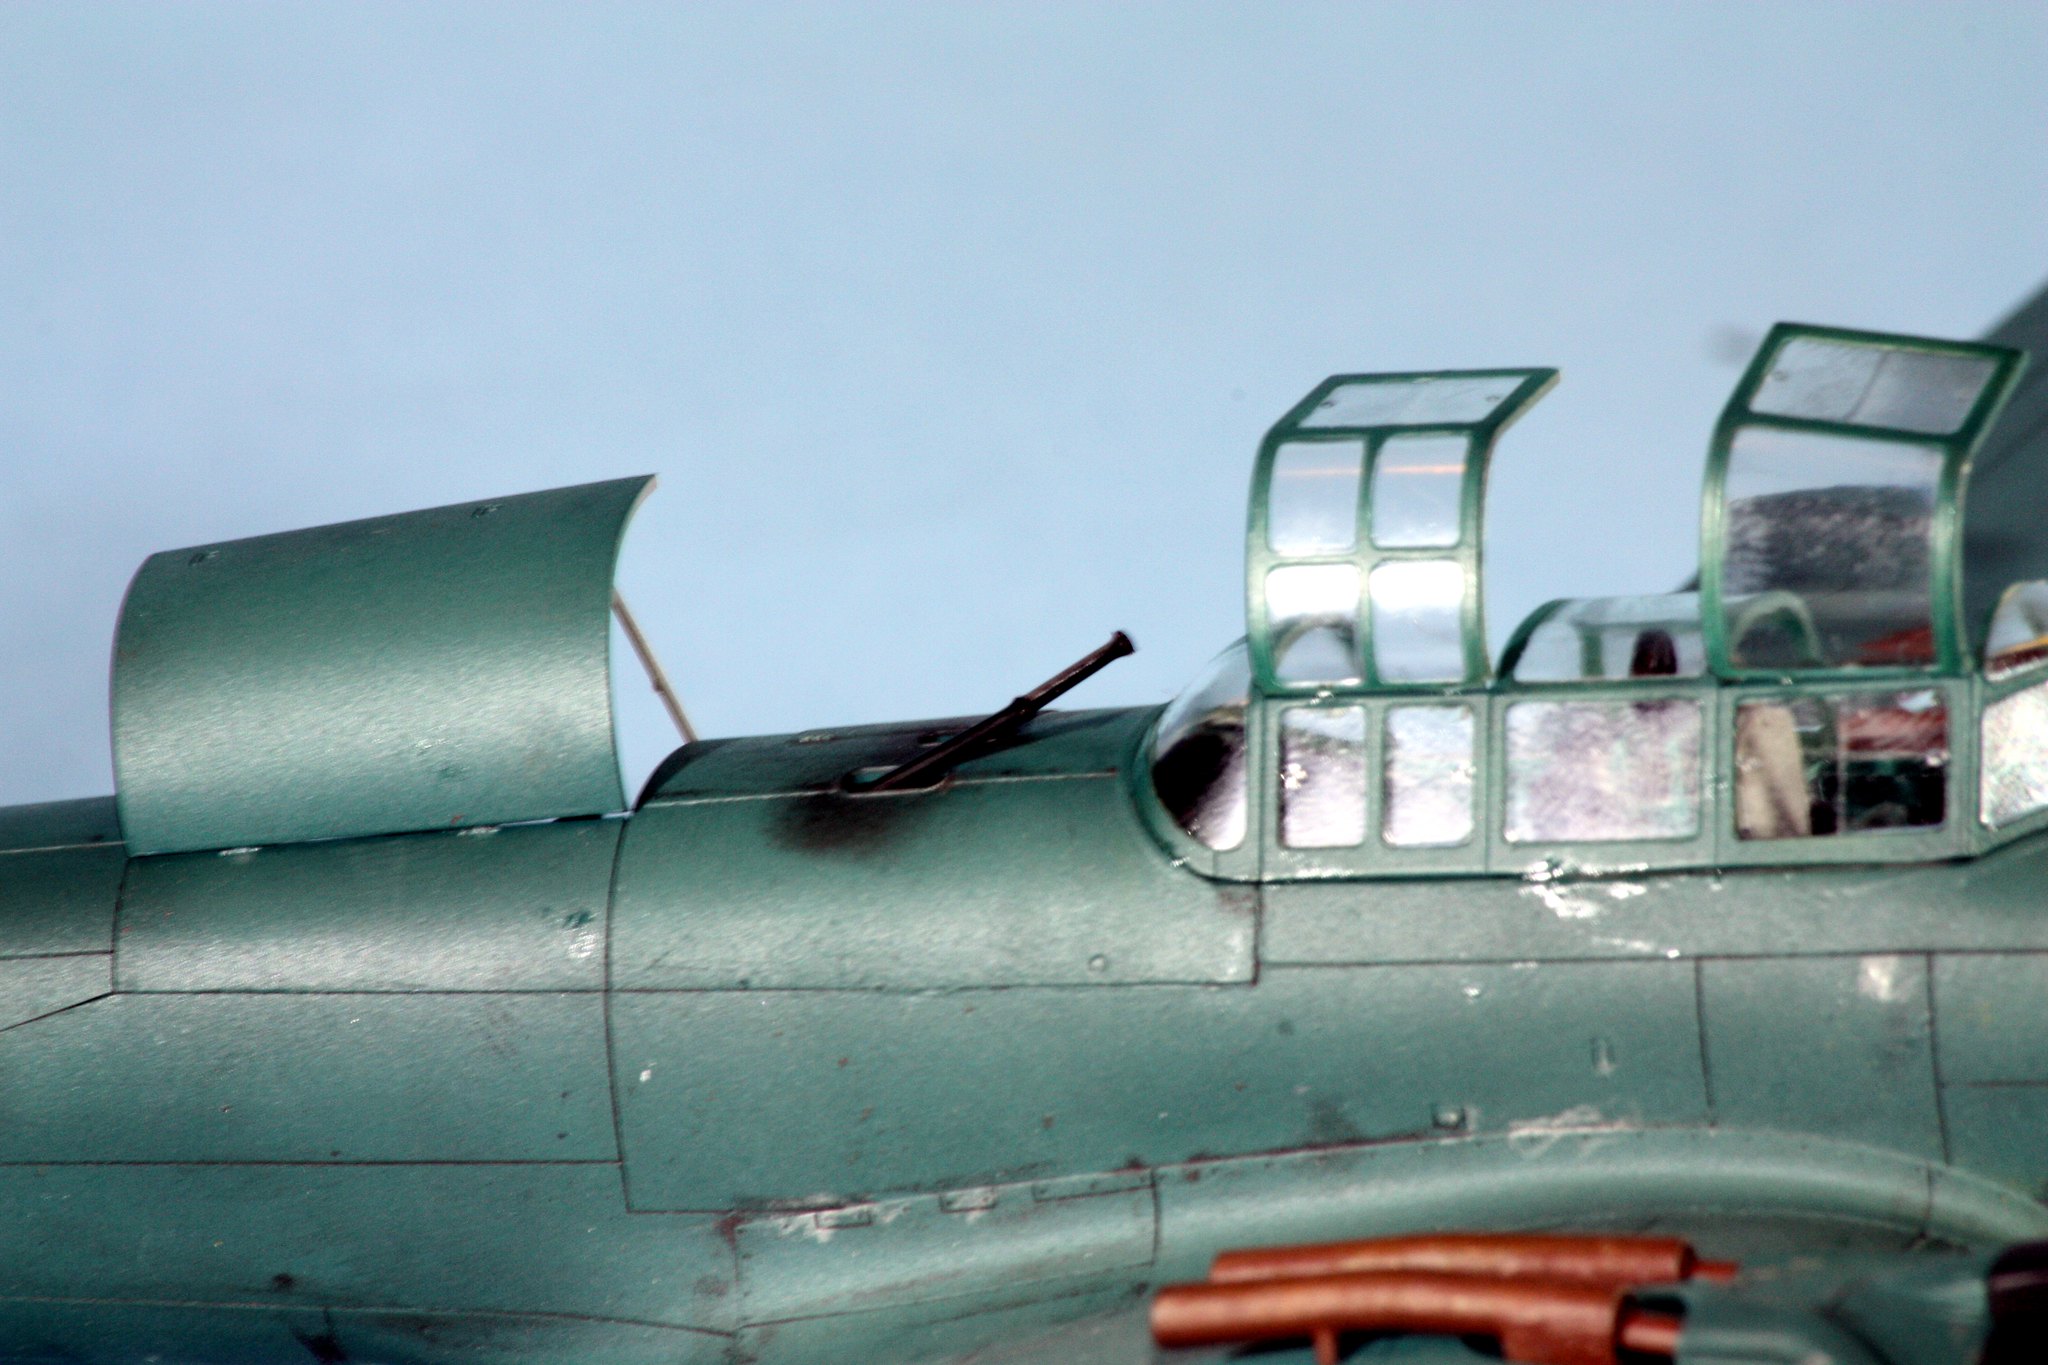
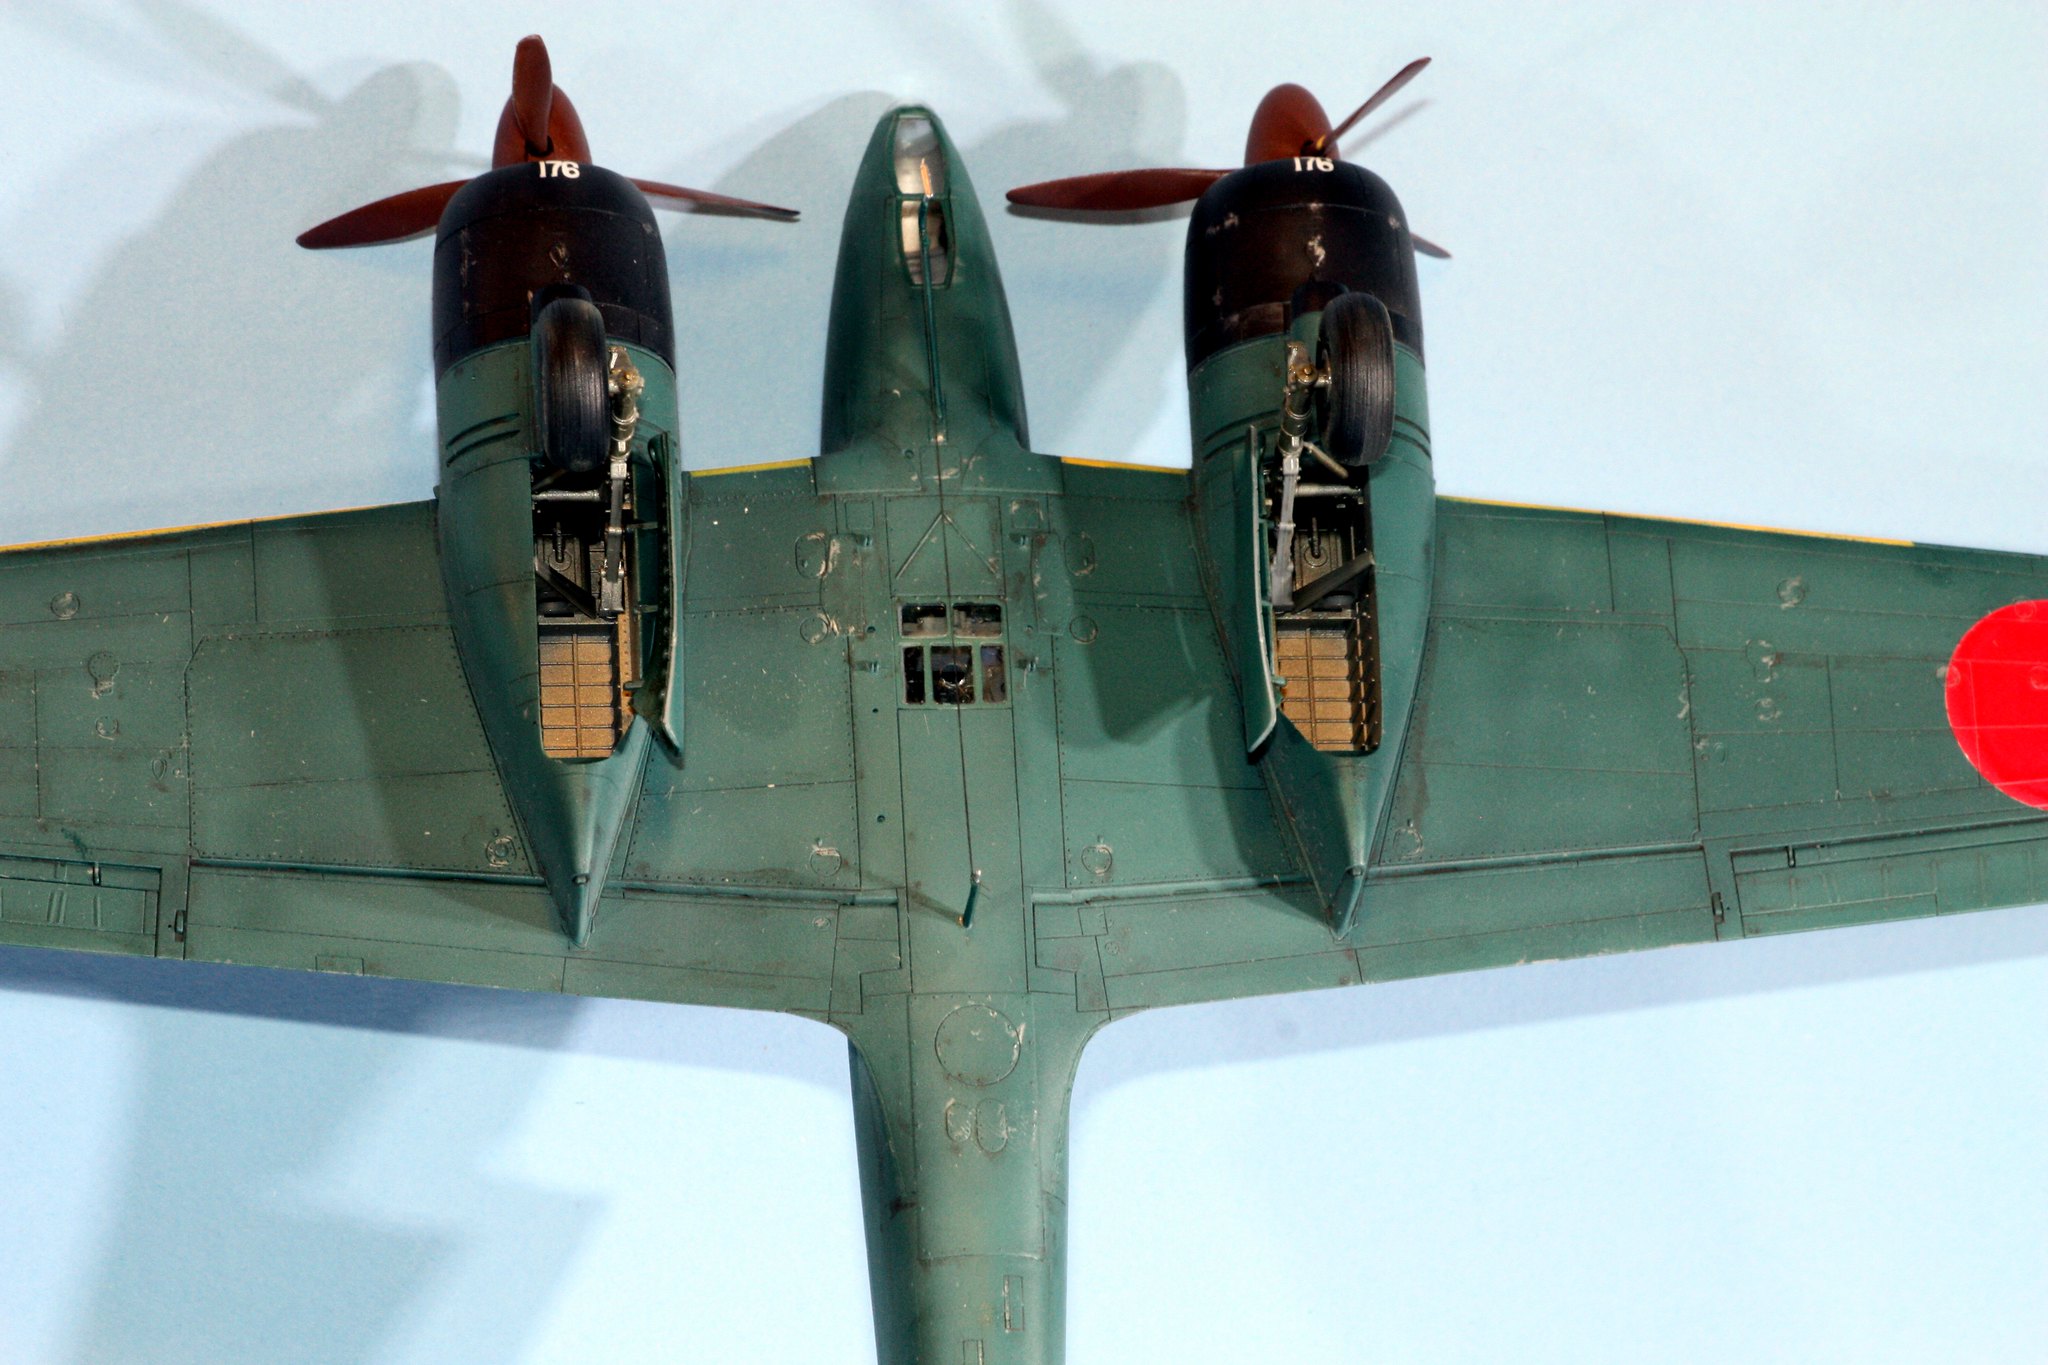
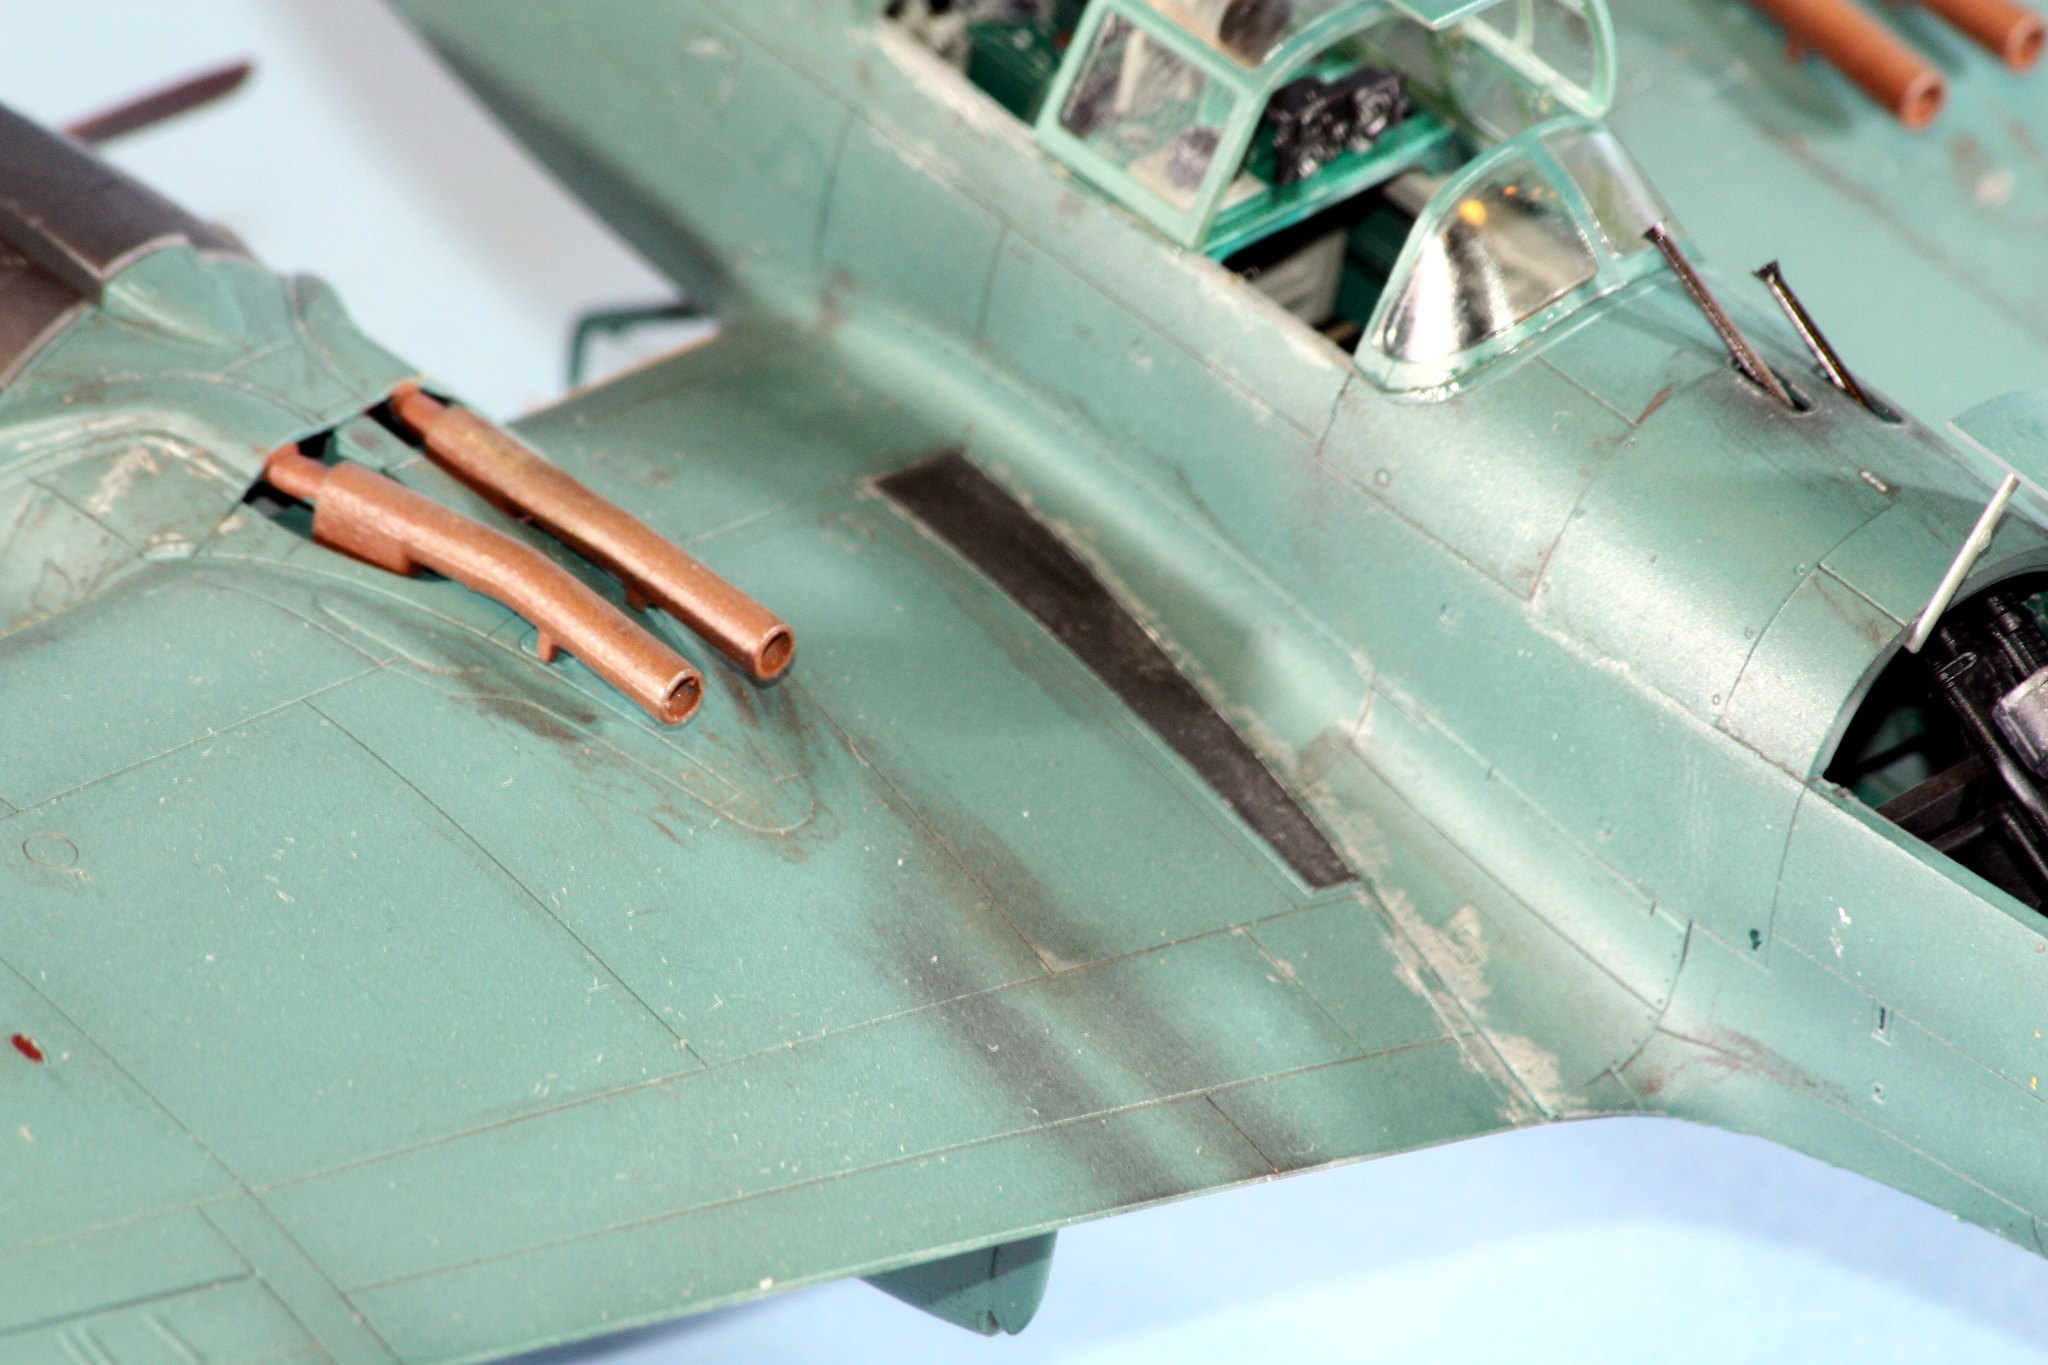
Detail level is sufficient, with a fully-decked out interior and wheel wells, and a great set of oblique-firing guns located behind the cockpit. There were two head-scratching areas in this build that I only found out prior to my own construction from a couple of reviews I read. The first would actually be difficult to see once the build is complete - in the wheel wells, there is no bulkhead in the forward well. You could see clear into the empty nacelle if you elected to not close that up. I closed it with a shim made of thin sheet styrene. The second is exterior. There is a connector molded to the starboard stabilizer for an antenna wire, but there is no corresponding connector on the starboard wing tip. I fashioned a connector from sheet styrene.
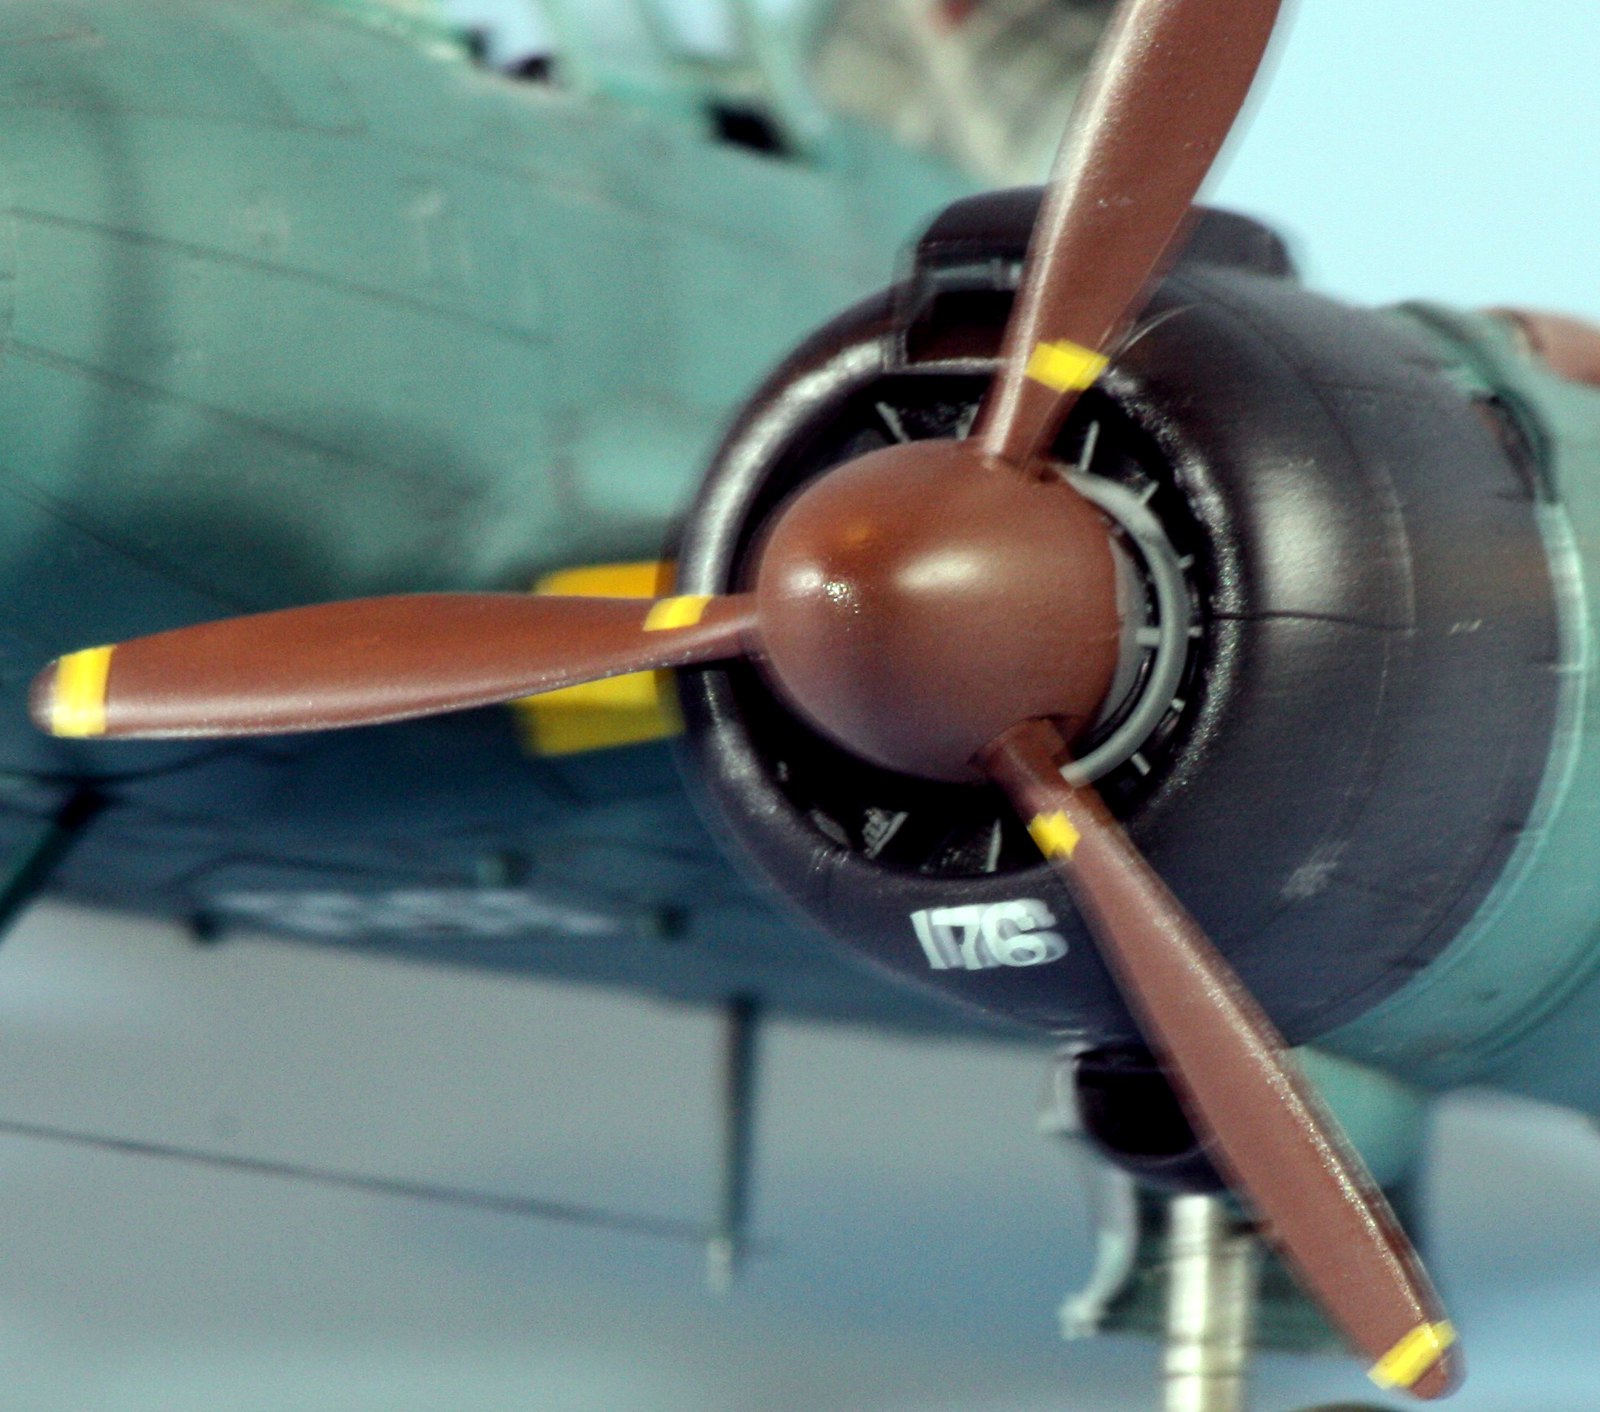
Paints for this build were a mix of Model Master acrylics and enamels, Tamiya, and Vallejo. I did no pre-shading on this one. Instead, I attempted to post-shade with the primary exterior color of deep dark green. First I put down a coat of Vallejo's deep dark green. Once that dried, I followed up with a lightened coat of the same deep dark green, then finished with a heavily thinned coat of the deep dark green paint. The effect is very subtle and likely not visible in the photos, but I was happy with how it looked.
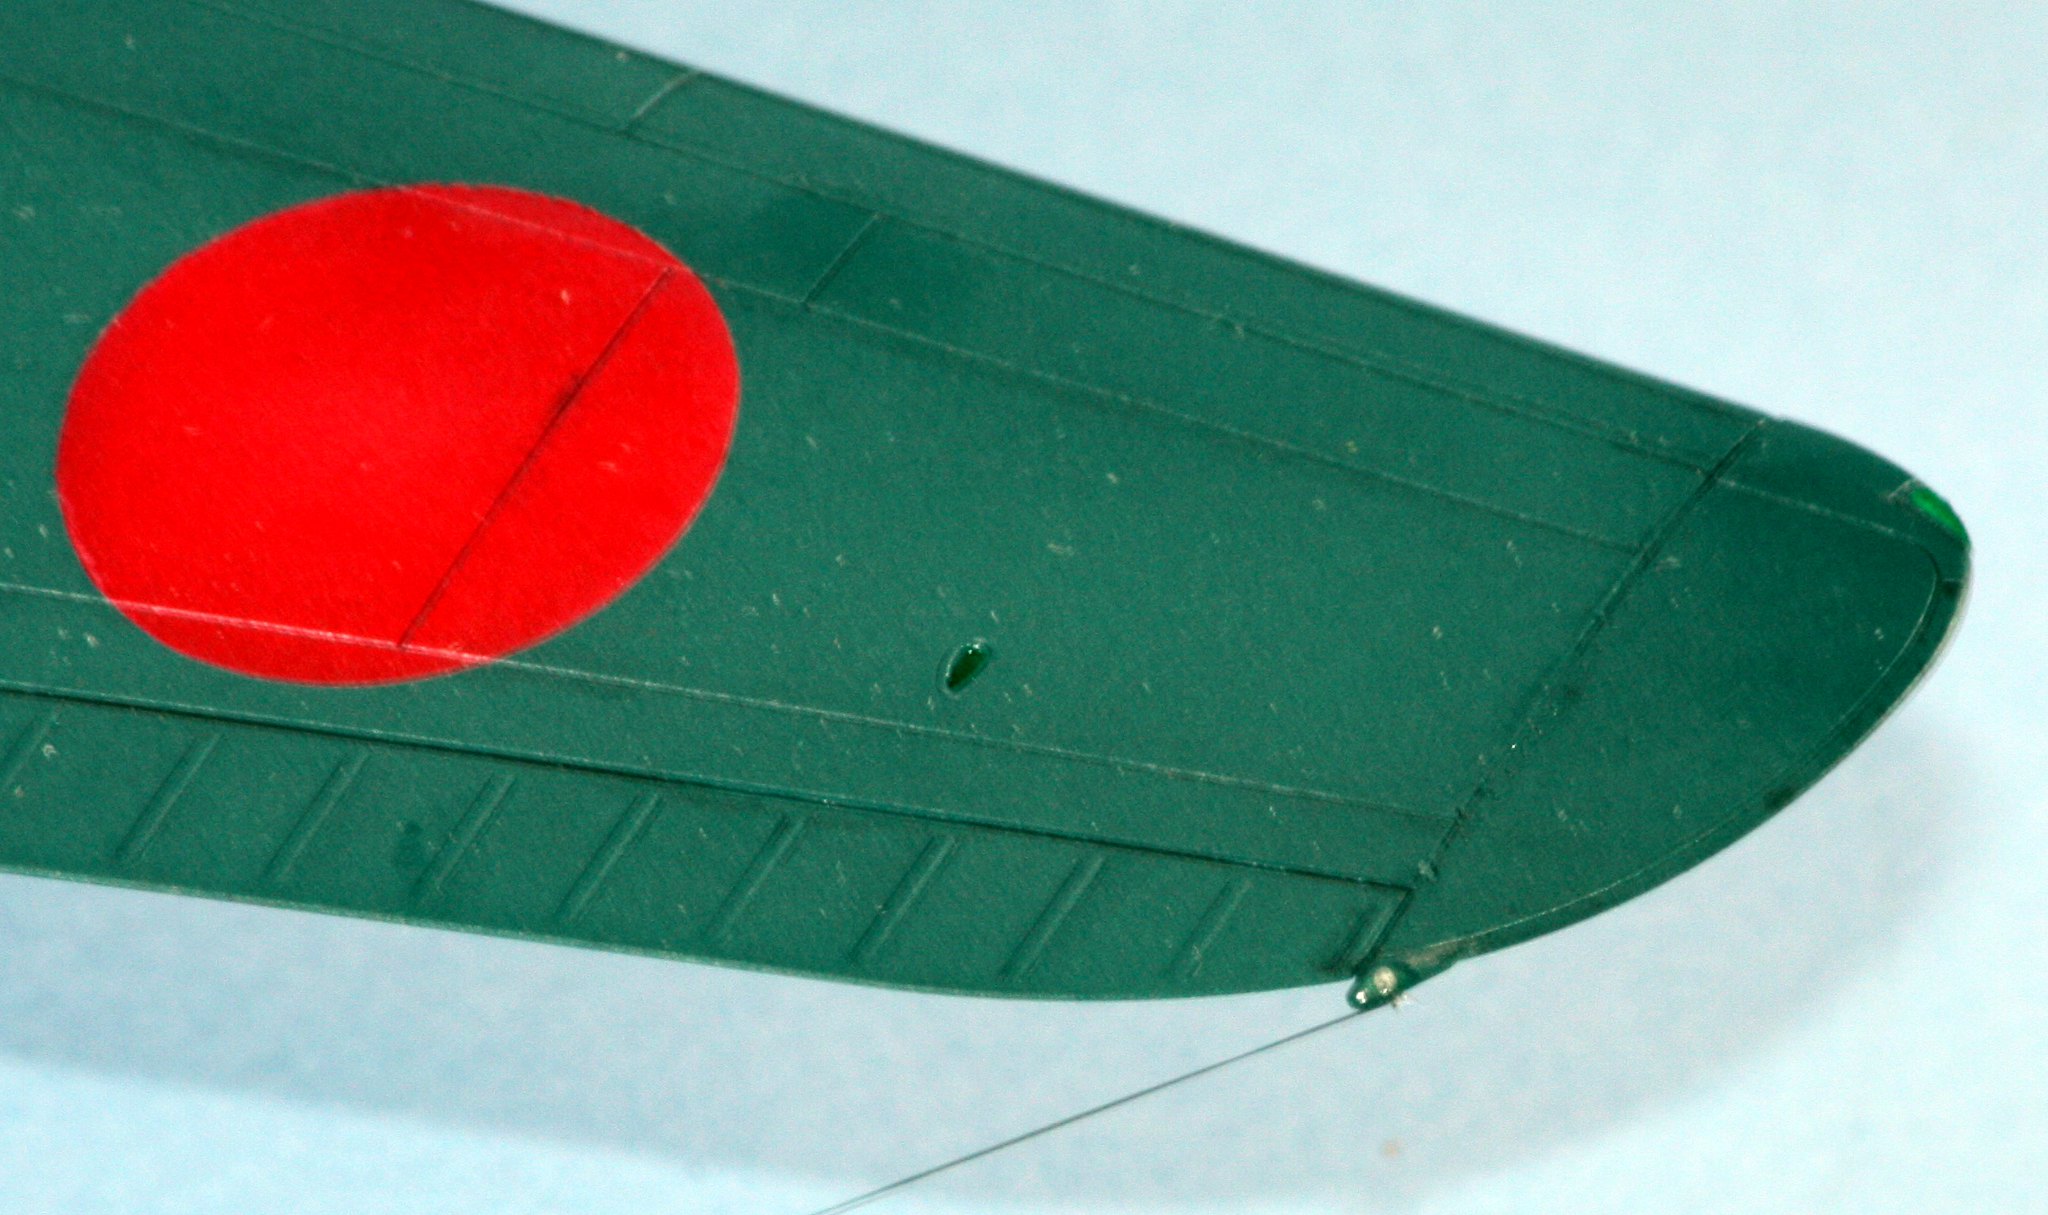
All of the external markings are painted with the use of Montex Masks. The only kit decals used are for interior markings and cockpit dials.
I kept the weathering to a minimum for this one. The exhaust stains are ground black charcoal. I picked out some areas for wear with a silver prismacolor pencil. I finished with a wash of Flory dark dirt. (The eyes are not what they used to be: after I cleaned up the wash, I thought I had removed all the excess, but a couple of the photos reveal that not to be the case; perhaps I should photograph my builds after doing a wash to find areas that I just cannot see at my bench?)
The Irving that I built had a history. I read that it maneuvered into firing position beneath a B-17 and shot down the Flying Fortress, and did that feat later with a B-29.
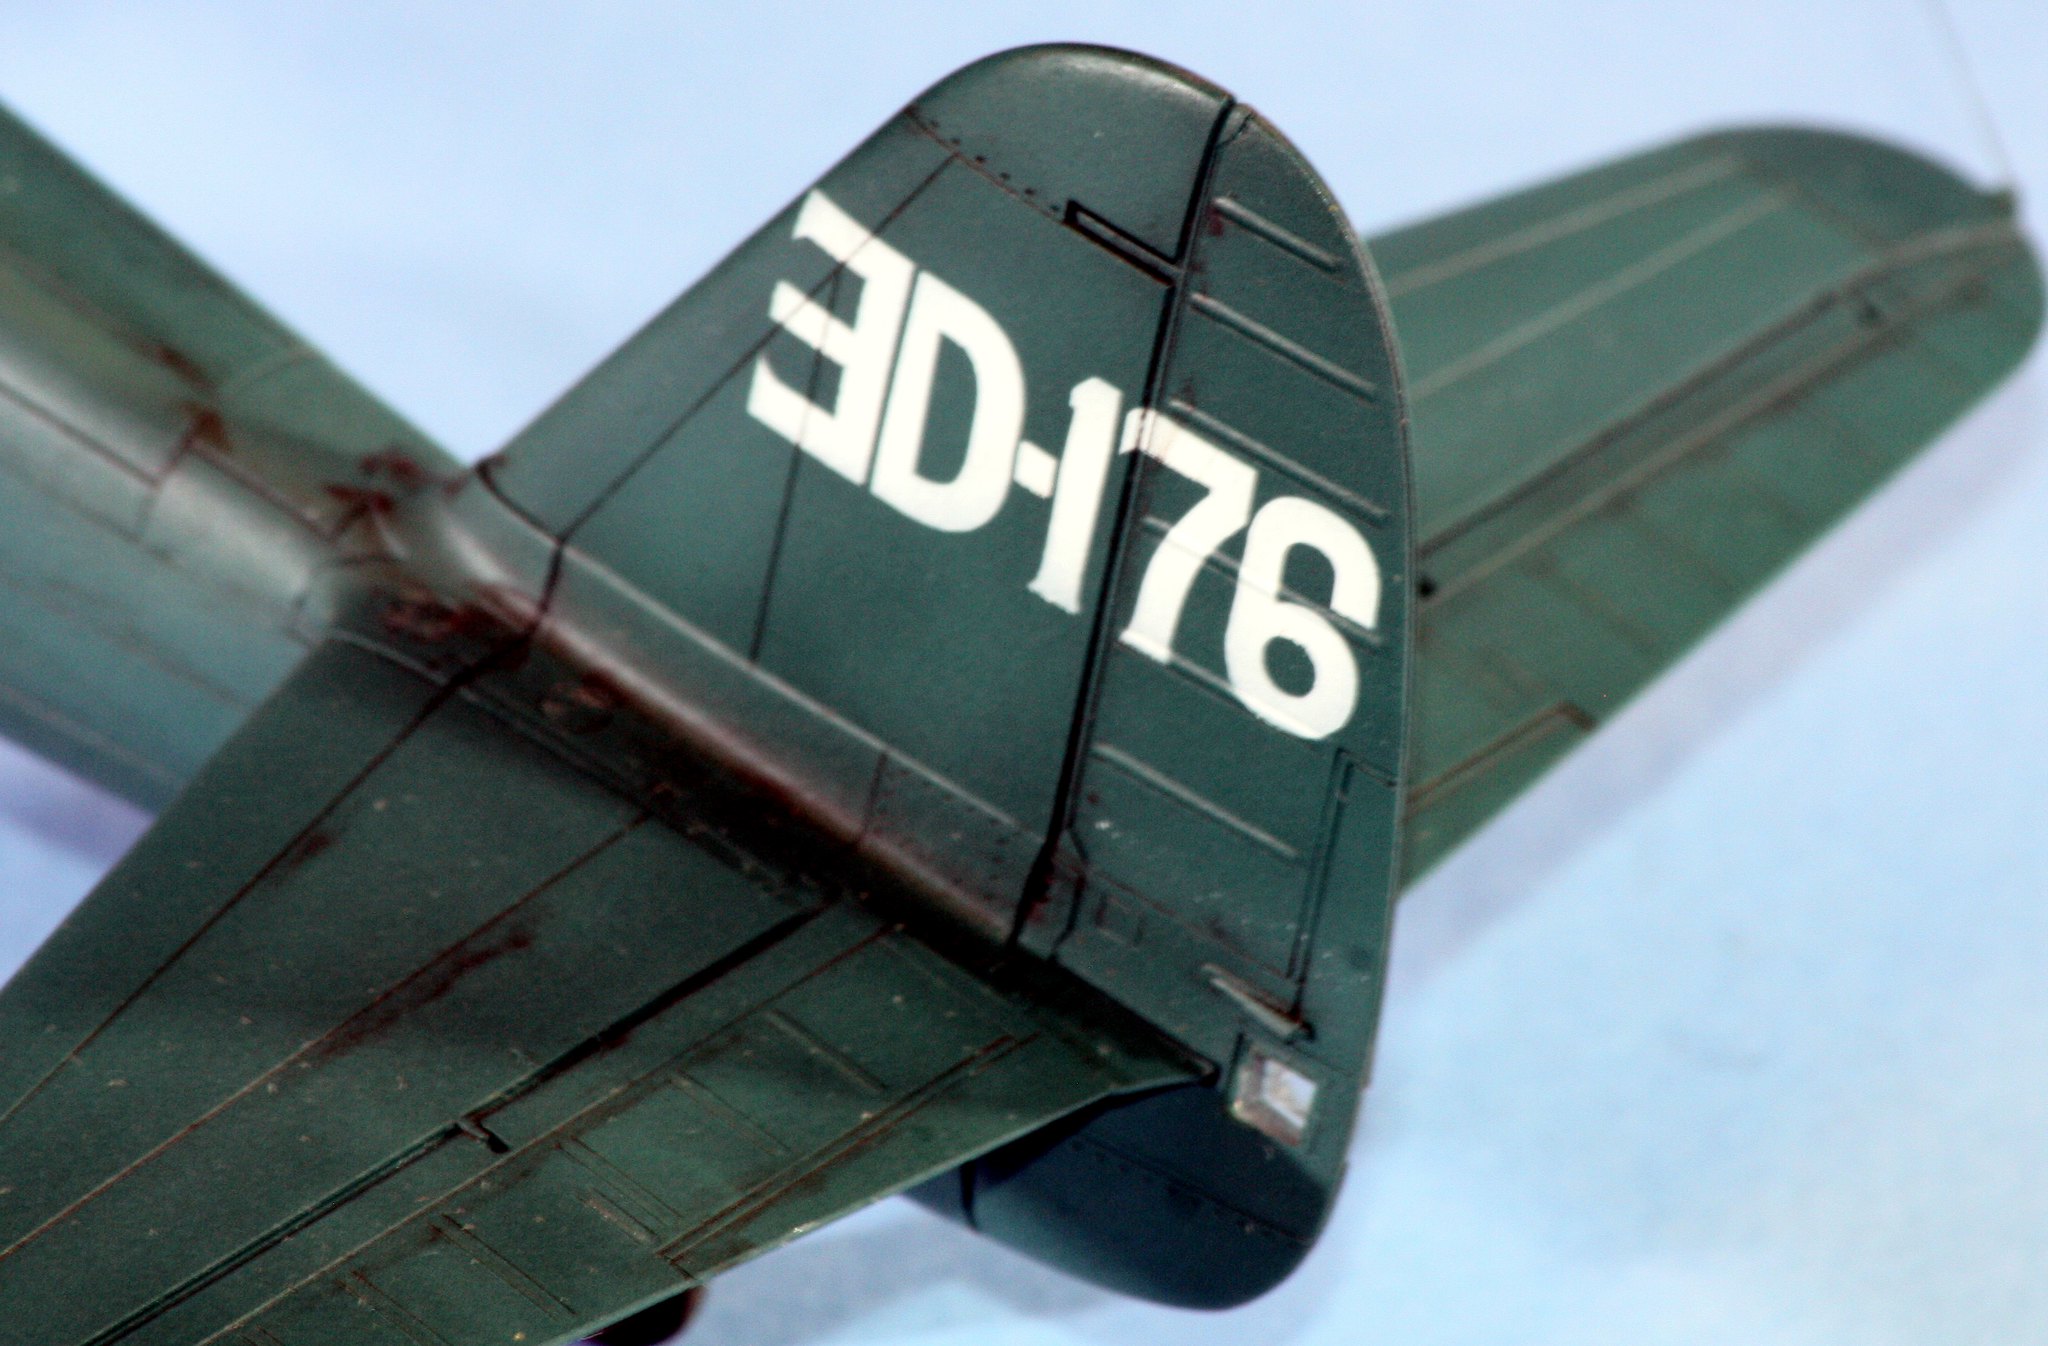
Photographs:
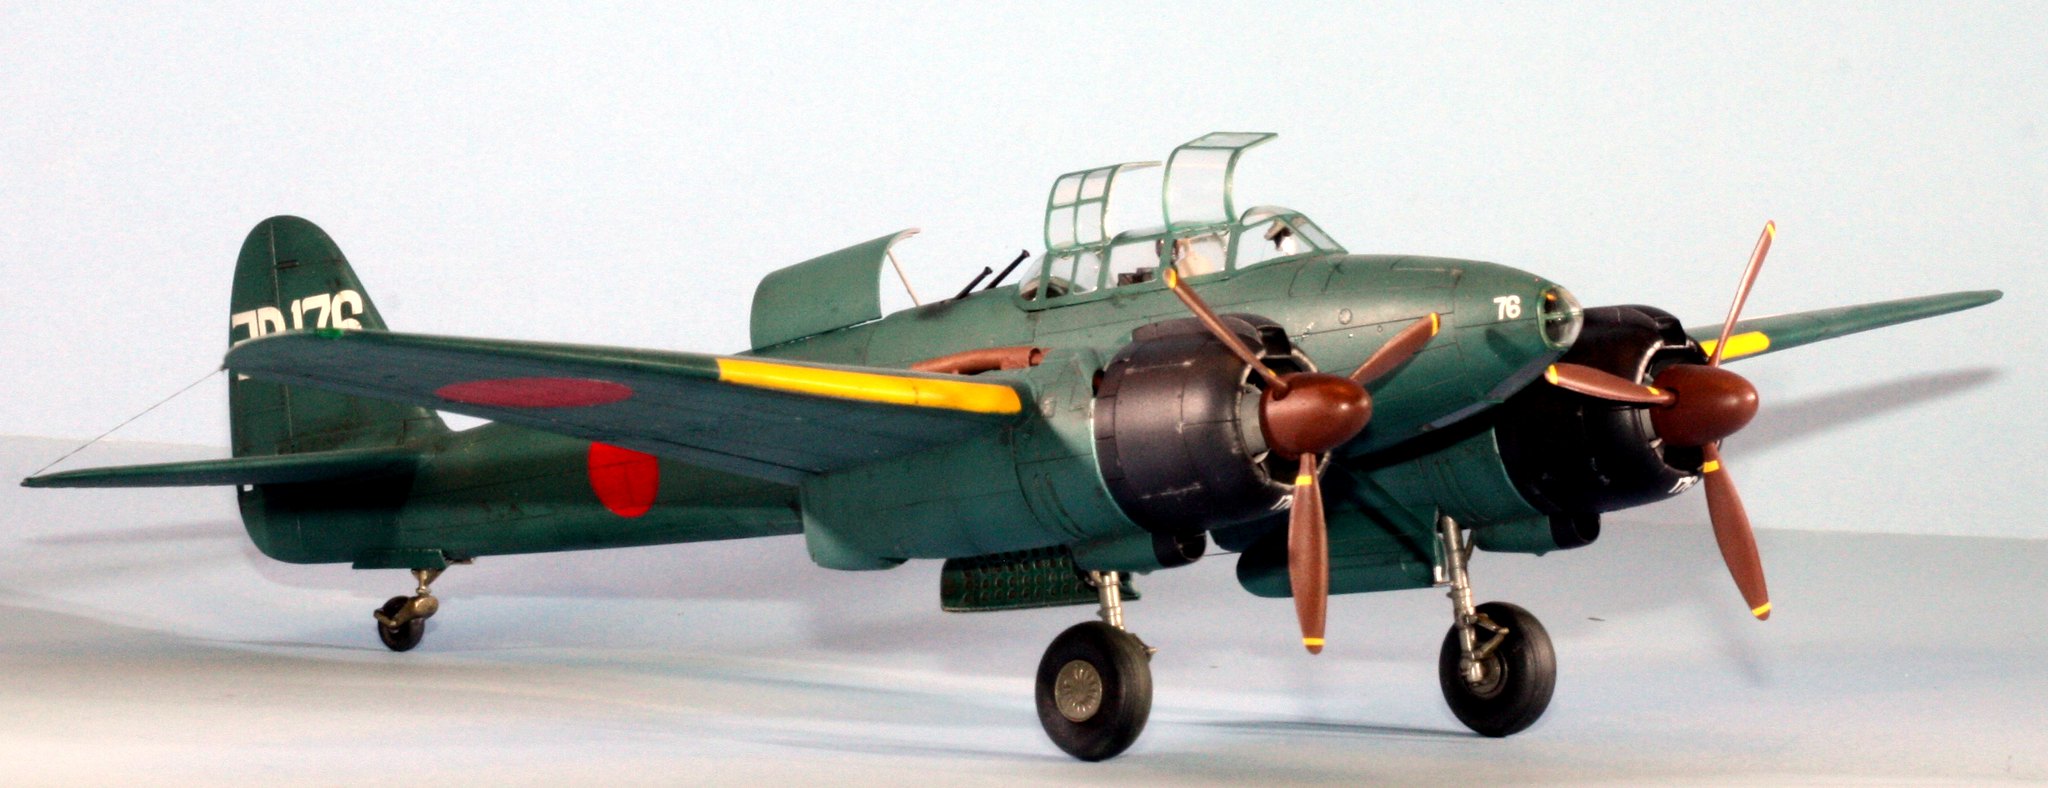

The wing tip antenna connected I scratch built:
I'm taking a couple weeks off to pursue some training in Angular web programming and to hopefully better prepare myself for a certification test that I need to re-take (came up short of a passing score the first attempt earlier this month). Once I return to my work bench, I will embark on my tenth build in this Year of the Axis build series, ICM's 1/48 Dornier Do215B-5.