SEARCH FINESCALE.COM

Enter keywords or a search phrase below:

1/48 Airfix P-40B

4928 views
56 replies
1 rating 2 rating 3 rating 4 rating 5 rating
  • Member since
    July 2003
  • From: Cincinnati, Ohio
1/48 Airfix P-40B
Posted by ridleusmc on Saturday, October 6, 2018 3:35 AM

Hello Everybody!

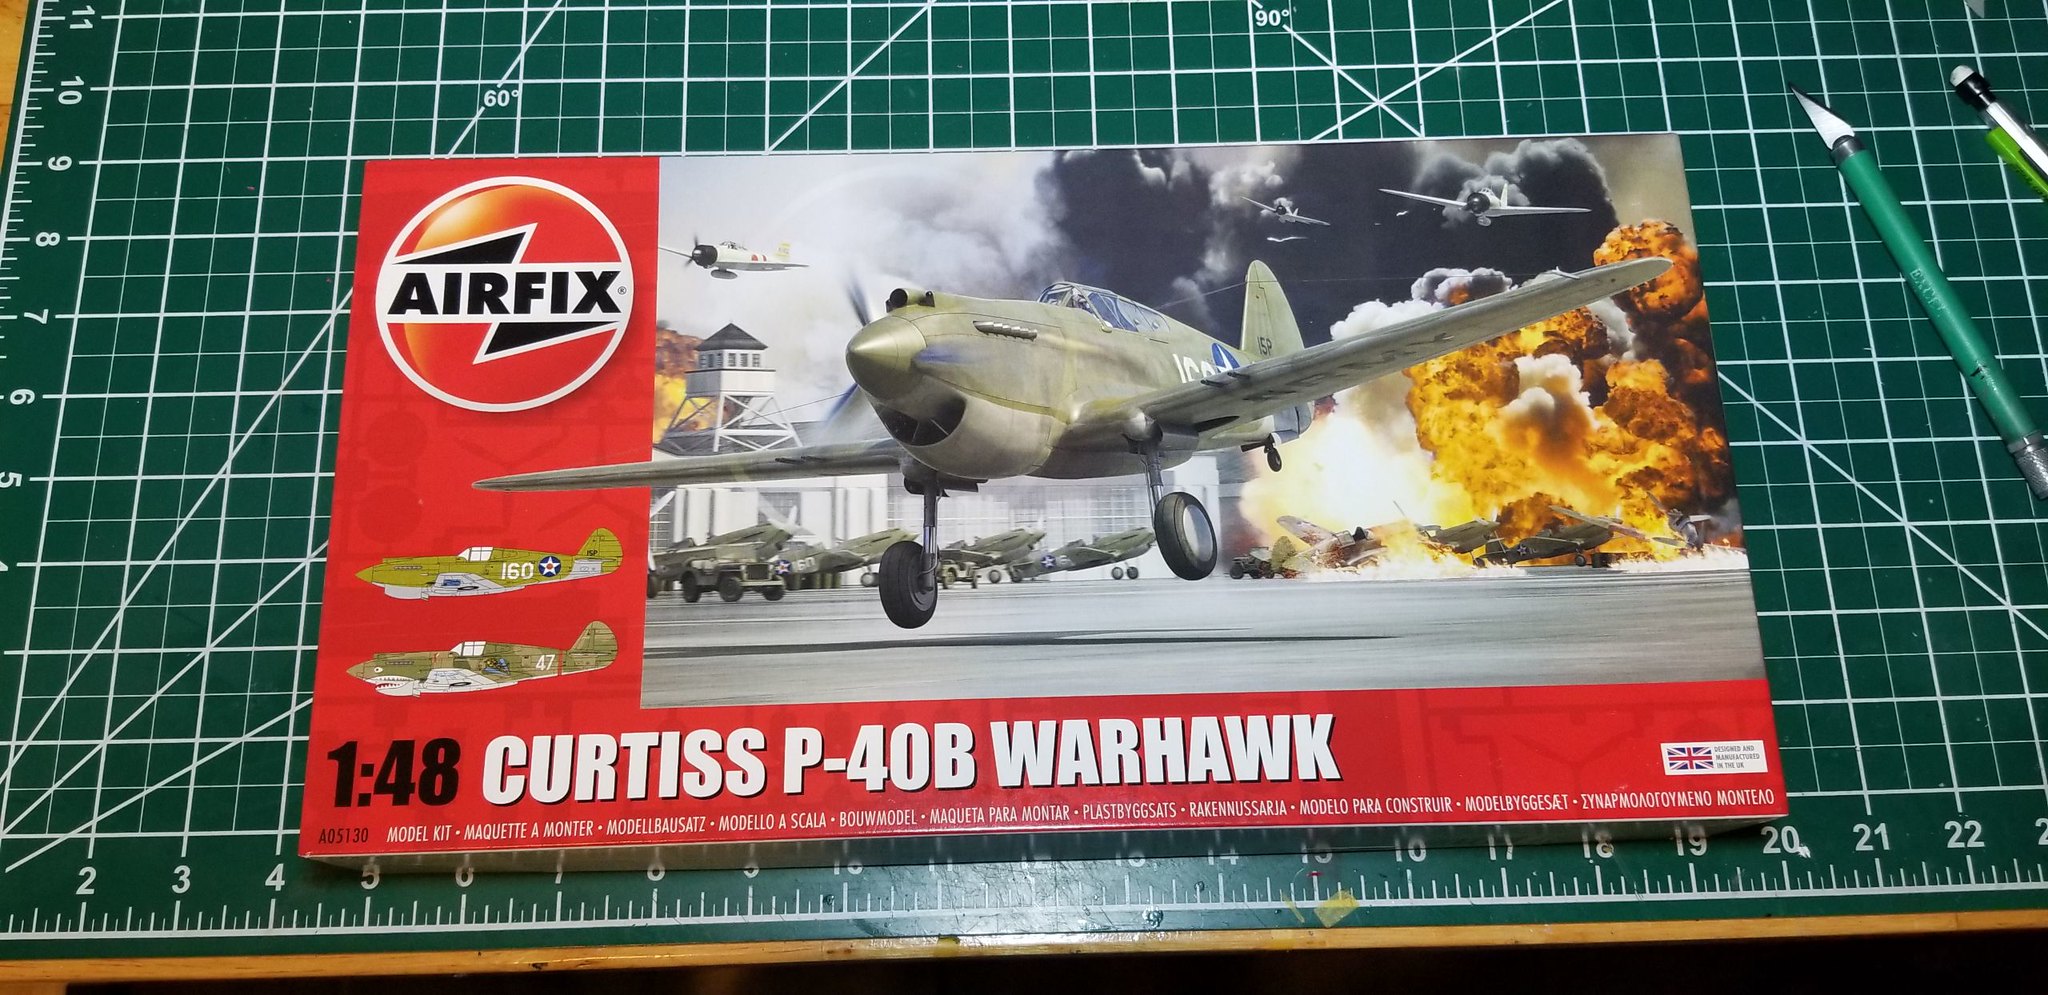
This is my first Airfix kit.  I understand that Airfix use to make sub-par kits, but then they got better.  This seems like a nice simple kit.  It has good detail and a few nice touches.

 20180928_202216 by Christopher Ridle, on Flickr

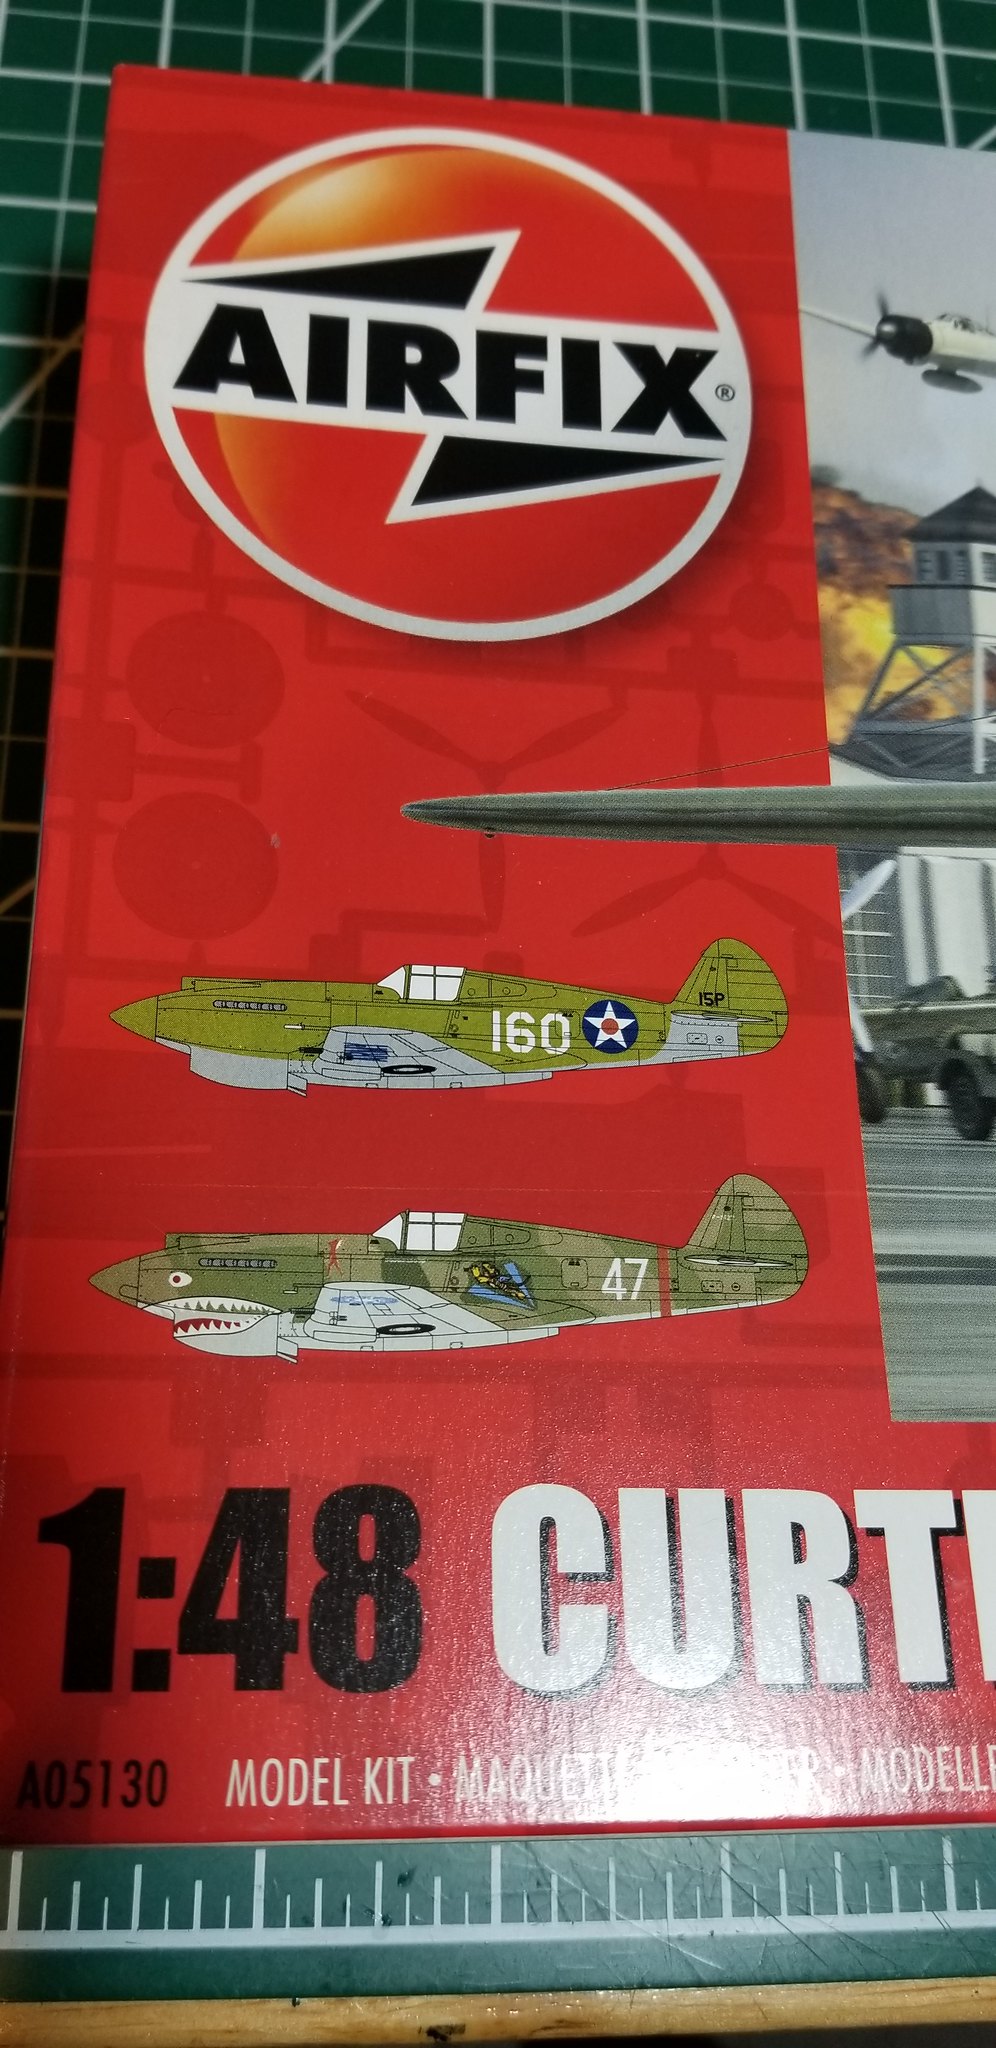
The kit comes with two marking options.  The first one is from Wheeler Field.  George Welch, amonst others, was able to make it into the air at Pearl Harbor to fight the Japanese.  It's a very interesting point of history, but it's a pretty boring aircraft paint scheme.  I already have a couple of WWII fighters on the shelf in OD over Neutral Grey.  So, I'm going with Flight Leader RT Smith's bird from the 3rd Squadron of the American Volunteer Group (Flying Tigers) at Kunming, China.

 20180928_202229 by Christopher Ridle, on Flickr 

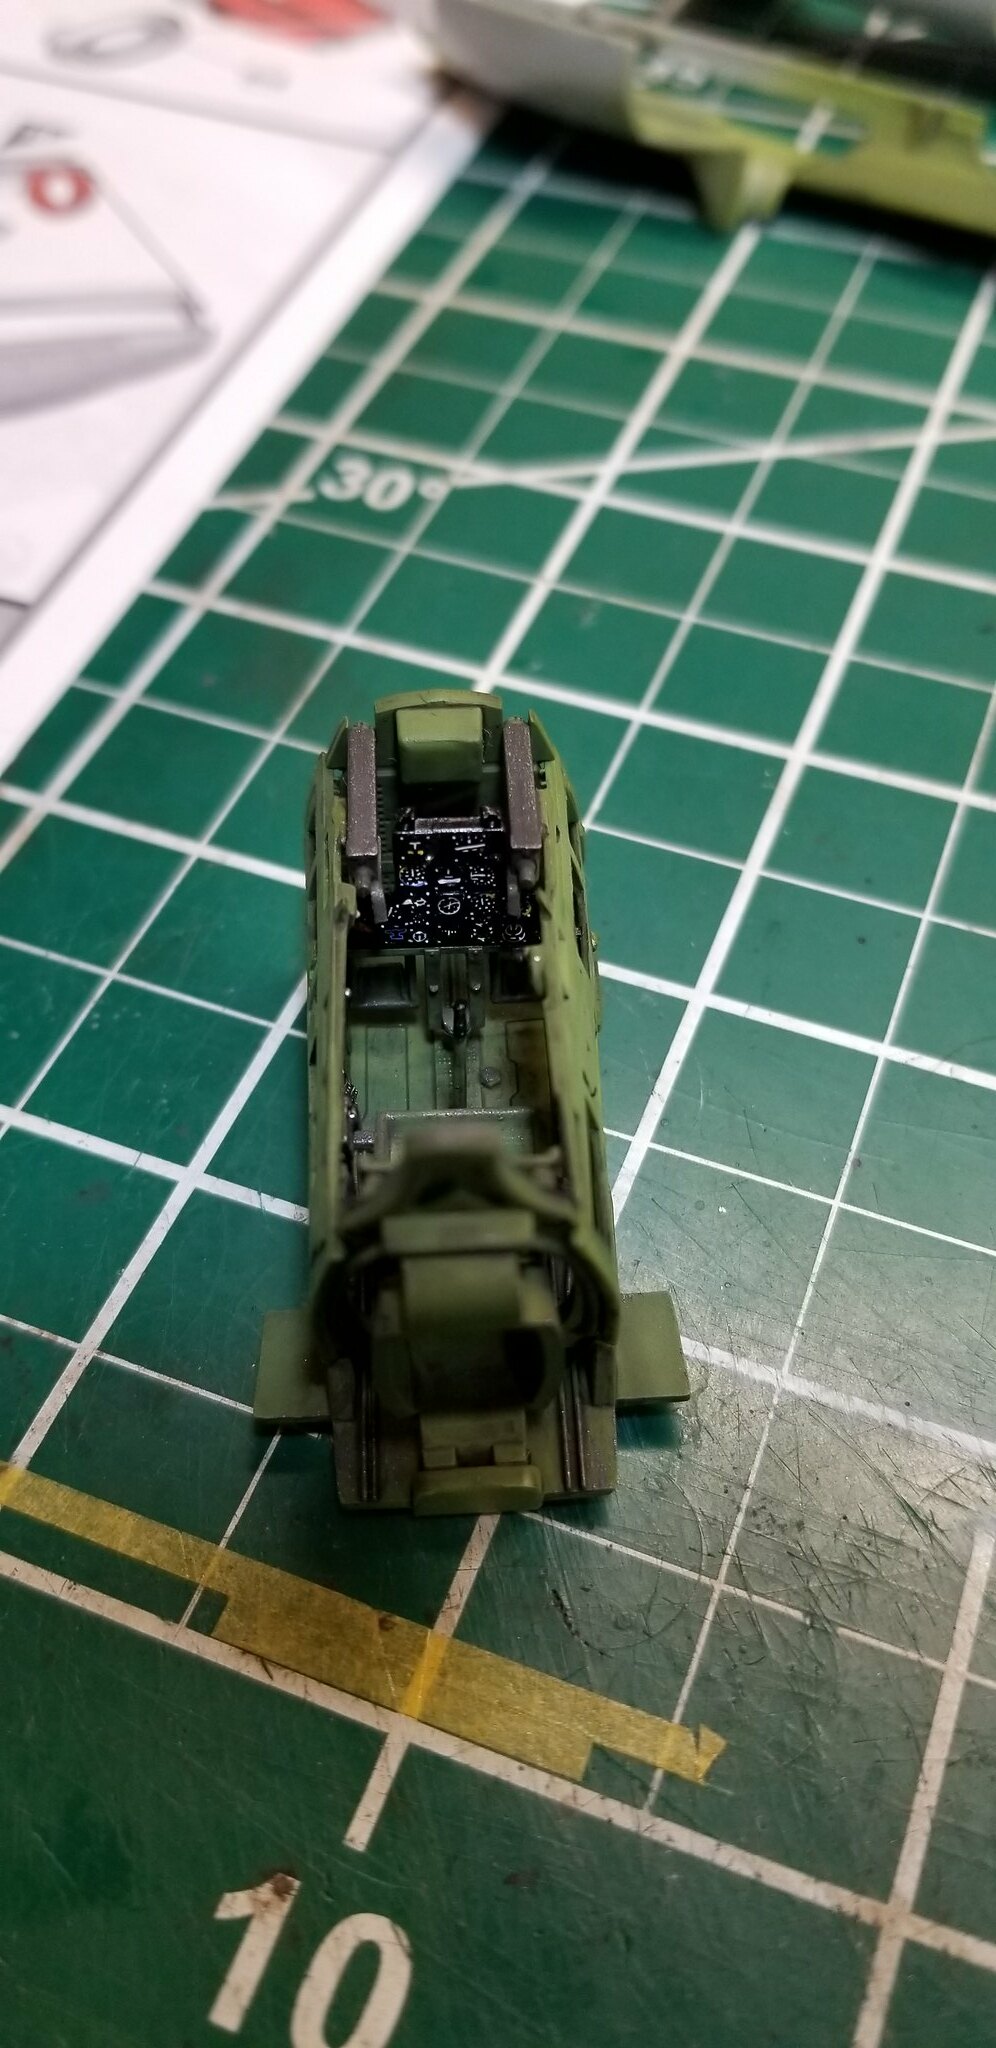
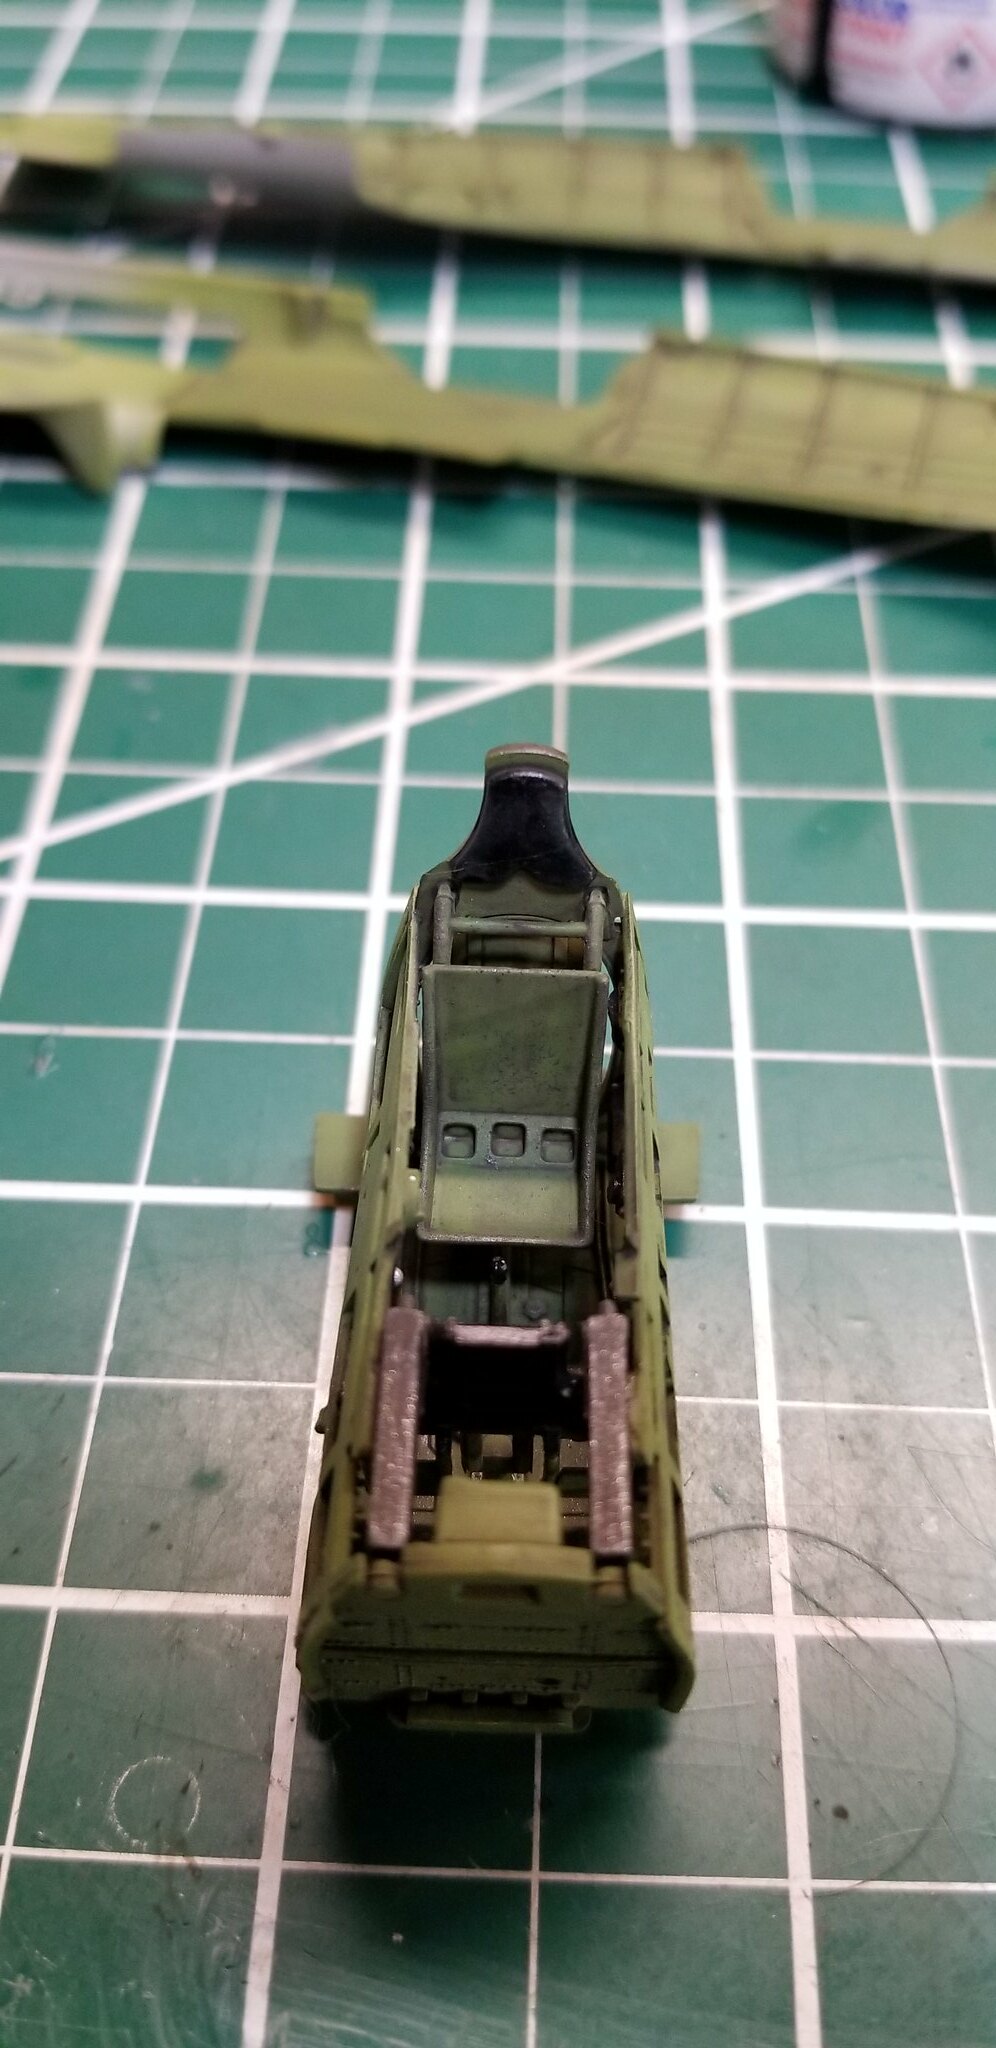
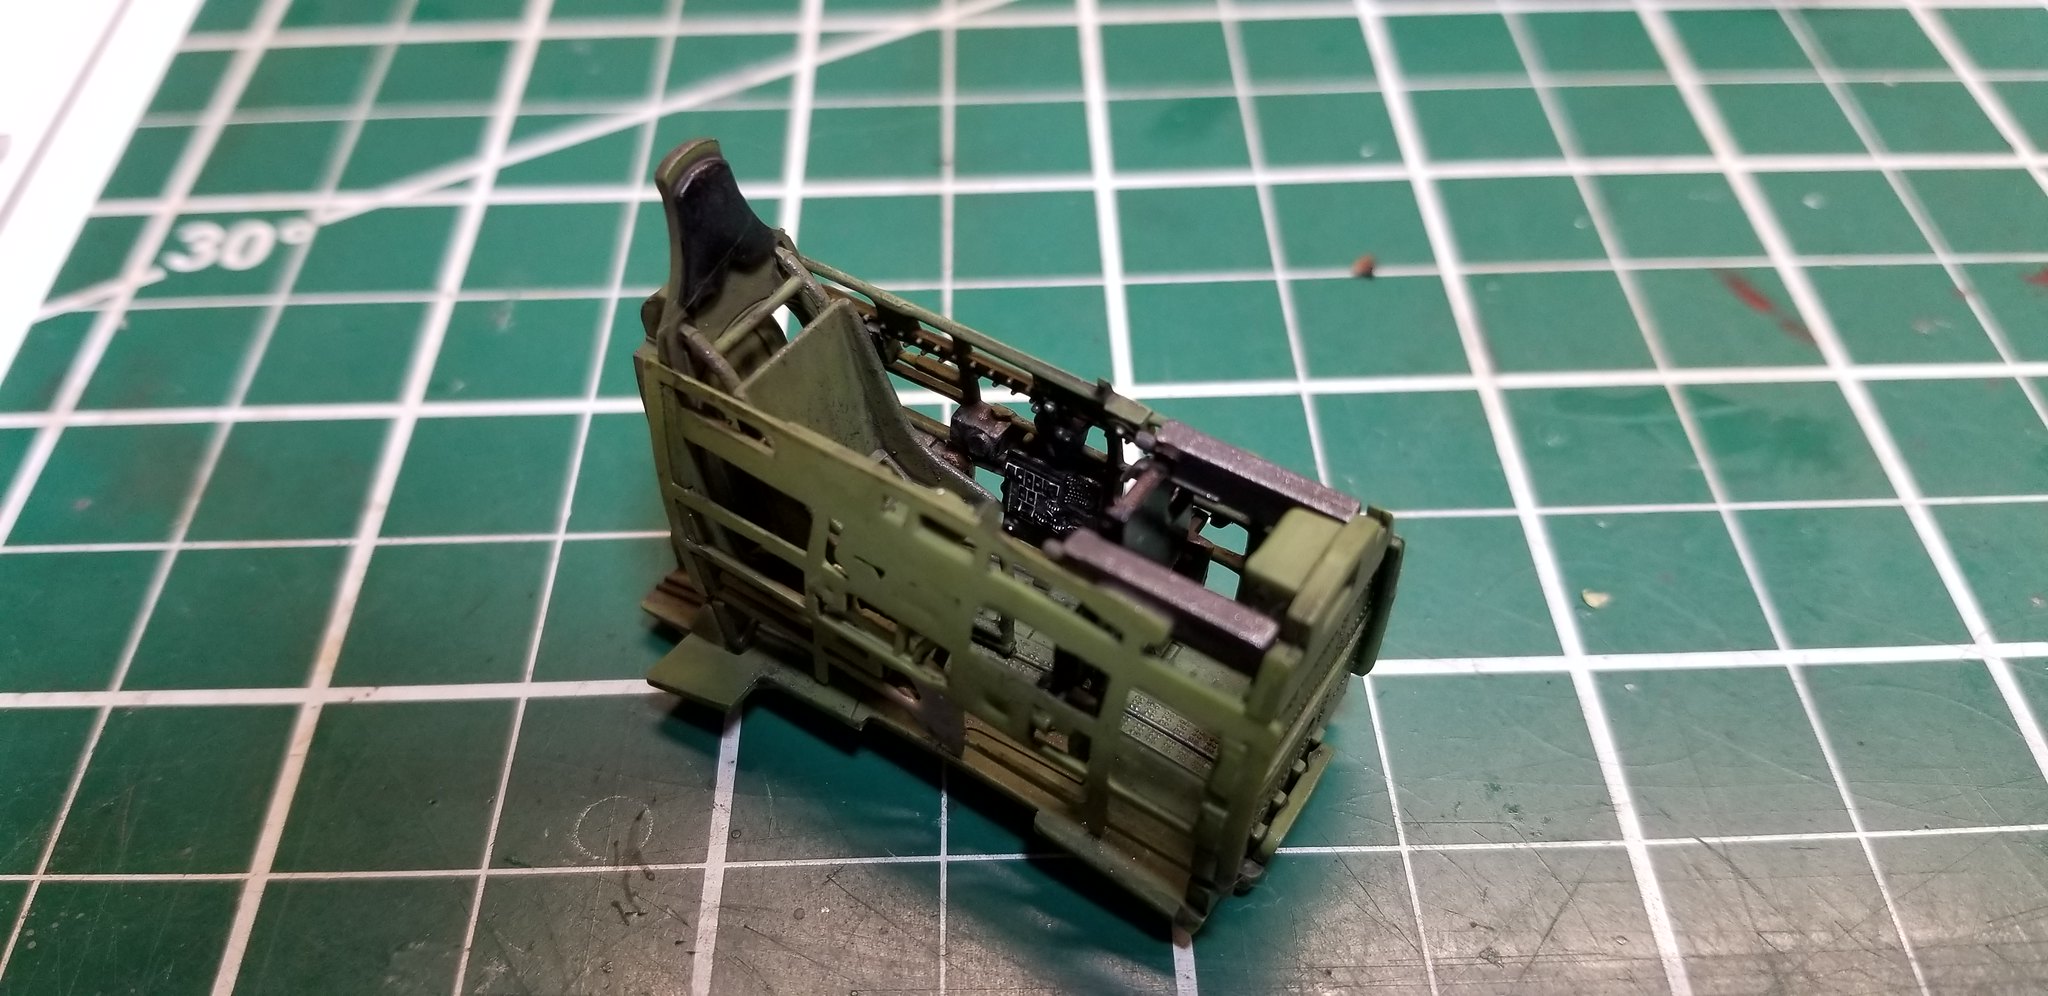
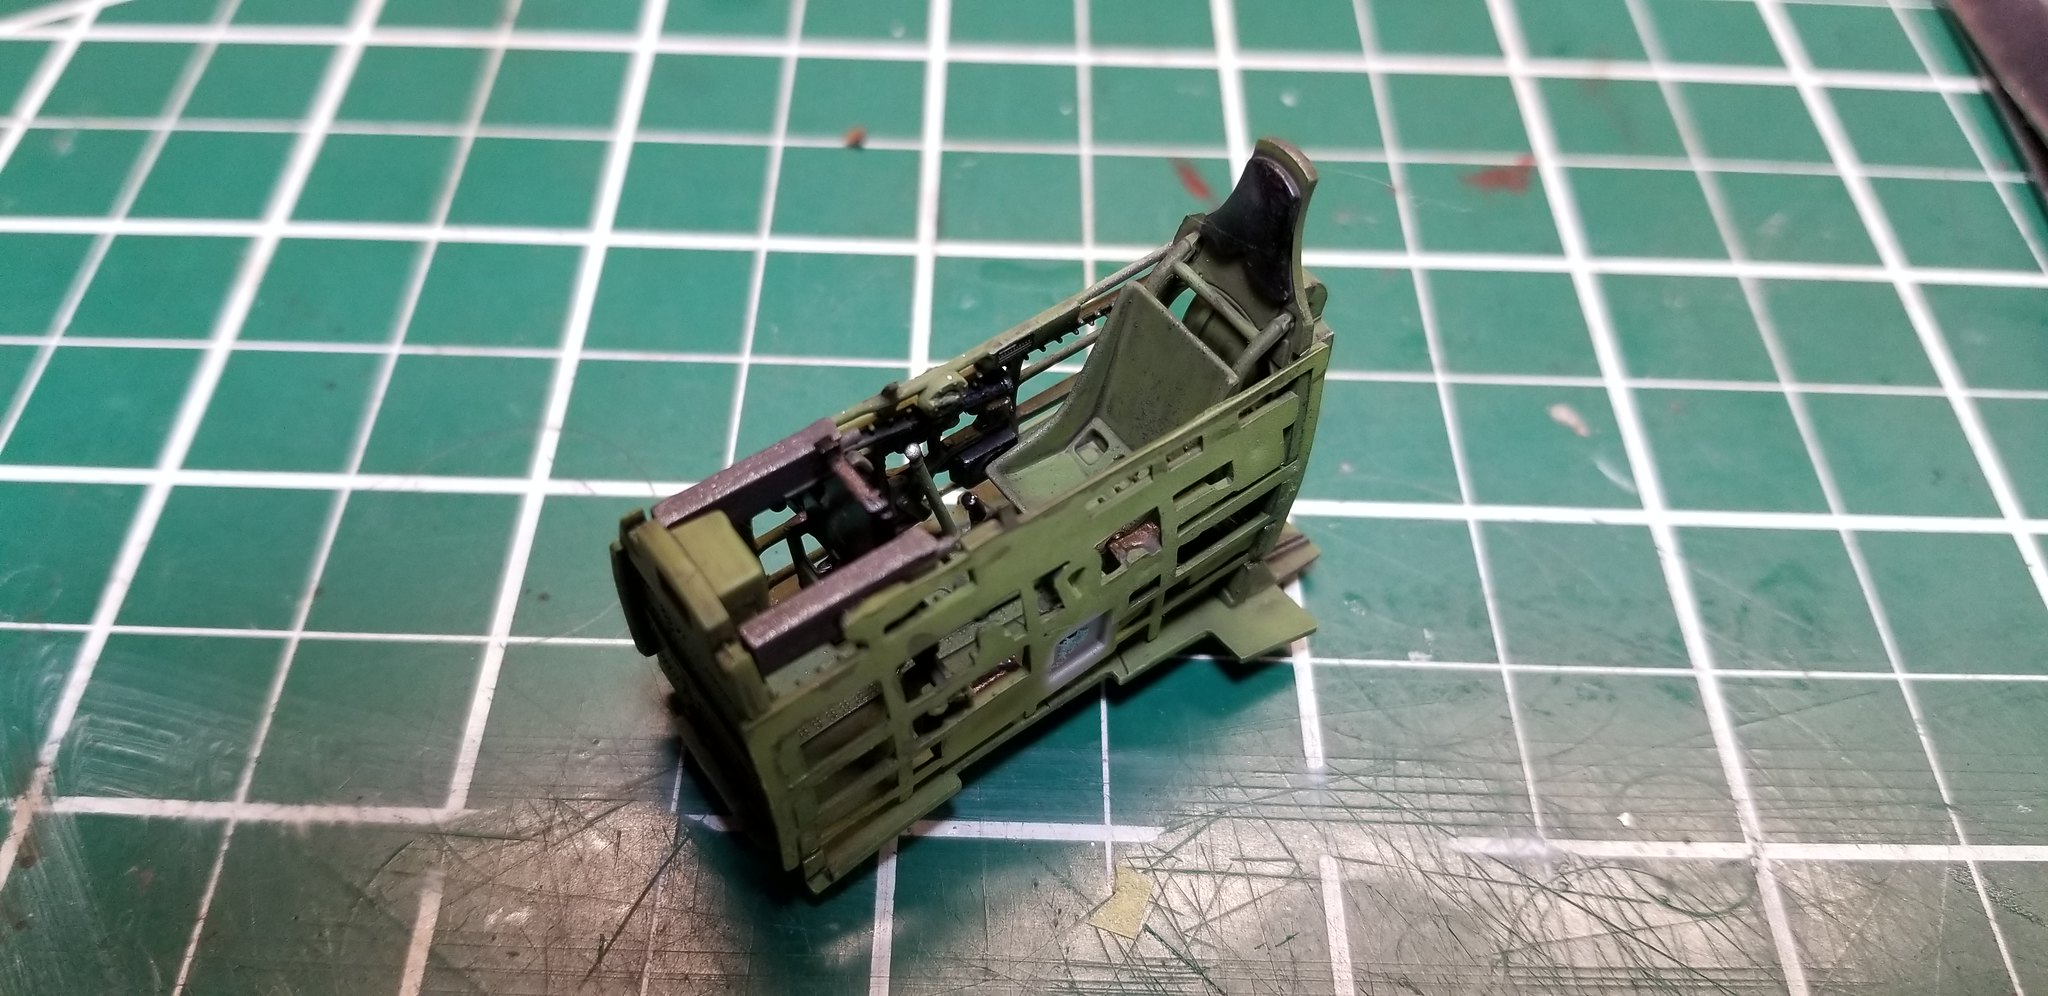
The kit's cockpit built up well.  It was a pleasure to build and paint.  I cut the instrument panel decal into a series of decals, so they would bed-down better.  I weathered it with a little drybrush of Tamiya's XF-84 Dark Iron, and I gave it a Flory Models Dark Dirt Wash.     

 20181002_080613 by Christopher Ridle, on Flickr

 20181002_080626 by Christopher Ridle, on Flickr

 20181002_080637 by Christopher Ridle, on Flickr

 20181002_080655 by Christopher Ridle, on Flickr


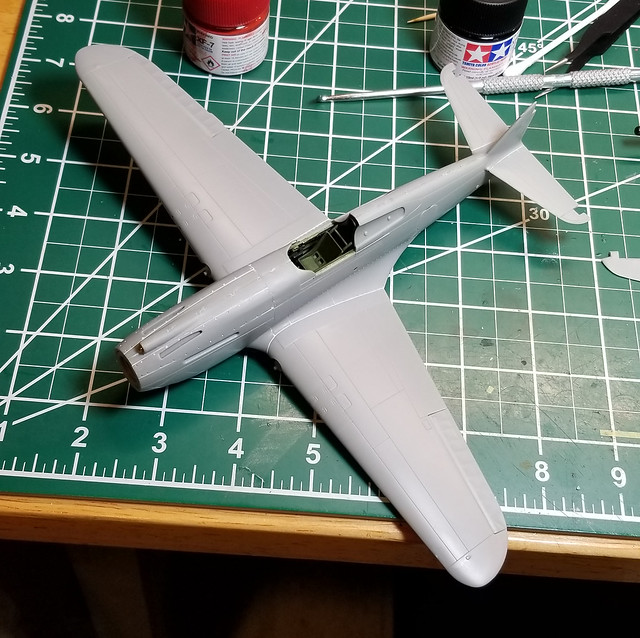
The fit isn't terrible, but it isn't perfect.  I've used some filler, but sparingly.  Additionally, the new fillers are great.  I've used Vallejo Plastic Putty on this one, and the stuff is easy to use.  I let it set up for a minute, then I smooth it out with a moist Q-Tip.  It usually needs a second appliction, but it maintains panel lines.  It also preserves nearby raised detail, and it reduces the need for sanding.   

 20181005_095238 by Christopher Ridle, on Flickr

There were some larger gaps on the bottom of the plane.  They were far from detail, so I used the old styrene/cement mix to fill gaps.   


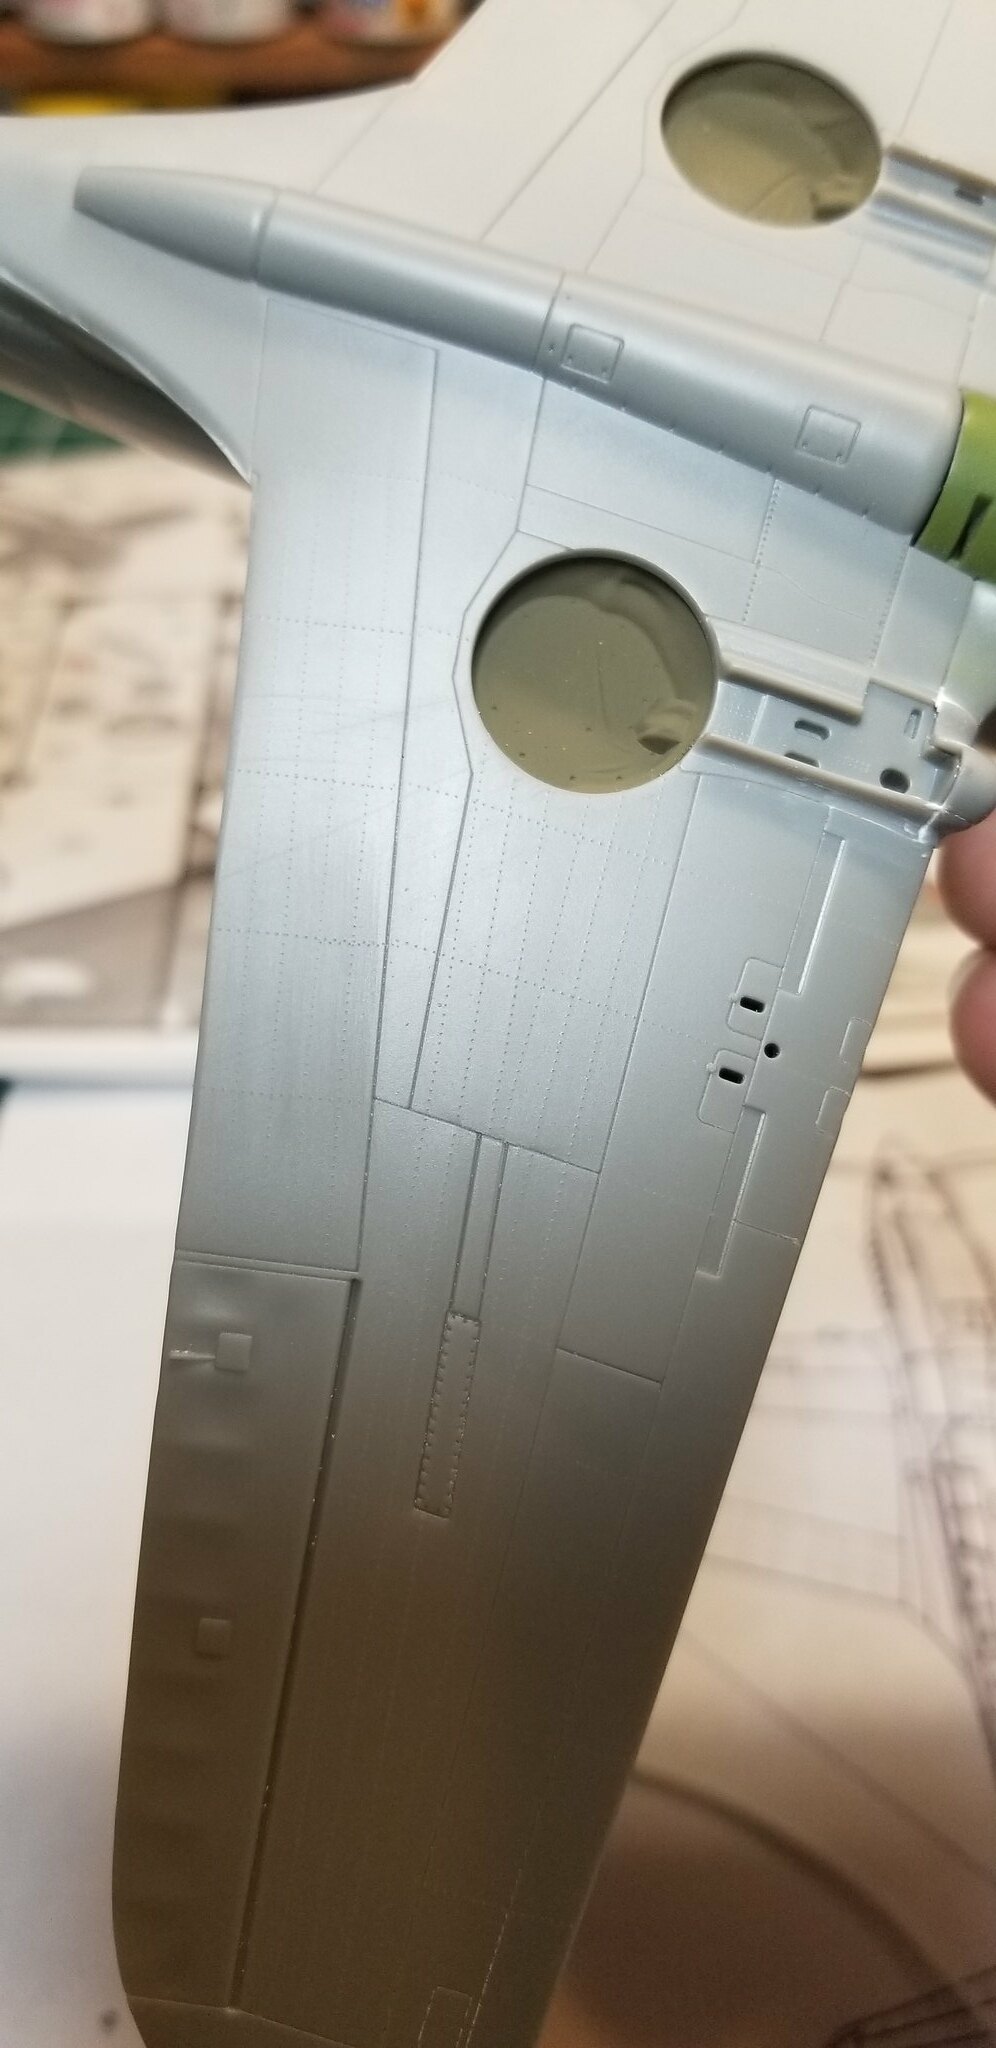
This one is pretty much OOTB.  I was temped to get some PE or resin, but I decided that there wasn't much need.  However, I did want to try something new.  I've been thoroughly impressed by added rivet detail on this forum, so I'm giving it a go.  I sat down today with some guide-tape and a Rosie-the-Riveter tool, and I had a blast.  I got the undersides of the wings and the horizontal stabilizers done.  I'm pretty happy with the results.  (you may have to zoom-in to see it).  

 20181006_020551 by Christopher Ridle, on Flickr  

That's where I'm at.  I'm having a bit of fun.  

Cheers,

Chris

  • Member since
    November 2003
  • From: State of Mississippi. State motto: Virtute et armis (By valor and arms)
Posted by mississippivol on Saturday, October 6, 2018 6:54 AM
Excellent work on the pit! The kit seems really nice at a reasonable price.
  • Member since
    November 2008
  • From: Far Northern CA
Posted by mrmike on Saturday, October 6, 2018 9:52 AM

The cockpit turned out great, especially the wear on the seats and floor. I have yet to attempt riveting - yours look straight and clean. Looking forward to the next installment!

Mike

  • Member since
    January 2017
Posted by damouav on Saturday, October 6, 2018 1:40 PM

Great work all round, really well done cockpit for stock! Fantastic hands on review of the build,  I have one of these in the stash waiting it's turn to be built and your description will come in handy.

In Progress
1/48 Tamiya P47-D Bubbletop
1/48 Hobby Boss TBF-1C Avenger (on hold)
Pending
1/48 Roden S.E.5a
1/48 Airfix Walrus
  • Member since
    August 2013
Posted by Jay Jay on Saturday, October 6, 2018 1:40 PM

OH Boy ! another P-40,my favorite.

I've been wanting to see how this Airfix kit plays out and I thank you for the WIP info. Your work is very good and doing justice to this fine kit as well.


 I'm finally retired. Now time I got, money I don't.

  • Member since
    January 2004
  • From: Brisbane Australia
Posted by ChrisJH666 on Saturday, October 6, 2018 4:52 PM

Looking like a really great build. Love the finish on that cockpit

In the queue: 1/48 Beech Staggerwing (RAAF), P38 (RAAF), Vultee Vengeance (RAAF), Spitfire Vb (Malta), Spitfire VIII x2 (RAAF), P39 x2 (RAAF), Martin Baltimore (Malta?), Martin Maryland (Malta), Typhoon NF1b, Hellcat x2 (FAA)


Chris

  • Member since
    December 2010
  • From: Salem, Oregon
Posted by 1943Mike on Saturday, October 6, 2018 10:35 PM

As others have commented, good work on the cockpit and I also appreciate the straight lines for your rivets!

When you cut up the IP decal did you use a sharp X-Acto knife or a small, sharp pair of scissors?

Mike

"Le temps est un grand maître, mais malheureusement, il tue tous ses élèves."

Hector Berlioz

  • Member since
    July 2003
  • From: Cincinnati, Ohio
Posted by ridleusmc on Saturday, October 6, 2018 11:15 PM

Thank you all very much for the kind words. 

It is a nice kit.  It doesn't fall together like a Tamiya offering.  It has more personality in that regard.  However, it's far from a bear.

I'm still enjoying my riveting.  Today I did the top of the wings, tail, and the left side of the fuselage.  The right side is all that's left.  Maybe I can get it done tomorrow.  Really, time flies when you get into riveting.  It hasn't been painfully tedius.  It's more tolerable than assembling a couple hundred pieces of track for a piece of armor.  I know my riveting isn't perfect, but I think it looks pretty darn OK.  I think it's a good feature to add to this one.  

 20181006_234829 by Christopher Ridle, on Flickr

  20181006_234823 by Christopher Ridle, on Flickr

Cheers,

Chris

  • Member since
    August 2016
Posted by Keyda81 on Saturday, October 6, 2018 11:19 PM

Looks great!  I need to get another P-40 kit, I built the Revell, but I can't say it turned out that great.  I'll consider the Airfix kit for the next one!

  • Member since
    February 2015
  • From: Wisconsin
Posted by Airborne_Trooper11B on Saturday, October 6, 2018 11:45 PM

That looks fantastic! Nice work so far! So is Airfix like the new Revell now? I always assumed it was one of those cheap-o snap-tite kits. 


  • Member since
    July 2003
  • From: Cincinnati, Ohio
Posted by ridleusmc on Sunday, October 7, 2018 12:26 AM

1943Mike

As others have commented, good work on the cockpit and I also appreciate the straight lines for your rivets!

When you cut up the IP decal did you use a sharp X-Acto knife or a small, sharp pair of scissors?


I used the old X-Acto knife.  It wasn't easy.  Those dial faces are close together.  

  • Member since
    July 2003
  • From: Cincinnati, Ohio
Posted by ridleusmc on Sunday, October 7, 2018 12:32 AM

Keyda81

Looks great!  I need to get another P-40 kit, I built the Revell, but I can't say it turned out that great.  I'll consider the Airfix kit for the next one!


It's not too expensive.  I paid $30 at my local hobby shop, but it's probably less online.  

  • Member since
    July 2003
  • From: Cincinnati, Ohio
Posted by ridleusmc on Sunday, October 7, 2018 12:38 AM

Airborne_Trooper11B

That looks fantastic! Nice work so far! So is Airfix like the new Revell now? I always assumed it was one of those cheap-o snap-tite kits. 


Apparently, you have to be careful.  Airfix's newer kits are pretty good, but their older kits aren't the best.  At least, that's what I've heard. 

I did hear that the Revell stuff was getting better before the HobbyCo bankrupcy.  I must be honest, my display case is filled with Academy, Tamiya, Trumpeter, Eduard, Hasegawa, Dragon, Italeri, and a couple of Monogram/Revell cars.  

  • Member since
    August 2016
Posted by Keyda81 on Sunday, October 7, 2018 9:17 AM

ridleusmc


Airborne_Trooper11B

That looks fantastic! Nice work so far! So is Airfix like the new Revell now? I always assumed it was one of those cheap-o snap-tite kits. 


Apparently, you have to be careful.  Airfix's newer kits are pretty good, but their older kits aren't the best.  At least, that's what I've heard. 

I did hear that the Revell stuff was getting better before the HobbyCo bankrupcy.  I must be honest, my display case is filled with Academy, Tamiya, Trumpeter, Eduard, Hasegawa, Dragon, Italeri, and a couple of Monogram/Revell cars.  


Most of the stuff I've built is Revell/Monogram.  There are maybe half a dozen Italeri, a couple Hasegawa, half a dozen minicraft, and one Tamiya.  Most Revell kits really aren't that bad, I've even had a few "fall" together like Tamiya's. 

  • Member since
    July 2016
  • From: Malvern, PA
Posted by WillysMB on Sunday, October 7, 2018 11:27 AM

I grew up on original Airfix, Revell, Monogram, Frog, Airlines, etc. when I could walk up to the local Rexall Drug and pickup a kit for a buck. They were crude, really intended as toys to be flown and crashed until you had another buck burning a hole in your pocket. As time went on though, I started to perceive that some of those kits looked pretty good if I was more careful with assembly and actually put some paint on them, even the old Airfix with their pie plate rivets, movable control surfaces, and thick canopies looked good sitting on my shelves - then I needed more shelves as more got kept and fewer crashed. By the time I was in high school, the Airfix Stirling, SM-79, and Grief were the lusted after items that went on the Christmas list, and I was just discovering Heller and Italaeri.

Hasegawa and Tamiya set a new bar for quality, but also price. I'm so glad to see Airfix and Revell producing fine kits at reasonable prices. We need those if the hobby is going to continue to flourish.

  • Member since
    July 2003
  • From: Cincinnati, Ohio
Posted by ridleusmc on Sunday, October 7, 2018 4:10 PM

I do have to mention a couple of the nice touches in this kit.  It comes with a nicely molded pilot figure, and it comes with the landing gear parts to model the plane in flight.  I won't be using these, but it's nice that they are in the kit. 

Also, it comes with two sets of tires.  One pair is weighted for a sitting display, and one pair is round for an in-flight display.  Additionally, the tires are molded as seperate parts from the wheel hubs.  That will make painting easy.    

  • Member since
    January 2013
Posted by BlackSheepTwoOneFour on Sunday, October 7, 2018 7:16 PM

Heh... Airfix has been banging out phenomenal kits in the last couple years. Old news here...

  • Member since
    July 2003
  • From: Cincinnati, Ohio
Posted by ridleusmc on Sunday, October 7, 2018 11:40 PM

I like to write out my impressions of kits.  I like to read other people's impressions of kits.  It's helpful.  This one has some nice touches. I'm pleasantly suprised.     

  • Member since
    June 2013
Posted by bvallot on Wednesday, October 10, 2018 11:07 AM

Really like what you‘ve got there Chris. I’m gonna have to give it a try one day. 

On the bench:  

Tamiya F4U-1  Kenneth Walsh


  • Member since
    December 2014
Posted by Rory T on Sunday, October 14, 2018 4:49 PM

Agre with you in order to attract new people as well as keep those in the hobby there has to be affordable kits. I think most of the people in this hobby are on a budget me included. I do have a couple $100 kits but there the exception  to my stash,  as well there has to be something said about building and learning how to overcome some of shortcomings of these less than stellar kits. Iam not going to say I enjoy all hurtles in some these kits but it teaches and the feeling of accomplishmeant when you get it right or what you perceive as right. most of us can point to a kit on the shelf that was a bear to build and may not be the sharpest looking but is one you are most proud of. 

  • Member since
    September 2006
  • From: Bethlehem PA
Posted by the Baron on Friday, October 19, 2018 12:51 PM

I love your riveting details!  That really does add some depth to the kit detail.

As far as Airfix quality past and present goes, I'd be more solicitous than to say it used to be sub-par.  Rather, consider their previous kits as a product of their time.  Airfix produced an extensive catalog and they were pretty much the premier producer of 1/72 airplane kits.  It's not that they weren't good kits, but rather, our tastes have changed, and the demand for detail and quality has changed.  And yes, their new kits reflect our demands today.  This kit is an excellent example of the new Airfix standard.  Those of us who built the old kits as kids now look forward to seeing our favorite subjects get retooled and re-released today.

I look forward to seeing your progress on this build, and maybe some other of their new kits, too!

Best regards,

Brad

The bigger the government, the smaller the citizen.


  • Member since
    August 2014
  • From: Willamette Valley, Oregon
Posted by goldhammer on Friday, October 19, 2018 1:17 PM

Nice work on it so far.  Ther rivits are a little more than I want to go on the one I have got a basic start on.


Keyda-  It can be had if you have a Hoby Lobby close by and the coupon for around $17-18 IIRC

  • Member since
    July 2003
  • From: Cincinnati, Ohio
Posted by ridleusmc on Sunday, October 21, 2018 4:02 PM

Thank you everyone,

I've done some painting, pre-shading, and masking.  I decided not to prime.  I started with the underside color, XF-55 Deck tan.  Then I shaded panel lines, followed by more Deck Tan.  I'm happy with the underside, so I'll mask it off for the upper camouflage. 

 20181016_182929 by Christopher Ridle, on Flickr 

 20181017_170546 by Christopher Ridle, on Flickr

 20181021_165208 by Christopher Ridle, on Flickr

 20181021_165220 by Christopher Ridle, on Flickr

 20181021_165239 by Christopher Ridle, on Flickr

Thank you for looking,

Chris

  • Member since
    April 2003
  • From: USA
Posted by keavdog on Sunday, October 21, 2018 4:17 PM

Looking good.  I bought my first airfix kit (1/48 defiant) in years a couple months ago after reading so many good reviews of their new stuff.  Rivit detail looks great. Do you use a pounce wheel for that?

Thanks,

John

  • Member since
    July 2003
  • From: Cincinnati, Ohio
Posted by ridleusmc on Sunday, October 21, 2018 7:13 PM

I applied the brown.  It's XF-52 Flat Earth.  I like the look of it.  I'll give it some green tomorrow or Tuesday.  

 20181021_193543 by Christopher Ridle, on Flickr

 20181021_193529 by Christopher Ridle, on Flickr

 20181021_193524 by Christopher Ridle, on Flickr

 20181021_193518 by Christopher Ridle, on Flickr

 20181021_193513 by Christopher Ridle, on Flickr

  • Member since
    July 2003
  • From: Cincinnati, Ohio
Posted by ridleusmc on Sunday, October 21, 2018 7:17 PM

keavdog

Looking good.  I bought my first airfix kit (1/48 defiant) in years a couple months ago after reading so many good reviews of their new stuff.  Rivit detail looks great. Do you use a pounce wheel for that?


Yes, it's a pounce wheel.  To be specific, it was a "Rosie the Riveter" 0.65mm single row.  I was suprised by how easy it was.  I just put down a strip of masking tape as a guide to follow.  Then I'd zip down the panel next to the tape.  Easy-Peasy-Lemon-Squeezy.  

  • Member since
    May 2006
  • From: Chapin, South Carolina
Posted by Shipwreck on Monday, October 22, 2018 6:12 AM

Rory T

Agre with you in order to attract new people as well as keep those in the hobby there has to be affordable kits. I think most of the people in this hobby are on a budget me included. I do have a couple $100 kits but there the exception  to my stash,  as well there has to be something said about building and learning how to overcome some of shortcomings of these less than stellar kits. Iam not going to say I enjoy all hurtles in some these kits but it teaches and the feeling of accomplishmeant when you get it right or what you perceive as right. most of us can point to a kit on the shelf that was a bear to build and may not be the sharpest looking but is one you are most proud of. 


Several years ago I called Revell About a problem; ended up talking to someone about shake-bake kits verses the extra work required to put together the older kits. He called it modeling!

On the Bench:

Revell 1/96 USS Constitution - rigging

Kinetic 1/48 YF-104A 5-2957

Trumpeter 1/350 USS Hornet CV-8

Revell 1/48 B-1B Lancer Prep & Reasearch


  • Member since
    July 2003
  • From: Cincinnati, Ohio
Posted by ridleusmc on Wednesday, October 24, 2018 7:50 PM

I got some green on it!

Honestly, the green doesn't look as faded and worn as the brown or the grey underside.  I may give it some post shading, or I may just let wash and weathering sort it out.  I blew the kit's painting instructions up to 250% and traced out much of the pattern onto Frisket Film.  I held down the edges of the film with Tamiya tape.  Removing the masking took some brown paint away near the left wing-tip, but that's easily fixed.  The underside is Tamiya XF-55 Deck Tan.  The brown is XF-52 Flat Earth, and the green is XF-13 J.A. Green.  There are two spots on either side of the fuselage in Olive Drab (XF-62).  Those spots get a squadron marking decal. 

 20181024_200506 by Christopher Ridle, on Flickr

 20181024_200513 by Christopher Ridle, on Flickr 

 20181024_200520 by Christopher Ridle, on Flickr

 20181024_200527 by Christopher Ridle, on Flickr

Thanks for looking,

Chris

  • Member since
    April 2003
  • From: USA
Posted by keavdog on Thursday, October 25, 2018 2:12 AM

Looks great Chris.  Really nice seam work.  Colors looks good to me.  I airbrushed a MIG tint over my horrible KFir and it really blended the colors.  Just a thought. 

Thanks,

John

  • Member since
    January 2017
Posted by damouav on Thursday, October 25, 2018 3:31 AM

Great work Chris, very impressive.

Damian

In Progress
1/48 Tamiya P47-D Bubbletop
1/48 Hobby Boss TBF-1C Avenger (on hold)
Pending
1/48 Roden S.E.5a
1/48 Airfix Walrus
JOIN OUR COMMUNITY!

Our community is FREE to join. To participate you must either login or register for an account.

SEARCH FORUMS
FREE NEWSLETTER
By signing up you may also receive reader surveys and occasional special offers. We do not sell, rent or trade our email lists. View our Privacy Policy.