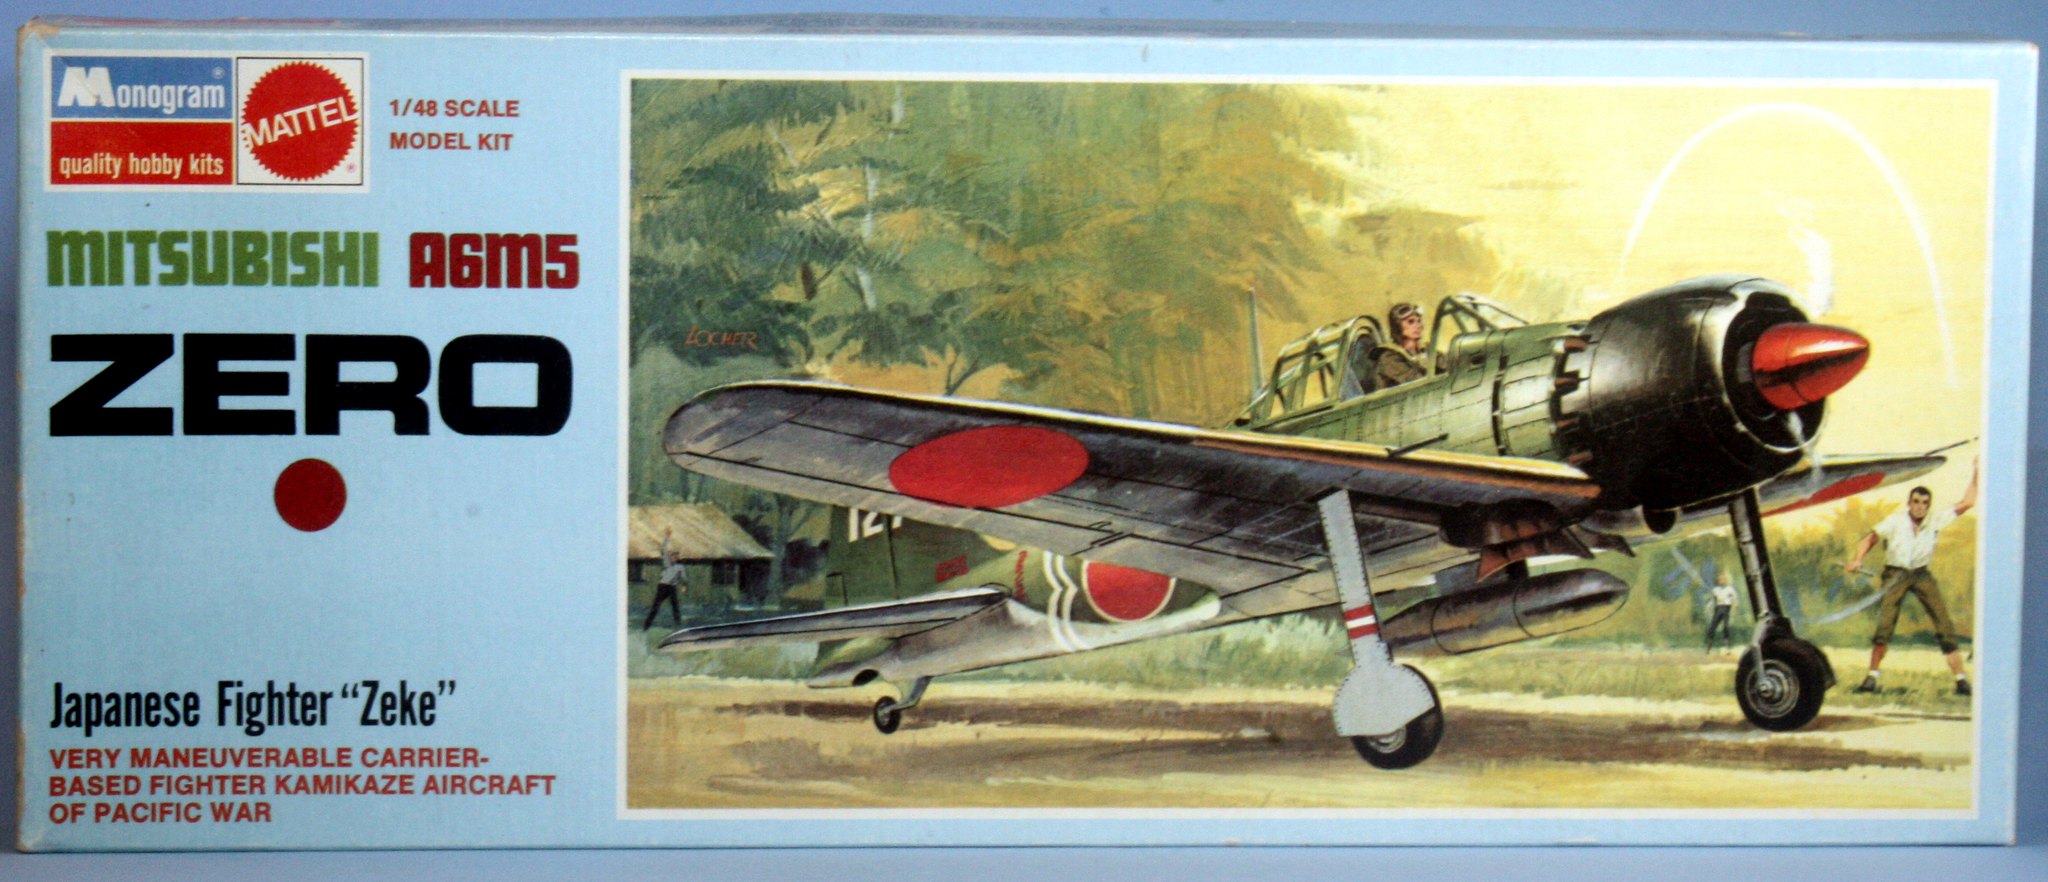
This is the 12th build in my Year of the Axis Build, the ancient Monogram A6M5 Zero. I believe this was first released about 1962.

When I decided that this year was going to focus on nothing but Axis subjects, I started the year with Tamiya's awesome A6M5 Zero in 1/32 with an eye toward ending the year with a multi-build of Pearl Harbor attackers. I had the required aircraft in my stash ... or so I thought. I had this kit, and I had Tamiya's A6M5/5a Zero in 1/48. But the Zeros that attacked Pearl Harbor were A6M2 variants; the only one of those that I have is currently hanging from the ceiling of my work shop. I originally was not even going to build this old Monogram kit, but decided to add it to the bench as I was not going to acquire another Zero kit just to build a Pearl Harbor Zero. The 1/48 Tamiya kit is still a work-in-progress at this point.
So this old kit, which I have built a few times before, found its way to my bench ... and immediately became a challenge. Any one who has built these old Monogram kits know that there is scant detail included for the interior areas. No matter how much I may just want to build the model and move on, I simply cannot resist upgrading these old kits. Mostly I scratch-build interior parts or, as I did on the old Monogram F4F Wildcat a couple years ago, I scavenge parts from other kits that were broken beyond repair to add to these Monogram kits. The Monogram kits can build into nice models, but you have to be willing to put in some elbow grease for things like cockpits or wheel wells.
So I started with the wheel wells. I cut tiny strips of sheet styrene to build up the well walls, then put the "ceiling" in place.

I also put some ribbing in place inside the wheel wells to give it some detailing.

Moving on to the cockpit, I added some styrene to the side wall areas.


Next I did a bunch of measuring to get a mostly correctly sized cockpit floor, built up foot pedals and added the control column.


I used the Tamiya kit as a guide for all of this. I put together a rear bulk head that the seat mounts to based on the Tamiya part.

Then came the seat, again modeled after the Tamiya kit part.

Here is some of this scratch-built work with paint - Vallejo Aotake and Tamiya Japanese interior green.


I made my own set of seat belts out of aluminum foil covered with Tamiya tape, then painted a dark khaki color. I could have used the decal from the Tamiya kit but thought this would actually look better. Here is the seat mounted in place on the bulk head.

The Monogram kit does include an instrument panel intended for use with a kit-supplied decal. I had decided not to use the kit decals due to their age, so I cut some dials off an old Mike Grant decal sheet I have for this necessity. Not accurate in the slightest, but it is all closed up and not really visible.

Here is the cockpit floor mounted in place inside the assembled fuselage.


At this point I set this kit aside and focused on the other builds I was working on, and worked only sporadically through the month of November. I got back to the work bench of a more frequent basis after Thanksgiving ... and here is the result.
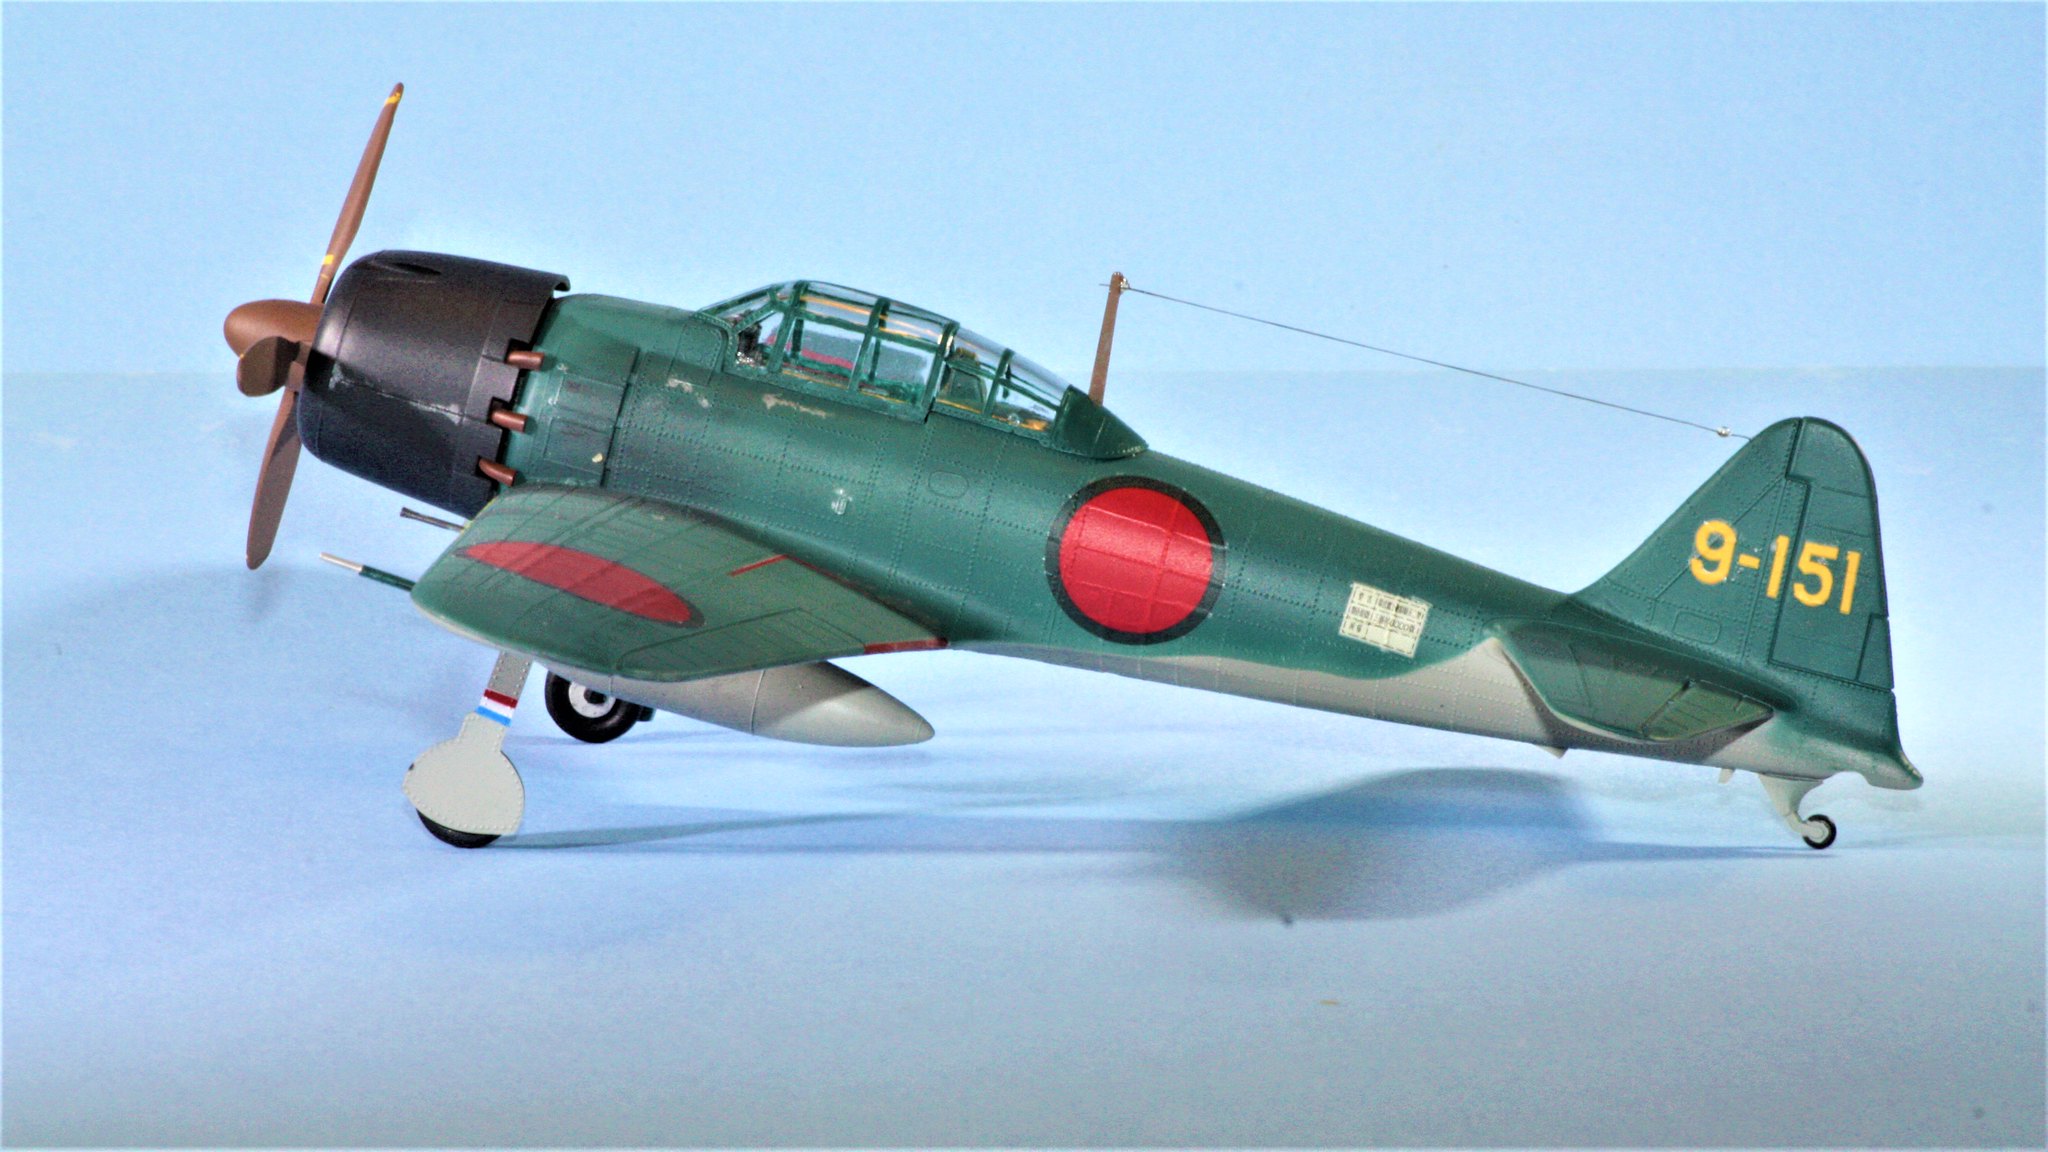

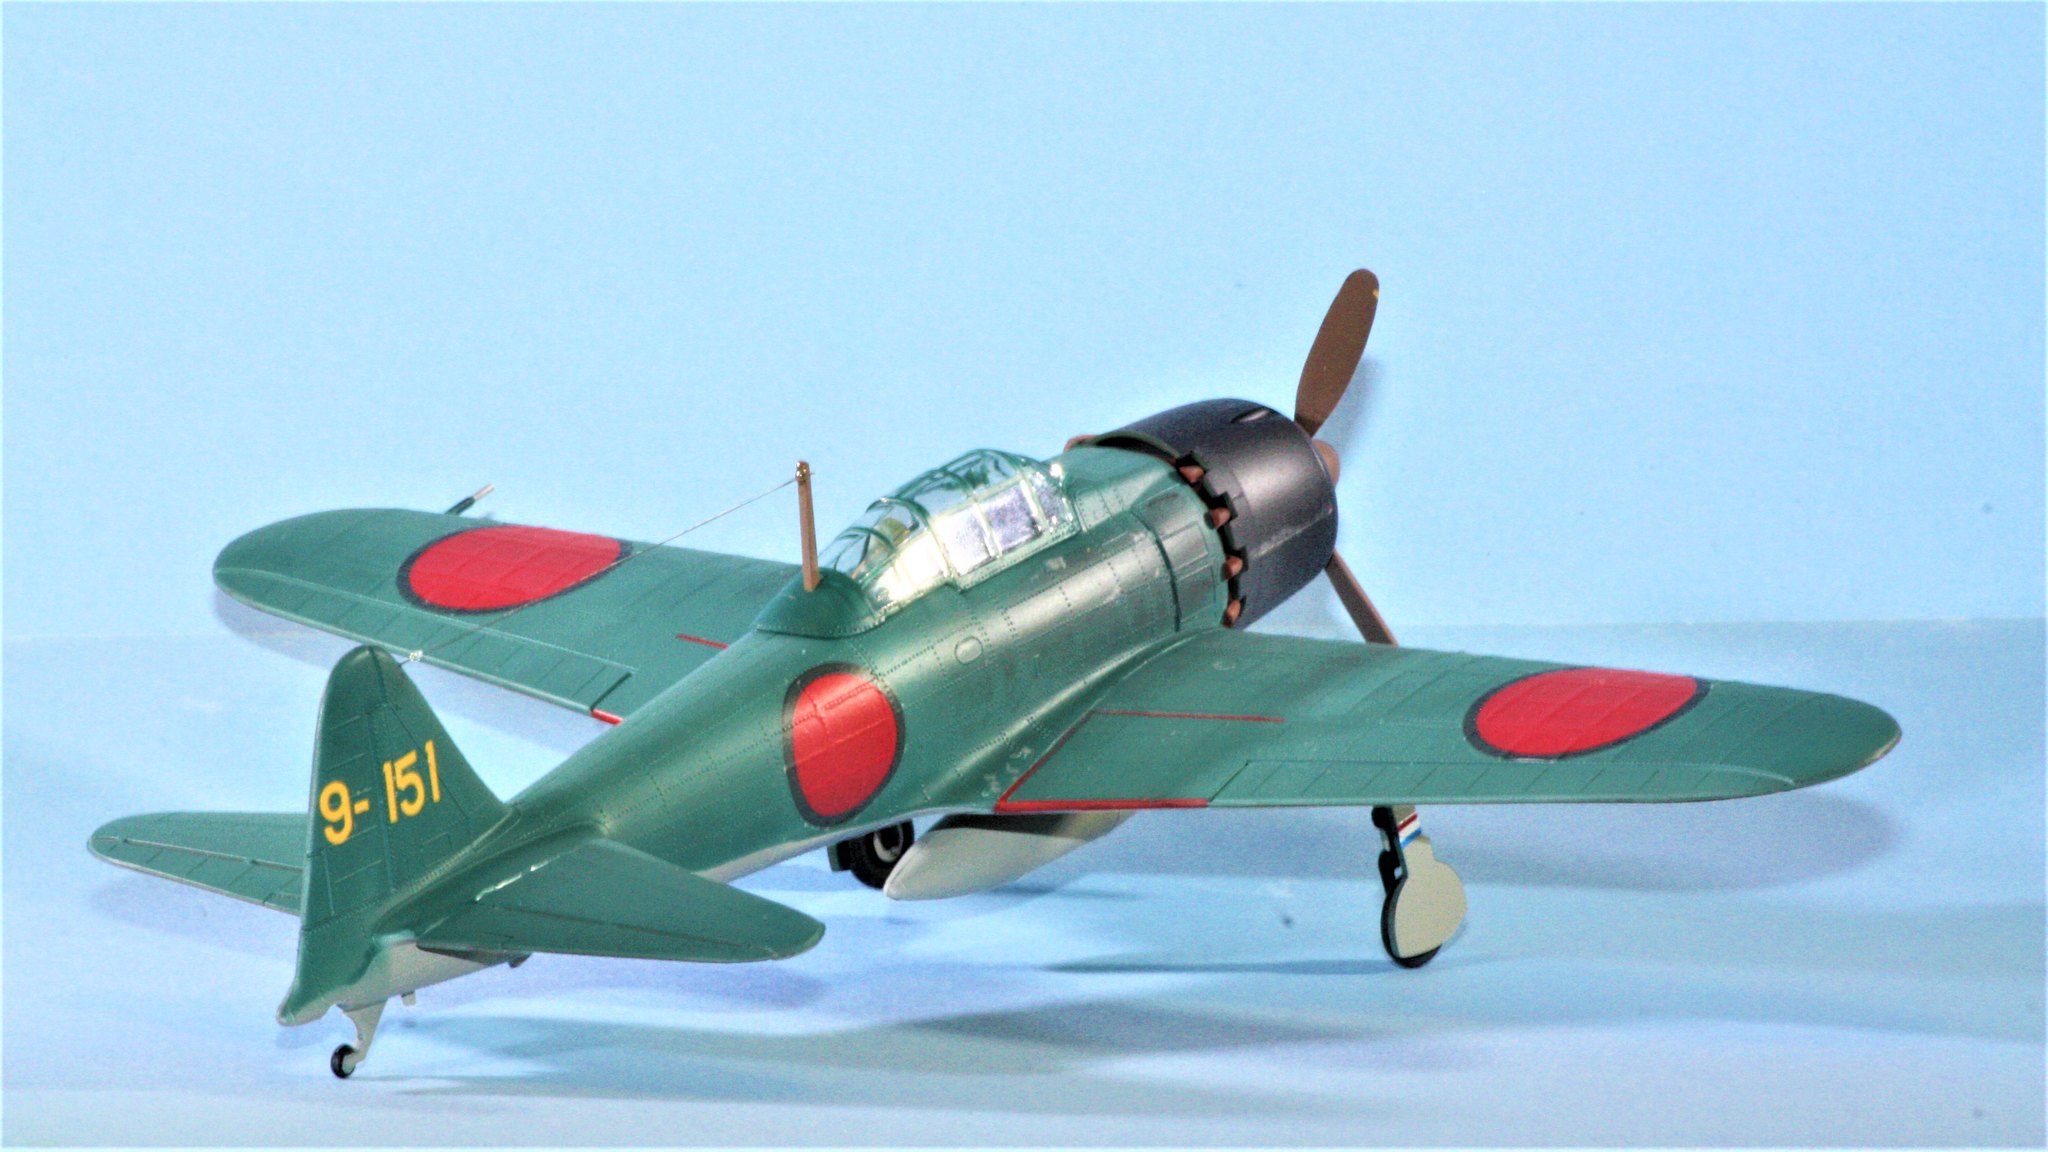
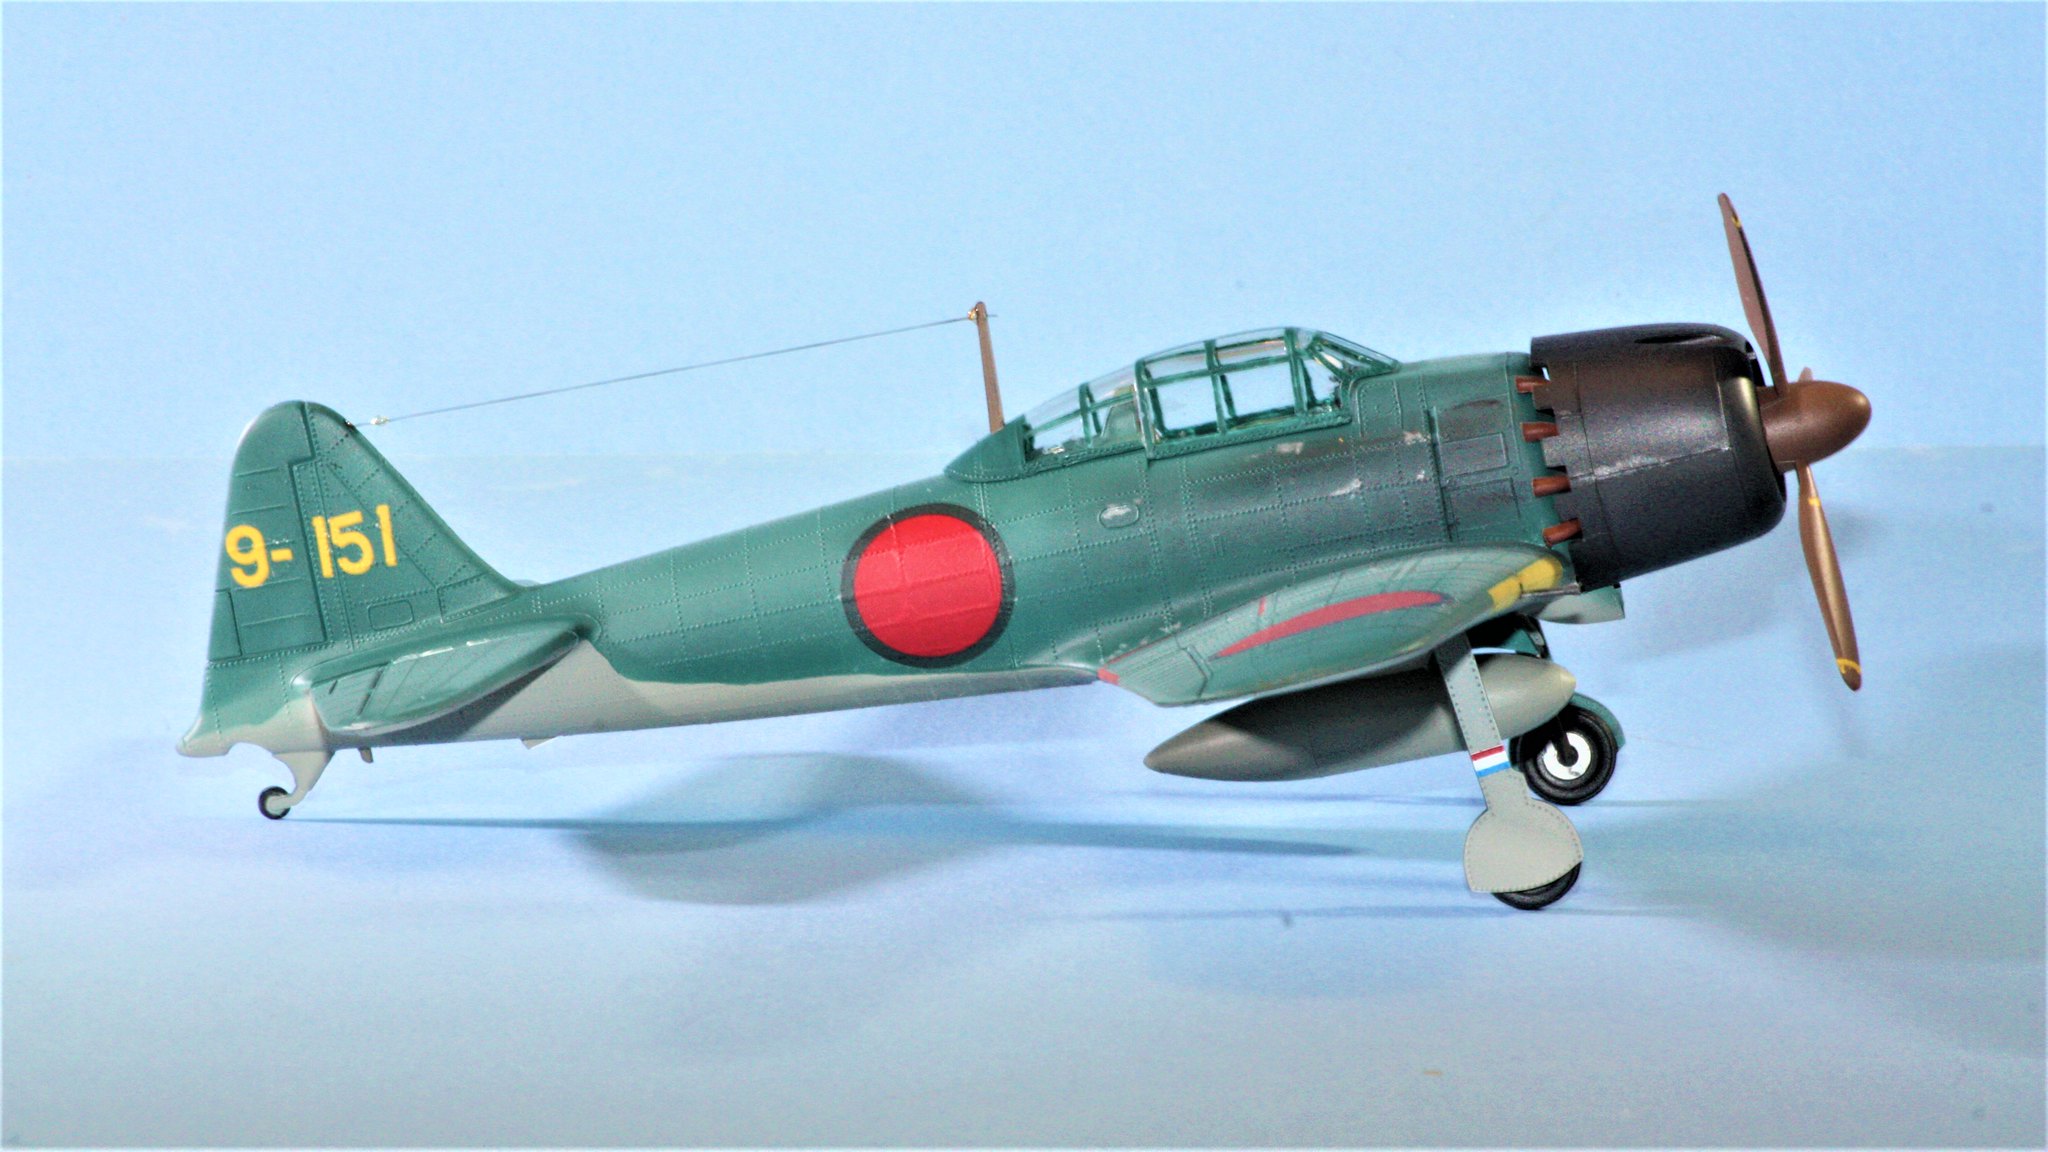
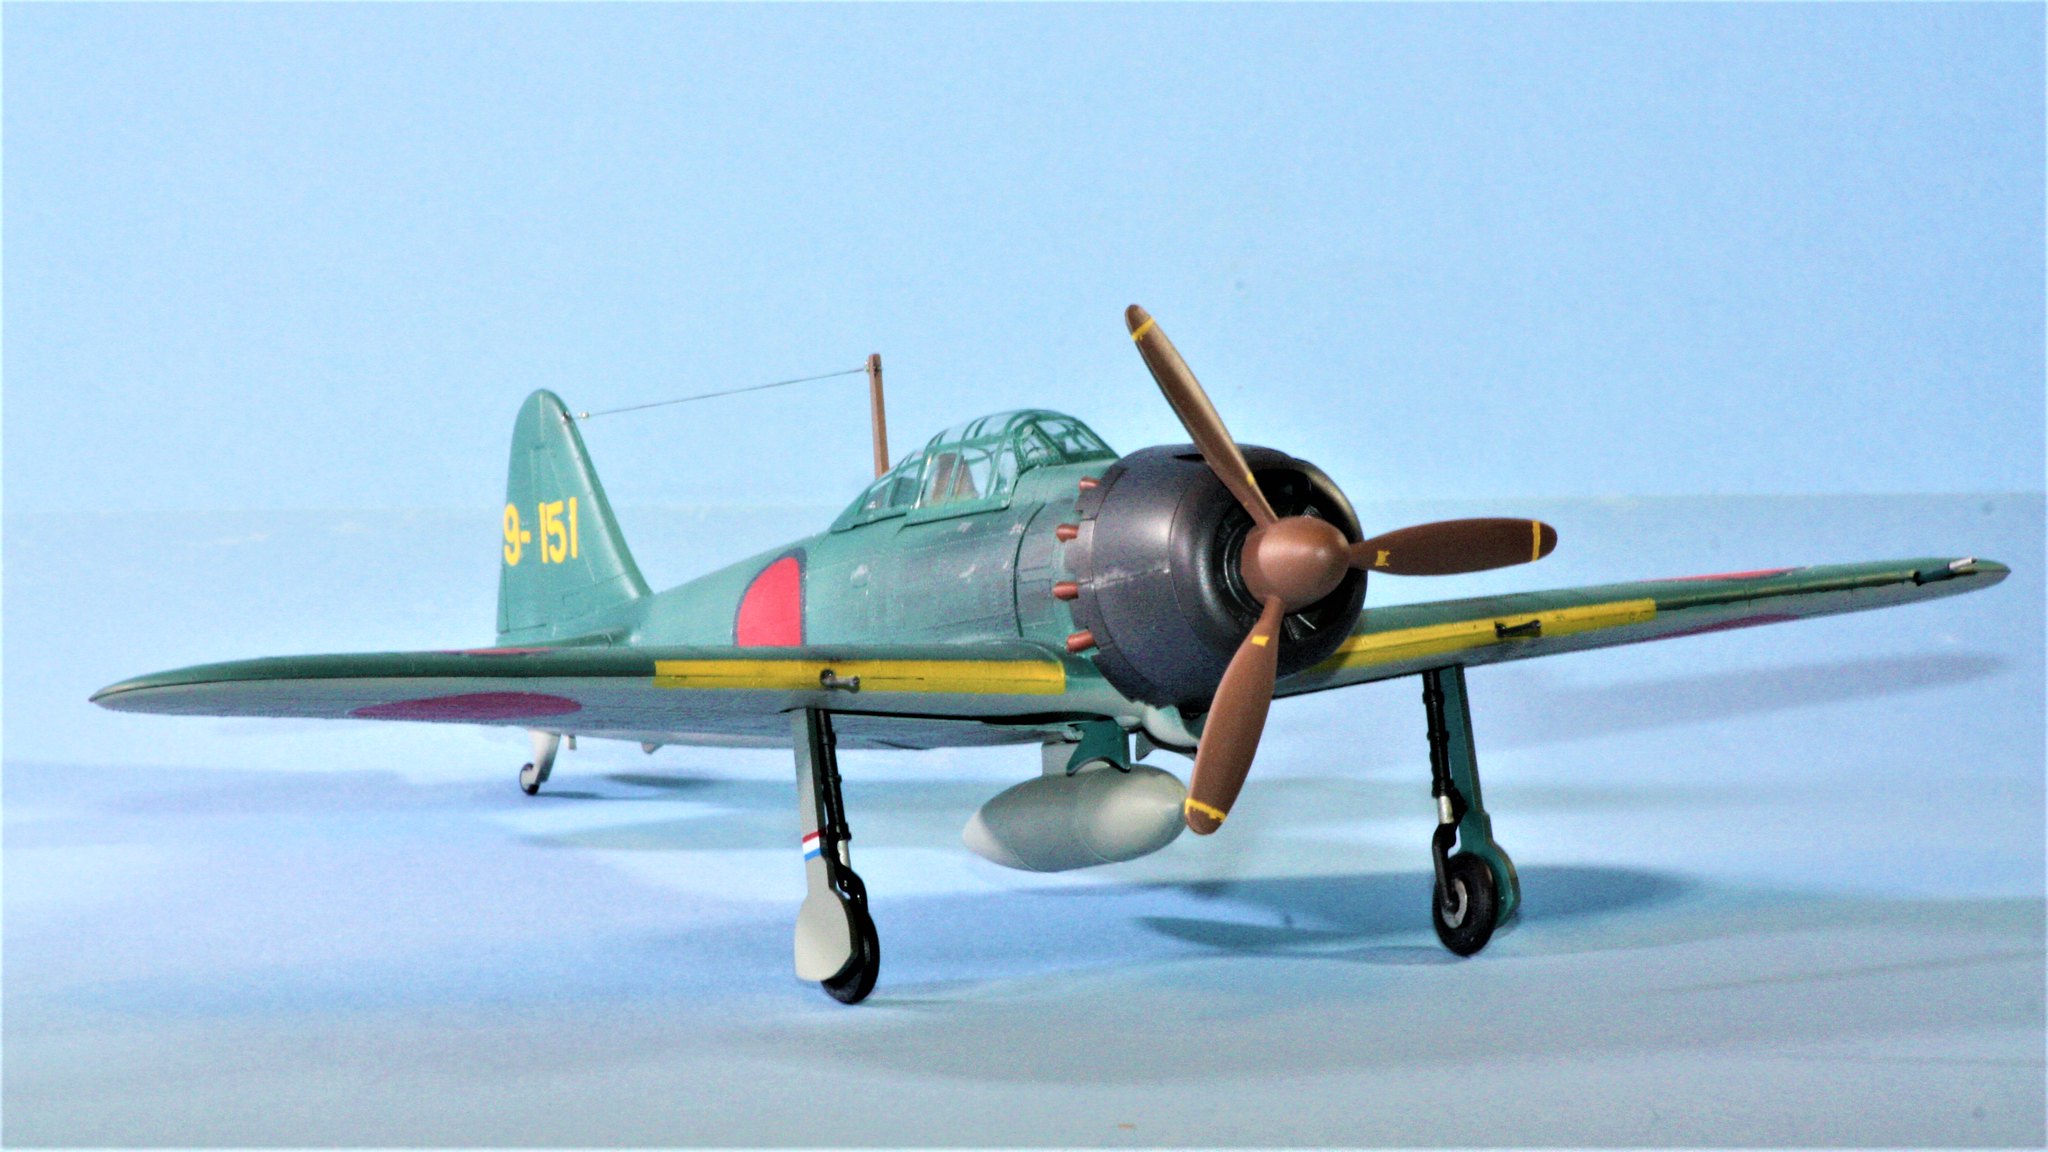
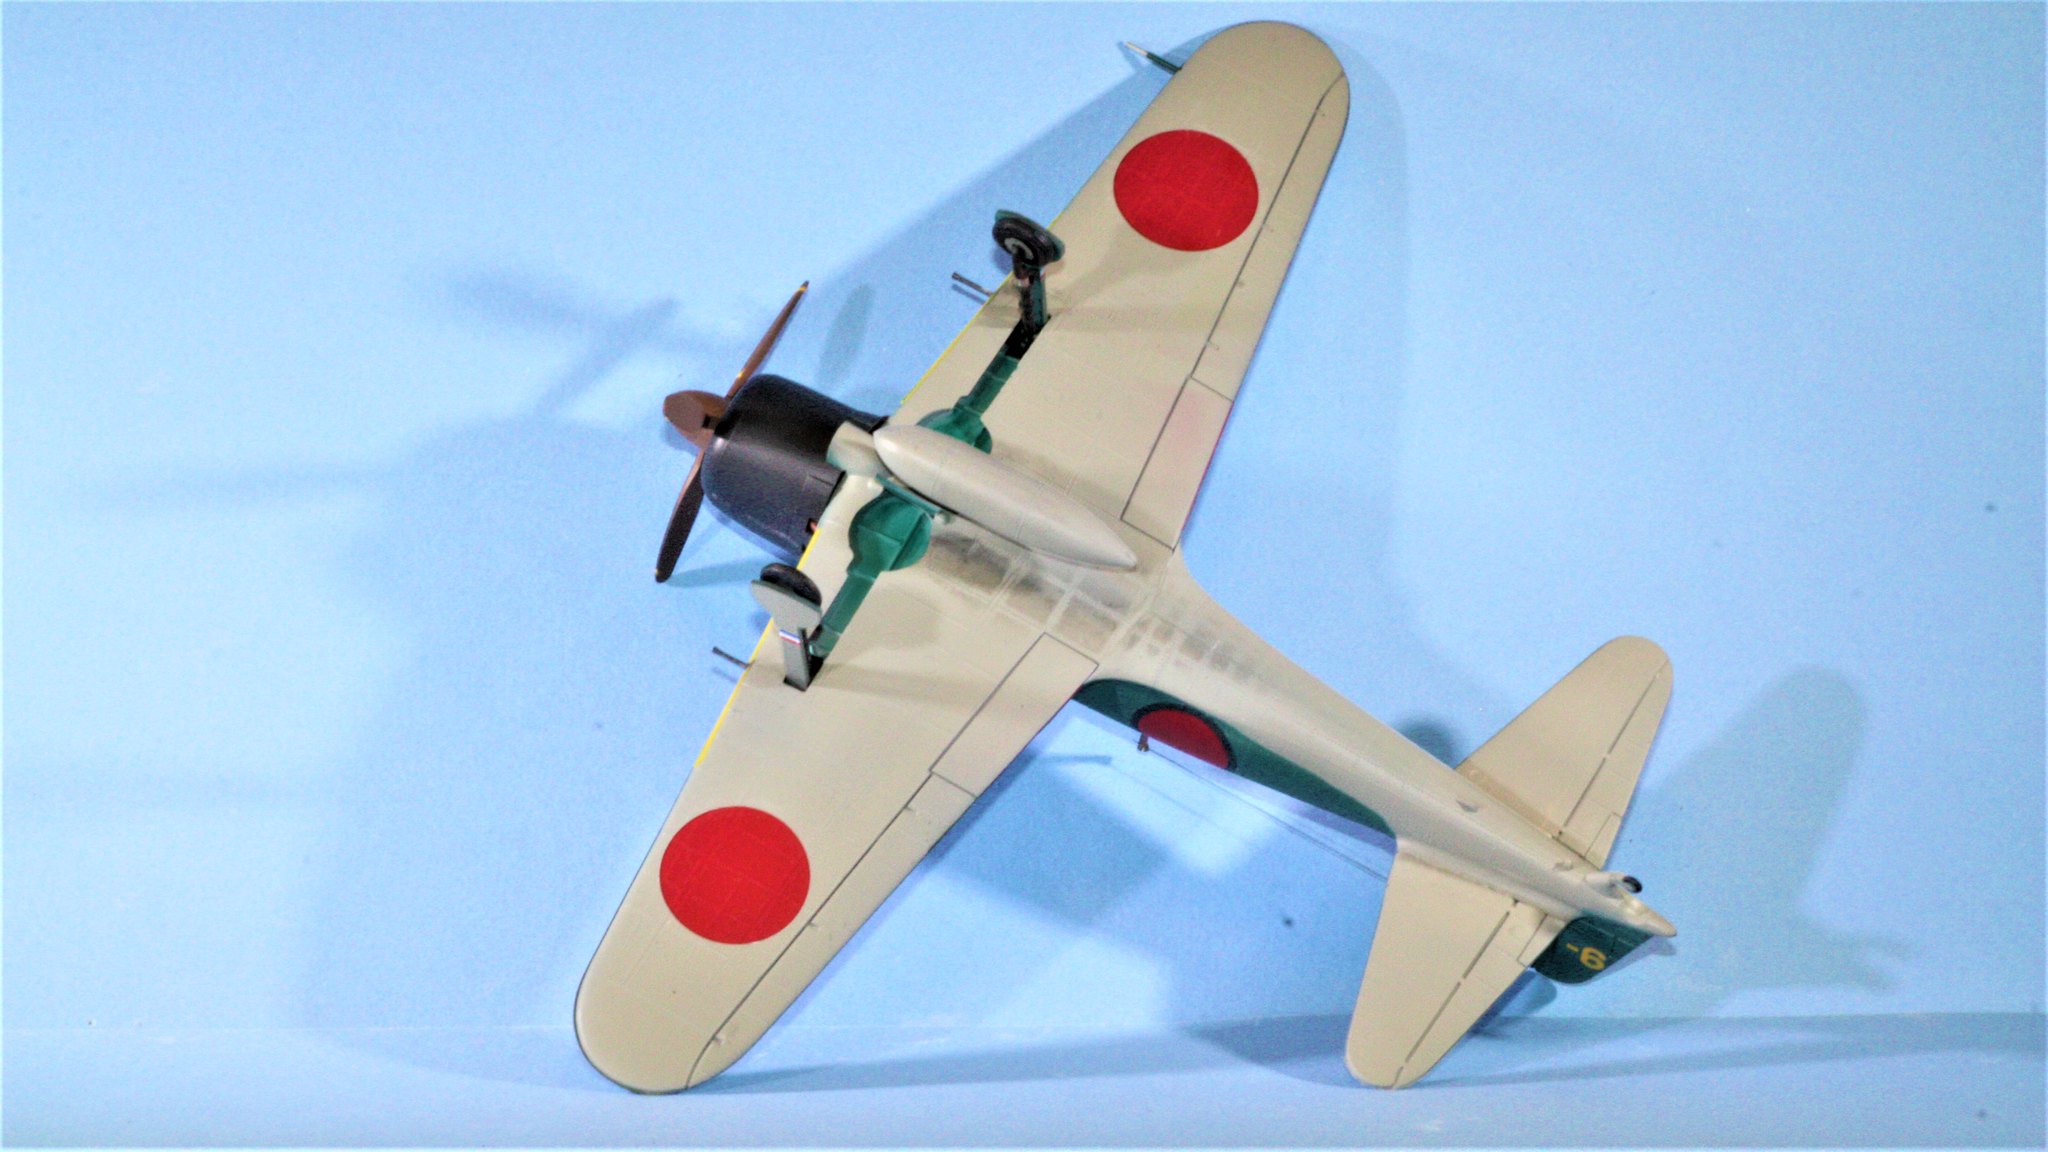
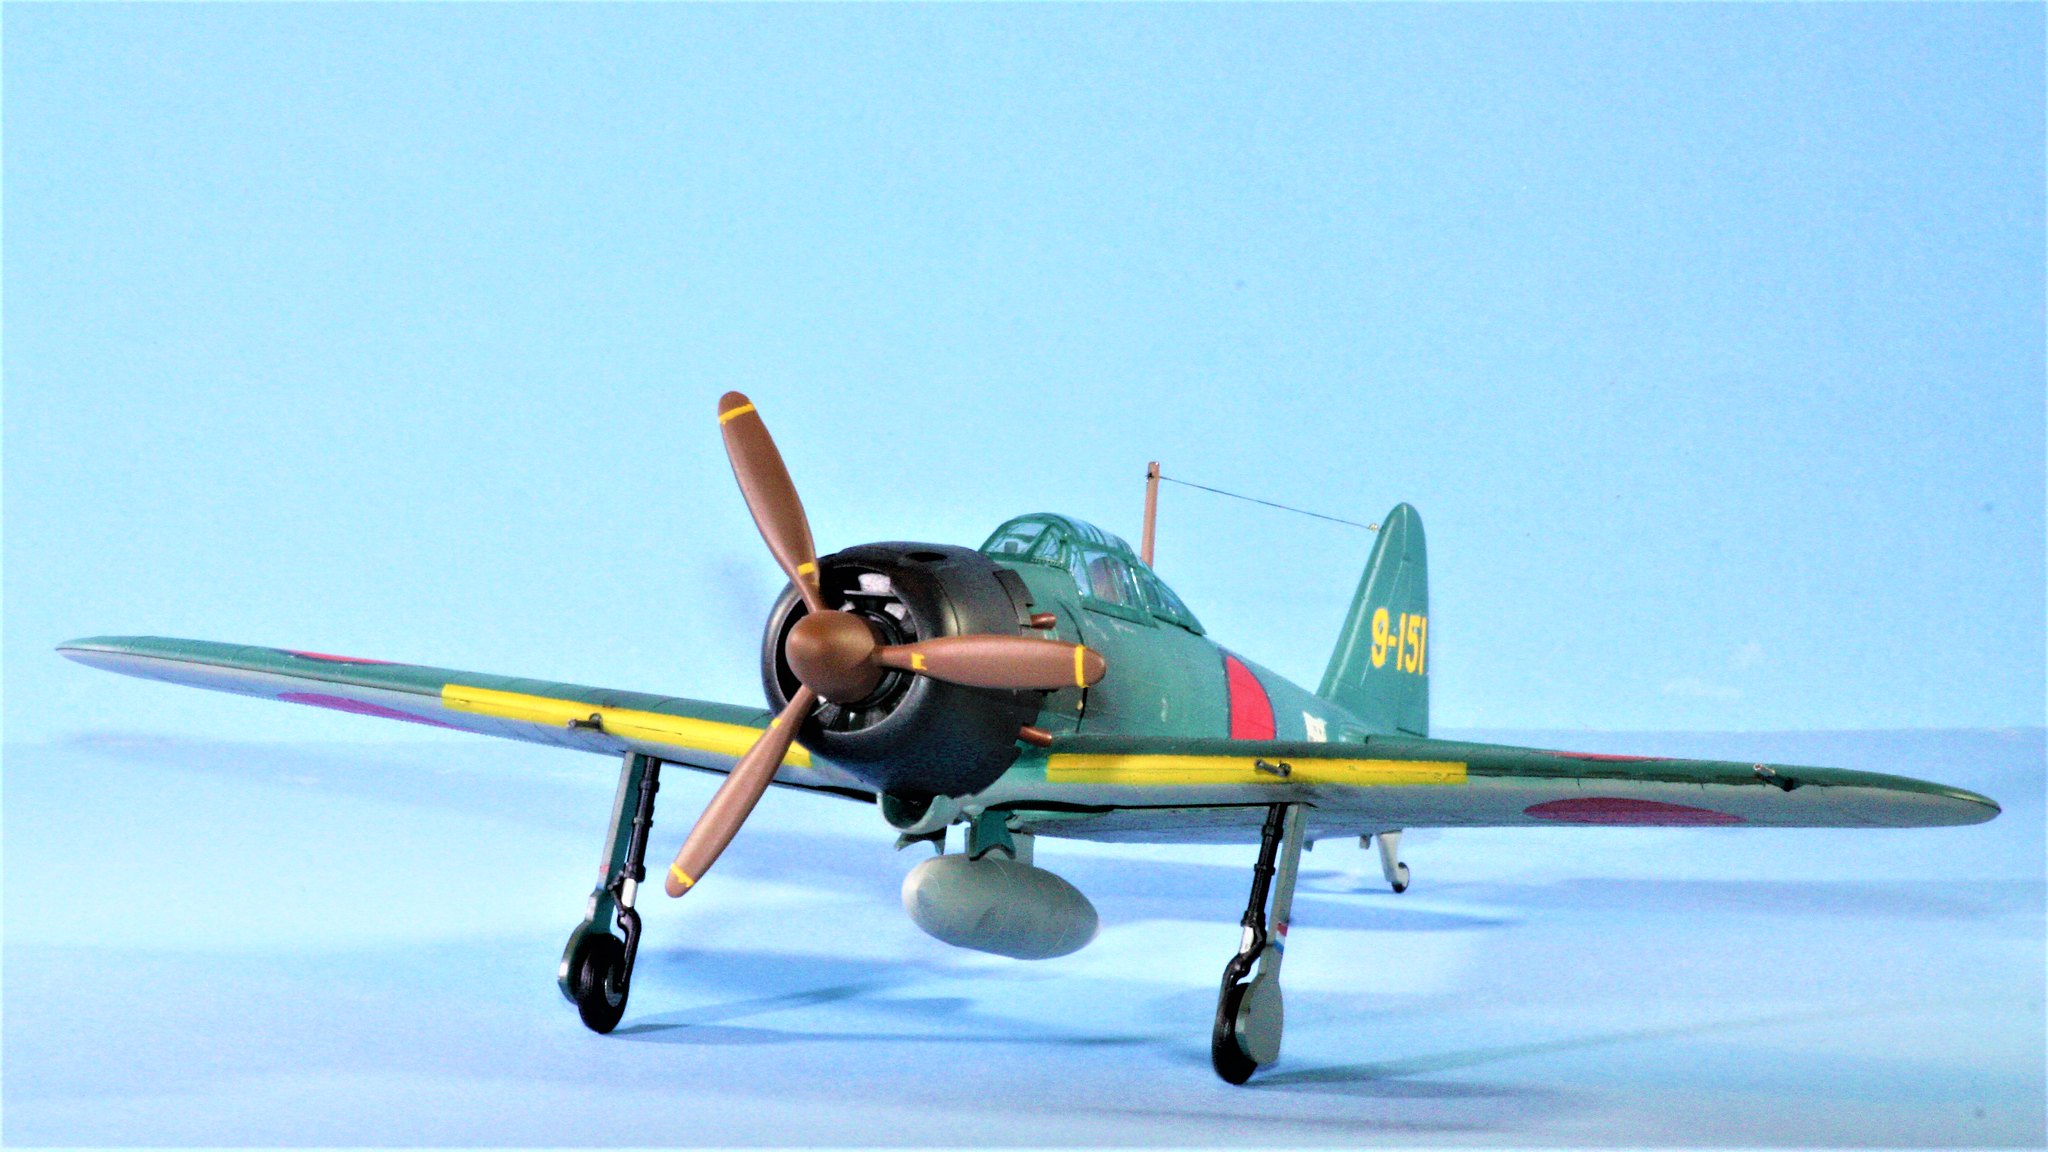
I used Vallejo paints for the exterior, and the markings are 99% from the Tamiya kit that I am still working on. I opted not to weather this one to much due to how the pastels look around all the raised rivet detail (you can see where I noticed this issue on the underside exhaust staining in one of the photos). I was not of the mind (or patience) to sand off all the rivets and re-do that, so I called it a day on weathering with only a bit of exhaust and gun barrel staining.
This particular A6M5 flew with the Rabaul Fighter Group out of New Britain Island in the Rabaul Islands, 1943-1944.
One final thought - Monogram calls this one an A6M5. The Tamiya kit is an A6M5/5a. I'm not fluent enough in Zero to be able to speak to the differences in variants. I do know that on earlier variant Zeros, the exhaust stacks were single stacks on either side of the fuselage that pointed down, unlike this claw-like stack that grabs the fuselage. Yet when I compared the wings of the Monogram to the Tamiya kit, there are noticable differences - the aelerons are clearly differently sized, and the area above the flaps (indicated by the red boundary markings that you can see in my photos) are of a different size as well.