SEARCH FINESCALE.COM

Enter keywords or a search phrase below:

Hobbyboss 1/32 Spitfire Mk. 5b

620 views
4 replies
1 rating 2 rating 3 rating 4 rating 5 rating
  • Member since
    December 2002
  • From: Northern California
Hobbyboss 1/32 Spitfire Mk. 5b
Posted by jeaton01 on Thursday, December 12, 2024 12:21 AM

Next up is a 1/32 Spitfire.  Kotare is going to release one in the second quarter of next year and it is on order but this one will do for now.   It will be in the markings of the second picture.  


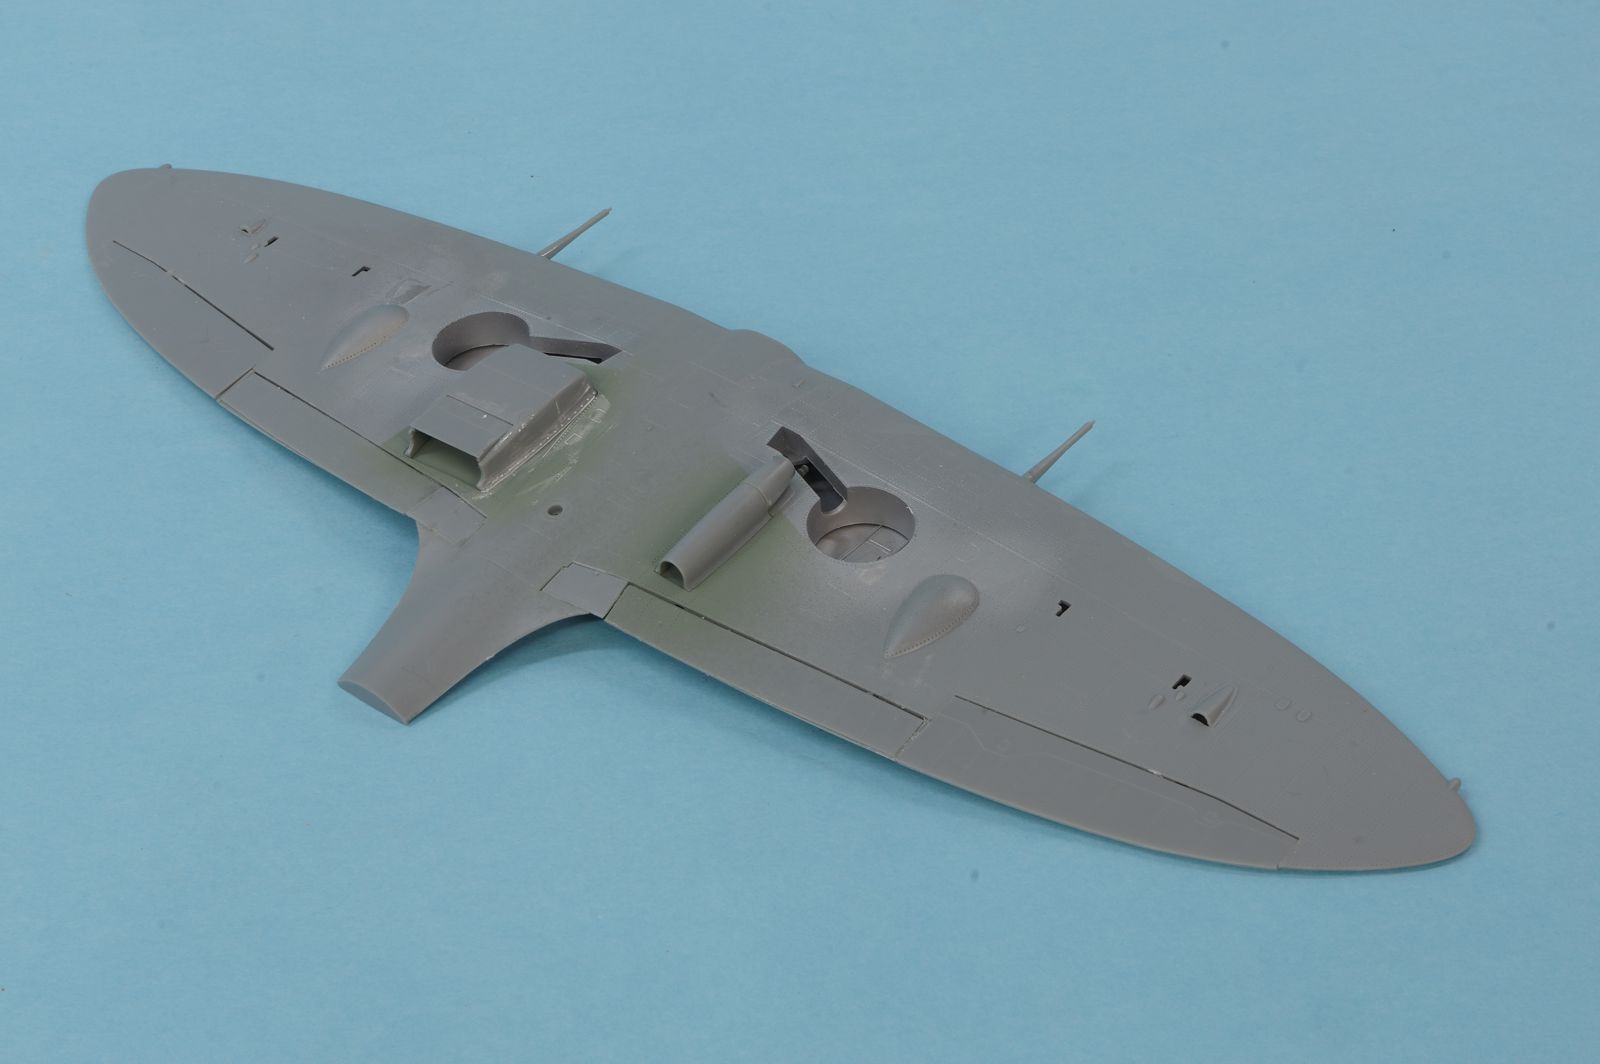
The landing light doors and openings next to the wheel well were filled using Aves Epoxysculpt. The recess near the wheel well was I think only on the Mk. IIb Spitfire wings.


The flap indicator door recesses were also filled using Aves Epoxysculpt as the kit doors fits were poor and the flaps will be up on the model.


The beginnings of the cockpit, engine, and propeller. The engine will not be visible but is necessary for the attachment of the exhausts and propeller.


Interior painting of the basic fuselage halves.


While the kit had plastic parts for the propeller shaft, for durability I usually replace that method with brass tubing and music wire. A drill press is used to insure that the the part alignments are true.


First run. Rotation courtesy of air flow.


Reinforcing strips were installed over the wheel wells, these were not always on Mk. 5 and earlier Spitfires and the kit did not supply them.


HGW fabric seat belts still to be added, and a bit more Tamiya Clear Orange on the bottom corner of the seat over the red brown.


Since the wing gun doors will be closed only the minimum necessary gun parts were installed.

John

To see build logs for my models:  http://goldeneramodel.com/mymodels/mymodels.html


  • Member since
    November 2005
  • From: Formerly Bryan, now Arlington, Texas
Posted by CapnMac82 on Friday, December 13, 2024 7:50 PM

Looking good.

  • Member since
    December 2002
  • From: Northern California
Posted by jeaton01 on Saturday, December 14, 2024 2:08 PM

Thanks!  Waiting for some HGW seat belts.  USPS is sloowwww!

John

To see build logs for my models:  http://goldeneramodel.com/mymodels/mymodels.html


  • Member since
    December 2002
  • From: Northern California
Posted by jeaton01 on Monday, December 16, 2024 9:58 PM

More work on the Spitfire, still waiting for the HGW belts which now are supposed to arrive tomorrow. Yes, it would be fun to display the engine but there's a Tamiya kit for that. I did paint it semigloss black and will add as much extra kit parts as will fit with the cowls on. Just for fun. Hobbyboss would have you paint the engine steel but I don't think I have ever seen a Merlin that color.

The main flap fit wasn't the best, probably because the kit was designed for them to be down. Some material was taken off the front of the flaps
so they would fair with the wing, preserving the surface detail on the trailing edge of the flap. The inner flaps needed a little adjustment also.
The radiator and the oil cooler parts fit well and included details like photo etch faces for the oil cooler inside the duct and braces, gun
heating ducts, and fuel vents in the radiators, along with plastic faces for the radiator. 
 

The aileron fit was nice. It's always fun to slap wings together, it all of a sudden feels like you are making good progress. I had to trim some

off of the aft top of the outboard guns so they would not interfere with the top of the wing and the clear gun covers there.
 
 
A few minutes work with a file and some superglue resulted in a panel I surely could never duplicate myself, and a big improvement
over the kit parts. If you turn it the right way in the light you get a reflection from the instrument glass. Thanks, Yahu!
 
 
I wish they had worked harder to design a durable tail wheel rather than add detail no one will ever see. It was reinforced with CA.
 
 
I was really happy with the neat job I did painting the head cushion on the armor plate behind the seat, and then a closer look at the photos of the restored Spitfire
I am modeling had no such cushion. The kit armor plate was removed and a new armor plate was made from .015 styrene sheet. Knobs were made, painted aluminum.
A matte coat was sprayed on the cockpit sides to allow some shading later. A decal will have to be made for the armor plate saying experimental.
Many warbirds are licensed in that category.  Another change I made was to cut off the the gear selector handle and relocate it to the down position.

John

To see build logs for my models:  http://goldeneramodel.com/mymodels/mymodels.html


  • Member since
    November 2005
  • From: Formerly Bryan, now Arlington, Texas
Posted by CapnMac82 on Saturday, December 21, 2024 3:39 PM

Outstanding stuff, looks like it wil lbe a real beauty.

JOIN OUR COMMUNITY!

Our community is FREE to join. To participate you must either login or register for an account.

SEARCH FORUMS
FREE NEWSLETTER
By signing up you may also receive reader surveys and occasional special offers. We do not sell, rent or trade our email lists. View our Privacy Policy.