SEARCH FINESCALE.COM

Enter keywords or a search phrase below:

Revell 1:32 F-4J Phantom Blue Angel

7070 views
6 replies
1 rating 2 rating 3 rating 4 rating 5 rating
  • Member since
    January 2006
  • From: Sarasota, FL
Revell 1:32 F-4J Phantom Blue Angel
Posted by RedCorvette on Sunday, December 30, 2012 5:06 PM


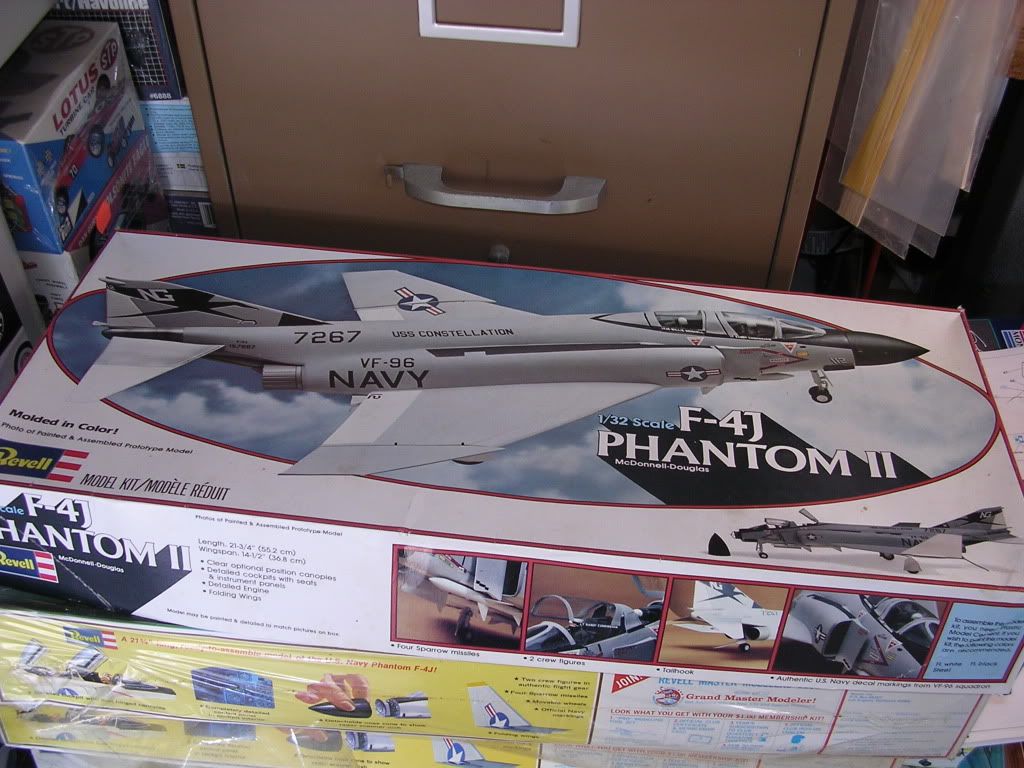
The 1:32 Revell Phantom has been a favorite of mine since I first built one when I was in college at Purdue back in the 70's.  In the fall of my senior year I had been accepted to Naval Aviation Officer Candidate School in Pensacola as a Naval Flight Officer Candidate, to report after I graduated in the Spring of  '75.  I was super excited and figured the big Phantom would look good hanging over my desk and keep me inspired.  I even used some dry-transfer letters to put my name on the rear canopy rails. 

Another piece of the background story is that the Blues did a show at the Purdue Airport one year when they were flying their F-4J's.  One of my fraternity brothers was at the airport when they arrived, and in the course of his casual conversation with them, mentioned there was a party at our fraternity house later that evening.  Quite unexpectedly (and shockingly) there was knock at the door later that evening, and there stood the Blues!  They came in and spent about a half hour chatting and doing their recruiting pitch, before heading off to their next commitment.  About a month later they sent a large framed montage of photos with all their signatures on it.  It hung in the house in a place of honor for many years.  The leader of the team was Cdr. Harley Hall, who went on to be the last Navy pilot shot down on the last day of the Viet Nam war.  He never was recovered and there is still controversy over exactly how and when he died. 

First, to address one issue, yes, I know the Tamiya kit is vastly superior in many ways (I've also got one or two in the stash), but for this project I wanted to use the Revell kit, for nostalgia reasons if nothing else.  Plus the Revell F-4J is "clean" without any pylons or tanks (except for the Sparrows) which makes it suited for a Blue Angels build.  Also I happen to really enjoy scratch-building details and this kit provides a great canvas for that.

I've had several of these kits in my stash for years and for this build I'm using two kits, one complete, and one partial one that I had acquired.

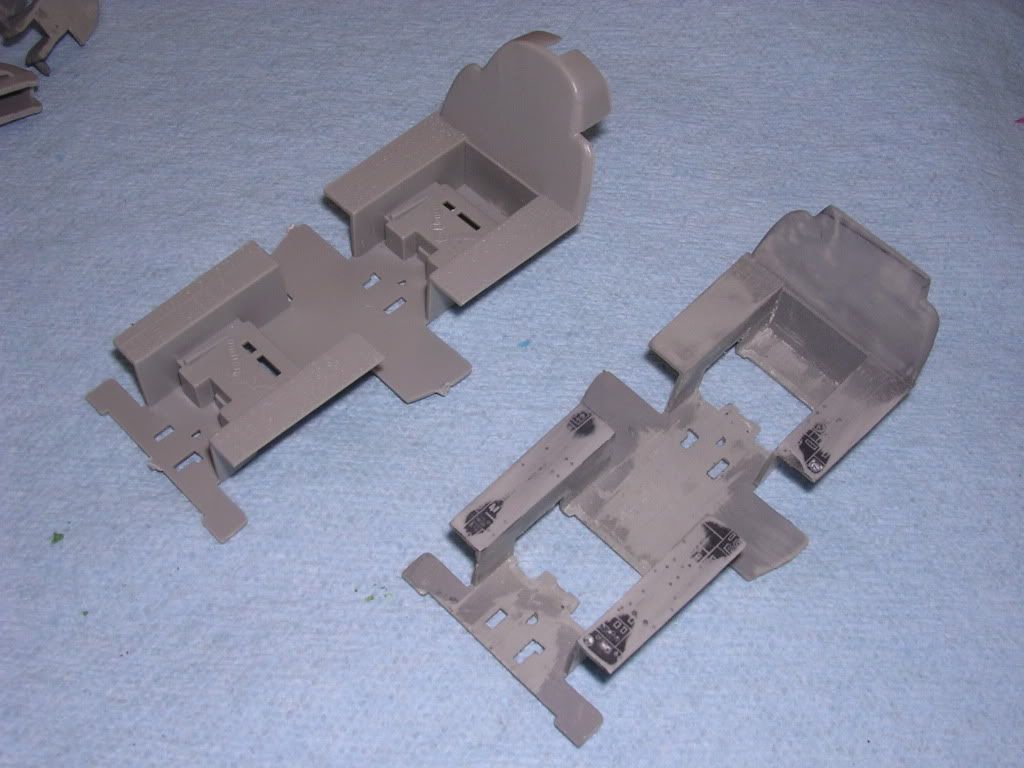
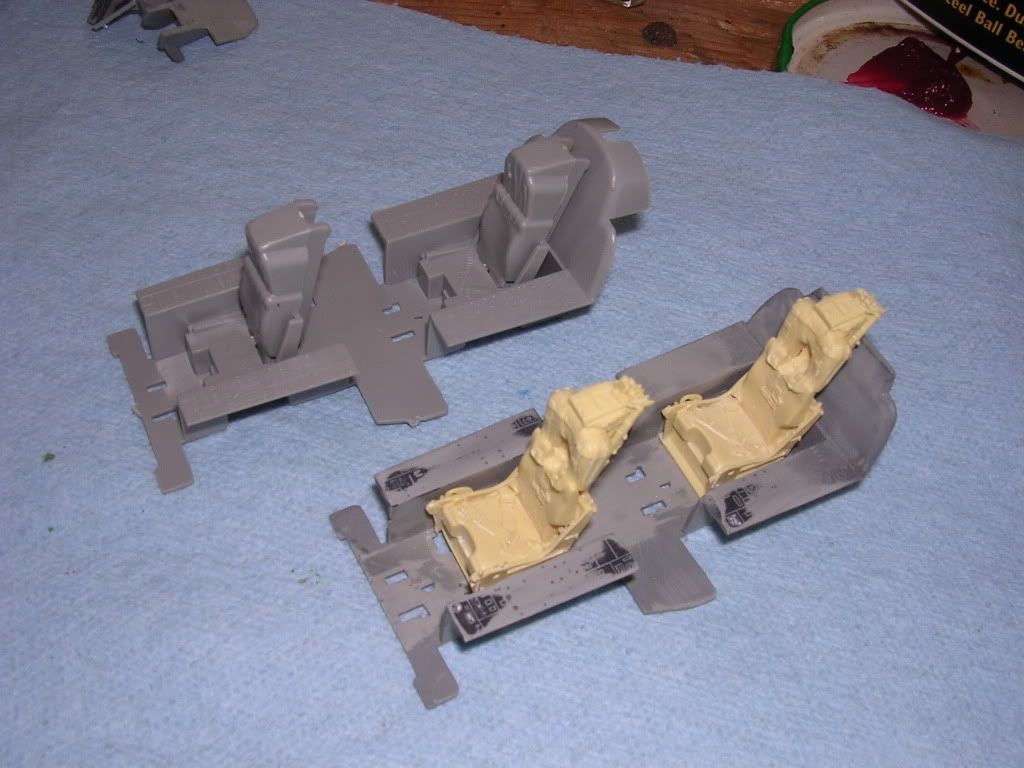
Lots of work to do in the cockpit.  I'm going to use some resin seats, but first had to cut away the kit seat bottoms that are molded to the bottom of the cockpit tub.  Also cut away the inaccurate rounded bulkhead behind the RIO's seat.  Obviously a lot of scratch-building is in my future:

Although it was state-of-the-art in the late 60's, the resin seats are definitely an improvement over the original kit parts:

  The Blues F-4J's didn't have the RHAW antenna on the fin cap, so it has to go:

The early Blue Angel Phantoms used the the early J79-8 engines, rather the J79-10's normally used by the J's,  so more resin parts with the shorter 'burner cans.

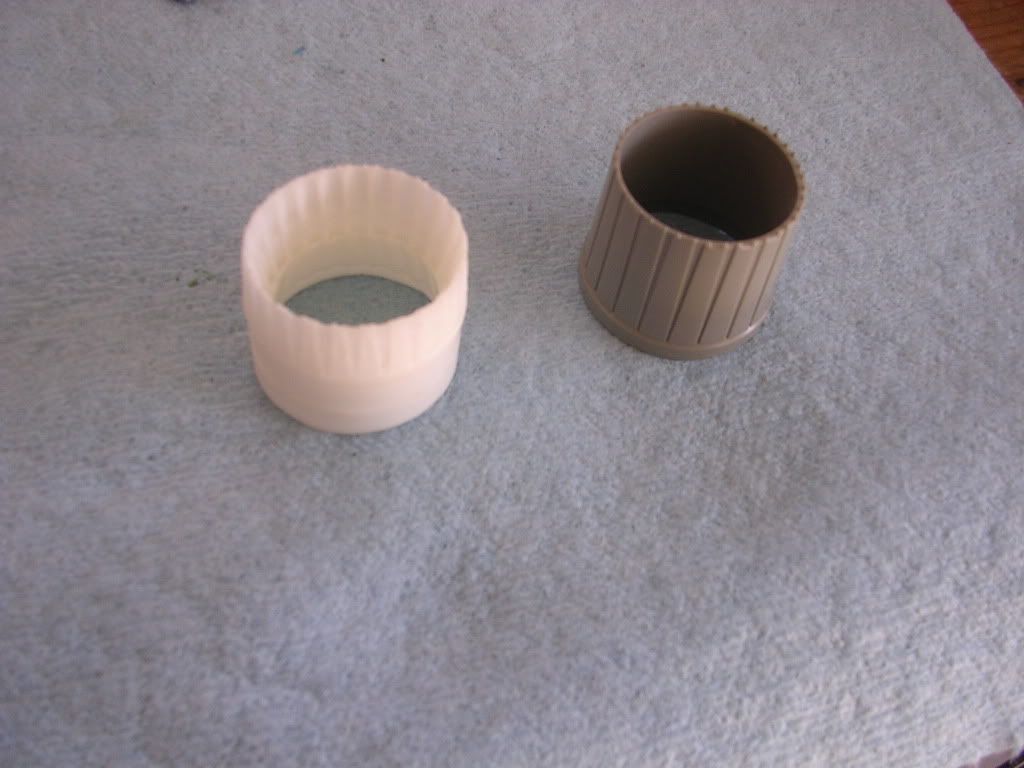
Looking forward to a long (& fun) build.

Mark

FSM Charter Subscriber

  • Member since
    November 2003
  • From: State of Mississippi. State motto: Virtute et armis (By valor and arms)
Posted by mississippivol on Sunday, December 30, 2012 6:34 PM

Great story, Mark. Hope it brings back some great memories during the build. I'm looking forward to seeing all your mods.

Glenn

  • Member since
    January 2003
  • From: Washington State
Posted by leemitcheltree on Sunday, December 30, 2012 7:59 PM

That's a great story, Mark.....you've made a good start - and I look forward to seeing more pics!

Cheers, LeeTree
Remember, Safety Fast!!!

  • Member since
    January 2006
  • From: Sarasota, FL
Posted by RedCorvette on Monday, January 14, 2013 1:13 PM

Have had a busy schedule for the last week or so, but managed spend a little time at the workbench on Sunday afternoon..

Spent some time going through the DACO book again and my collection of F-4 cockpit photos I've taken over the years.  Also went back and watched my copy of Threshhold: The Blue Angels Experience for the umpteenth time, checking for specific details. 

Some dry fitting with the gutted cockpit tub and the resin seats, mostly checking for height to see if the canopies will fit; still need to trim some more off the bottom of the seats.  The Revell F-4 kit has the infamous "squashed canopy" (particularly the forward canopy and windscreen), but that's beyond what I want to tackle on this project:

Some gaps to be filled where the original seat bottoms were cut away.  At the "blank canvas" stage for sure.  Will need to fabricate the missing bulkheads between pilot and RIO's seat and the cut away area behind the RIO's seat .  Plan is to just use the kit side consoles to support scratch-built replacements.  I had originally planned to use Eduard instrument panels, but after looking at my references for the modifications made to the Blue Angel jets, it may be easier to just use the Eduard pieces as patterns and scratch build new parts, omitting the radars and other gear that was removed (I've got a new punch set that I've been dying to use).  Time to start mocking up some pieces with index cards before cutting up any Evergreen sheets. :

Was going to fill in the cockpit gaps from below, but but after dry-fitting the wing it looks like there would be some interference the with the nose gear well molded to the wing.  I figured out that's why there's a notch molded in the top of the nose gear well. 

This kit definitely defines the term "loose fit".  It's almost like building a vaccuform kit  in a lot of ways.    The molded alignment pins and tabs are more "guidelines" rather than precise building aides.  Then again the beast is over 40 years old.  Definitely some alignment and structural issues to be worked out along the way.  Fun stuff!

Mark

FSM Charter Subscriber

  • Member since
    January 2010
  • From: Nebraska, USA
Posted by CallSignOWL on Monday, January 14, 2013 3:25 PM

1/32 Phantoms are huge! Good luck!!

------------------------

Now that I'm here, where am I??

  • Member since
    January 2006
  • From: Sarasota, FL
Posted by RedCorvette on Monday, January 21, 2013 5:08 PM

Had Monday off for the holiday, so made a little progress rebuilding the cockpit.

Tools of the trade for scratch-building: contour gauge, dividers, 3x5 cards with grid and lots of Evergreen sheets and shapes.

Filled in holes in floor where molded seats where cut out and glued spacers to front side consoles (more about that later).

Panel for back of  front cockpit.  Used contour gauge to measure inside of cockpit wall, cut index card pattern, then cut from Evergreen sheet.

Panel glued into place.

Index card patterns for rear cockpit starboard sidewall & turtleback.

Added filler piece to front cockpit bulkhead.

The kit side consoles were molded horizontally, while the real consoles are angled.  Used the pieces I mounted earlier as spacers to angle the consoles.  These new pieces will  serve as sub-panels to support scratch-built details, plus fill the gap between the kit consoles and the cockpit sidewall.

Hopefully making some improvements to the original kit cockpit.  Will finish up the basic structures, then start on the details next.

Mark


FSM Charter Subscriber

  • Member since
    October 2006
  • From: Tucson, AZ
Posted by Archangel Shooter on Tuesday, January 22, 2013 9:36 PM

Excellent progress posts. That kit brings back memories like those MB seats and trying to improve them when there were no resin seats available on the market at that time. I would like to see Revell release the kit again since the costs of the Tamiya kits are going up almost has fast as the price of gasoline.

I been around Marine Phantoms since '71till they were retired and that has always been my favorite acft in the Navy/Marine Corps inventory, just an impressive looking bird.

Scott

 Your image is loading...

 On the bench: So many hanger queens.


JOIN OUR COMMUNITY!

Our community is FREE to join. To participate you must either login or register for an account.

SEARCH FORUMS
FREE NEWSLETTER
By signing up you may also receive reader surveys and occasional special offers. We do not sell, rent or trade our email lists. View our Privacy Policy.