I started this build in the P-40 GB that's currently going on. I figured I'd start posting it now instead of trying to play catch up later like I did with the mustang. That way I won't forget anything along the way. So, a while back when I was looking for a corsair to make...I naturally came across the Black Sheep and naturally learned about Boyington, and after more digging I'd come across the time he spent with the AVG in China. No doubt like lots of you here, I thought how nice it'd be to have one of each. Well, I'm finally getting around to it. Here's my attempt:
Revell/Monogram P-40B 1:48 by brittvallot, on Flickr
(edited...since this post, I've begun a build for a Pearl Harbor P-40B using the same kit which goes into fixing a few issues mostly concerning the landing gear and flaps which are not addressed here. Jump HERE for a link to that post.)
I'm starting with the Revell/Monogram 1:48 as the title suggests. =] I think it's amazing how nicely detailed this very old kit still manages to be compared to newer releases. It's quite accurate in all it's lines as well. I will touch on some modifications I've made along my way though.
I've added an updated AM cockpit from TrueDetails. It's a pretty pick me up for her.

image by brittvallot, on Flickr
Rinsed them, primed, and picked out the seat and floor to do in Gloss Black to prep them for a Duraluminum coat before any of the Dupont cockpit colors.
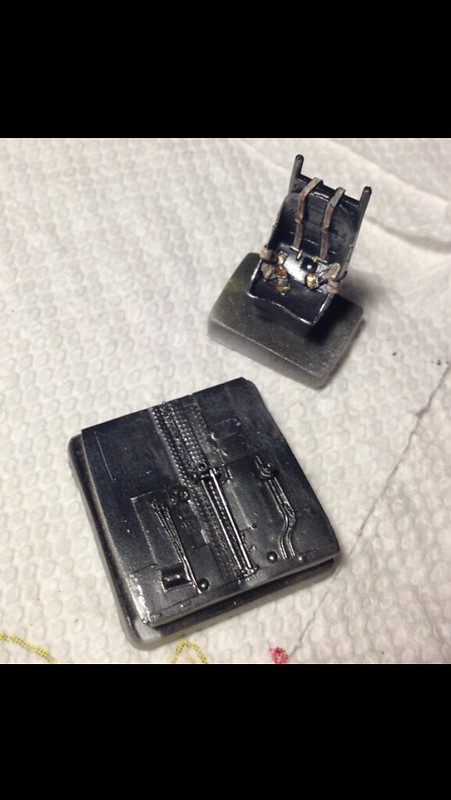
image by brittvallot, on Flickr
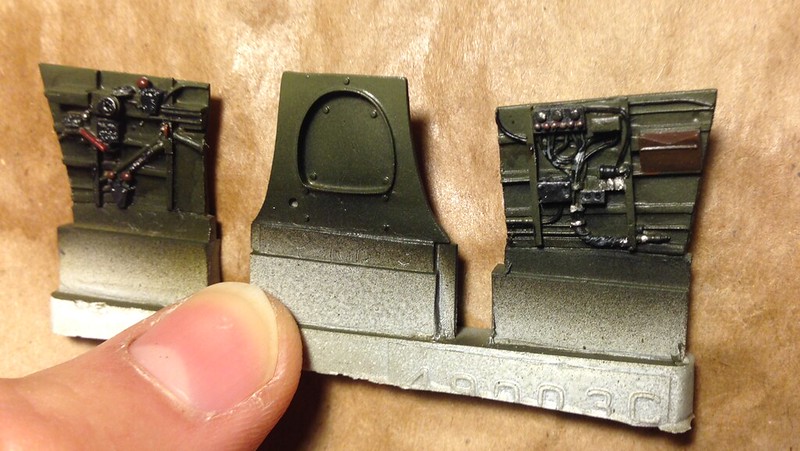
image by brittvallot, on Flickr
The panel on the right has a box that I originally painted brown as if it were leather. I've since learned that it was metal and painted the same color as the rest of the cockpit. That will get adjusted. =]
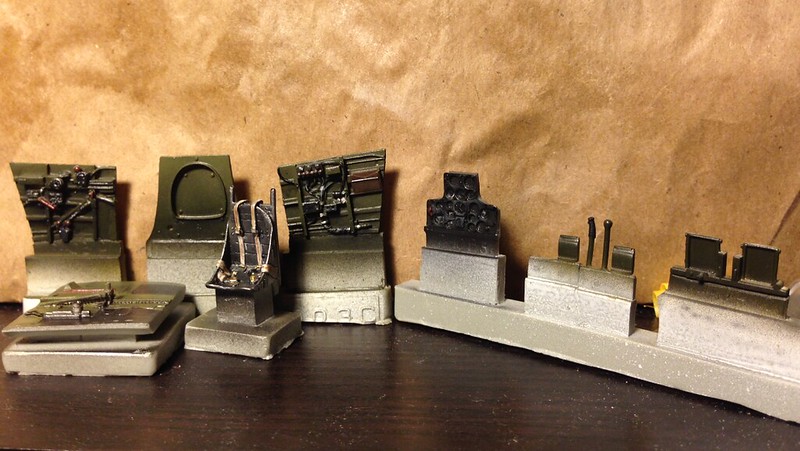
image by brittvallot, on Flickr
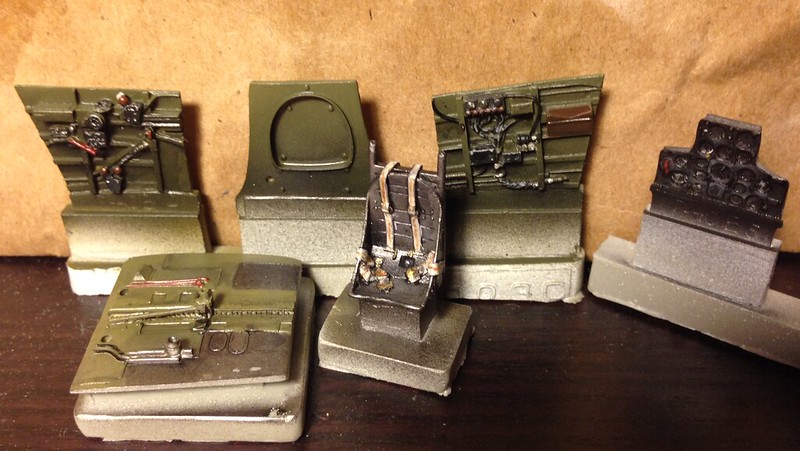
image by brittvallot, on Flickr
The interior color is said to have been originally a DuPont color and of course there's been some talk of what FS color best describes it. This debate can actually get worse if you consider how color changes based on what it's next to and the size of the color swab. So, smaller scaled cockpits like modelers do will still change the color to some extent on its own. The website below describes a green that doesn't exactly have a FS equivalent. Or at least not one I've been able to find. 71-036 Cockpit Light Green seems to be a lighter Olive Green. That's what I've gone with. I started by painting the cockpit surfaces Flat Black. I used Tamiya's Olive Green[XF-58] and Olive Drab [XF-62] 2:1 respectively to build up the color and allow darker greens for shadows, and finished by adding Sky Grey [XF-19] to the mix in order to lighten this color up. This was painted on top. The IP and other misc boxes were done in my usual Medium Blue/Flat Black combo with very finely painted dots of Flat White to hint at the placards that would've have identified different panels. There are some inaccuracies here with the True Details cockpit side walls. So I'll scratch build a couple of things like the canopy crank and what not, but for now this is a stopping point. =]
http://www.britmodeller.com/forums/index.php?/topic/34564-ww2-us-colours-on-british-aircraft/
One of the next things I addressed was what to do about the engine. After some thought...I figured I'll add one! =D Just seemed like the right thing to do. I found a Canadian Vendor (George - Engines & Things) who made a P-40B variant V-1710-33 Allison engine at the 1:48. It's beautiful. I spoke to his wife on the phone and she helped me out quite well. She mentioned that her husband George had died recently and so naturally he's not around to continue making any more. During his time, he'd made over 450 different engines and variants from the 1:72, 1:48, and 1:32 scales. Jet engines in the 1:72 as well. I would recommend looking into them before they're gone for good.
Starting with the radiator...I grabbed an appropriately sized plastic rod and brass rod to make up the housing for the this.
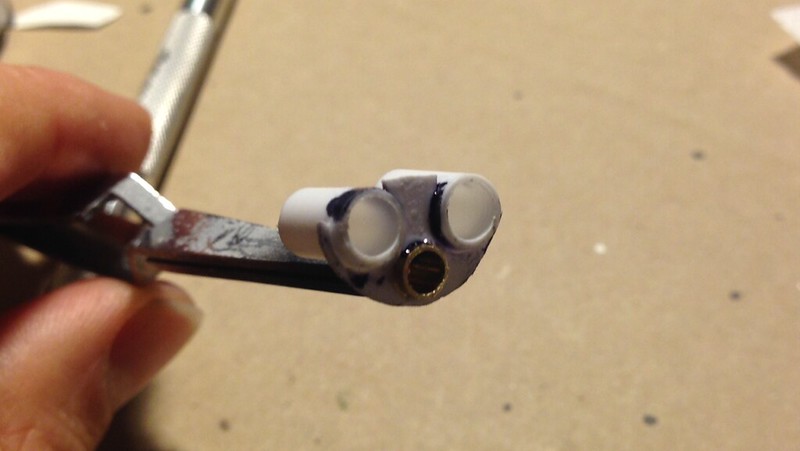
image by brittvallot, on Flickr
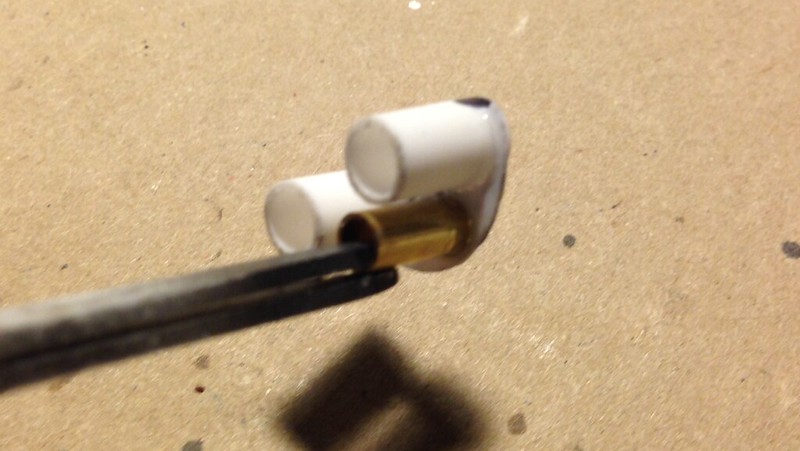
image by brittvallot, on Flickr
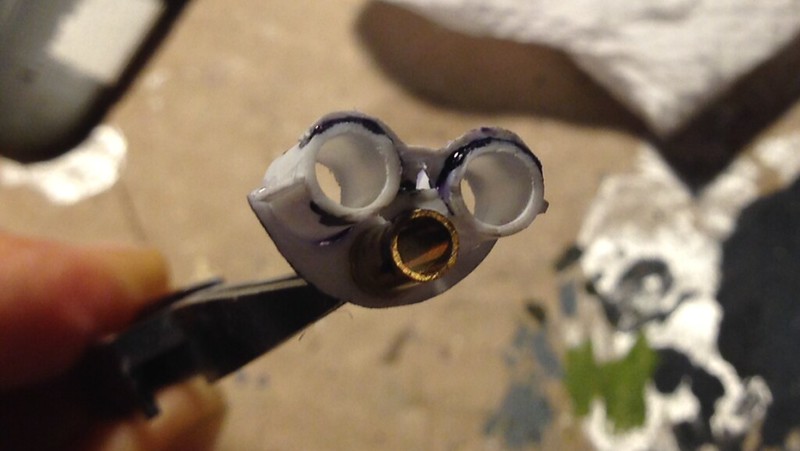
image by brittvallot, on Flickr

image by brittvallot, on Flickr
Next, once I got the engine in...I cleaned and primed it and set it aside for the moment.
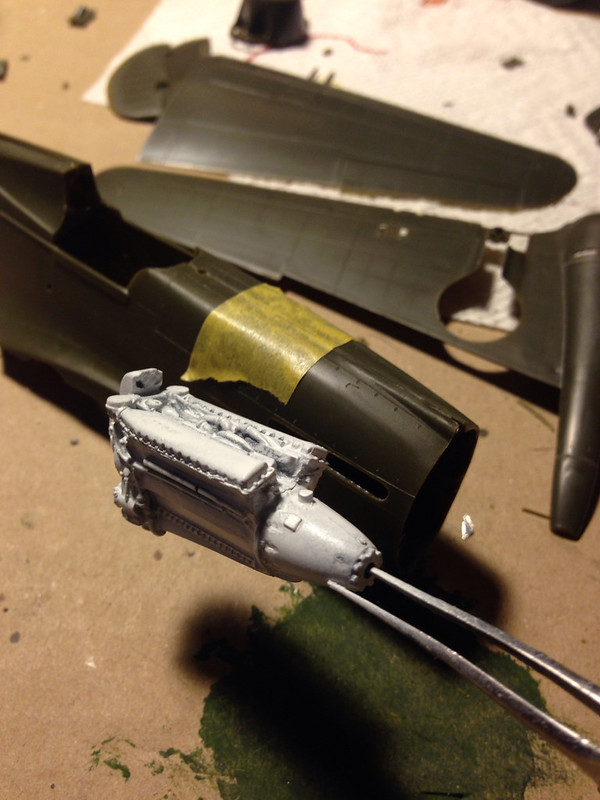
image by brittvallot, on Flickr
Onto the flaps. I opened them up for this build as I wanted to see more of radiator from underneath. So I cut off the original kit parts which were too thick to leave as they were anyhow. Traced out some new flaps onto thin plasticard, traced out a piece to marry them to the fuselage, and a tab to hold them in place.

image by brittvallot, on Flickr
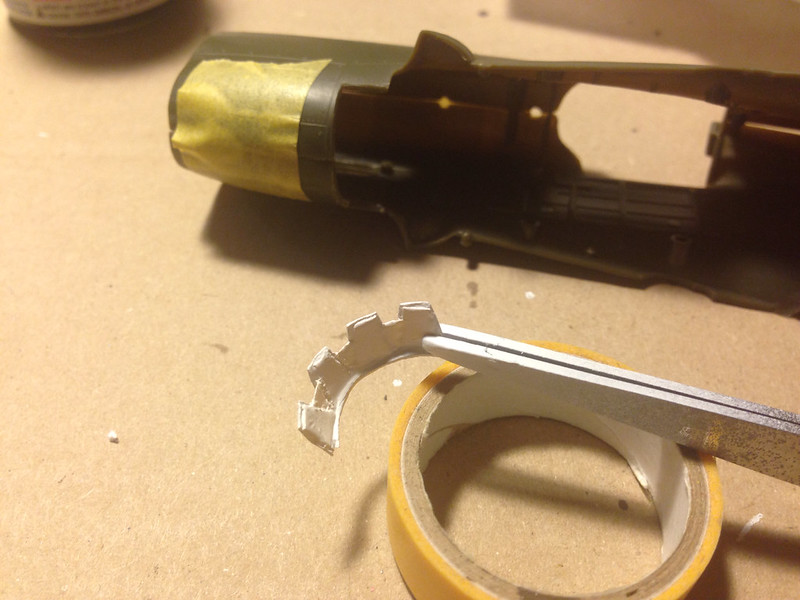
image by brittvallot, on Flickr
The thin aluminum sheet that the flaps would move along is made up of Tamiya tape that is laid down on top of the flaps. Before the tape, I have filed down the edges of the flaps instead of trying to glue two pieces and risk it being too thick. The tape lays down into the grooves and is primed over. Viola! =]
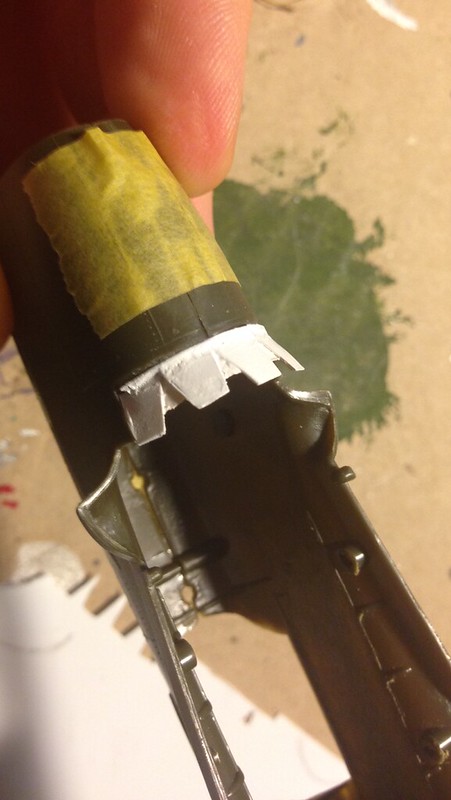
image by brittvallot, on Flickr
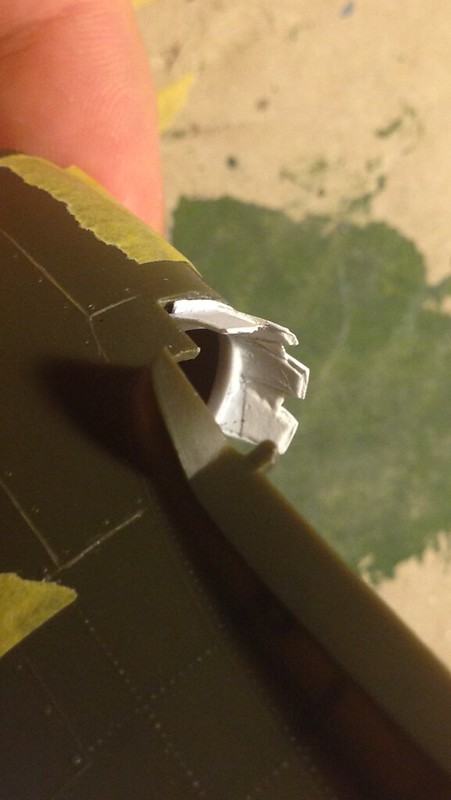
image by brittvallot, on Flickr
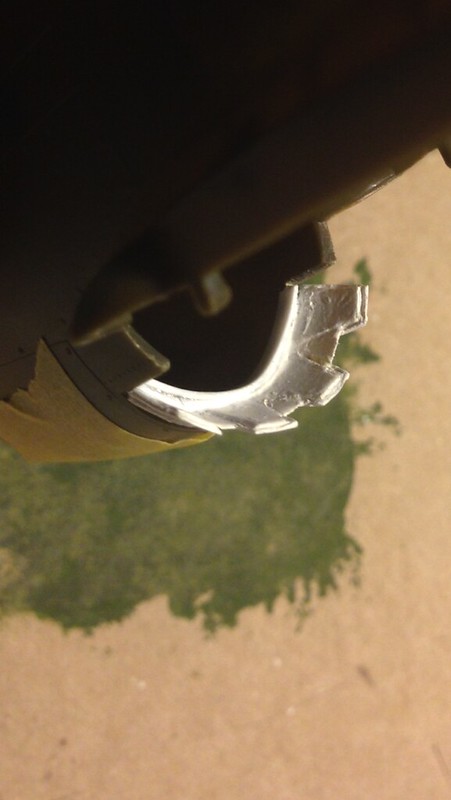
image by brittvallot, on Flickr
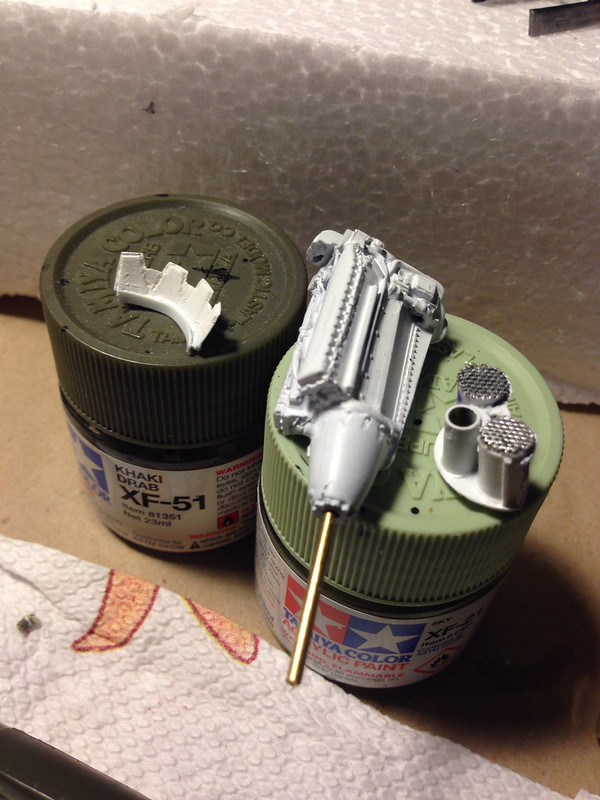
image by brittvallot, on Flickr
I've put that aside for the meanwhile while I await some supplies.
Next, I turned my attention to the things that need fixin' before I glue everything together. The landing light on the right wing is just represented with an inconspicuous bump. So I cut this out and fashioned my own light out of some Aluminum sheet I cut. I made a circle and snipped out a pie shaped piece so that I could fold it over and make a concave shape to add some depth to the housing for the lamp. At the center of the lamp, I made the bulb out of a small brass rod (painted Flat Black) and a small, thin piece of tube from a pipette.
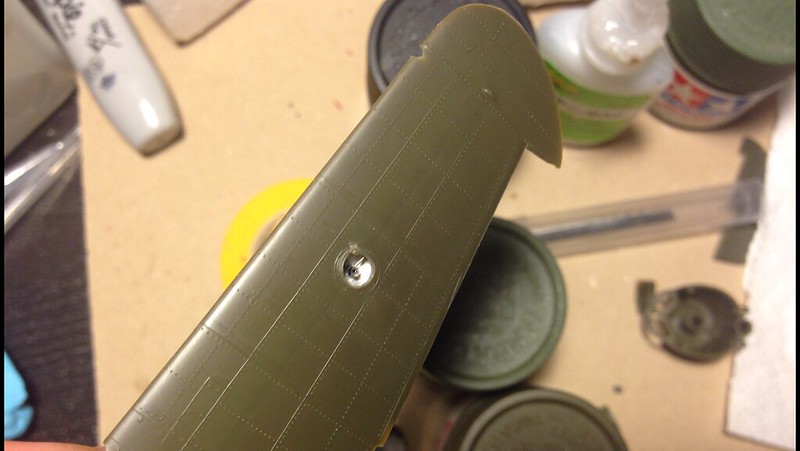
image by brittvallot, on Flickr

image by brittvallot, on Flickr
I'm fairly happy with it. Next, I started drilling out incomplete holes for the nav lights and lift points. I didn't want it to go all the way through for when I drop a piece of clear plastic sprue in them...they'll stay put! =] I also began to rivet the rest of the aircraft lightly. I'm hoping to see this come out nice.
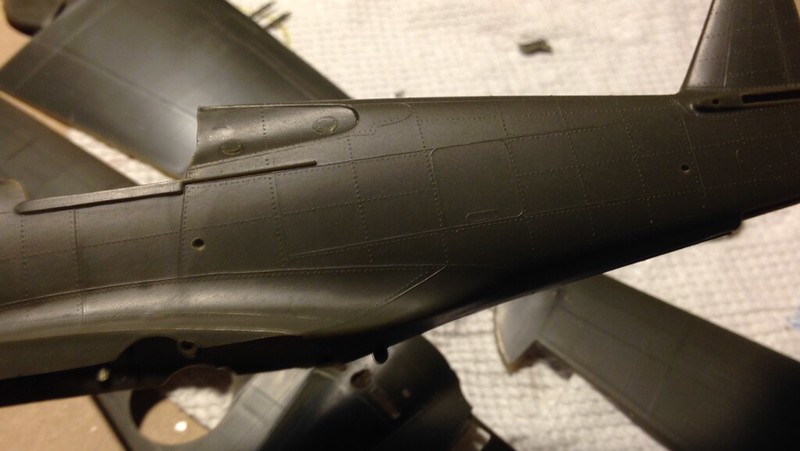
image by brittvallot, on Flickr
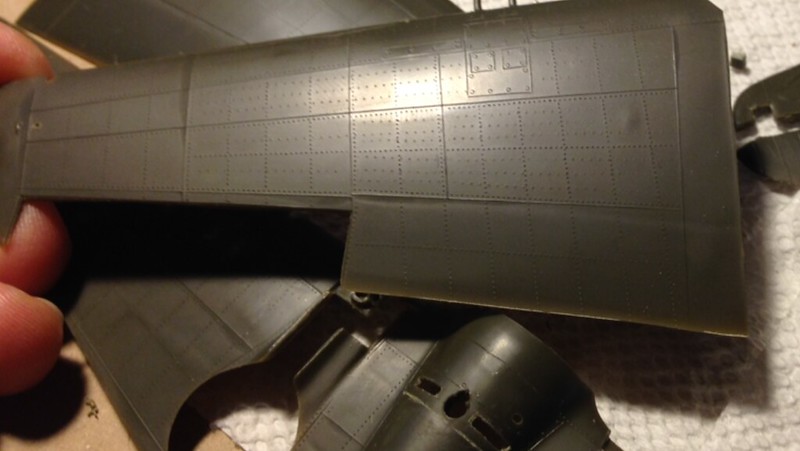
image by brittvallot, on Flickr
The rudder and elevators are the last things I've done so far. The rudder is molded to the fuselage and is missing a gap that belongs near the horizontal stablizors. There is a bar for the elevators that runs through here and the rod for the rudder is also visible in this gap as well. I've cut everything off and put the elevators in a slight dive position. I've scratch built some trim tab actuators out of brass rod and added them since the kit doesn't have anything. For the rudder, I poked a small hole with an exacto blade from underneath to allow for the rudder horn and trim tab actuating rod to slip into. Tacked them down with CA...allowed them to dry and snipped them clean. Next, I closed up the two halves and built up the interior piece that marries the two halves together after glueing in the rod for the rudder. It wasn't too difficult and it really helps out your build when the little things are all working together. =]
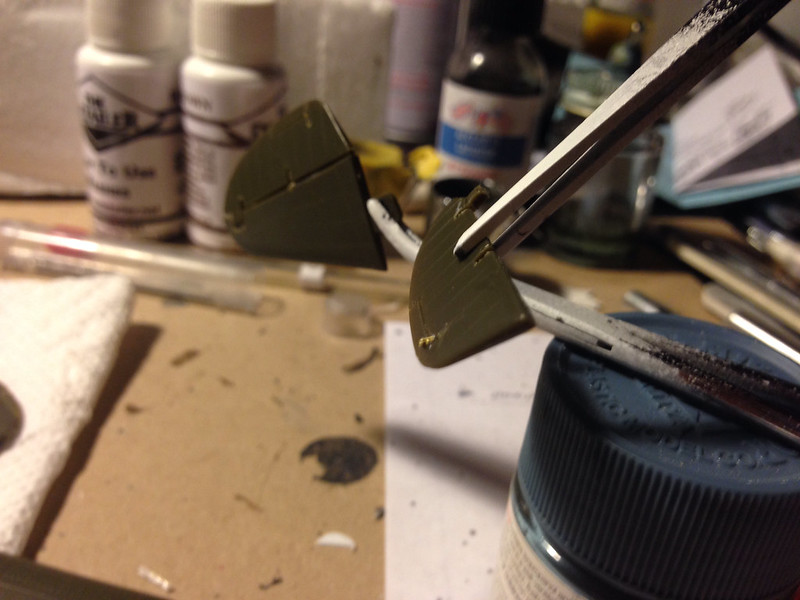
image by brittvallot, on Flickr
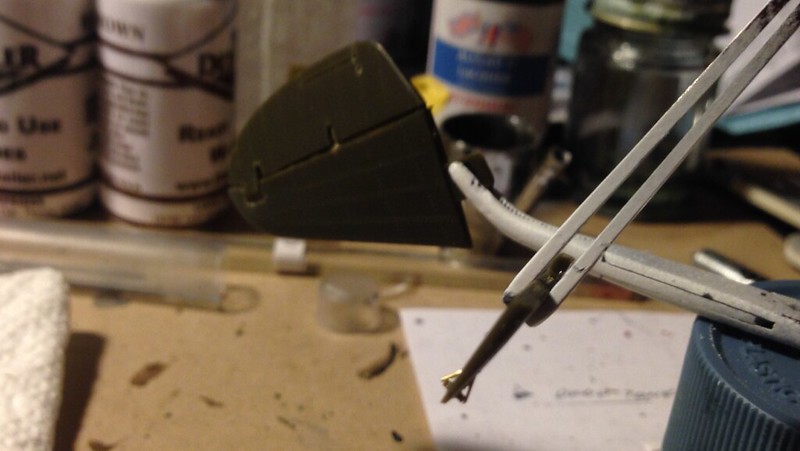
image by brittvallot, on Flickr
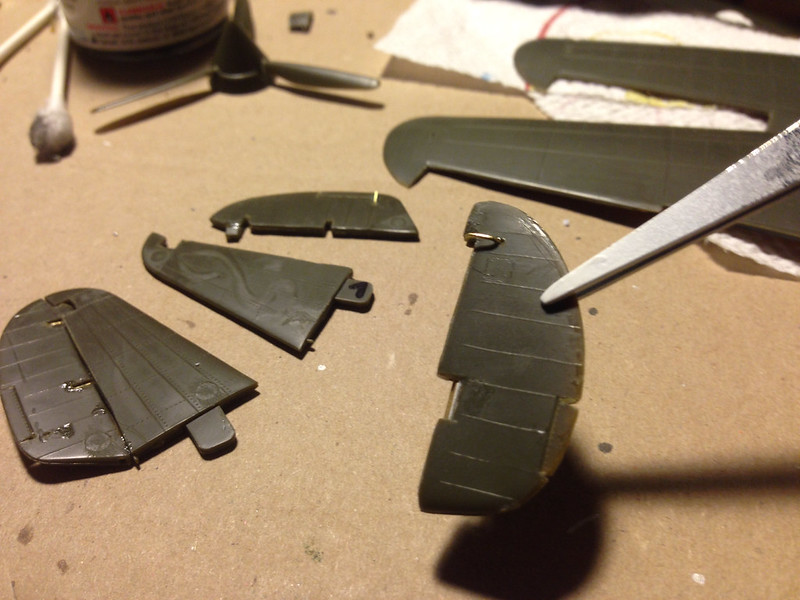
image by brittvallot, on Flickr
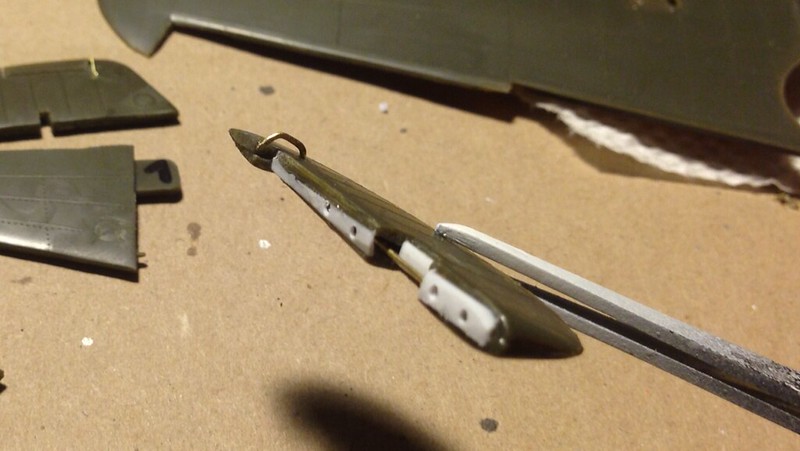
image by brittvallot, on Flickr
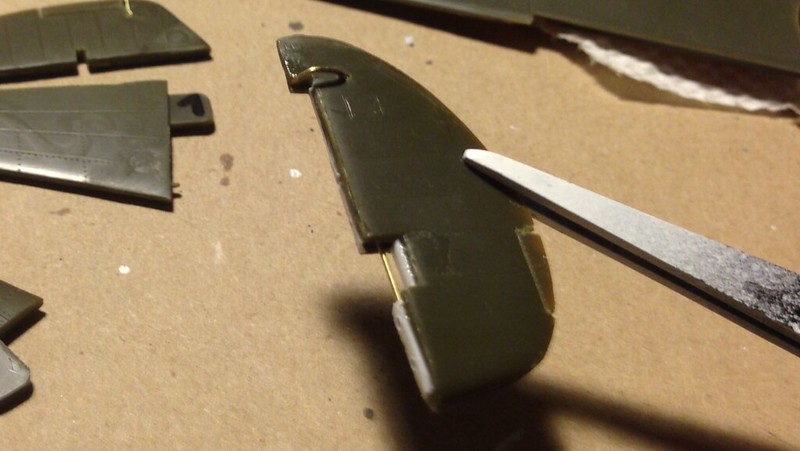
image by brittvallot, on Flickr
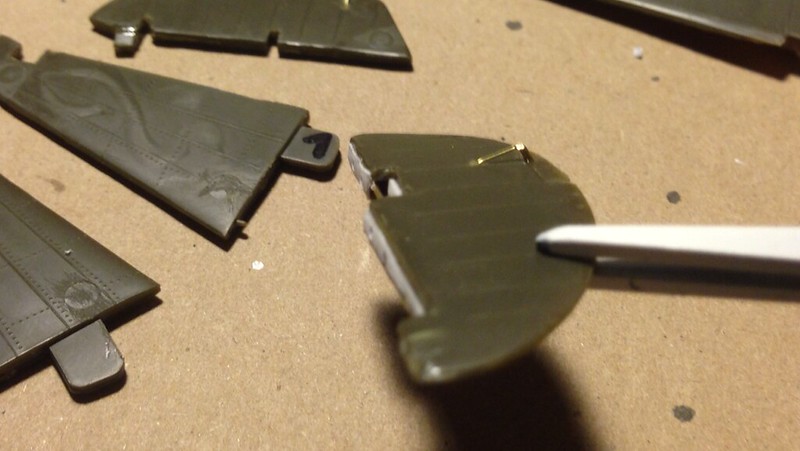
image by brittvallot, on Flickr
And that's about caught up for now. I would recommend all of you to check out the P-40 Group Build that's going on right now. There's a couple already started that are shaping up real nicely. Here's the link:
http://cs.finescale.com/fsm/modeling_subjects/f/29/t/158009.aspx?sort=ASC&pi240=1