SEARCH FINESCALE.COM

Enter keywords or a search phrase below:

Building a de Havilland DHC-4A Caribou

5670 views
6 replies
1 rating 2 rating 3 rating 4 rating 5 rating
  • Member since
    August 2014
Building a de Havilland DHC-4A Caribou
Posted by Ozmac on Saturday, August 30, 2014 4:42 PM

The very first plane that got me interesting in collecting and/or building planes was a 1/72 diecast model of the Westland Lysander, that great STOL plane of WWII. I built a Fiessler Storch fairly recently, and so I’m expanding my STOL collection now with a 1/144 kit of the De Havilland DHC-4A Caribou, which served Australia’s RAAF superbly for 45 years, from 1964-2009.

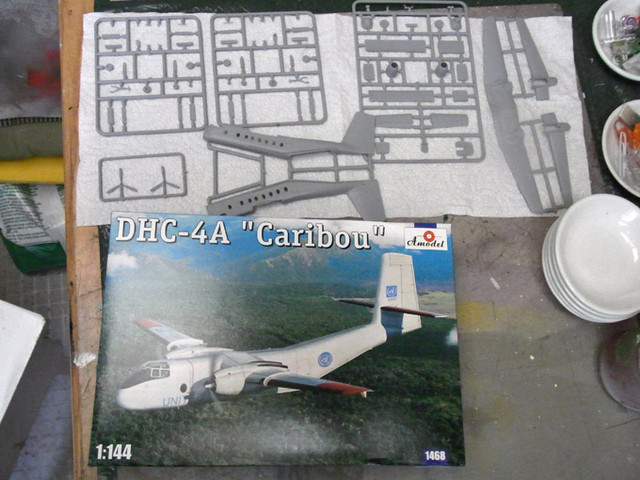
The kit is by a Polish company, Amodel. I have built their kits before and they're OK (the fuselages pair up pretty well) but not great (all the little bits don’t fit so well). That doesn't bother me, as 1/144 scale Caribou kits are hard to find, anyway. There is an Australian-made resin kit in that scale, but I’m not keen on resin.

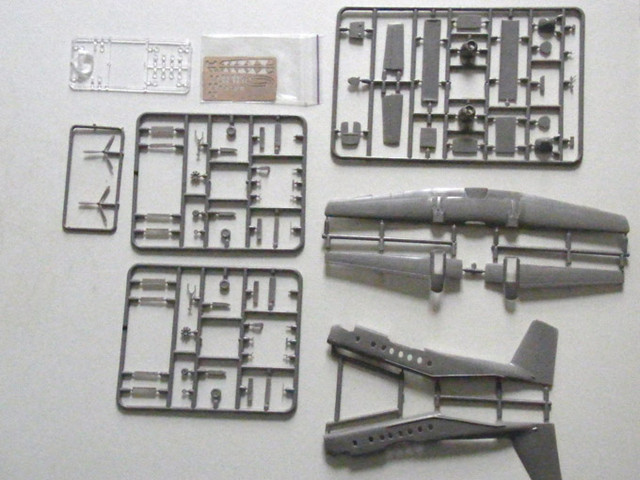
Here's what you get with the Amodel kit. Several sprues, the usual windows, plus one little sheet of PE. The good news is that there are Royal Australian Air Force decals (as well as United Nations) so I'll be building the Aussie plane in the Australian colours. There's lots of instructions. 6 pages in all, something which is still important to me, as a relative newbie.

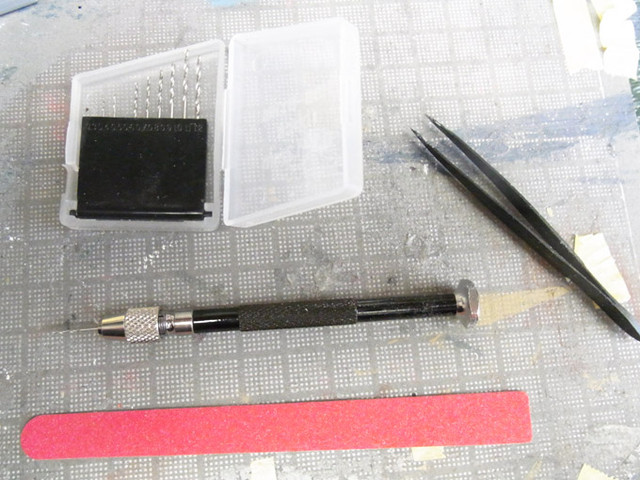
Some progress to report on the Caribou build. As the kit is by Amodel, I knew what to expect, and that's a kit which will eventually go together and look OK, but quite a bit of sanding, drilling and shaping will be needed to get everything fitting nicely. I guess that means you get increased job satisfaction with their kits, sort-of. These are the tools which I am using the most so far (the glueing gear is just starting to be used). That pin vice with the selection of fine drill bits is getting a workout this time.

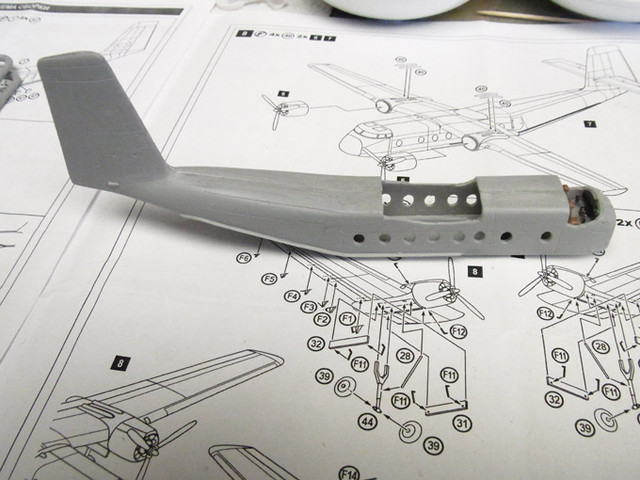
Often the instructions feature nice little holes here and there to stick things into, but the moulded plastic bits on the sprues ain't got no holes. Sometimes, rather than having nice holes already formed, sections have little dents here and there, so you know where to drill.

And sometimes they expect you to scratch-build stuff, such as the 34 little pegs which support the bench seats inside the plane. I'm not a fan of building interior items on planes which no one is ever going to see, so I skipped that step altogether on the "life is too short" principle.

At first when I saw "34" of the pegs I went looking on the sprues to see if I had gone blind and missed them, but then I checked this little symbol (below) on the instructions... …"to make a detail" must translate from the Polish that way. It means "scratch build these, buddy – and good luck."

Typical of other Amodel kits I have worked on, the fuselage halves basically match up.

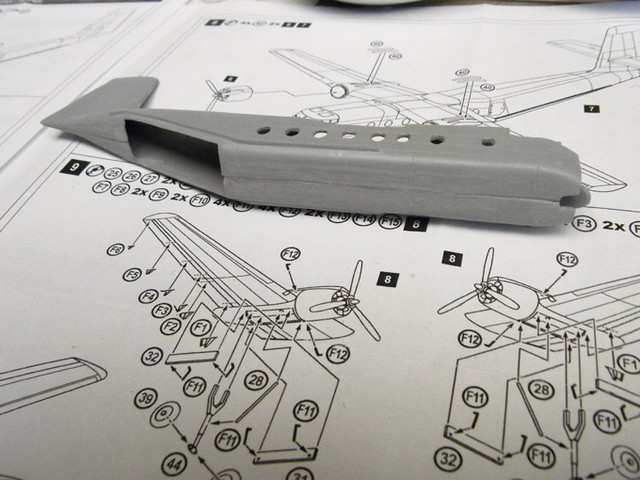
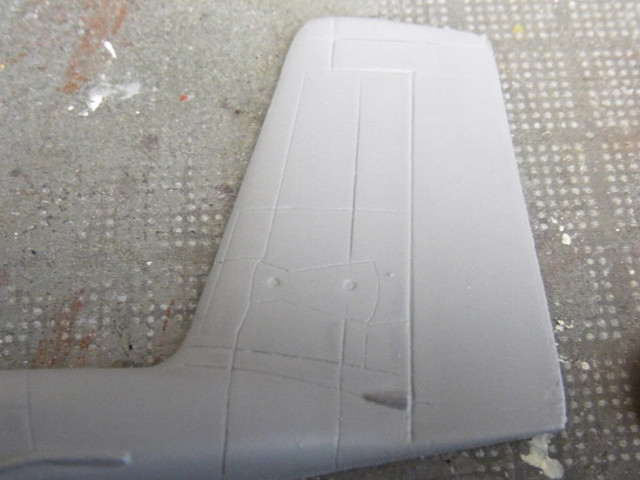
I didn't say they match up perfectly, though. Some filling and sanding needed.

The wings consist of one full-width piece and left- and right-side inserts. These needed sanding and fiddling to get right. Another bonus point on the job satisfaction meter. They haven't been glued together yet, though.

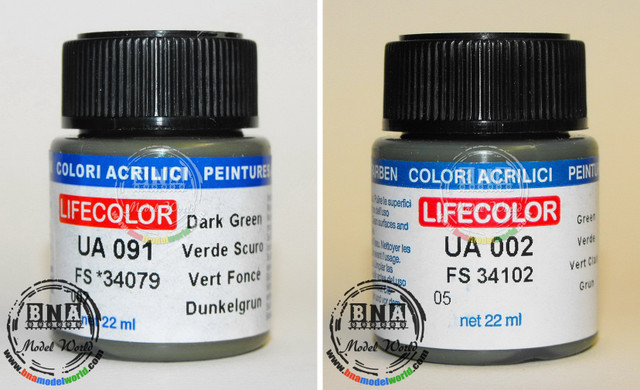
My big problem with this build is that I really do want it to look right, as far as colours go. I like the look of Australian Caribous in the two tones of dull green with the black camouflage patterns, but of course those colours aren't available in rattle cans, such as the Tamiyas which I use so often. So, the best I can do is to get the correct FS colours (FS34079 and FS34102) and hand-paint the model. Being much more unemployed than I'd like to be, I can't afford to buy a proper air gun set up, so at $3.50 for a 22ml jar, these Lifecolor paints suit my limited budget a whole lot better. I'm hoping the matt finish will help to conceal any of the worst of my hand-painting errors. Besides, I can feel a bit more job satisfaction coming on if it all works out OK!

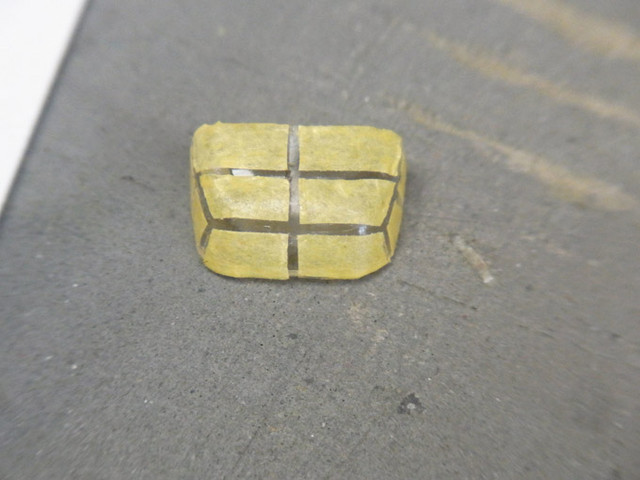
I spent a fair bit of time trying to create a mask for the canopy, so I can paint on the ribs. It's amazing how your eye, when you check it out in the shed, says "looks OK to me" and then your camera, once you take a shot of it, says "back to the drawing board in a few places, mate."

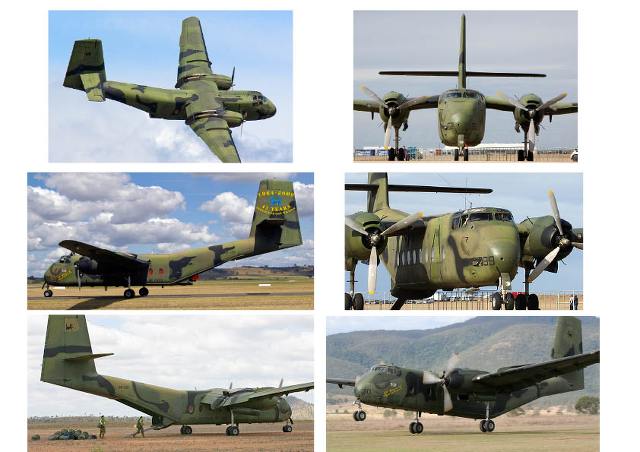
Finally, when I start building a model I do a Google Images search to find some pix I like for reference, taken from various angles, and then I put them together on a page, print it out in colour. For every model I have built it's a handy guide which I refer to often, but it's always just a cool thing to look at from time to time. Here's my Caribou page.

Anyway, this is turning out to be a fun thing to build, with several enjoyable minor problems to solve, but nothing too disastrous rearing its head yet.

  • Member since
    February 2007
  • From: Brunswick, Ohio
Posted by Buckeye on Sunday, August 31, 2014 10:29 AM

Boy, is that small!  Nice job masking off the canopy.  Always liked these birds, looking forward to seeing how it turns out.

Mike

  • Member since
    August 2014
Posted by Ozmac on Sunday, September 21, 2014 12:43 AM

Well, after a few weeks of no news, finally some news and some progress. Instead of hand-painting the Caribou, I have invested in an airbrush to do the job. My wife and I figured out a way to pay for it, and having the airbrush opens up a whole new world of colours to me, and that's going to be very useful when I build the 1:43 scale Panhard Dynavia car kit, which needs a soft green metallic paint colour that is definitely not available in a rattle can.  

Here's what I bought: an el basic Delta compressor and airbrush kit #86001. The cheapest price I could find for it was $180 at Milsims in Melbourne, plus $15 shipping. Hobbyco, a big store in Sydney city, wanted $245 for the same thing, so I am happy with my $55 saving.  

Doing lots of research into airbrush kit serves to inform you and confuse you roughly in 50/50 equal measures, but one thing I did notice was that lots of hobby specialists stocking this kit Delta here in Australia, and I kind of figure they all seem to think it must be an adequate one for beginners, which is what I most definitely am.  

As for settings:

I am mixing my Lifecolor paints 50/50 with Lifecolor thinners

I have the compressor set at 20psi

I am using the standard 0.35mm needle (the kit also comes with a 0.2mm and a 0.5mm, and matching nozzles, which I haven't touched)  

And I have taken a whole week to get confident enough on test pieces of paper and plastic before laying any paint on the Caribou. And that turned out to be a major anticlimax! The two green colours recommended for the Caribou are so close in their tone that, after drying, I couldn't see the camo pattern at all. Fortunately, my wife is an artist/illustrator/graphic designer, and she took one look at my pots of Lifecolor paint and said they were far too close to each other, and I should use a different green.   Fortunately, I did order some other Lifecolor greens when I ordered the Caribou colours, and I have used one of them instead. At least you can see the camo pattern now.  

I guess my first amateurish attempt at using an airbrush will cause some mirth among old hands, but here it is so far. No wheels, no windows, no decals, no bling. I have just popped the canopy in place for the photos, but it hasn't been glued in place yet. I am still finding it very difficult indeed to get the paint go on where I want it, in the density I want it, but I guess practice will hopefully lead to improvement.   When I next get a chance, I'll add all the final pieces: decals, windows, wheels, PE bling, hopefully sometime this week.   

The kit itself has gone together pretty well. The cargo doors on the underside at the rear didn't fit well, but everything else has gone together fairly neatly. I have had to used putty in several places, but only thin slivers, no great big beaver dams of the stuff.

  • Member since
    March 2005
  • From: Lancaster, South Carolina
Posted by Devil Dawg on Monday, September 22, 2014 10:10 AM

Looking good so far, Ozmac. Looking forward to seeing more progress on her. Good Luck!

Devil Dawg

On The Bench: Tamiya 1/32nd Mitsubishi A6M5 Model 52 Zeke For Japanese Group Build

Build one at a time? Hah! That'll be the day!!

  • Member since
    February 2007
  • From: Brunswick, Ohio
Posted by Buckeye on Monday, September 22, 2014 11:18 AM

Looking good to me!

Mike

  • Member since
    August 2014
Posted by Ozmac on Tuesday, September 23, 2014 8:09 PM

Well, I'm happy to call things to a close at this stage. As far as I am concerned, the Caribou is finished. It was a fun kit to build, and as I rarely do anything military at all, I am happy with this as an addition to my mostly civilian shelves.

The one big tip for anyone contemplating this kit is to know that it doesn't sit like this once built. It flops back on its tail, so it will need some lead weights in the nose to have it sitting normally. As soon as I saw it tilt back, I thought "It looks like it's ready to take off" and that gave me the idea for this little diorama of my 1/144 scale Caribou, done in Photoshop (see below).

At least I didn't have to use props to have it sitting back on its tail for this diorama. I've tried to blur the props a bit to add to the sense of movement. The airstrip is one of the old ones up near Darwin in the Northern Territory of Australia, in case you're wondering.  

The kit, by Amodel, went together pretty well. All the clear widows and the canopy needed a lot of work and didn't fit well, but the wings and fuselage did fit together pretty snugly. The very fine line decals, alas, didn't fit all that well in a couple of places, and as a newbie I probably only made them look a bit worse into the bargain.  

If you have read my earlier postings on the building phase, you'll know that this is my first go with an airbrush, and so the results are a bit spotty in places, but it all looks fine if you don't look too closely but it's not that great close up.

The kit comes with a little sheet of PE bits, and I added some but not all of them, especially the microscopic bits. I know this sounds like heresy, but I'm not a fan of PE yet. I regularly read here on this site and elsewhere model builders really love their PE work, and good luck to them. It certainly looks good when well done. To me it holds few attractions at this stage. So tiny, fiddly and almost invisible at times. Maybe I'll get the hang of working with it later on and come back and add the final bling to the Caribou, but at this stage I'd rather move on to something else.

  • Member since
    February 2007
  • From: Brunswick, Ohio
Posted by Buckeye on Wednesday, September 24, 2014 11:22 AM

Very nice build!Yes

Mike

JOIN OUR COMMUNITY!

Our community is FREE to join. To participate you must either login or register for an account.

SEARCH FORUMS
FREE NEWSLETTER
By signing up you may also receive reader surveys and occasional special offers. We do not sell, rent or trade our email lists. View our Privacy Policy.