SEARCH FINESCALE.COM

Enter keywords or a search phrase below:

XB-70 WIP (AMT Kit in 1/72 Scale)

7689 views
19 replies
1 rating 2 rating 3 rating 4 rating 5 rating
  • Member since
    February 2014
  • From: Cincinnati, OH
XB-70 WIP (AMT Kit in 1/72 Scale)
Posted by Valkyrie on Monday, October 13, 2014 1:41 PM

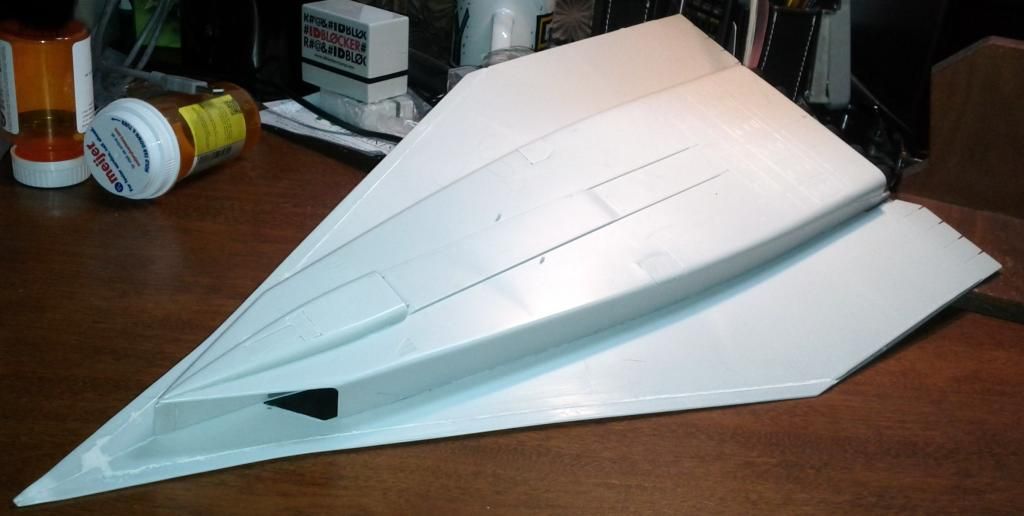
XB-70 Valkyrie (AMT kit #8907 in 1/72 scale):  This is NOT a kit for beginners, nor would I recommend it for someone without significant patience.  It is however a truly beautiful model with striking dimensions (length about 32” and, depending on wing configuration, width up to about 17”).  I wasn’t planning to share these photos, but decided that someone might benefit from my mistakes.  I tried to improve the photo quality, reduce the background clutter and compensate for poor lighting with photo tools and cropping.  As this build continues hopefully I can improve both my lighting and photography skills.

Fuselage Assembly:  The fuselage came in four pieces.  The sequence in the instructions, which I followed, was to join the forward halves together and let them dry.  Then join the aft halves together and to the completed forward section at the same time.  The sides matched adequately with some minor filling and sanding.  But, the mating between fore and aft was very poor, needing much filling and sanding.  It might have been better to join the fore and aft pieces of each side together first and then join the two resulting halves.  But, either way it caused a problem when mating the fuselage to the wing assembly.  I describe that later.

Wings and Engine Bay Assembly:  The upper and lower wing parts fit poorly and required much filling and sanding.  The engine bay assembly, however, went together well and quickly.  It mated easily with the wing assembly but did require some filling and sanding.
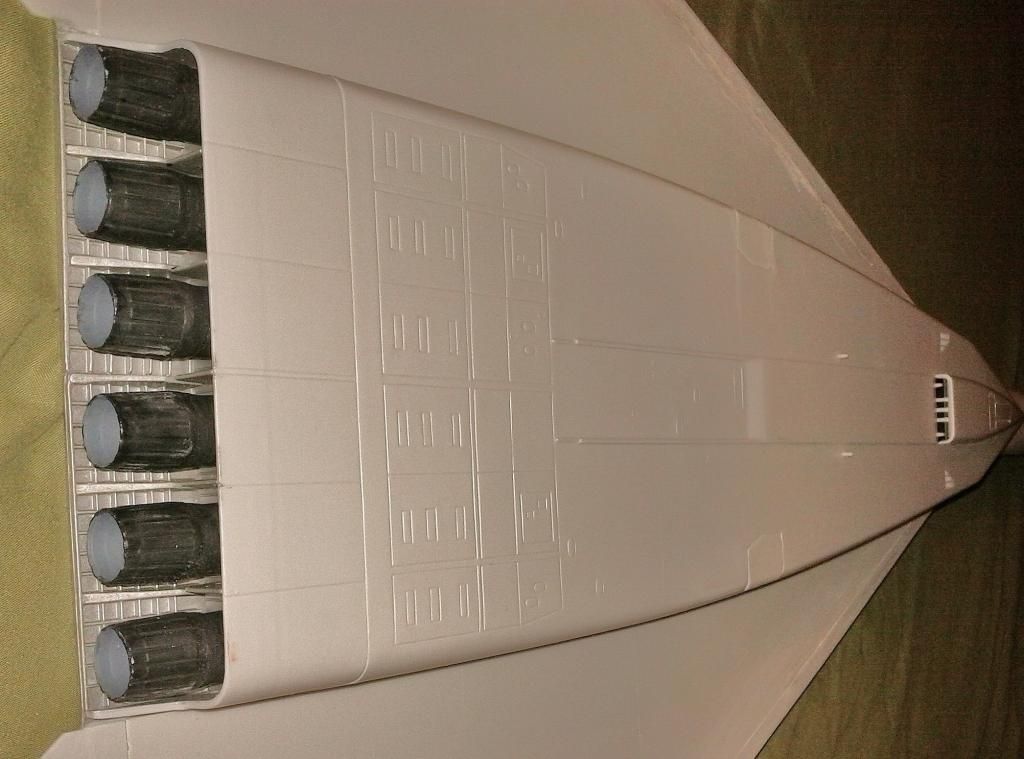
Six Pack” Engine Bay Assembly:  Simple assembly and fit was good.  I hand brushed Testor “small bottle” enamels:  “Flat Steel” in the areas surrounding the engines, “Flat Black” on the engine exterior and mixed “Flat Black” and “Flat Gray” for the engine interior.  The photo makes the interior appear much lighter than it really is.  I still have some work to do on the engines, including “aging” on and around the engines.
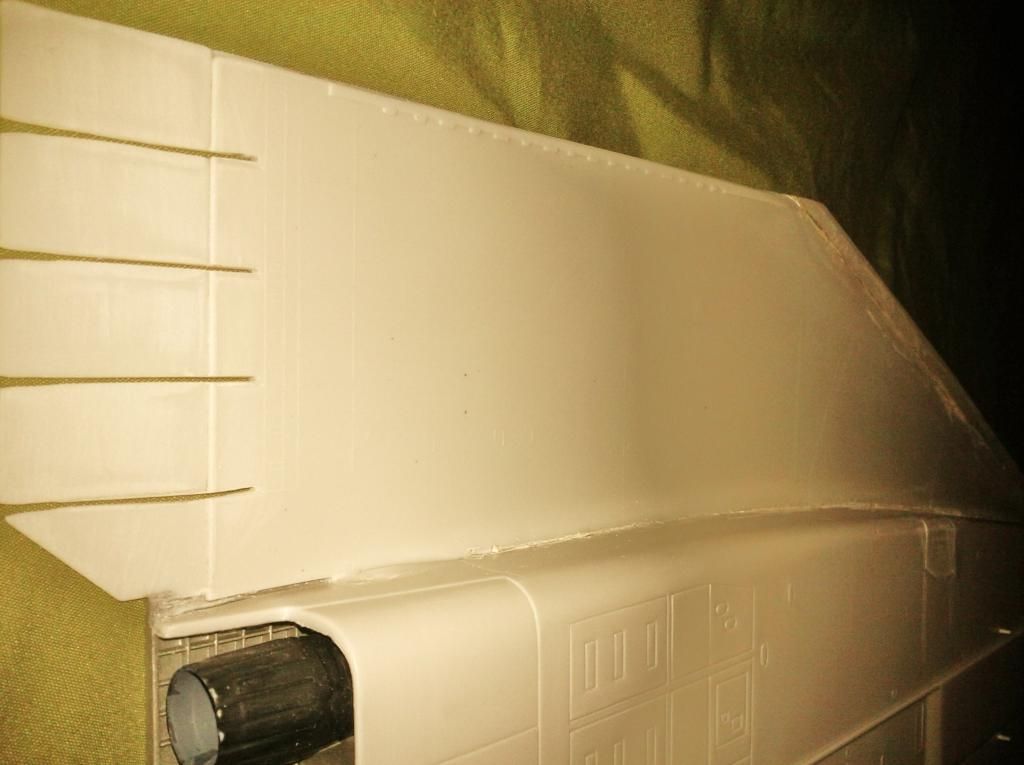
Stabilizer Control “Fingers”:   The control fingers were separated for about a quarter inch out of the box.  I used a razor saw to lengthen the separation.  What appears as a hinge line in the photo is actually the seam between the upper and lower wing halves and will be filled and sanded away.
 

Mating Wings To Fuselage:  At best, the fit was poor.  You can see just ahead of the air intake that work is needed in a difficult position.   This, however, is just the beginning…

The seam between the fore and aft fuselage assemblies is particularly noticeable in this view.

A wing to fuselage test fit revealed about a 1/16th inch gap between the fuselage and the wings to contend with.  Much filling and sanding was required and I’m still working on it.  In retrospect, I think the gap could have been made significantly less by attaching the fuselage to the wings at the same time as gluing the fuselage halves together.  At that point, while the aft fuselage glue was still soft, pressure applied from the top forcing downward might have flattened and widened it forcing both the fuselage halves together and against the wings.  The clamping would have been tricky, but I think it would work.


Where the fuselage joined the aft part of the wing surface the fit was terrible.  Again much filling and sanding needed and, frankly, I’m still not satisfied with it.  Hopefully it will disappear when I eventually apply the primer.  But, at this point it just doesn’t feel right to the touch.
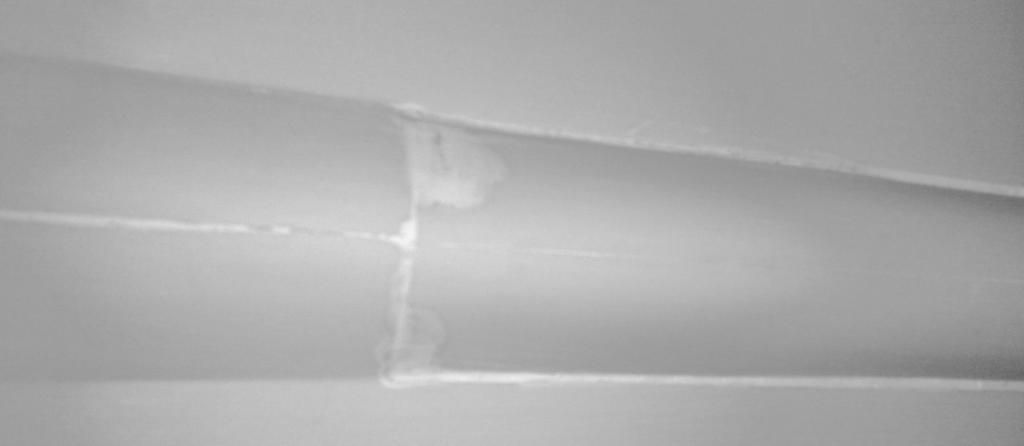
 

Another view of the wing to fuselage gap and the filling/sanding in progress.
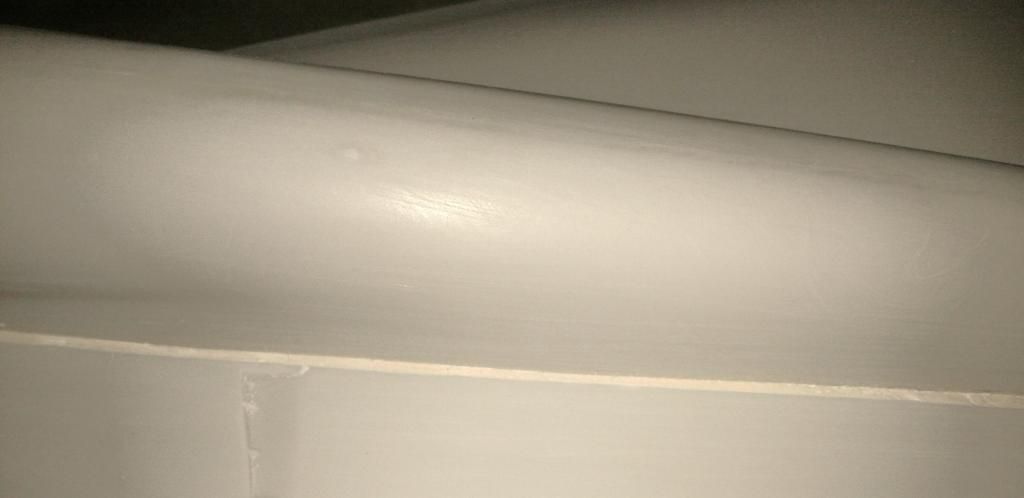
 

Air Intake Area:  View of the lower wing just ahead of the air intakes.   Filling and sanding in progress…
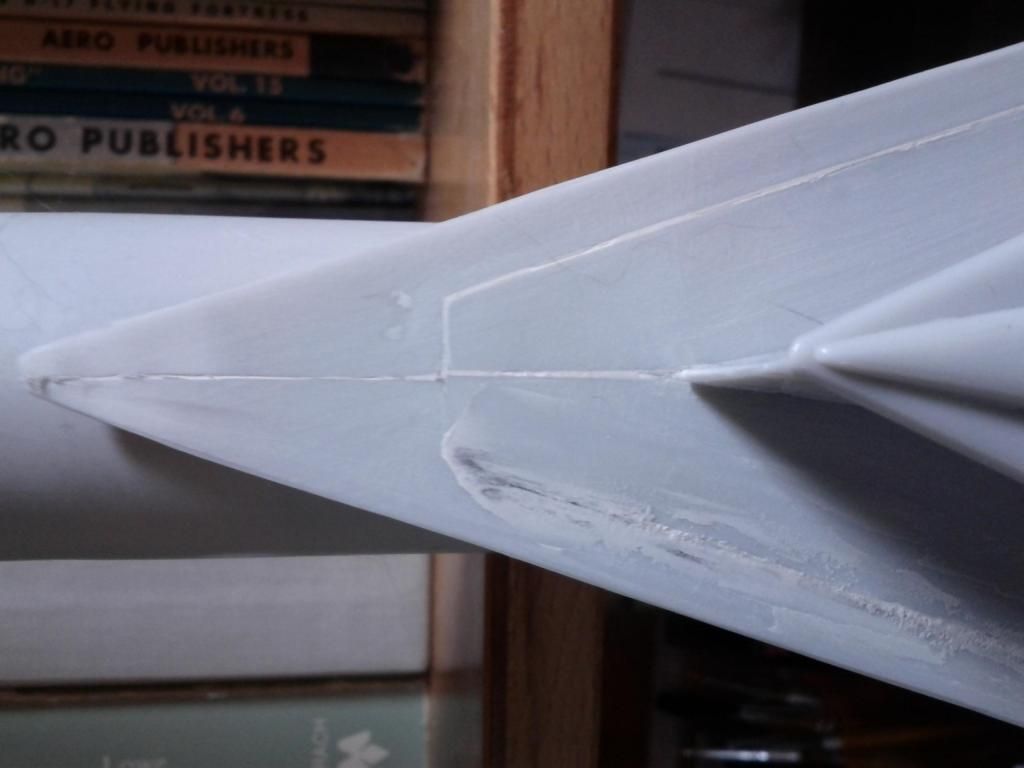
 

As you can clearly see, considerable filling and sanding is required on the wing undersurface and the air intake area.  The enormous amount of wing surface translates to literally hours of sanding.
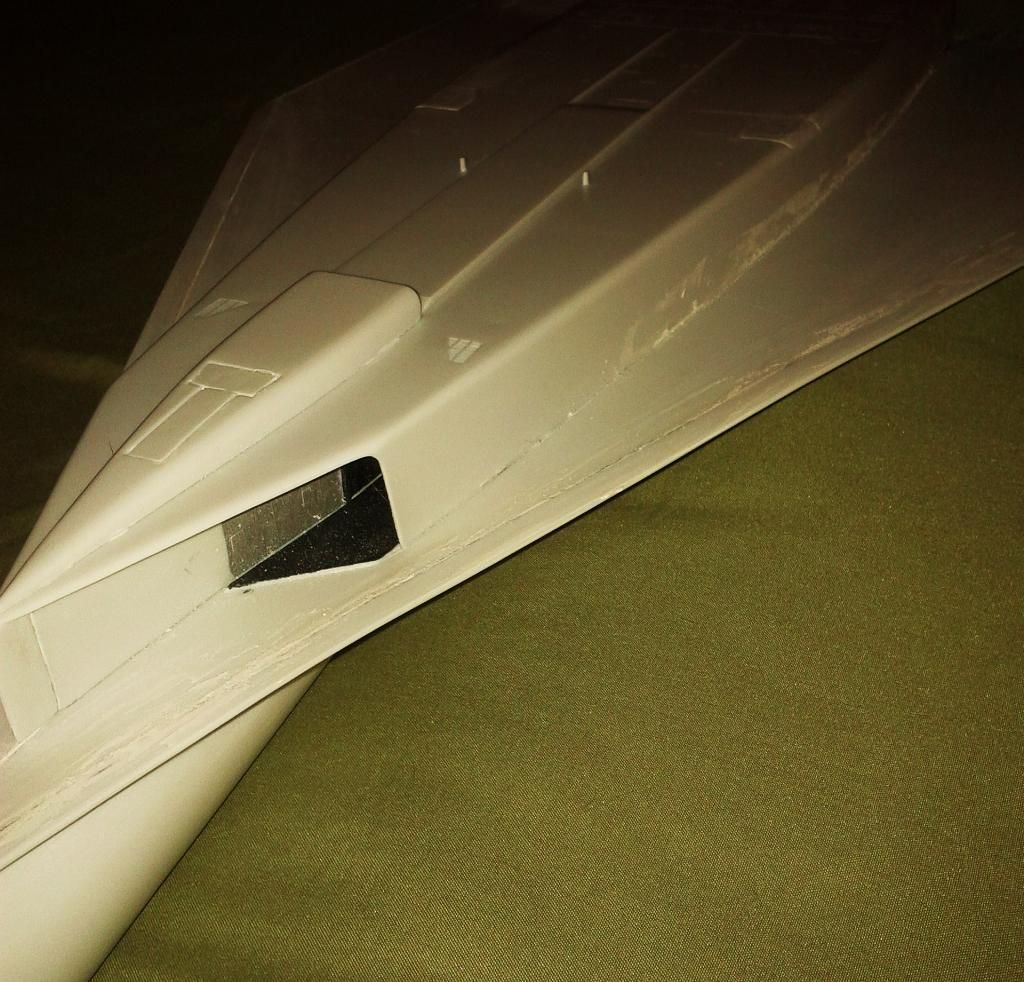
 

Some filling and sanding needed on the air intake.
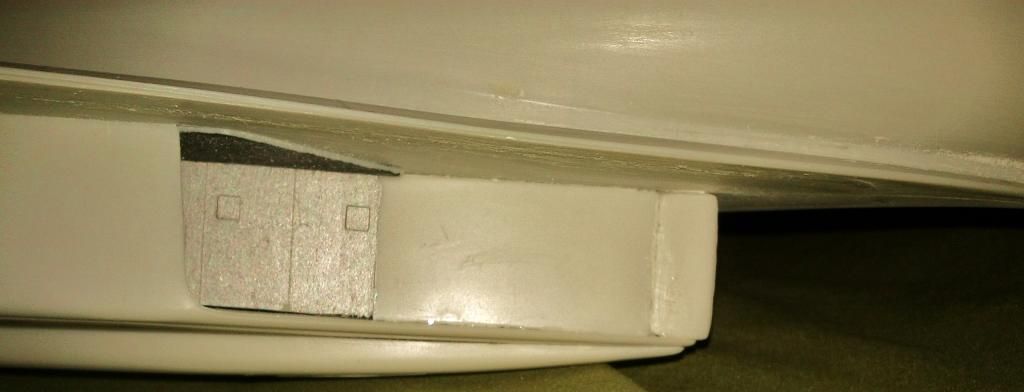
 

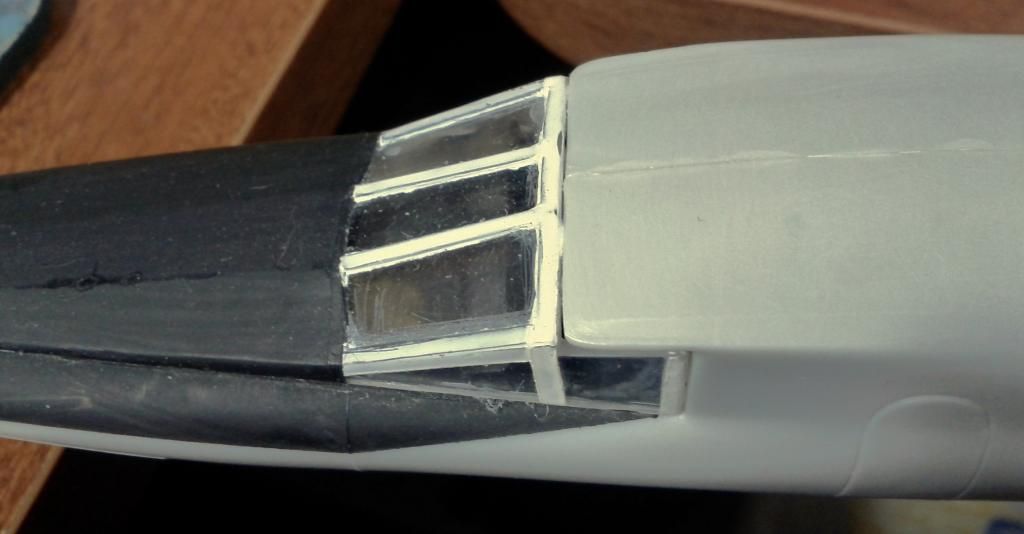
Cockpit Area:  I made the mistake of getting in a hurry to begin some of the painting and hand painted the anti-glare panels on the nose.  I’ll have to sand down and use my airbrush to get a better look.


This is definitely a kit on which you can really practice your filling and sanding techniques!
This is where I am today.  As you’ve seen from the photos above, I still have much filling and sanding before it’s ready for primer.  The assembly, however, is pretty much done.  All that’s left are the wing tip assemblies, canards and vertical stabilizers to be attached after painting.
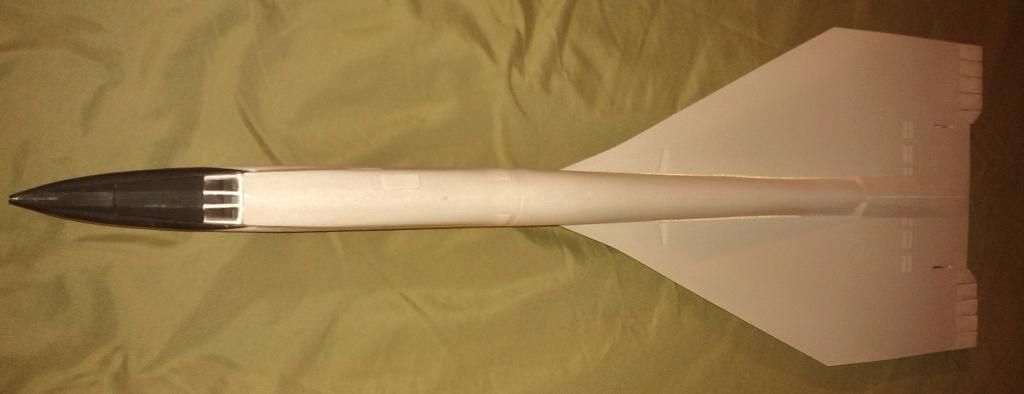
I must admit that I’ve been dragging my feet with the filling and sanding because painting something this size intimidates me, especially in gloss white.  FSM forums comments suggest that “rattle cans” would be best for something this size.  I guess that’s sound advice, but I haven’t had great success with them in the past.  I guess I need to practice a good bit doing multiple thin coats alternating between lengthwise and crosswise spray patterns.  Thanks for “listening” and  I welcome your feedback.

  • Member since
    March 2013
Posted by patrick206 on Monday, October 13, 2014 2:22 PM

Hi, Valkyrie -

You're doing a great job of building a rather difficult project. The alignment and careful fitting shows, plus your filling, sanding and attention to detail will pay off soon. I really agree with spray cans versus airbrush, unless you have one that can use a large needle and tip size for laying down plenty of paint. A well applied primer coat and sanding preparation will help, the spray cans will deliver a good supply so the surface can receive two or three coats each, of primer and then the finish paint.

Heating the cans prior to spraying helps to get a good flow of paint to the model, I place them in water only warm enough to hold my hand in, too much heat could pose a risk. Warmer paint will flow out easier when sprayed on the surface, paint that's too cold does not flow out as smoothly. Each pass should just be enough to produce an even gloss, but not so heavy as to cause runs. Paint cans are cheap, some practice on similar surfaces before laying it on for real would be a good investment.

Best of luck with it, it's coming along quite well, thanks for the post.

Patrick  

  • Member since
    December 2002
  • From: Bury St Edmunds, Suffolk, England
Posted by Bish on Monday, October 13, 2014 2:34 PM

That's looking nice. I saw some pics of a built one of these a couple of years ago and couldn't believe how big it is.

I am a Norfolk man and i glory in being so


On the bench: Airfix 1/72nd Harrier GR.3/Fujimi 1/72nd Ju 87D-3

  • Member since
    February 2014
  • From: Cincinnati, OH
Posted by Valkyrie on Monday, October 13, 2014 2:59 PM

Patrick, thank you so much.  I appreciate your detailed reply and encouragement.  I saw a tip some time back about heating the cans, but had totally forgotten it.  That may very well be the edge that will make the difference for me.  The size of the model has been a challenge -- getting tired of sanding.  But, I'm a firm believer in "Never Give Up."  I think it's going to be spectacular when I get it finished

Thanks again!  AL

  • Member since
    February 2014
  • From: Cincinnati, OH
Posted by Valkyrie on Monday, October 13, 2014 3:01 PM

Thanks, Bish.  Size definitely equates to "more work."  But, I think it will be really impressive when I get it done.

AL

  • Member since
    February 2003
  • From: Cameron, Texas
Posted by Texgunner on Monday, October 13, 2014 3:08 PM

A nice start for a challenging project for sure.  The dimensions in 1/72 are staggering; good grief, what would they be in 1/48?  Big Smile

Gary


"All you mugs need to get busy building, and post pics!"

  • Member since
    July 2014
Posted by modelcrazy on Monday, October 13, 2014 3:56 PM

Al,

Your a braver man than me sir. Good job on the fitting and sanding. I will be happy to see the finished product..

Steve

Building a kit from your stash is like cutting a head off a Hydra, two more take it's place.


http://www.spamodeler.com/forum/

  • Member since
    February 2012
Posted by F105nut711 on Monday, October 13, 2014 4:04 PM
Bucket list kit! Looks great!
  • Member since
    February 2014
  • From: Cincinnati, OH
Posted by Valkyrie on Monday, October 13, 2014 4:23 PM

Thanks, Gary.  LOL, yeah in 1/48th you'd have to add a room to display it.  I'm going to have to hang it from the ceiling as it is.

  • Member since
    February 2014
  • From: Cincinnati, OH
Posted by Valkyrie on Monday, October 13, 2014 4:26 PM

LOL, modelcrazy, I still have many hours of work to get it the primer stage.  But, a little here and a little there and one of these days it'll be ready for paint.

  • Member since
    February 2014
  • From: Cincinnati, OH
Posted by Valkyrie on Monday, October 13, 2014 4:30 PM

Thanks, F105nut711.  The AMT kit is hard to find these days.  Do you have it in your stash?

  • Member since
    February 2003
Posted by Jim Barton on Wednesday, October 29, 2014 5:09 PM

That looks like the kind of model that one day you just say, "Screw it!", take it outside, insert a firecracker in the intake and light the fuse! Or would that be a total waste of a perfectly good firecracker?Big Smile

I remember once a very long time ago (in the '70s when I was a kid) building a B-70 from one of those old-line kit companies. Was it Aurora? Entex? (Anybody remember that brand?)

"Whaddya mean 'Who's flying the plane?!' Nobody's flying the plane!"

  • Member since
    June 2014
Posted by BrandonK on Wednesday, October 29, 2014 5:47 PM

I need to dig through some of my OLD photos when I was in the AF and visited Right-Patterson AF Museum. They had one of those inside and I have photos of it. It is an impressive plane. The image that sticks with me over the years is the size of those enormous intakes.

Good looking build.

On the bench:

A lot !! And I mean A LOT!!

2024 Kits on deck / in process / completed   

                         14 / 5 / 2  

                              Tongue Tied

  • Member since
    May 2011
  • From: Honolulu, Hawaii
Posted by Real G on Wednesday, October 29, 2014 8:43 PM

Jim,

You might be thinking of the Aurora kit - it was my Holy Grail kit back in elementary school!  It was really simple model, but I was thrilled to finally find one.  I loved the violet colored sky on the box art!  At least it looked like an XB-70, compared to their B-58 which I suspect inspired Hasegawa's egg planes!

The AMT XB-70, while in glorious 1/72 scale, was a huge disappointment in the engineering, molding, fit, and detail departments.  And AMT's decals were bad too.  The Italeri rebox has better ones (Cartograf?), but is stinking expensive here in the US.

I give a tip of the hat to all who are brave enough to attempt this kit.  Good luck Valkyrie!

“Ya ya ya, unicorn papoi!”

  • Member since
    January 2003
  • From: Washington State
Posted by leemitcheltree on Wednesday, October 29, 2014 9:20 PM

Holy Moly!  36" long?  You're a better man than I, mate!

Keep up the good work!

Cheers, LeeTree
Remember, Safety Fast!!!

  • Member since
    February 2014
  • From: Cincinnati, OH
Posted by Valkyrie on Thursday, October 30, 2014 2:23 AM

LOL!  Not on you life, Jim.  I'm one stubborn son-of-a-gun and won't let it get the upper hand.  Lot of work yes, but it's going to be spectacular when it's done.  I think the size will get so much attention that the flaws in my workmanship may not be as glaring.

  • Member since
    February 2014
  • From: Cincinnati, OH
Posted by Valkyrie on Thursday, October 30, 2014 2:31 AM

Brandon, I live about an hour from the USAF Museum and go there 2-3 times a year.  I always go visit the XB-70.  It used to be outside in the Ohio weather, but then some years back they finally moved it inside one of the main buildings and had a magnificent display.  Now they've moved it along with other X-planes to one of the hangers inside the restricted area.  You have to catch a bus to get to it.  It's pretty crowded and hard to get a good look.  You need to be able to stand back a ways to get perspective.  Hopefully there's an "X-plane" building in the future there.

  • Member since
    February 2014
  • From: Cincinnati, OH
Posted by Valkyrie on Thursday, October 30, 2014 2:42 AM

Thanks, Real G, for the tip about the decals.  That seems so far ahead.  I haven't done any looking to see what might be available.  I guess I kind of thought as old as the kit is that there might not be anything available.  And, as Mr. Barton aptly pointed out, with so many fit issues, I wonder how many were actually completed.  The firecracker idea does have a certain appeal.  And, yes, I did actually do that with a couple Aurora kits way back when I was young and less patient.

  • Member since
    February 2014
  • From: Cincinnati, OH
Posted by Valkyrie on Thursday, October 30, 2014 2:46 AM

Thanks, Lee!  Yep, it's a monster!  I'm actually running into space issues as I continue to work on it.

  • Member since
    June 2014
Posted by BrandonK on Thursday, October 30, 2014 9:58 AM

I saw it inside back in the late 80's. Sounds like it's getting some miles just being moved around. I would love to go there and see that stuff again. Awesome stuff.

On the bench:

A lot !! And I mean A LOT!!

2024 Kits on deck / in process / completed   

                         14 / 5 / 2  

                              Tongue Tied

JOIN OUR COMMUNITY!

Our community is FREE to join. To participate you must either login or register for an account.

SEARCH FORUMS
FREE NEWSLETTER
By signing up you may also receive reader surveys and occasional special offers. We do not sell, rent or trade our email lists. View our Privacy Policy.