I got started on my HA-1112 this week. I bought it because I had so much fun building the Avia S-199, which shares many parts with this one (main differences being the fuselage with the scoops and the Merlin engine exhaust and the four-bladed propeller).
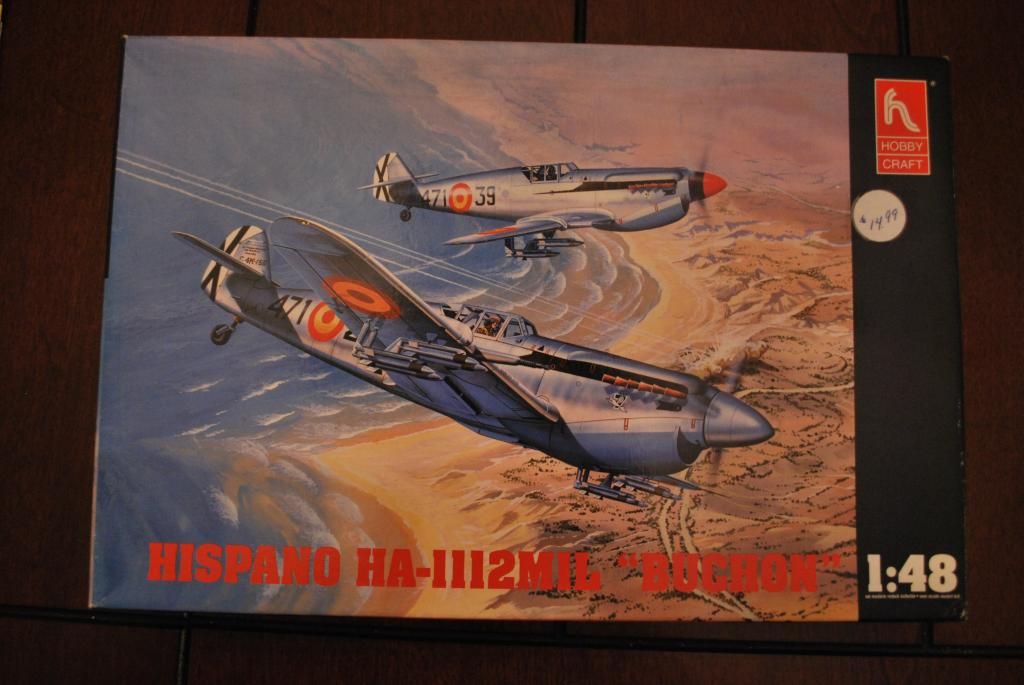
The Spanish got some Bf-109G airframes from the Germans, but no Daimler engines, so they used the Rolls Royce Merlin engines.
I'd read that drilling the holes in the wings for the wing fences and bulges in this kit led to problems, so I carefully poked them with a No. 11 blade just so I'd know where the parts went. I was able to drill out by twisting the blade in small enough increments to add the wing bulges so they fit so tight I didn't even need glue (I did take them off and glue them, however).
I've decided to paint this one in the natural aluminum finish, so I bought some Alclad to work with and will test it on my poor Monogram HE-111 that I never finished years ago and has since become my testing ground for all new techniques and products.
Back to the Buchon - I was originally going to paint the interior RLM 02, but in research photos I found, the Spanish ones (as opposed to the ones used to mimic Bf-109s by Hollywood) seem to have much lighter cockpits. The closest thing I have to the color I've seen is Dark Sea Gray, but that's still a little light, so I sprayed a base of flat black.
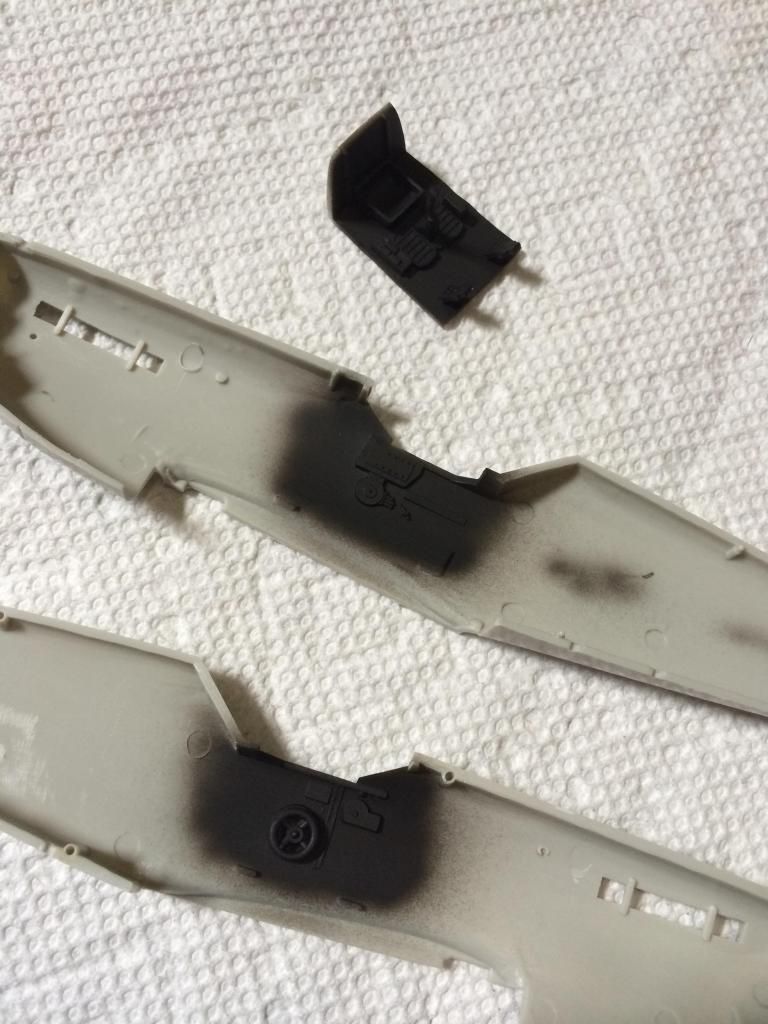
After that, I lightly sprayed over it with dark sea gray, and I left it light over the foot area so it would have the beginnings of a dirty look. Same with the seat and seat back.
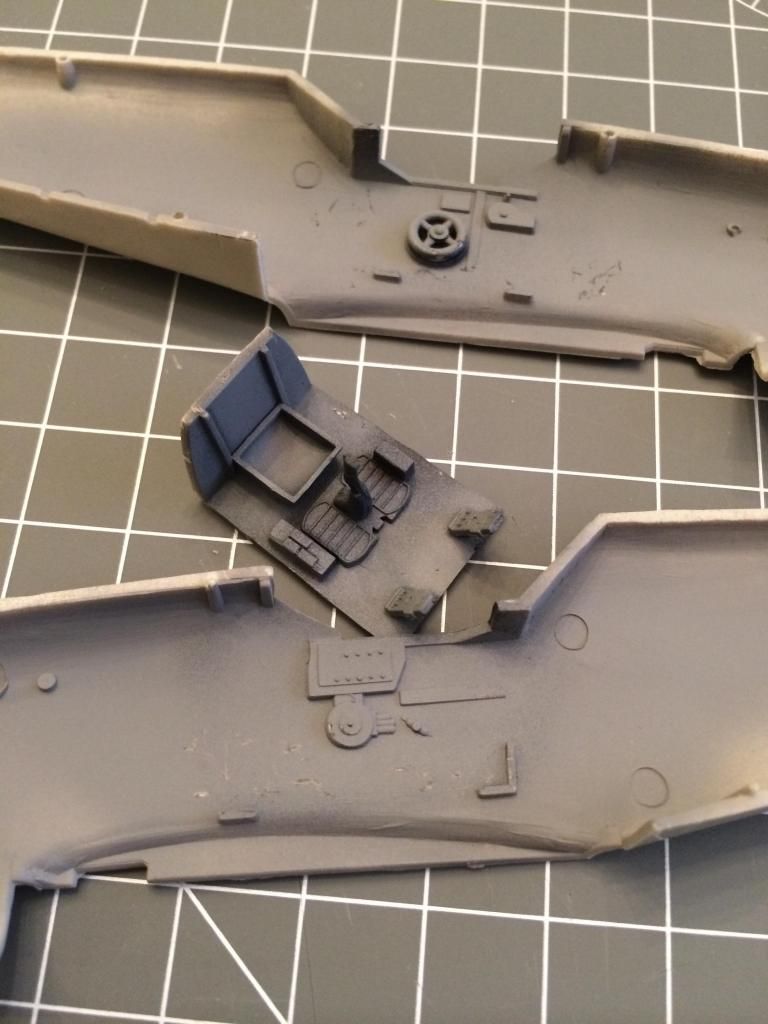
Yep, the scuffed paint is because I just had to play around with it right when I got it back inside. An easy fix, at least.
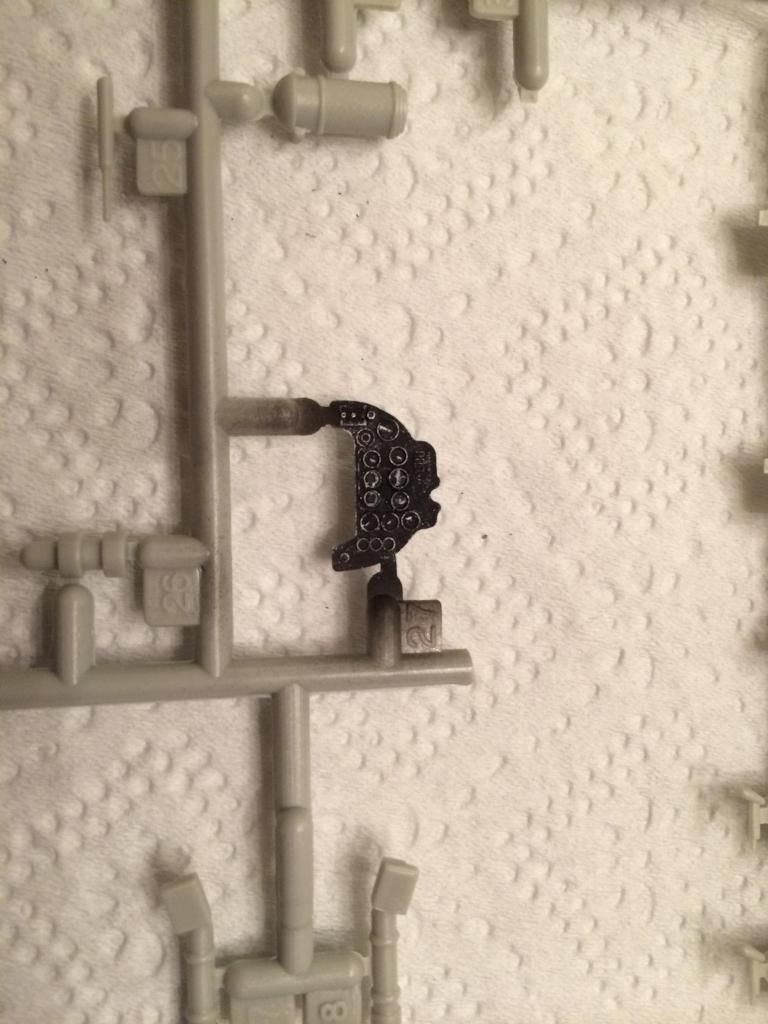
The instrument panel isn't getting anything fancy, but I wanted to put a few bits of gauge needle markings in and drybrush the bezels. I'll put drops of Future over each gauge face, but I'm not expecting anything fantastic out of it.
Next up is detailing the rest of the boxes, switches, levers and throttle in the cockpit and making some lead foil seat harness.
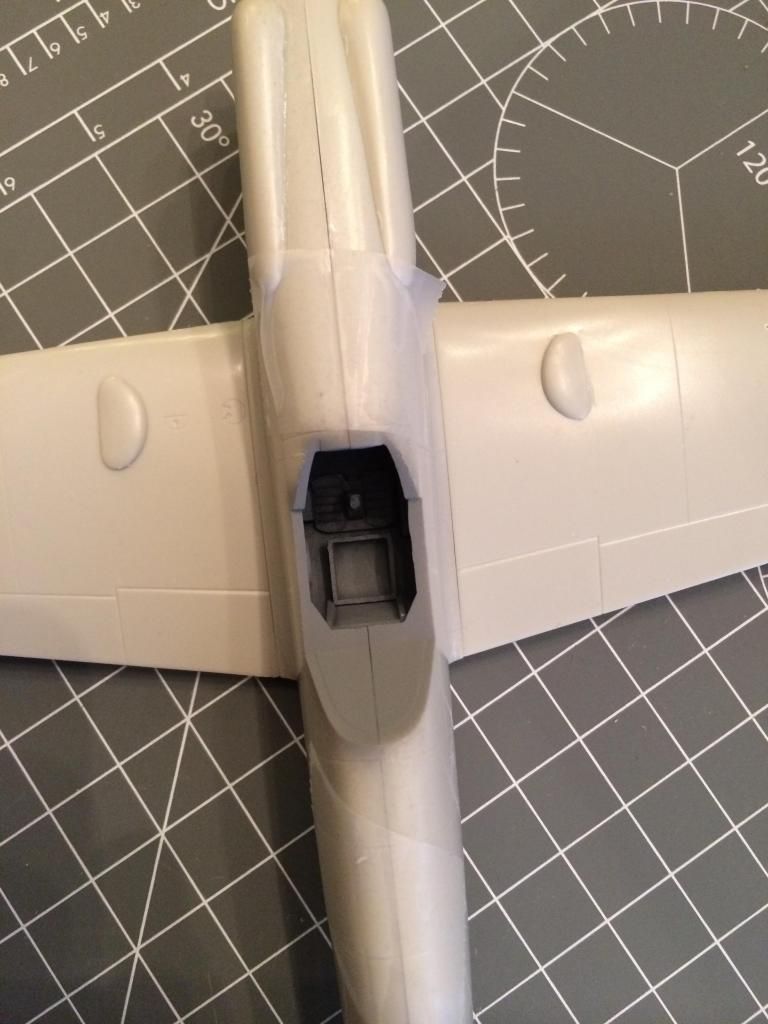
Just taping everything up shows that the wing root fit is nice and tight. The wings stay on just from tension, so no need to worry about filling obnoxious seams. I'll probably have to hit the fuselage join with a small amount of filler, but shouldn't be too bad.
-BD-