SEARCH FINESCALE.COM

Enter keywords or a search phrase below:

Trumpeter 1/48 F-100C

5786 views
42 replies
1 rating 2 rating 3 rating 4 rating 5 rating
  • Member since
    March 2010
  • From: MN
Trumpeter 1/48 F-100C
Posted by Nathan T on Saturday, March 21, 2015 8:01 PM

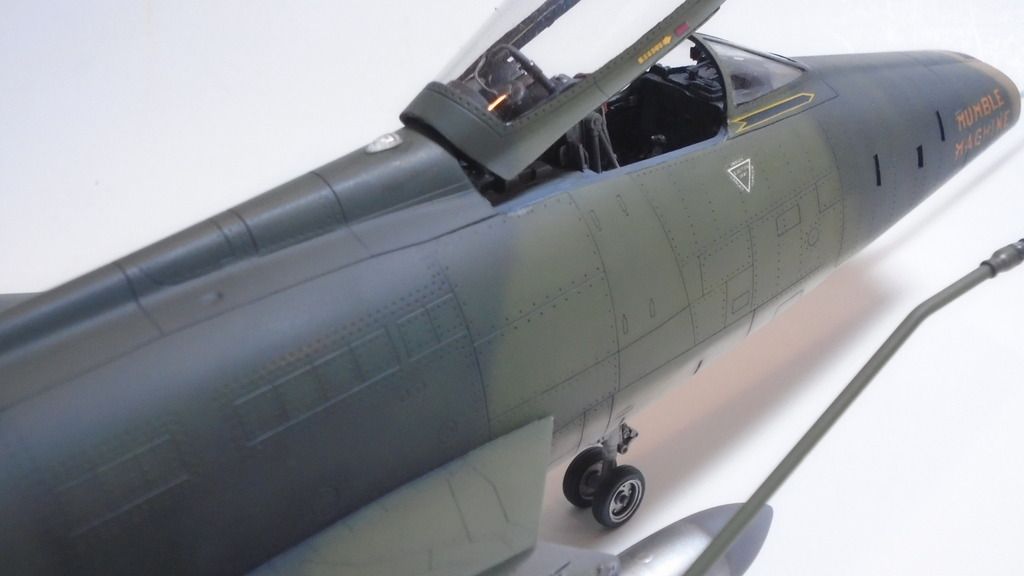
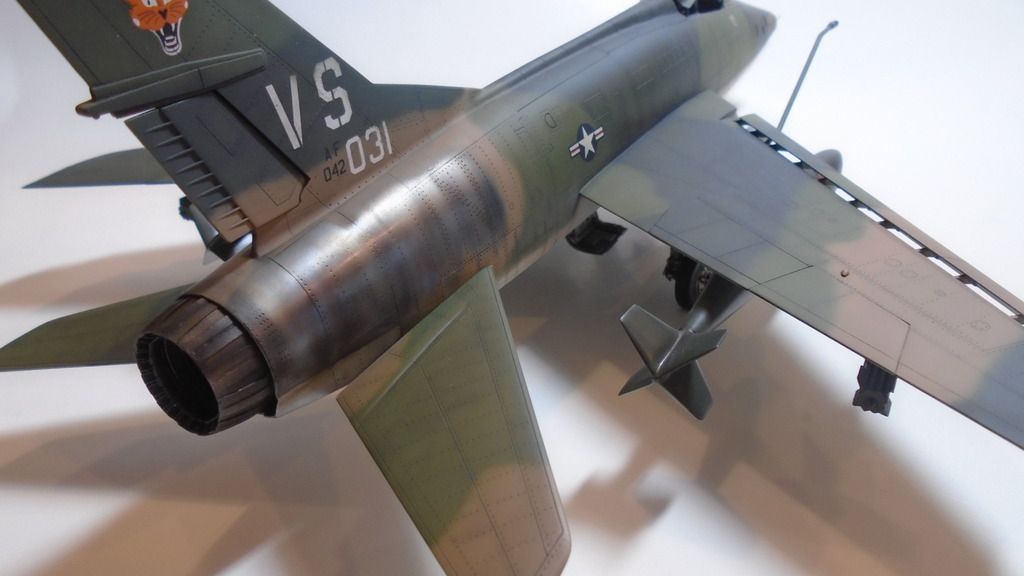
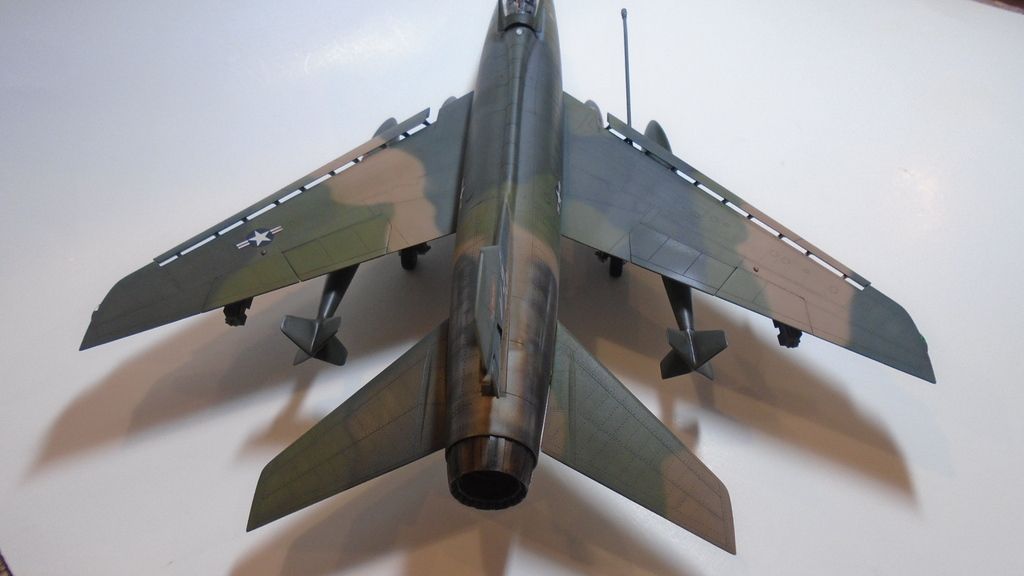
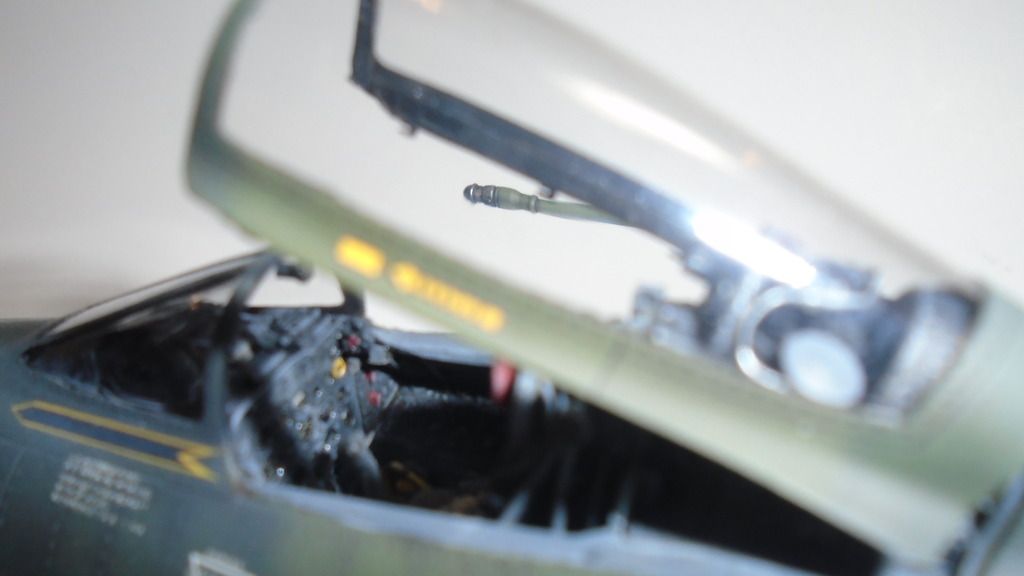
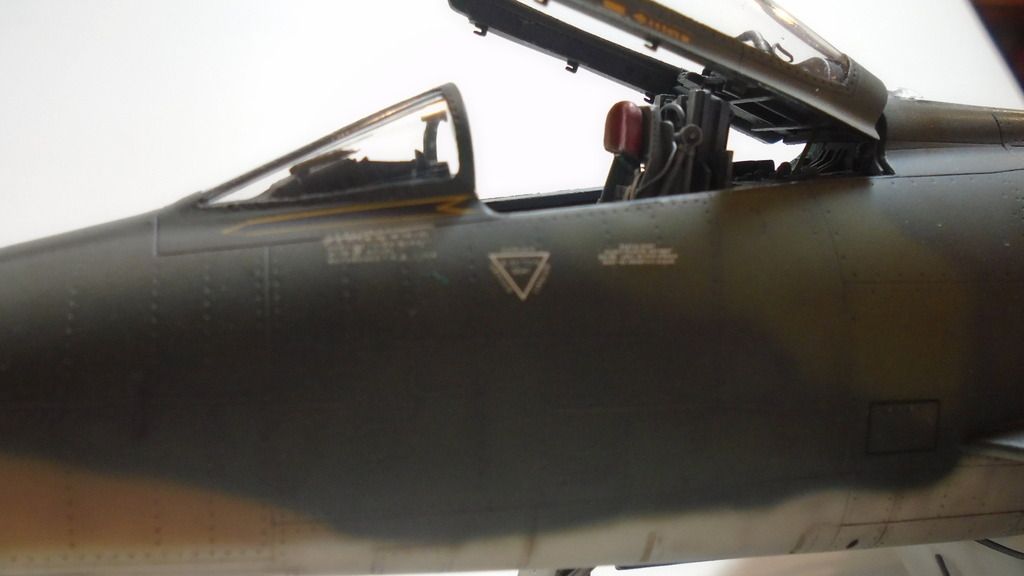
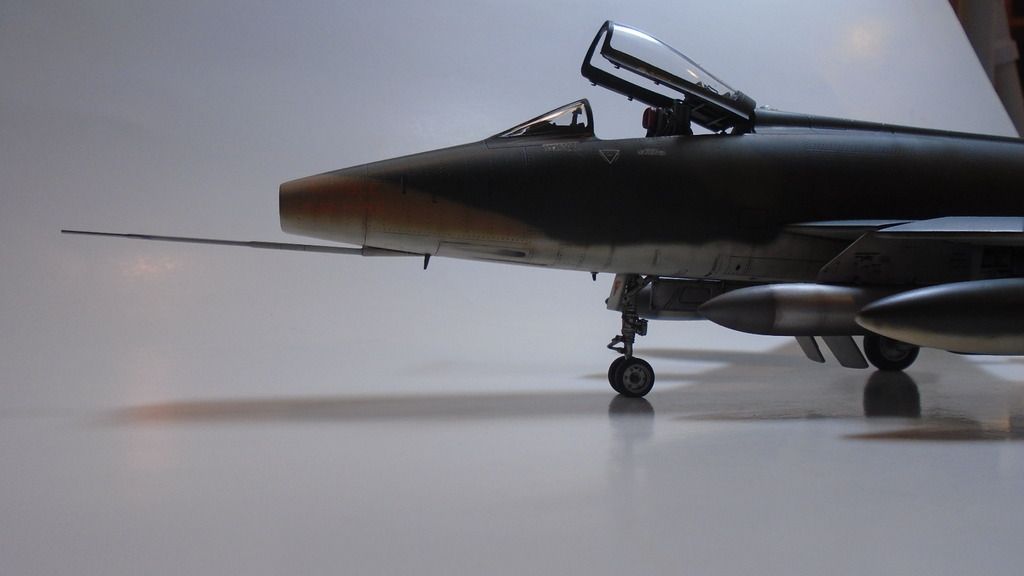
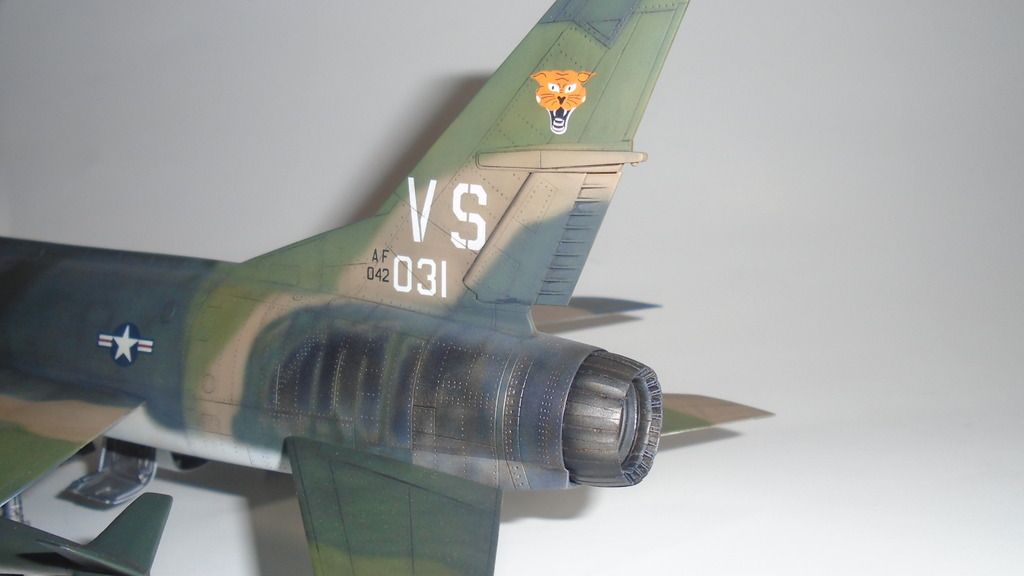
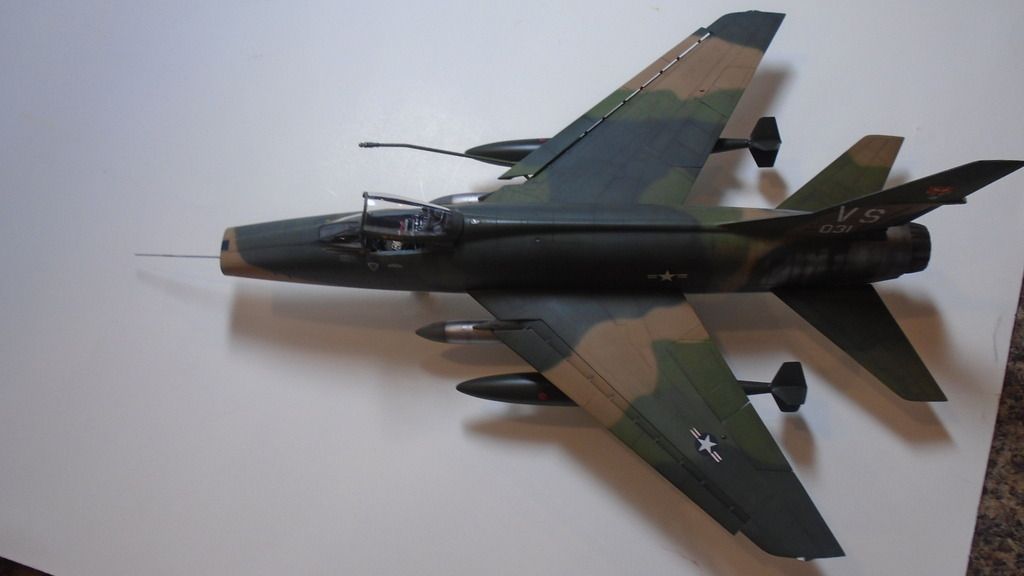
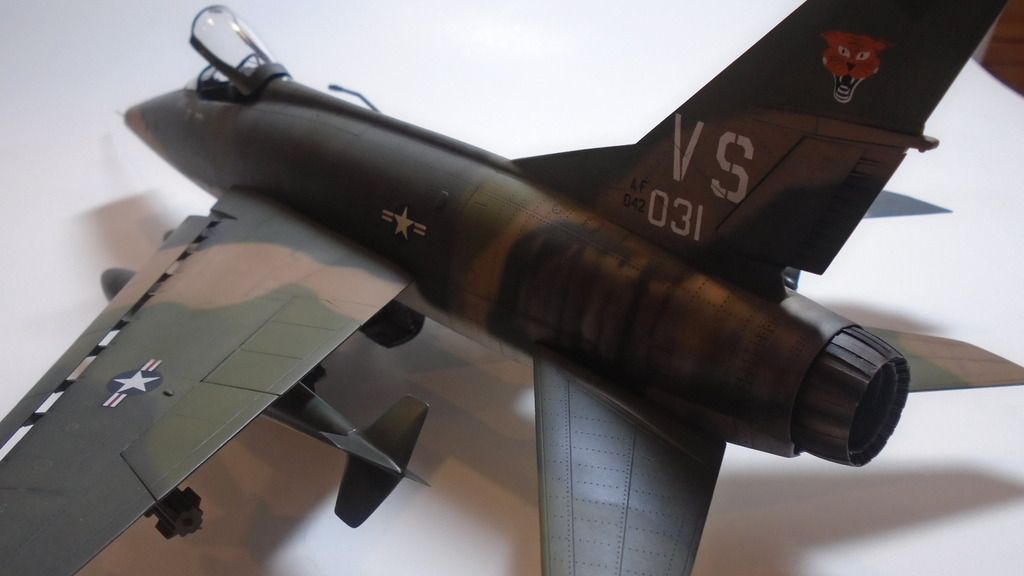
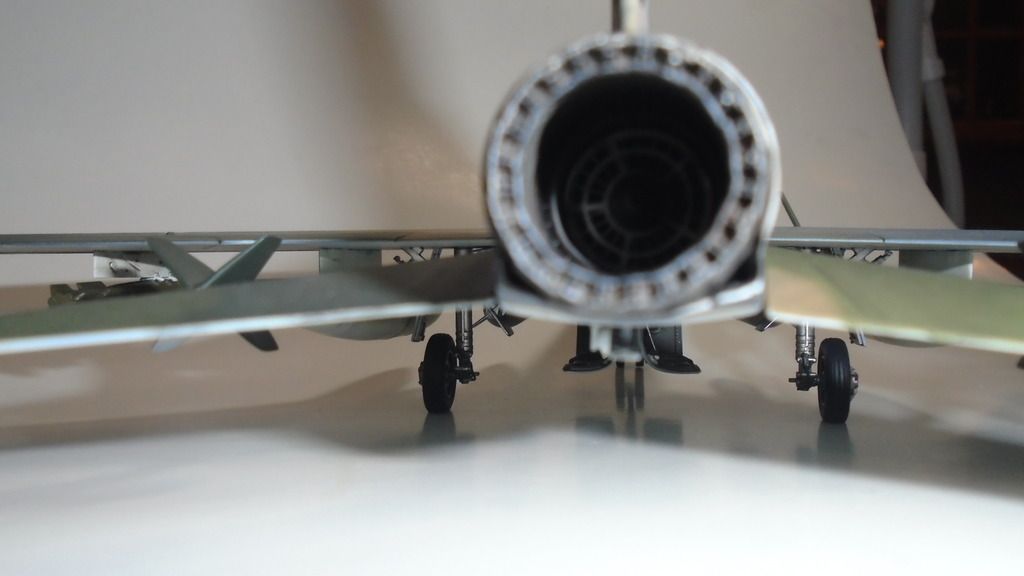
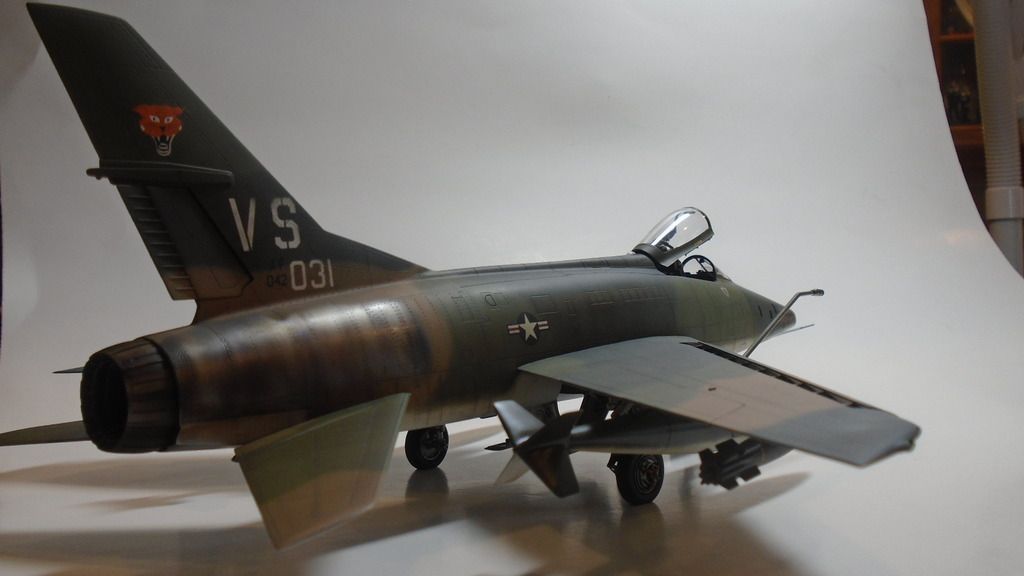
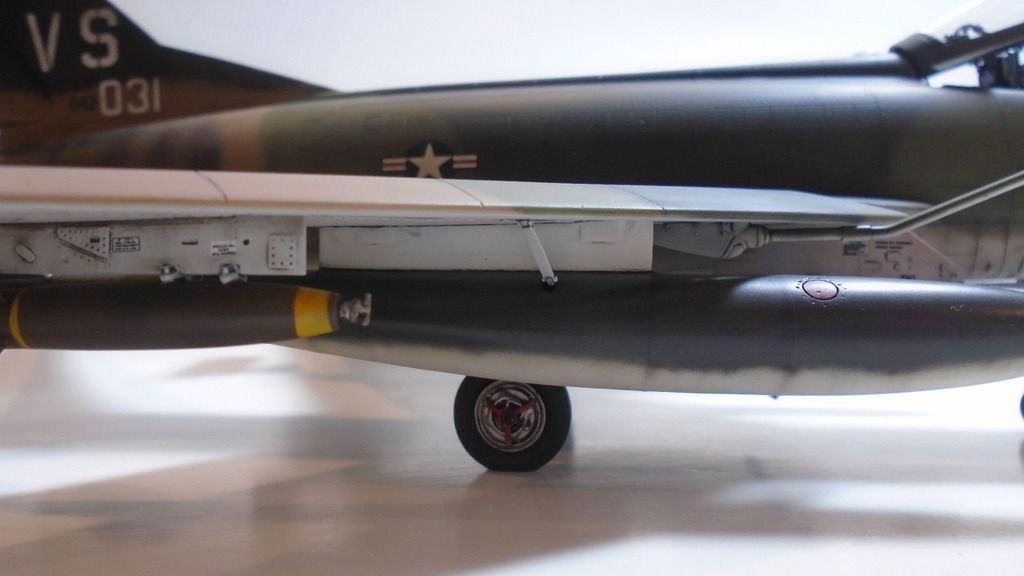
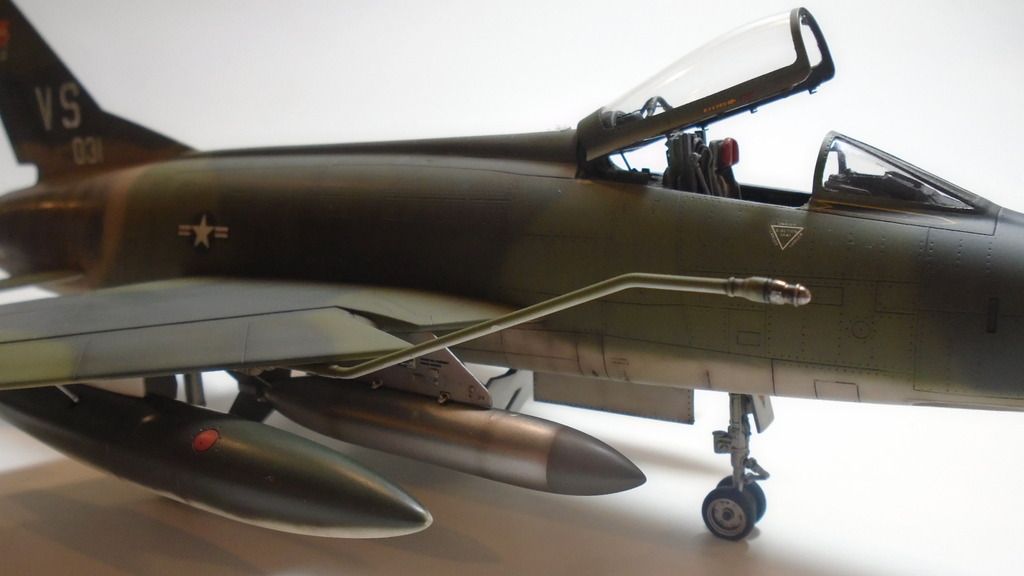
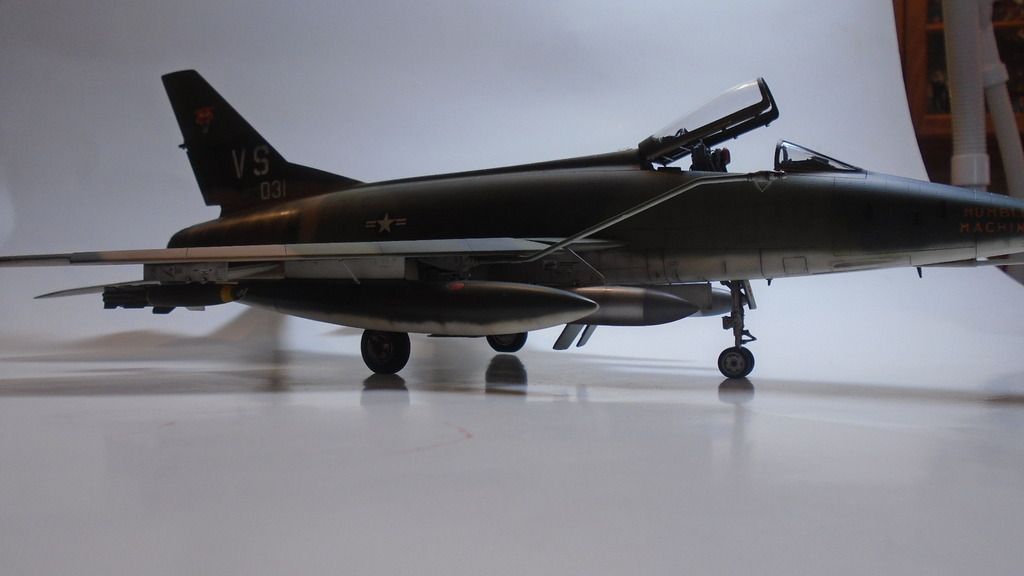
Here's my latest completion. This has to be one of Trumpeter's best 1/48 kits. The fit is almost perfect and the detail is nicely done. No craters for rivets and the panel lines are fine and consistent. Lots of details on the small parts too, such as landing gear actuators and linkages. Wheelbays are nicely detailed albeit a bit shallow. I went with an Aires cockpit and wheels, as those items on the kit are widely inaccurate. I also added a resin exhaust for some wow factor. I wanted a Hun in SEA cammo and the kit decals are widely wayy off!! So I used the markings from an Xtradecal set that preformed perfectly. Only thing is they really neglect the stencils, so I added some from my spares bit, using most on the pylons. Speaking of orinance, I used some Nape tanks and Mk 82s from Hasegawa, and I used some drop tanks from the Monogram kit. I added some lenght to them to represent the 335 gal tanks used in country. A master Models Pitot tube and some scratch building on the canopy to pose it open finished off the kit. Hope you enjoy, and feel free to comment:


  • Member since
    March 2010
  • From: MN
Posted by Nathan T on Saturday, March 21, 2015 8:08 PM

A bit more...


  • Member since
    January 2015
  • From: Tumwater, WA.
Posted by M. Brindos on Saturday, March 21, 2015 8:11 PM

Extremely well done!

- Mike Brindos "Lost Boy"

  • Member since
    January 2015
  • From: Katy, TX
Posted by Aggieman on Saturday, March 21, 2015 9:35 PM

Absolutely gorgeous!

  • Member since
    November 2003
  • From: State of Mississippi. State motto: Virtute et armis (By valor and arms)
Posted by mississippivol on Saturday, March 21, 2015 9:58 PM

Great job, especially with the paint burn off on the rear!

  • Member since
    December 2013
Posted by jetmaker on Saturday, March 21, 2015 10:54 PM

Nathan, that is simply divine. I love your treatment of the drop tanks, where the finish is smoother toward the front. And the burnt paint/metal on the aft fuse right before the exhaust nozzle. The weathering is perfectly subtle. Fantastic work. Inspiring

  • Member since
    December 2004
  • From: Houston, Texas
Posted by panzerpilot on Saturday, March 21, 2015 11:01 PM

Absolutely fantastic job, Nathan!

Once again proving you know your shhh....tufff! Congrats!

-Tom

  • Member since
    September 2012
Posted by GMorrison on Saturday, March 21, 2015 11:05 PM

Bow Down

Have their 1/72 G model.

Going to go look at the wall and drink now.

But seriously very well done.

 Modeling is an excuse to buy books.


  • Member since
    March 2005
  • From: Lancaster, South Carolina
Posted by Devil Dawg on Sunday, March 22, 2015 1:11 AM

Outstanding work, Nathan!! I have one question - How did you do the burnt paint effect on the rear fuselage? I've seen this many times on the forums, but have yet to see it explained. Your work on that is just awesome!!

Devil Dawg

On The Bench: Tamiya 1/32nd Mitsubishi A6M5 Model 52 Zeke For Japanese Group Build

Build one at a time? Hah! That'll be the day!!

  • Member since
    March 2010
  • From: MN
Posted by Nathan T on Sunday, March 22, 2015 8:22 AM

Thanks guys. Glad you like it. For the engine area, I used Alclad stainless steel. Its a high shine color so I sprayed gloss black after I primed the whole model. Then I sprayed the stainless steel. I then sprayed some Alclad Hot Metal Violet in the center of some panels. I also mixed up some Tamiya clear blue and smoke and airbrushed it in various panels. I oversprayed the camo according to the ref pics, to make it look like the camo paint was wearing away. I glossed the whole model and gave it a wash, using a burnt sienna around the engine. I tried to avoid a flat coat over the metal area to preserve the shine. It was actually a simple process. Just get yourself some hot metal violet and some clear blues. Those paints are perfect for this work.


  • Member since
    December 2002
  • From: Bury St Edmunds, Suffolk, England
Posted by Bish on Sunday, March 22, 2015 8:29 AM

Stunning looking build, really nice job on the scheme. I have gotten a bit of a hankering for Vietnam era US aircraft after Stik Vietnam GB, I do like that SEA scheme.

I am a Norfolk man and i glory in being so


On the bench: Airfix 1/72nd Harrier GR.3/Fujimi 1/72nd Ju 87D-3

  • Member since
    January 2014
  • From: Nampa, Idaho
Posted by jelliott523 on Sunday, March 22, 2015 8:33 AM

Excellent work!!!  That is a great paint job, as everyone else has stated, I too, love the burnt metal/paint on the rear of that Hun!

On the Bench:  Lots of unfinished projects!  Smile

  • Member since
    November 2003
  • From: Naples, FL
Posted by tempestjohnny on Sunday, March 22, 2015 10:29 AM

Nathan. Very well done. Not often you see the SEA Huns


  • Member since
    March 2010
  • From: MN
Posted by Nathan T on Sunday, March 22, 2015 10:58 AM

Bish, Jet, and John- thanks guys. I too like the looks of sea camo over aluminum on anything, except maybe a starfighter


  • Member since
    January 2003
  • From: Washington State
Posted by leemitcheltree on Sunday, March 22, 2015 11:04 AM

Very nice Thud!

Cheers, LeeTree
Remember, Safety Fast!!!

  • Member since
    January 2014
Posted by Silver on Sunday, March 22, 2015 11:29 AM
Realistic
  • Member since
    June 2014
Posted by VN750 on Sunday, March 22, 2015 11:46 AM

That is remarkable!

  • Member since
    November 2008
  • From: Far Northern CA
Posted by mrmike on Sunday, March 22, 2015 12:10 PM

Outstanding, what a show stopping model!

  • Member since
    March 2010
  • From: MN
Posted by Nathan T on Sunday, March 22, 2015 12:27 PM

Thanks again guys- Lee- A Thud is next in the works for meCool


  • Member since
    December 2004
  • From: Houston, Texas
Posted by panzerpilot on Sunday, March 22, 2015 2:56 PM

I can't wait to see the Thud. You going 1/32 on that? I dare ya!

The black primer looks really nice under the camo, like a subtle pre-shade. What kind of paint did you use? Mr Hobby? Or, is that Tamiya?

I recently read "Bury us upside down", about Vietnam Misty's Great book.

-Tom

  • Member since
    March 2010
  • From: MN
Posted by Nathan T on Sunday, March 22, 2015 4:04 PM

Hey Tom, 48 scale it is. 32 would be insanely big. The 48 version is already bigger than any shelf or display cabinet I have. For the Hun I used gunze acrylics. And that book is on my short list to read!


  • Member since
    July 2004
  • From: Sonora Desert
Posted by stikpusher on Sunday, March 22, 2015 6:31 PM

She is a beautiful build Nathan! Just curious though as to why you painted the front end of the Napalm cans in gray? That is something that I have not seen before.


F is for FIRE, That burns down the whole town!

U is for URANIUM... BOMBS!

N is for NO SURVIVORS...

       - Plankton

LSM


  • Member since
    December 2006
  • From: Phoenix, AZ
Posted by Fly-n-hi on Sunday, March 22, 2015 6:46 PM

Excellent work!  She's a real beauty!

  • Member since
    March 2010
  • From: MN
Posted by Nathan T on Sunday, March 22, 2015 7:00 PM

Thanks Stik. I looked at a bunch of ref pics regarding the Napes. It seemed most had a darker nose cone, and it didn't look metallic, more of a neutral gray, so that's what I went with. Could easily be wrong, but not that big a deal.


  • Member since
    March 2010
  • From: MN
Posted by Nathan T on Sunday, March 22, 2015 7:00 PM

Thanks Fly.


  • Member since
    December 2002
  • From: Northern California
Posted by jeaton01 on Sunday, March 22, 2015 10:10 PM

Supermodel!

John

To see build logs for my models:  http://goldeneramodel.com/mymodels/mymodels.html


  • Member since
    March 2012
  • From: Corpus Christi, Tx
Posted by mustang1989 on Tuesday, March 24, 2015 11:07 AM

Woooooow!!!! The paint finish and the camouflage alone are da bomb!!! That's not even mentioning all the detail wrapped up in this thing!  Great build Nathan!!! Yes


 Forum | Modelers Social Club Forum (proboards.com) 

  • Member since
    September 2011
  • From: Milaca, Minnesota
Posted by falconmod on Tuesday, March 24, 2015 11:52 AM

That is one beautiful planes,  great job

John

On the Bench: 1/72 Ki-67, 1/48 T-38

1/144 AC-130, 1/72 AV-8A Harrier

  • Member since
    March 2010
  • From: MN
Posted by Nathan T on Tuesday, March 24, 2015 12:19 PM

Thanks guys. Glad you are all impressed considering i'm still new to building kerosene burners...


  • Member since
    June 2013
Posted by bvallot on Tuesday, March 24, 2015 1:48 PM

Looks great Nate!! =]  I can see some really nice things going on with different aspects of the painting process.  Any chance you could get a couple of brighter photos?!  I hope to have such luck when I get to my Phantom.  

On the bench:  

Tamiya F4U-1  Kenneth Walsh


JOIN OUR COMMUNITY!

Our community is FREE to join. To participate you must either login or register for an account.

SEARCH FORUMS
FREE NEWSLETTER
By signing up you may also receive reader surveys and occasional special offers. We do not sell, rent or trade our email lists. View our Privacy Policy.