WOW, its been a long time since I updated this post. It's Summer and there is a lot to do outdoors.
This is the fifth airplane that I have finished in Bare Metal Foil, and it taking a really long time. Way more than I expected. It has taken more time to foil the one main wing of the B-29 than it took to foil the entire P-47. Plus, I have used a lot of Bare Metal Foil so far.
I did not like the way the kit supplied exhaust stacks looked. Plus, the kit did not provide the supercharger exhaust, so I decided to make new exhausts from aluminum tubing from Hobby Lobby.

I cut the tubes on an angle and weathered them with rust and flat black.
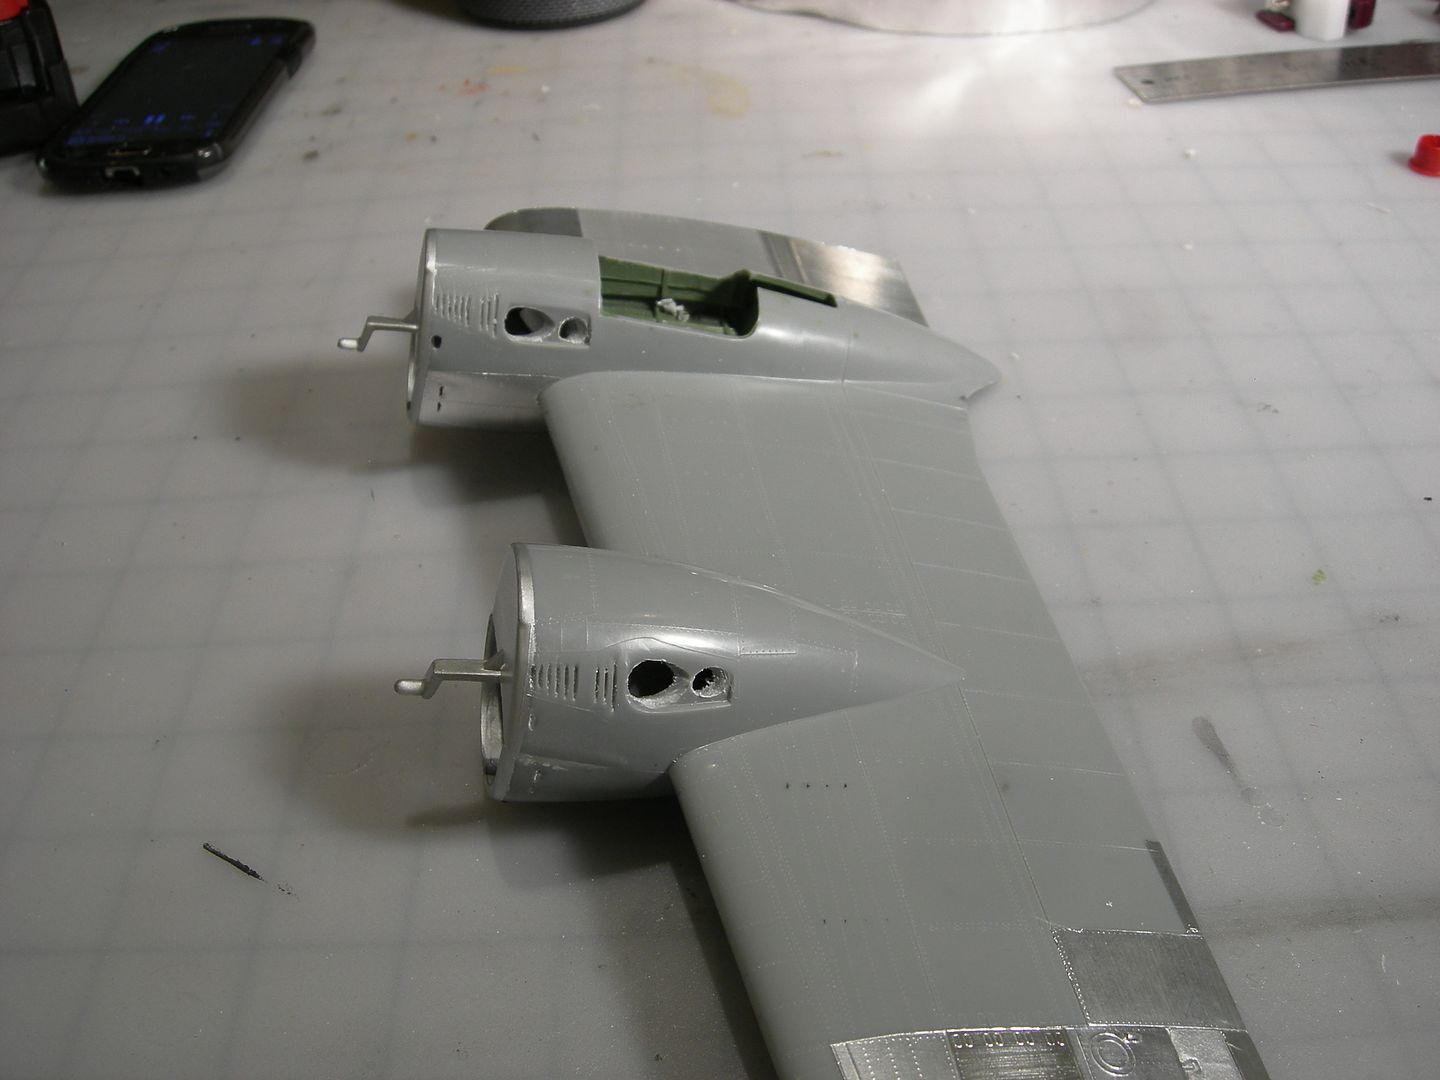
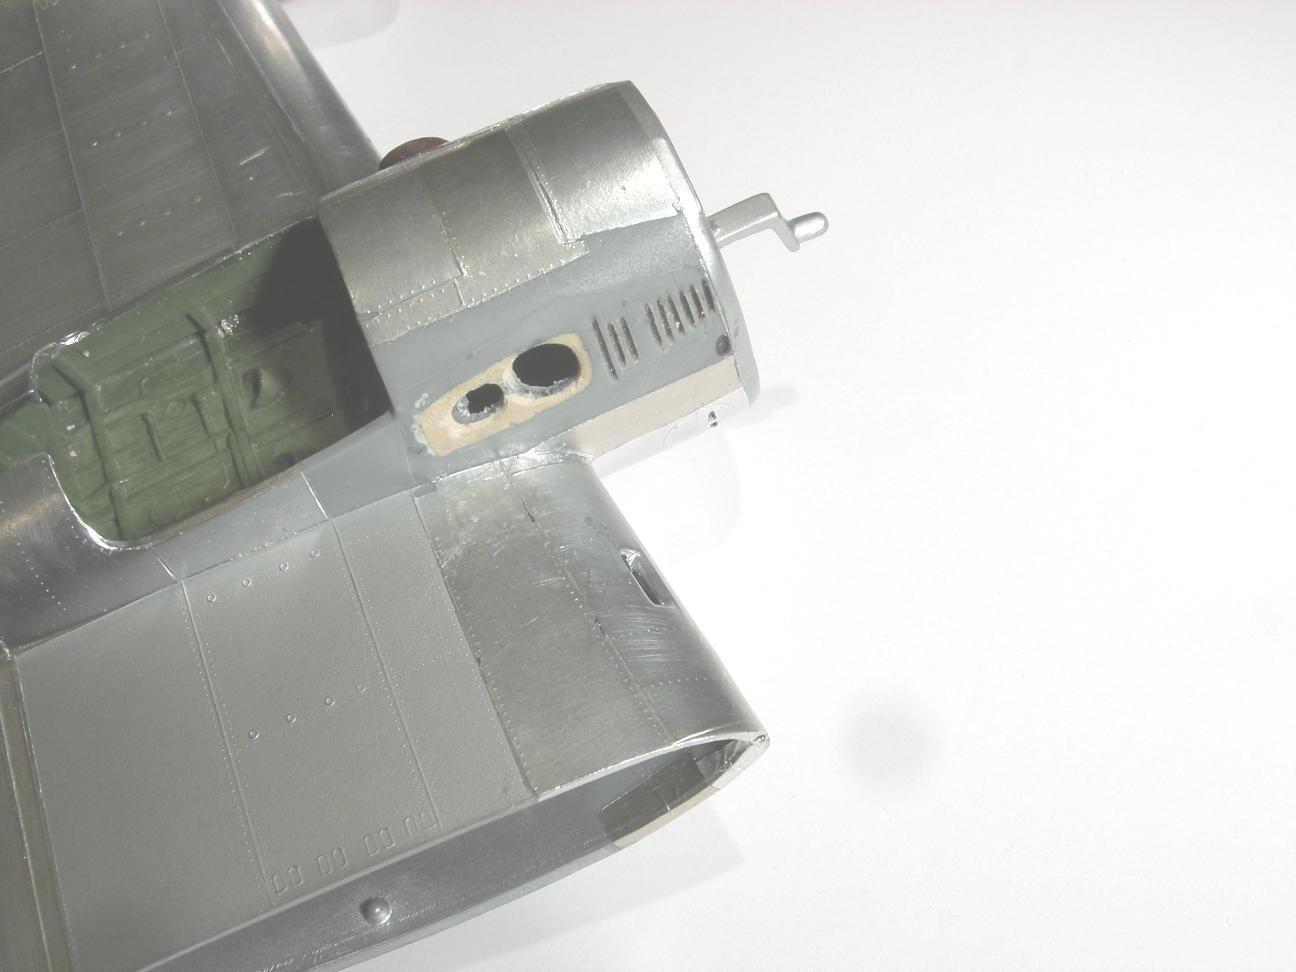
Next I drilled holes in the nacelles on an angle and filled the recessed area with wood putty.
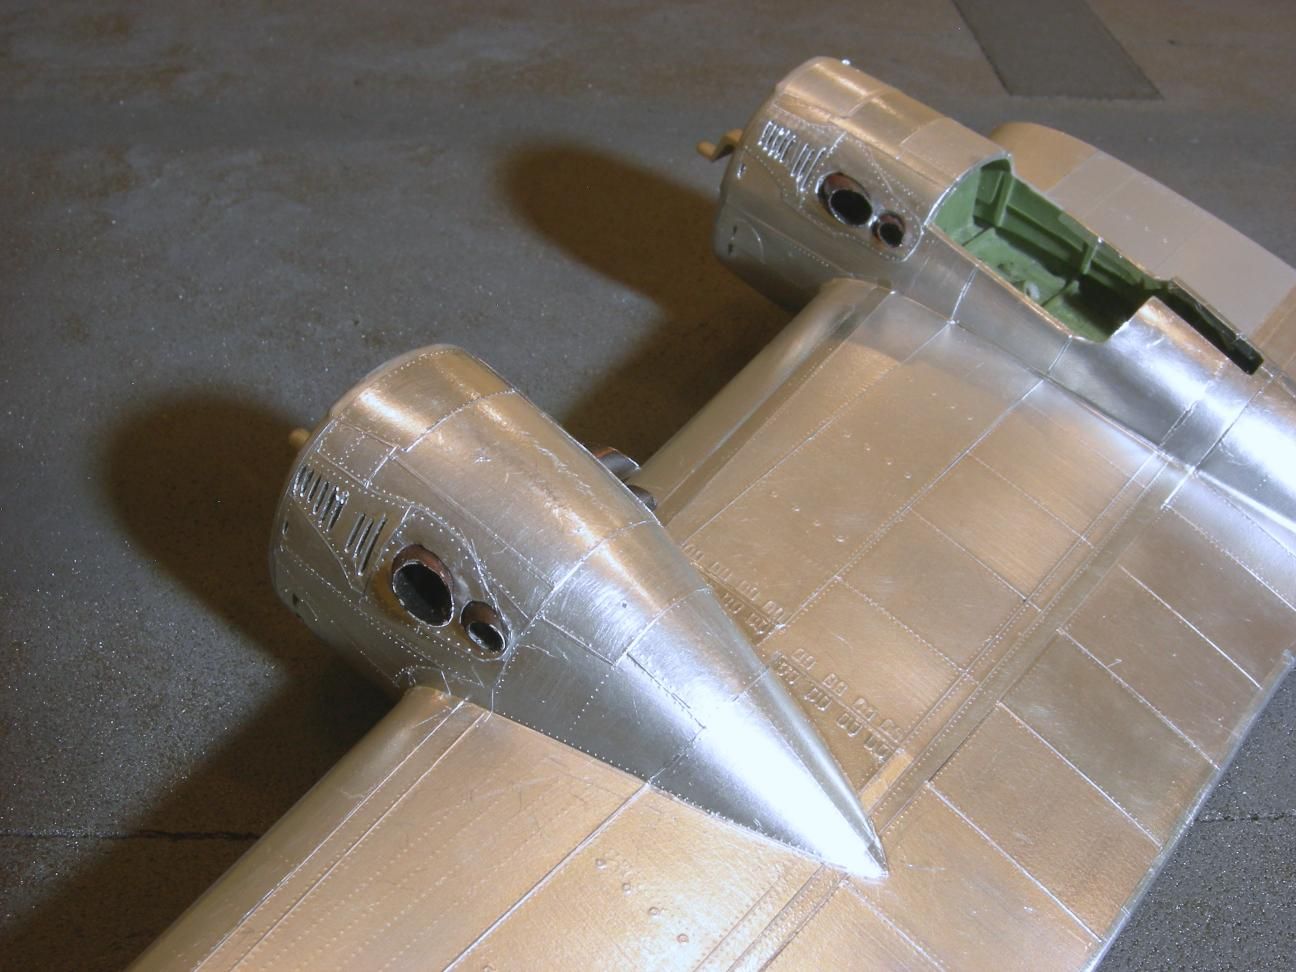
The finished product looks really good. The entire nacelle is finished in Bare Metal Foil.
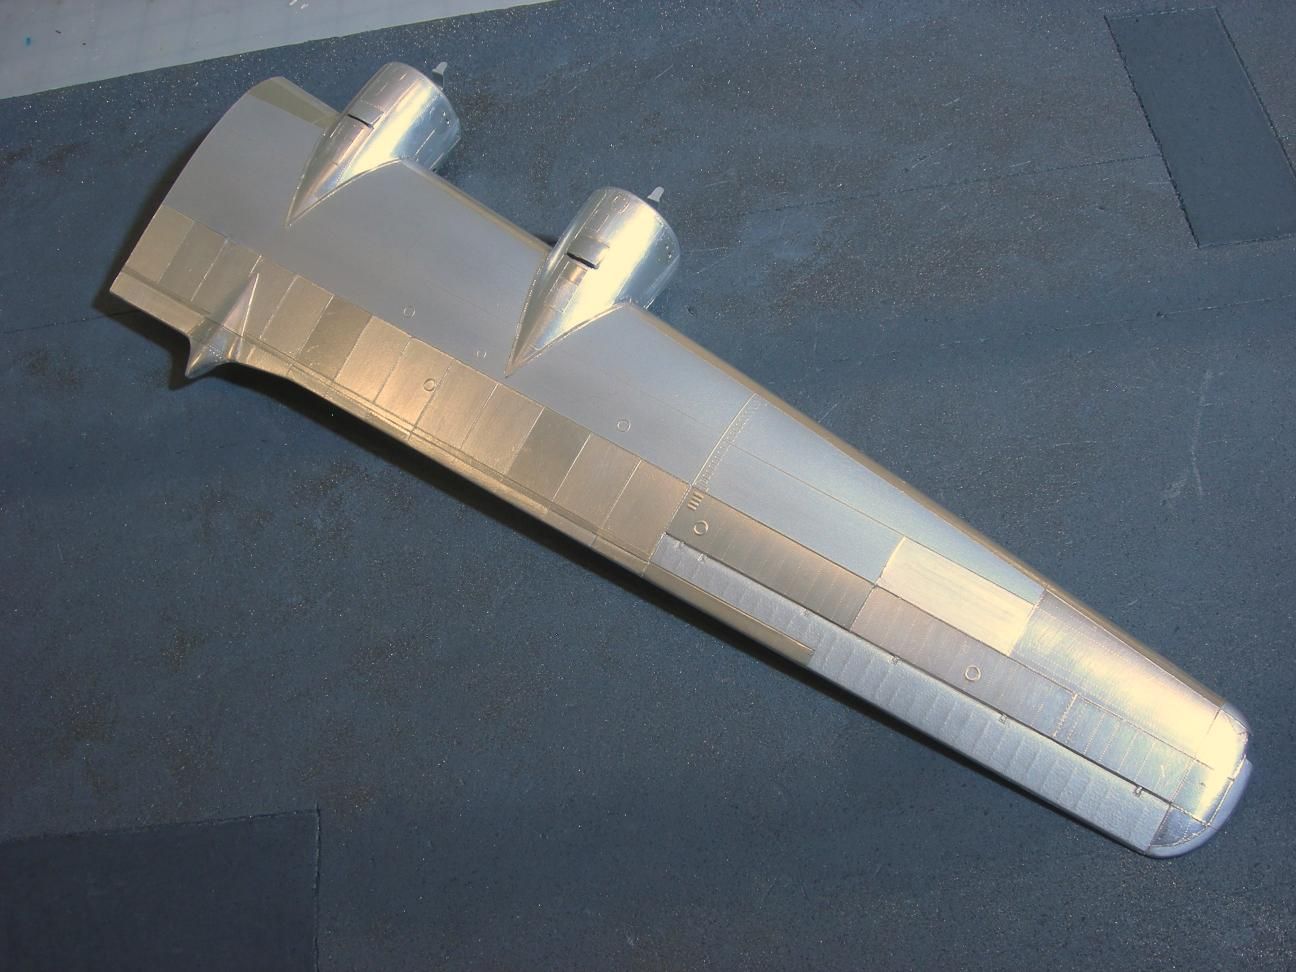
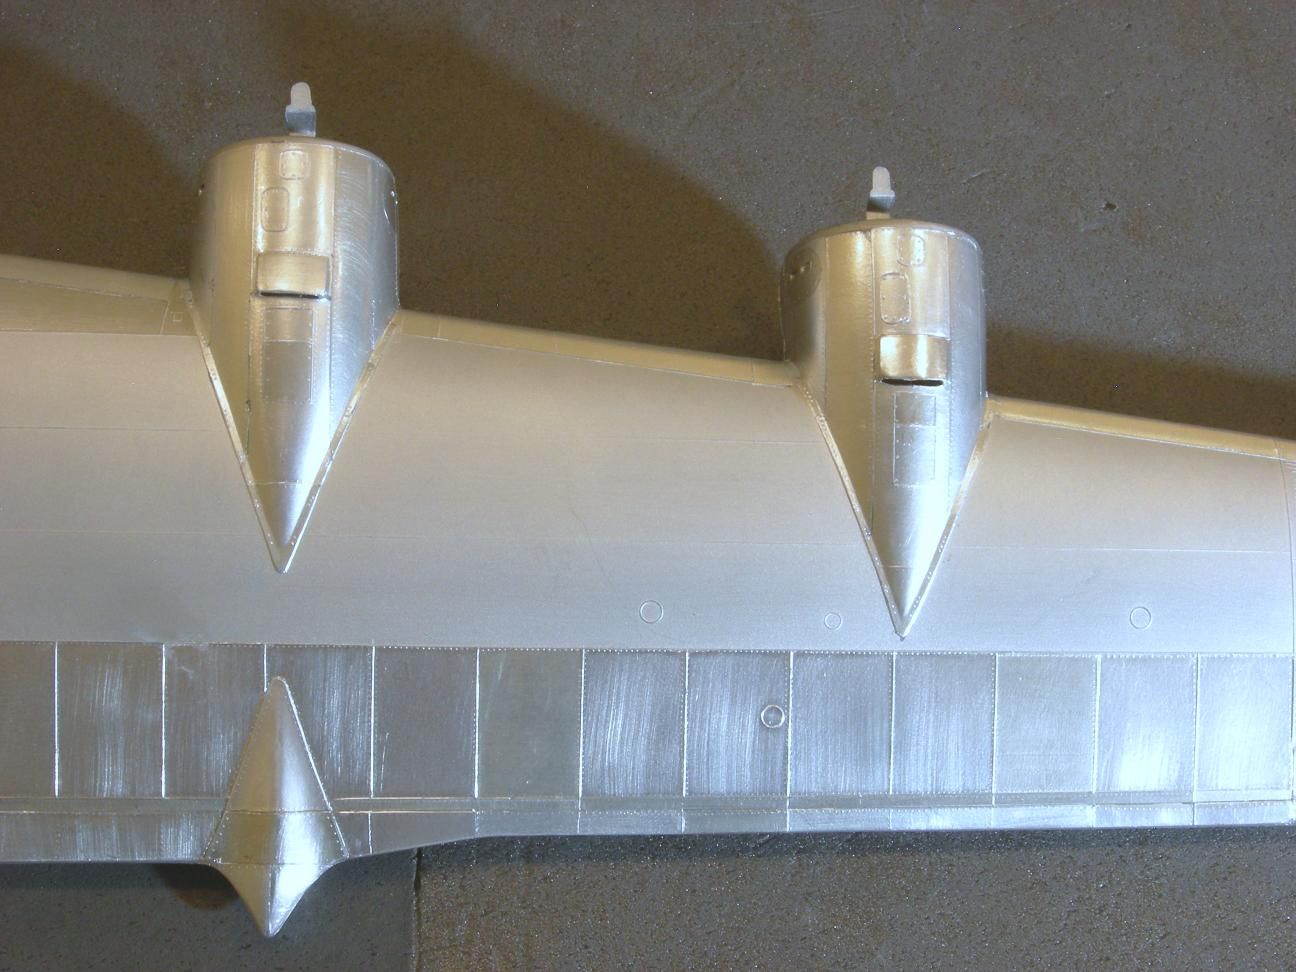
The center area of the top of the wing was painted to prevent corrosion. I finished the remainder of the wing in Bare Metal Foil.
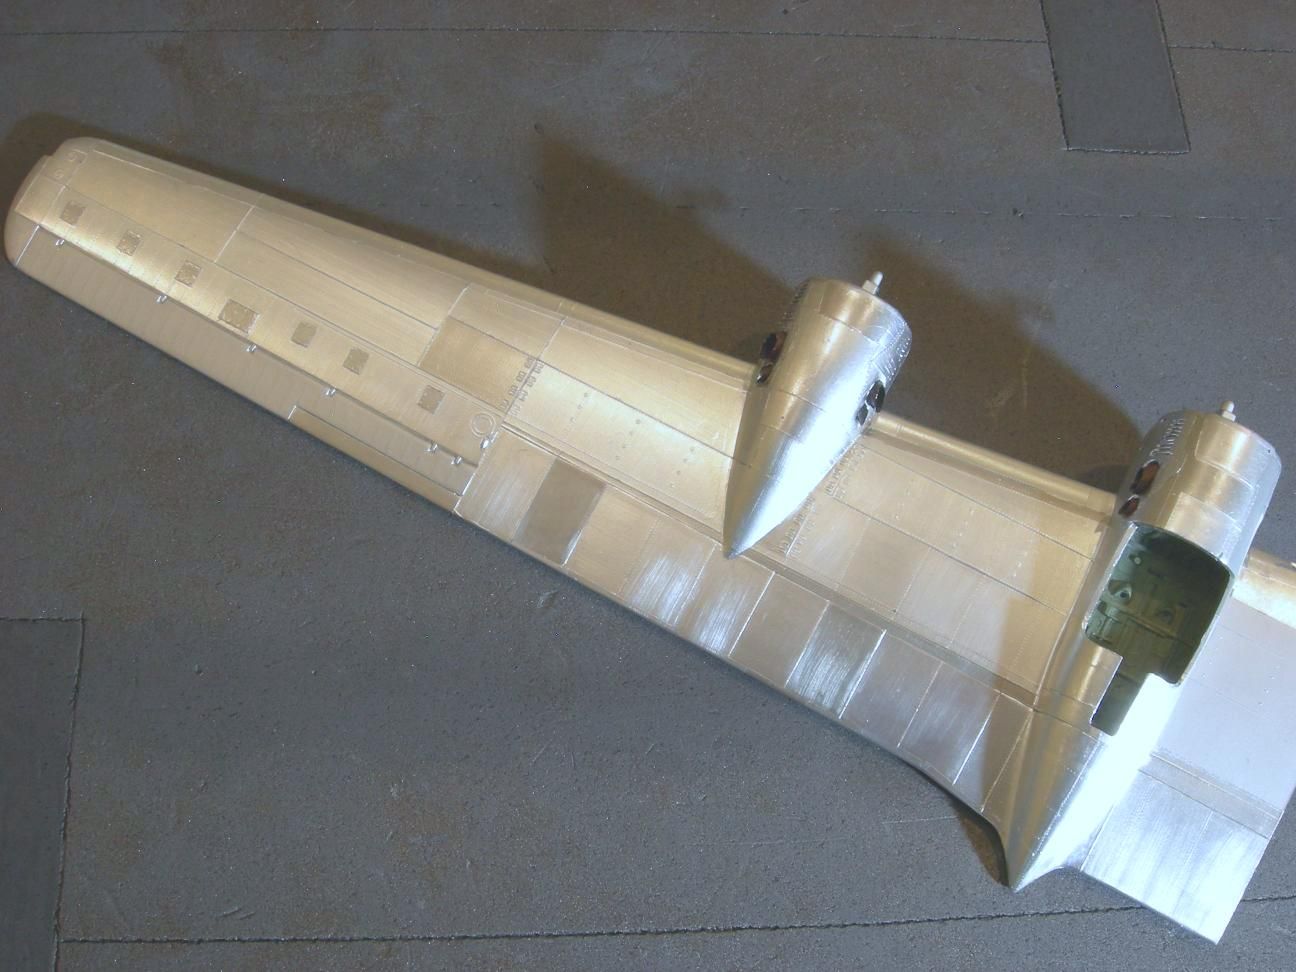
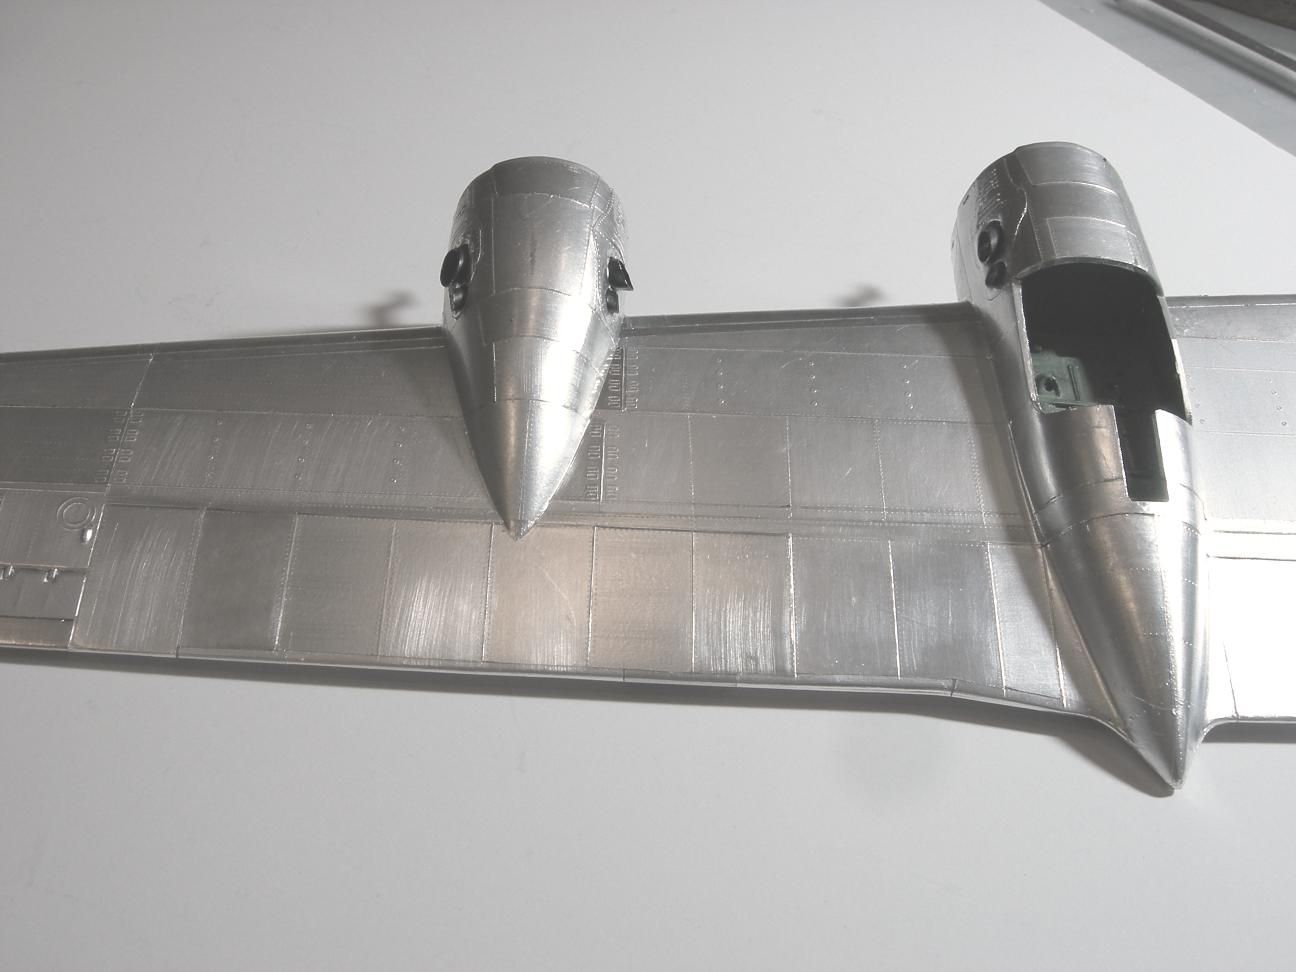
Almost the entire bottom of the wing is finished in Bare Metal Foil. The only area of the bottom of the wing that was painted was directly adjecent to the fuselage.
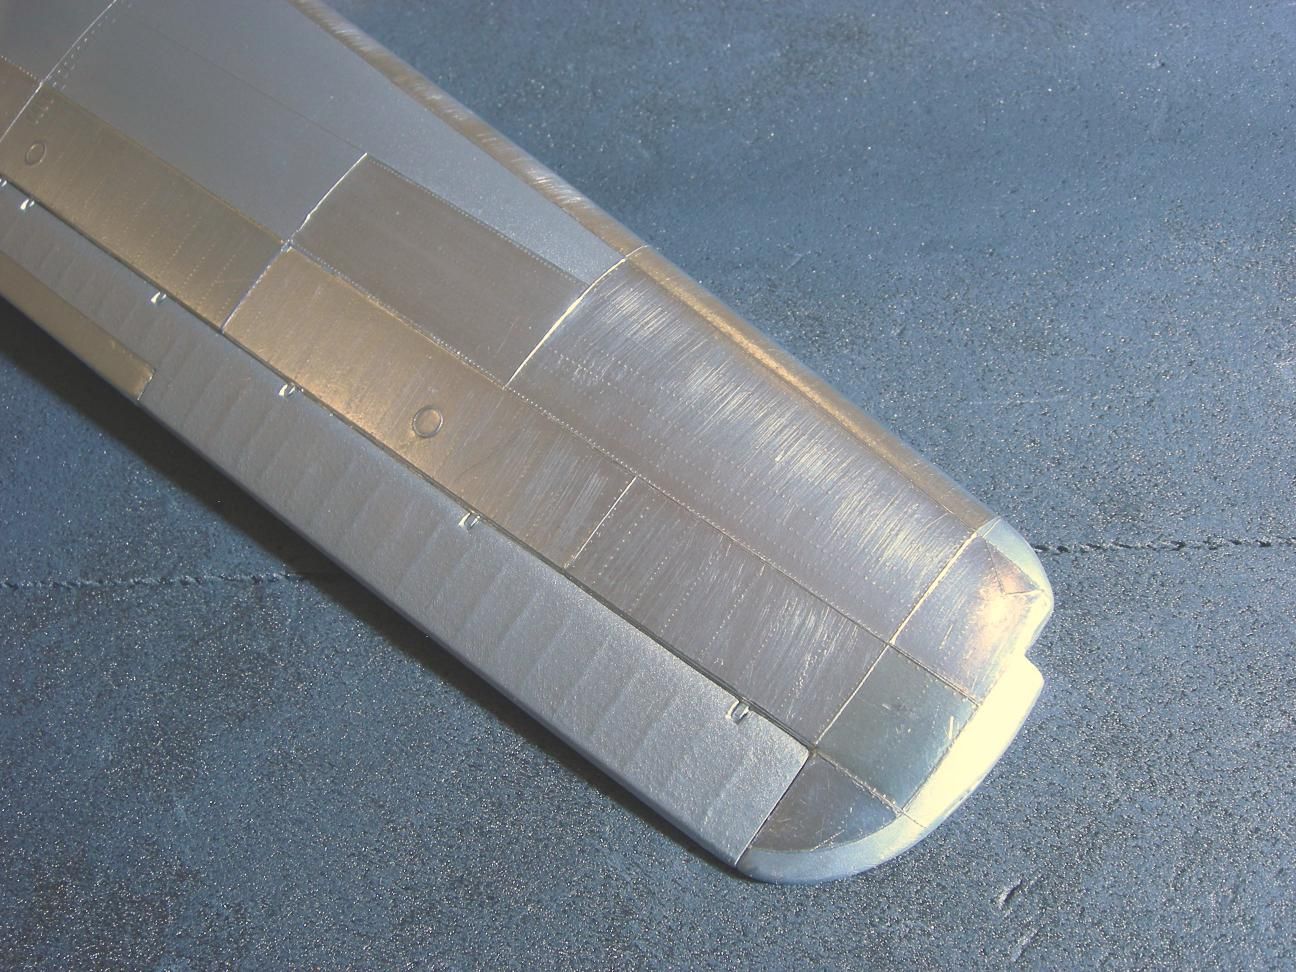
After the Bare Metal Foil is applied it is burnished with a paper blending stick. After that it is lightly brushed with 0000 steel wool. It took almost two sheets of Bare Metal Foil to cover the one wing
Does anyone have a suggestion as to how to attach the engine/cowling to the nacelle??? There are no locating pins or slots.