SEARCH FINESCALE.COM

Enter keywords or a search phrase below:

Spitfires! WIP - Revell and Tamiya 1/32 COMPLETE

9894 views
58 replies
1 rating 2 rating 3 rating 4 rating 5 rating
  • Member since
    January 2015
  • From: Katy, TX
Spitfires! WIP - Revell and Tamiya 1/32 COMPLETE
Posted by Aggieman on Thursday, July 6, 2017 11:14 AM

I am going to do a work-in-progress on my latest builds, two Supermarine Spitfires in 1/32. This was originally going to include more kits, as I have 3 48th scale kits, two by Tamiya and 1 by Monogram, but I am just not up to having that many kits on my work bench at the same time given how HOT it is here in SE Texas.

The inspiration for this build is the movie Dunkirk, coming out on July 21.  I have a hard time naming a favorite warbird, but for me, the Supermarine Spitfire is in the running.  It was and remains to this day a beautiful airplane.  One of the best designs ever.

So here are my subjects:

Revell's Supermarine Spitfire Mk 1A, first released in 1967 or 1969, I cannot recall which. This kit is an original release that I picked up via eBay several years ago.  This box art is among my all-time favorites (along with Revell's 1/32 Flying Tiger that was first kitted in about the same time frame).

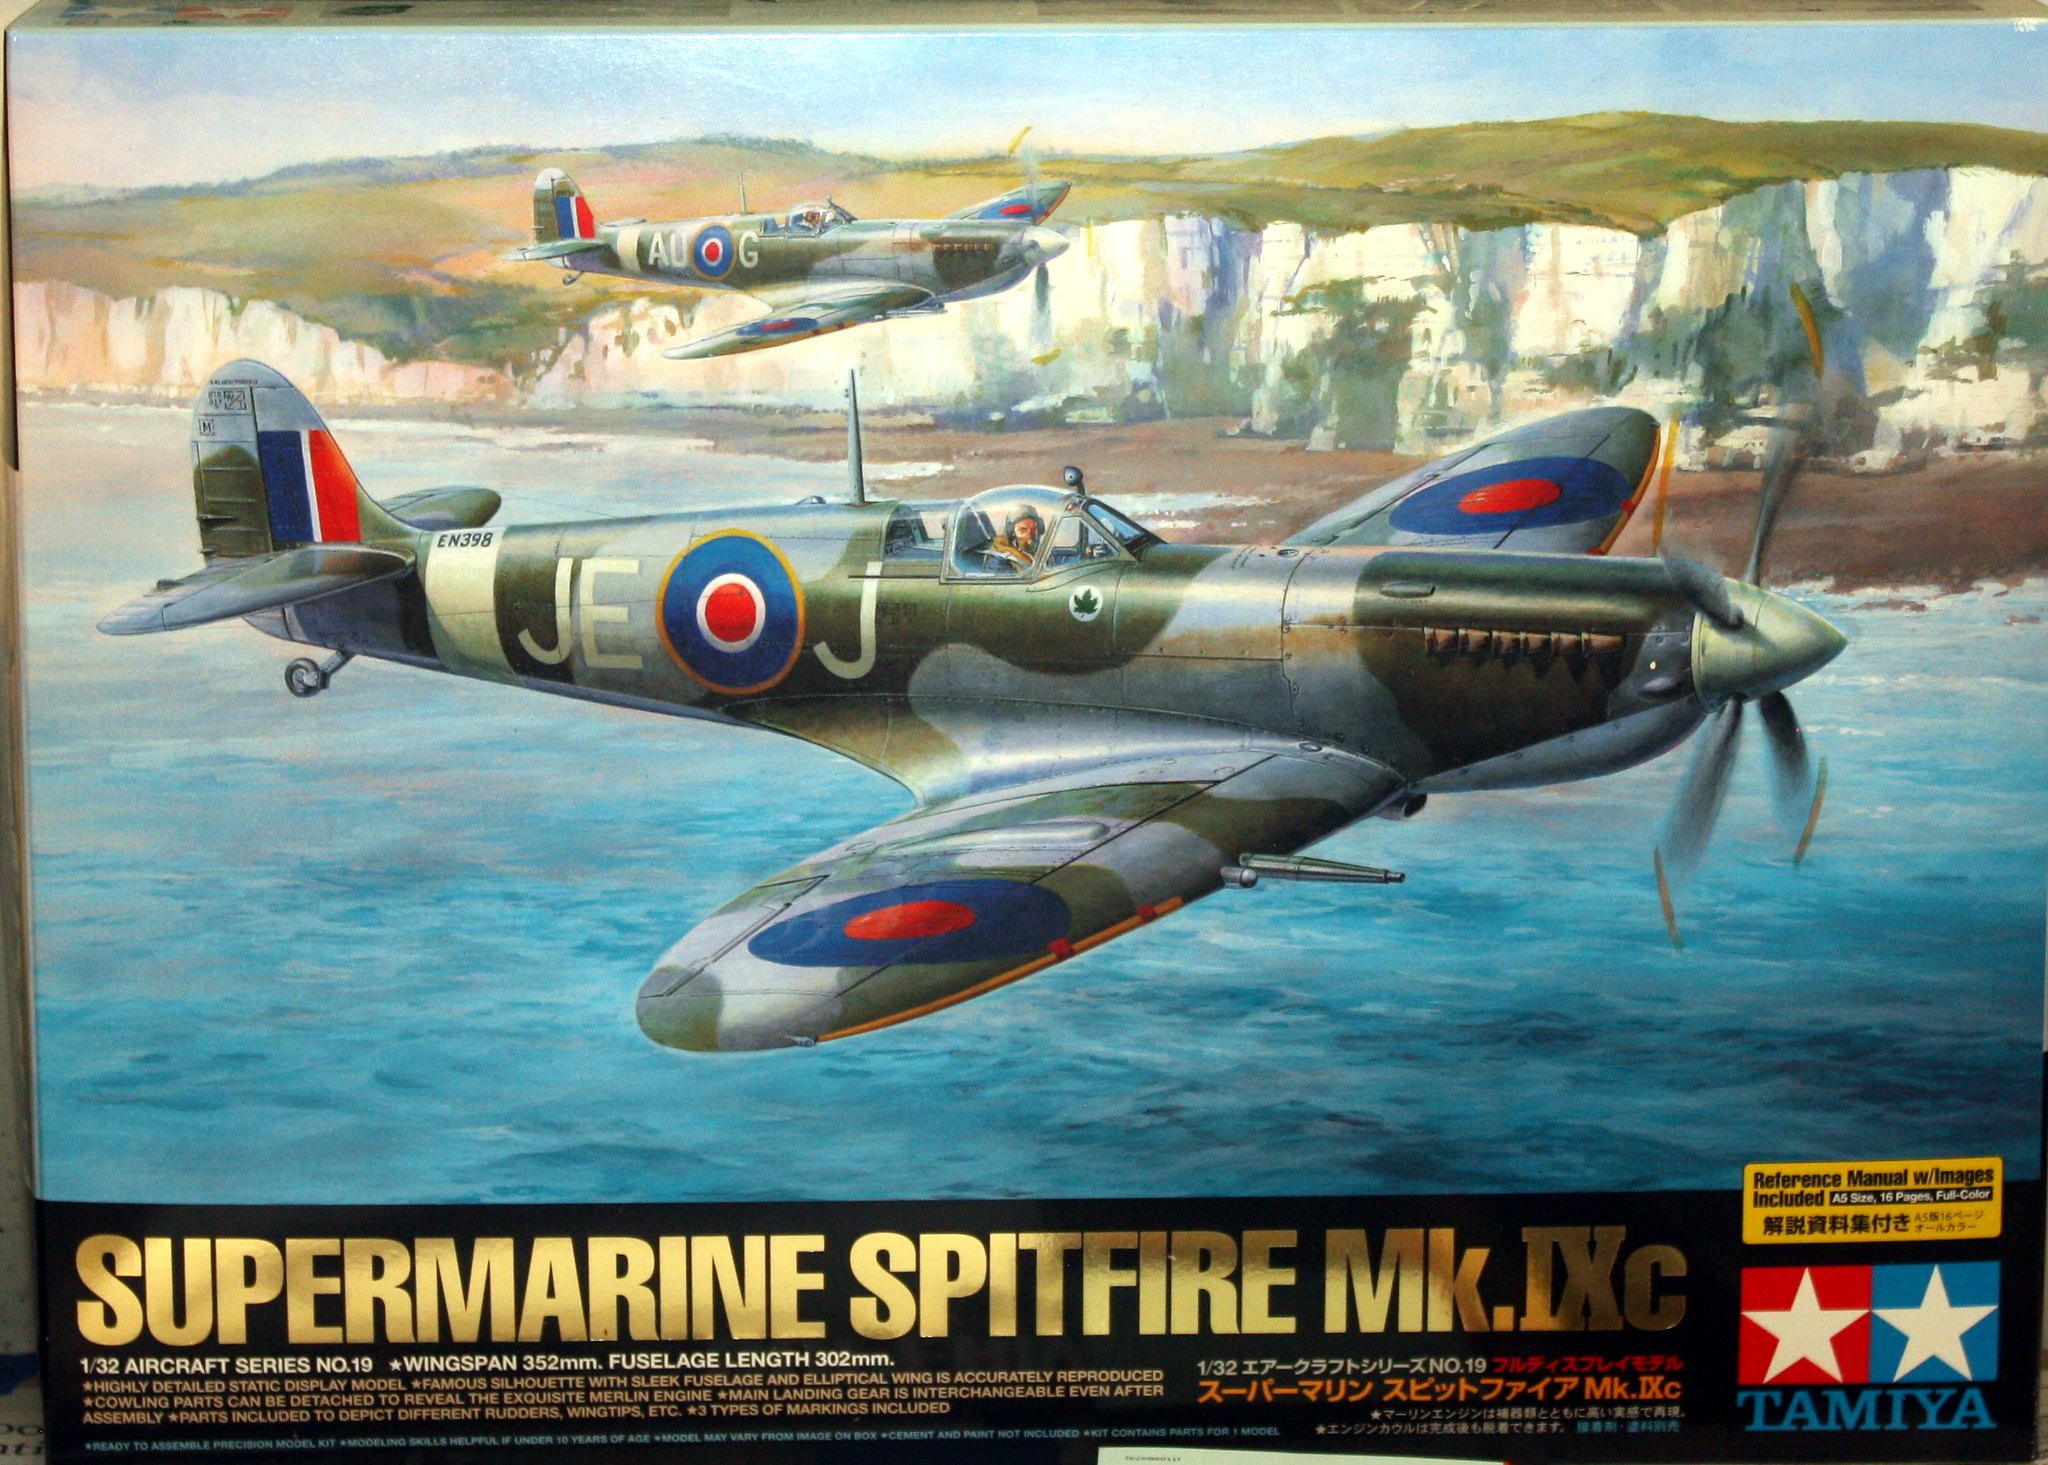
Tamiya's Supermarine Spitfire Mk IXc.  This kit has been languishing in my stash for years.  It does not represent a Dunkirk-era Spitfire, but it was a no-brainer to make an appearance on my bench.

The decals for the Revell kit were a bit iffy, given their age, so I purchased an Eagle Squadron sheet featuring markings appropriate for a Dunkirk-era Spitfire.  In the movie, the Spits are wearing the pre-war black-and-white underside scheme that was introduced as standard camouflage for RAF fighters in the mid-to-late 30s.  The decal sheet includes markings for a Spit wearing these colors - DW-Q L1016 610 Sqn belonging to Pilot F/O Albert Medcalf, who was shot down by a Bf 110 in May 1940.

The Tamiya will be Wing Commander JE "Johnnie" Johnson's ride, JE-J EN398 of the Kenley Wing at RAF Kenley, July 1943.  Note the squadron code here - Wing Commanders were allowed to use their initials for the code.  I did not previously know that little detail.

I will be using Spitfire, Merlin Variant Walk Around and Spitfire In Action as references, plus whatever I am able to find on the net.

I expect this to be a slow build.  As I said, it is HOT here, and that won't be changing until about October, if even then.  I am still looking for work, I have some software projects that I am still involved with (charity work for my daughter's Girl Scout troop), it is summer time here so the girl is out of school, and I am prepping her on a daily basis to keep up her skills in math, and on and on and on....

Here are a couple of shots of what I have managed thus far - cleaning the parts in a soapy wash, then air drying them.  I show these pics only to demonstrated the vast differential between these two kits in terms of the number of parts.  As you can see, the Tamiya kit is loaded whereas the Revell kit could be easily finished off in a day or two.

  • Member since
    January 2015
  • From: Tumwater, WA.
Posted by M. Brindos on Thursday, July 6, 2017 11:19 AM

Oh this is exciting to watch. :)

I am eagerly waiting for that movie.

- Mike Brindos "Lost Boy"

  • Member since
    August 2013
Posted by Jay Jay on Thursday, July 6, 2017 11:23 AM

I heartily agree with you on the looks of the Spitfire. It will be interesting to see the differances between the Revell and the Tamiya kits side by side especially in 1/32 scale. My next purchase will be a 1/32 since I've not yet built one.  TY for posting and I'll be watching.


 I'm finally retired. Now time I got, money I don't.

  • Member since
    August 2015
  • From: the redlands Fl
Posted by crown r n7 on Thursday, July 6, 2017 11:42 AM

you got my attention. you can toss the revell pilot lol


 Nick.

  • Member since
    January 2015
  • From: Katy, TX
Posted by Aggieman on Thursday, July 6, 2017 12:00 PM

crown r n7

you got my attention. you can toss the revell pilot lol


Yeah, I never liked those pilots.  Two piece affairs, probably next to impossible to fill the seams, and then what is with the hands?  Molded in place resting on their legs. So who is actually flying the plane?

My plan here is actually to start with the Tamiya pilot figure while working on the Revell cockpit to determine if the Tamiya pilot will fit the Revell cockpit/seat.

  • Member since
    July 2004
  • From: Sonora Desert
Posted by stikpusher on Thursday, July 6, 2017 8:41 PM

This figure set would work well with your projects


http://www.mbltd.info/3206.htm


F is for FIRE, That burns down the whole town!

U is for URANIUM... BOMBS!

N is for NO SURVIVORS...

       - Plankton

LSM


  • Member since
    February 2011
  • From: Bent River, IA
Posted by Reasoned on Thursday, July 6, 2017 8:57 PM

"...Pilot F/O Albert Medcalf, who was shot down by a Bf 110 in May 1940."  Huh?

Bet that wasn't a common event.

Science is the pursiut of knowledge, faith is the pursuit of wisdom.  Peace be with you.

On the Tarmac: 1/48 Revell P-38

In the Hanger: A bunch of kits

  • Member since
    January 2015
  • From: Katy, TX
Posted by Aggieman on Thursday, July 6, 2017 11:13 PM

That was referenced somewhere, maybe on the decal instruction sheet. I find it a bit dubious, but I suppose if a 110 was in position to jump an unsuspecting Spitfire, it could have happened. There was a case of an SBD Dauntless engaging a Japanese Zero in a long bout of close combat with the Dauntless shooting down the Zero, so i suppose a 110 downing a Spitfire is not terribly far-fetched.

  • Member since
    January 2015
  • From: Tumwater, WA.
Posted by M. Brindos on Thursday, July 6, 2017 11:18 PM

Yeah, that Dauntless made a lot of evasive maneuvers and tight turns until the Zero pilot made a critical error. I believe that SBD pilot ended up being transferred to flying Hellcats after that.

That did happen, so it's totally plausible. A 110 could get lucky. 


- Mike Brindos "Lost Boy"

  • Member since
    December 2002
  • From: Bury St Edmunds, Suffolk, England
Posted by Bish on Friday, July 7, 2017 1:11 AM

Interesting pair of builds, good luck with it, should be fun.

The Bf 110 is credited with over 160 kills during the BoB, so wasn't totally without success.

I am a Norfolk man and i glory in being so


On the bench: Airfix 1/72nd Harrier GR.3/Fujimi 1/72nd Ju 87D-3

  • Member since
    July 2010
  • From: Tempe AZ
Posted by docidle on Friday, July 7, 2017 1:22 AM

Looking forward to watching this thread and the movie.

Steve


  • Member since
    March 2015
  • From: Streetsboro, Ohio
Posted by Toshi on Friday, July 7, 2017 5:01 AM

Will be following!

Toshi

On The Bench: Revell 1/48 B-25 Mitchell


Married to the most caring, loving, understanding, and beautiful wife in the world.  Mrs. Toshi


  • Member since
    March 2005
  • From: Lancaster, South Carolina
Posted by Devil Dawg on Friday, July 7, 2017 1:43 PM

Got the Tamiya 1/32nd Spitfire Mk. VIII in my stash. Will definitely be watching how yours comes out! Good Luck!

Devil Dawg

On The Bench: Tamiya 1/32nd Mitsubishi A6M5 Model 52 Zeke For Japanese Group Build

Build one at a time? Hah! That'll be the day!!

  • Member since
    January 2015
  • From: Katy, TX
Posted by Aggieman on Friday, July 7, 2017 5:45 PM

Today was about seeing Spider-Man (lot of fun at the movies) and painting and building a pilot. Mission accomplished on the second point.

Tamiya's pilot figure is an absolute joy.  The level of detail is outstanding, even down to the point of a separate piece for the pilot's goggles.  I actually thought Tamiya made a mistake in their instructions, depicting a clear set of goggles, when there was clearly no goggles on the pilot's separate head part, until I noticed the part number pointing to the goggles in the instruction book.

I don't believe my photos do this guy justice.  I should have set up my tripod, but literally dripping with sweat, all I really wanted to do was wrap it up quickly and get back into the A/C.  I am also awaiting delivery of a macro flash that hopefully will distribute light on the subject more evenly than my external flash unit.

I glued the arms onto this guy with white glue so that if the hands are too high or low to sit properly on the control column (right) or throttle (left), then I can more easily pull them off to reposition.


  • Member since
    January 2015
  • From: Tumwater, WA.
Posted by M. Brindos on Friday, July 7, 2017 8:10 PM

Clear goggles?! Now that is a nice touch! :)

- Mike Brindos "Lost Boy"

  • Member since
    January 2015
  • From: Katy, TX
Posted by Aggieman on Friday, July 7, 2017 8:43 PM

M. Brindos

Clear goggles?! Now that is a nice touch! :)


Sure is. It is a separate part included on the clear parts sprue. All I had to do was paint the surrounding material.

  • Member since
    July 2004
  • From: Sonora Desert
Posted by stikpusher on Friday, July 7, 2017 8:46 PM

Aggieman

That was referenced somewhere, maybe on the decal instruction sheet. I find it a bit dubious, but I suppose if a 110 was in position to jump an unsuspecting Spitfire, it could have happened. There was a case of an SBD Dauntless engaging a Japanese Zero in a long bout of close combat with the Dauntless shooting down the Zero, so i suppose a 110 downing a Spitfire is not terribly far-fetched.


Not far fetched at all. If the 110 squadrons ran into trouble from Spits or Hurricanes, they would go into a "Lufberry circle". Any single seat fighter trying to get on the tail of one of the 110s would find itself in a cross fire from the rear gunner of the aircraft ahead and the nose guns of the next 110 behind. 


F is for FIRE, That burns down the whole town!

U is for URANIUM... BOMBS!

N is for NO SURVIVORS...

       - Plankton

LSM


  • Member since
    January 2015
  • From: Katy, TX
Posted by Aggieman on Tuesday, July 18, 2017 2:35 PM

I figured with Dunkirk arriving in theaters this week in the States (tickets for Thursday night's advance showing, this is my most looked-forward to movie this year, even for than Star Wars The Last Jedi), that I better get some work done on this project.

I have focused primarily on the old Revell kit.  I am somewhat surprised at this kit, as it goes together much like it is a recent pressing of an ancient mold, what with the atrocious fit and flash all over the place.  But it is a release that I acquired via eBay and is at least 45 years old, nearly brand new considering the mold only dates to around 1967.

The level of detail is about what one would expect of this vintage of kit.  Not great, not bad (and completely unfair to even think of comparing it to the Tamiya kit).  Still, the interior parts appear almost toy-like - the detail is not terribly crisp, at least what detail there is.  And then there is the pilot that I have already discussed; the Revell pilot is utter garbage, but after test fitting my completed Tamiya pilot into the Revell 'pit, it would appear that the Revell is over-sized even for 1/32.  When I first put the Tamiya pilot into the Revell seat and dry-fitted the seat structure into the fuselage, the pilot looked like my 11-year-old daughter trying to drive my Sequoia - he could not see over the instrument panel and gun reflector sight.  I ended up gluing the pilot about 1/8 inch off the actual seat bottom, which was about as much room as I had to keep his head relatively even with the head rest, and even so, he barely has any forward view!

The other thing I did was to implement a solution I have seen someone else do here regarding the antenna rigging.  I drilled a tiny hole along the fuselage spine right on the seam.  Then I attached a piece of EZ Line to the rear of the seat armor plating, running that length through the tiny hole and then taping the remainder along the fuselage piece to hopefully keep it out of the way while I am still constructing this thing.  Once the attenna mast is in place, I will run the line in a small arc to another hole I have drilled into the mast, then run it back to its attachment point atop the rear fin.  I have also elected to leave the engine unpainted except for along the attachment point of the exhaust stacks as I plan to glue the fuselage engine panels in place.  The Tamiya has removable engine panels with tiny magnets that will allow for various display options (and a far better looking engine to boot).

So here are some progress photos.  

In this last photo, I am breaking in a new macro flash and am definitely not able to use it correctly, as there is way too much light on this shot of the pilot and the IP.

  • Member since
    August 2014
  • From: Willamette Valley, Oregon
Posted by goldhammer on Tuesday, July 18, 2017 2:58 PM

Nice work so far.  I think he is scrunched down to avoid incoming cannon fire...Big Smile


Have filed away the antenna rigging idea for future use, another day on here, and another thing learned.  It never stops.

  • Member since
    January 2015
  • From: Katy, TX
Posted by Aggieman on Tuesday, August 8, 2017 10:12 AM

Well, I put this project on hold for a few weeks to prepare for a technical interview I had last week (I am an out of work software developer).  Now while I wait on pins and needles to hear back the results of the interview, I figured I'd get back to the Spitfire project.  

I have focused mostly on the Revell kit at first, as it is the same Mark as the Spitfire depicted in the movie Dunkirk (which I have seen twice and highly recommend).  The kit   is rough.  Lots of flash.  Parts that don't fit correctly.  I am actually surprised with this, given that this kit is an original and not a re-release of an ancient mold.  Any way, the work that I've done mostly these past couple of days is to clean up seams, address poorly fitting parts by scraping and sanding them flush, and then laying down a coat of gray Stynlyrez primer.  The primer reveals seams that I still need to deal with.  

The paint scheme that I will pursue for this build will feature an underside split down the middle of the fuselage (along the seam line) in black and white.  I am thinking that the seam along the rear fuselage will "disappear" along the demarcation between black and white.

I hope to have this Spitfire wrapped up before the end of the month, after which I will turn all my attention to the far more involved build of the Tamiya kit.

  • Member since
    January 2015
  • From: Katy, TX
Posted by Aggieman on Wednesday, August 9, 2017 2:19 PM

At last, some paint!

I spent some of the morning going back over seams, filling and sanding, scraping and sanding, and then put down a second coat of primer over the affected areas.

Then it was time for paint.  I have started with the flat white underside, well, the left half of the underside. I'll let this dry real well before coming back at it with a straight line mask down the center line and paint the other half black.

This progress is a bit too slow for my tastes, but gotta take time so that I don't have to re-do anything. Plus it's really hot here in SE Texas.

  • Member since
    January 2015
  • From: Katy, TX
Posted by Aggieman on Saturday, August 12, 2017 4:44 PM

One down, one to go.  I decided to push on through the Revell kit to get her finished.  It is still too hot in SE Texas to spend a bunch of time in my garage (not air-conditioned, just a few fans) workshop; I feel like I just came in from mowing the yard.  

So I wrapped her up over the last couple of days by getting all of the painting done then adding the final finishing touches.  The decals are from the Eagle Editions set for the Spitfire Mk. Ia.  The underside paint is Tamiya flat white and flat black; the upper side paint is Model Master Acrylic RAF Dark Green over RAF Dark Earth.  I held the weathering to a minimum, as photos of aircraft from the same time period don't seem to show a lot of exhaust staining or wear-and-tear.  A little silver pencil action in the appropriate spots, some dark gray pastels for the exhaust and gun port stains, and a few touches of Tamiya weathering master stuff to represent some light oil staining.

I could not find any reference photos belonging to the squadron showing the starboard side of the aircraft, and the placement of the squadron letters.  These letters and the roundel are way over-sized (that was not a mistake of the decals; some Spits did wear such large markings) but that gives little room to get them into place.  I cannot swear that I actually placed the DW-Q in the right place on the starboard side.

This was a real Spitfire that was shot down during the Dunkirk evacuation, and it was the fantastic movie Dunkirk that was my inspiration for building this particular warbird.

So let's see some pictures!

The oil spot on the port side roundel is my best attempt to fix a builder problem.  While attaching that rigging, I managed to get my thumb into some glue that had not yet set. I did not have the absolute correct shade of blue paint to just paint over the damage (and all the other roundels to maintain consistency in blue color), so I wiped some oil weathering compound over the area.  It is directly beneath a compartment where I believe ground crew or the pilot could access radio equipment, so perhaps they got clumsy with a can of oil?

So that's it for the first part of this two-part Spitfire build.  I'll be moving on to the much more complex Tamiya kit soon.

  • Member since
    January 2015
  • From: Katy, TX
Posted by Aggieman on Tuesday, September 5, 2017 7:56 PM

Well, I've had enough time away from the modeling bench.  It's been some eventful stuff around here, with Hurricane Harvey and the resulting flooding in my area.  I've spent time on rescue boats and on demolition work inside flooded homes to remove stuff and sheetrock before mold could get started.  I'm still looking for work.  And to top it all off, I am an alumnus of the school who's football team just pulled off the second largest come-from-ahead loss in college football history.  To say I needed some time at the bench would be a bit of an understatement.

So I spent today re-acquainting myself with this wonderful Tamiya Spitfire.  It is loaded with details and requires what seems like a thousand pieces to build.  I did some painting and started work on the cockpit.  I've completed through step 6 - and that's only about half way done with just the cockpit.  So what have I done?  The instrument panel with the attached structure holding the control column.  On a lot of kits that is part of ONE step, maybe two.  But on this kit it is almost a kit in and of itself.

Here is my first photo of today's work, showing the painting and weathering completed inside the fuselage.  That is Model Master Acrylic RAF interior green and Tamiya (air) bare metal silver, with pastels and Flory dark dirt wash for weathering.

Here is the IP and control column.  Not sure if the photo will show the column clearly, as I am certainly a novice photographer and cannot seem to get my camera to show what I can see with my eyes.

  • Member since
    December 2002
  • From: Northern California
Posted by jeaton01 on Tuesday, September 5, 2017 11:29 PM

Nice work all around, Stephen.  Sorry about the work situation.

John

To see build logs for my models:  http://goldeneramodel.com/mymodels/mymodels.html


  • Member since
    January 2015
  • From: Katy, TX
Posted by Aggieman on Wednesday, September 6, 2017 7:59 PM

Today I actually did not plan to work on my Spitfire.  But when I woke up to a really low  (for SE Texas in September) temperature, I changed all my plans.  I first jumped right into lawn work, got the grass cut and some crepe myrtles trimmed, then it was right to the work bench.  Just now finished some eight hours later (one of the few benefits of being out of work).

I got the cockpit done and the fuselage sealed up.  It is an amazing 13 steps to get to this point.  The detail in this cockpit is nothing short of amazing.  Anyone see Dunkirk? Disregarding the ridiculous Spitfire glide, but during that scene we see the pilot (Bane from The Dark Knight Rises) pumping a handle to lower the gear.  This kit includes that as a PE piece.  In many kits the details you find on the side walls are molded in place; here many are separate pieces to paint and install. And it has typical Tamiya quality.  I don't believe I'll need any filler on the fuselage joins, maybe just a light sand job if even that.

I also repeated the trick I used to rig the antenna wiring on the Revell Spitfire I completed about a month ago (see photos a couple of posts above) - I tied the EZ line inside the fuselage to a portion of the cockpit sidewall framing and ran it out where it will eventually attach to the actual antenna.  The EZ Line is taped to the side of the fuselage to keep it out of my way while I work at building this thing.

Funny story - my wife came out to check on me and saw my camera set up.  She asked if I had completed another build.  I simply said "No" and showed her where I am in the instruction book (and I do mean book).  Step 14 when I return to the bench.  Roughly a third of the way through the book.  Long way to go.

On to the photos.  Most of these are shots of the fuselage at various stages of construction.  This kit includes a couple of PE frets.  The lap belts were easy to work with but the shoulder harness was a bit of a bear to get into place.  It does run through the armor plate and attaches behind the radio compartment (I think that's where the radio gear was stored in the Spitfire, right behind the pilot).  But I had difficulty getting the harness to lay more or less flat against the seat.  I doubt it will be noticeable in the photos or even to the naked eye once everything is completed.

Side walls

Coming Together

Into the Fuselage

All Sealed Up

Next steps start construction of the stabilizers and the wings.  There is a call-out in the instructions to cut away a portion of the lower wing on the version that I am building (I'm doing version A for anyone who may have built this kit).  I cannot find anything in succeeding steps referencing this call-out.  I'm going to have to research that to see if I can find out why this needs to be done, as the instructions are just not clear on that, at least to me.

  • Member since
    January 2015
  • From: Katy, TX
Posted by Aggieman on Thursday, September 7, 2017 10:46 AM

I hit the bench early this morning to get in what I thought would be a few quick steps in putting together the control surfaces and tail wheel. Yeah, about that ...

Tamiya has an interesting solution to attaching the control surfaces.  There are PE hinges through which a metal rod is to be inserted.  It's a neat idea on paper, but the reality of it is probably not what they were expecting.  The hinges are finicky.  I could not get them put together as the instructions directed without getting CA on the rod, rendering the parts non-moveable.  I wasn't going to have these parts moveable in any event, so no big deal.  

There are metal rods to give strength to the landing gear struts, including the tail wheel. That's a nice touch.

One more instructions "huh" - the actuator piece that is attached to the vertical rudder is indicated in a call-out to remove the actual rod.  No where in the instructions book is it ever referenced again.  Why would we remove the rod?  I spent a good bit of my morning looking through references, actual build photos of this kit, etc, but could find no reason to remove the rod.  I left the rod in place, attached the actuator to the rudder and positioned the rudder so that the rod fits snugly against its connection point on the empennage beneath the stabilizer.

No photos today.

  • Member since
    December 2010
  • From: Salem, Oregon
Posted by 1943Mike on Thursday, September 7, 2017 11:33 AM

I think you're doing an admirable job on this kit. I'm certainly following along with pleasure.

I don't imagine this will help much but I'll include it here since I stumbled on it in my vain attempt to help you out with the actuator.

Mike

"Le temps est un grand maître, mais malheureusement, il tue tous ses élèves."

Hector Berlioz

  • Member since
    January 2015
  • From: Katy, TX
Posted by Aggieman on Thursday, September 7, 2017 3:34 PM

Thanks Mike, that does give me some insight into the antenna rigging on the Spitfires, but alas does not show the actuator.  The photos I have show the antenna cables coming from the stabilizers, but for the Mark IXc none show the rigging from the antenna mast to the fin.  But this cut-away drawing depicts that rigging (I do recognize this as a photo reconn Spit, so perhaps the rigging was not present on the fighters).

  • Member since
    January 2015
  • From: Katy, TX
Posted by Aggieman on Friday, September 8, 2017 11:34 AM

I feel like I'm getting my legs on this build.  I found this cut-away drawing, similar to Mike's, of the Mk. IX.  

This helped to explain the instructions issue I described a bit earlier of a cut-out on the wing underside.  There also was an opening on the wing's leading edge to open up.  I was hesistant to open all of those openings up without knowing what they represented.  I knew this opening was not for a gun - no room given the proximity to the landing gear bay; so this cut-away shows it to be the gun camera.  That makes sense, never even thought about that.  So out came the Exacto knife and now I have opened those spots.  Interestingly Tamiya does not provide any parts to actually put in there, but everything is closed up so no part would be visible.

I have completed through the wings and attaching the wing structure to the fuselage. I know Tamiya has a fantastic reputation for things like parts engineering and fit, and this kit is no exception to that.  There is a wing spar to install that sets the dihedral, so that is never a concern.  The wing fits very snug against the fuselage; I will need no filler for the wing roots.  The kit provides a display option on the flaps - up or down.  I chose up as my research indicates that the Spitfire flaps were rarely down when on the ground, and apparently they sprung into the up position shortly after landing.

Again, no photographs, just a progress report.

  • Member since
    November 2009
  • From: SW Virginia
Posted by Gamera on Friday, September 8, 2017 1:44 PM

Beautiful job on the Revell kit and the Tamiya one is looking great! 

"I dream in fire but work in clay." -Arthur Machen


JOIN OUR COMMUNITY!

Our community is FREE to join. To participate you must either login or register for an account.

SEARCH FORUMS
FREE NEWSLETTER
By signing up you may also receive reader surveys and occasional special offers. We do not sell, rent or trade our email lists. View our Privacy Policy.