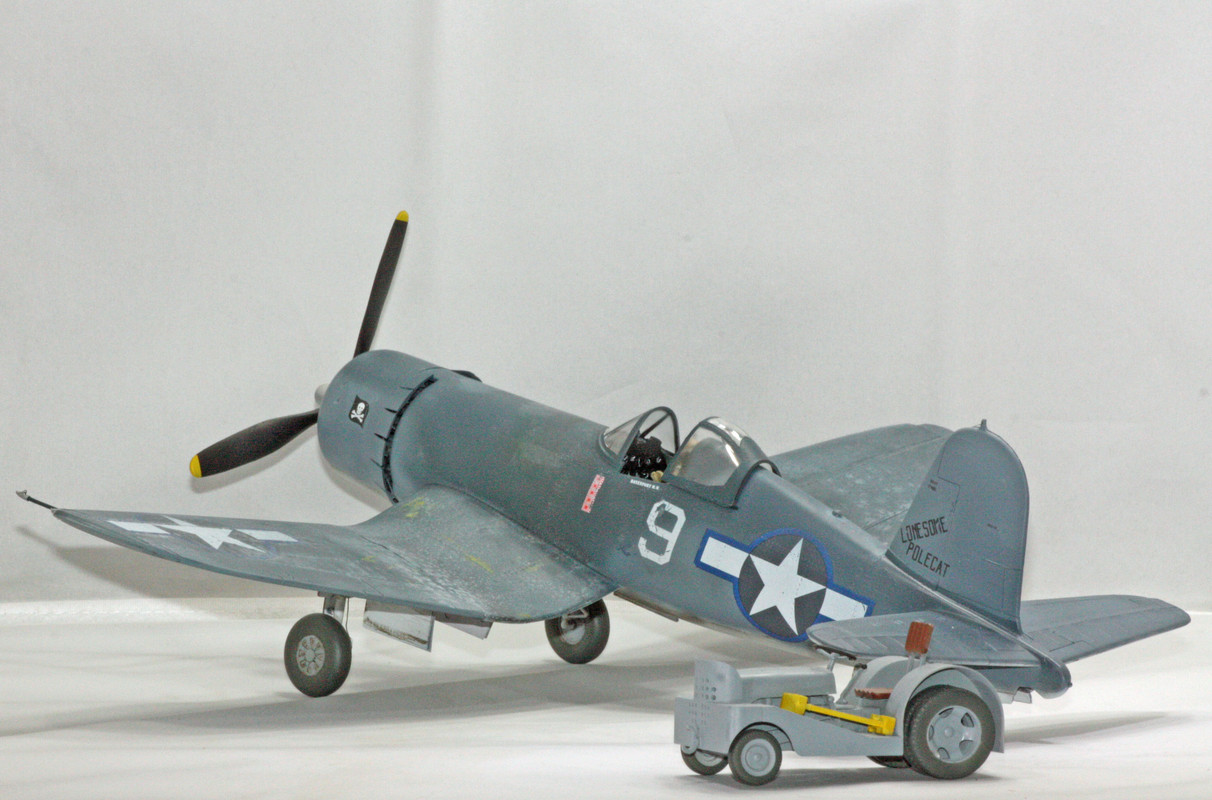
As the year was winding down, I had an idea that I wanted to build a Corsair - with an eye on the big Tamiya Birdcage I have had in my stash for a number of years now. At some point while I was working on my Trumpeter F6F-3 Hellcat, I recalled having built Tamiya's Spitfire simultaneously with an original edition Revell Spitfire (both 1/32). As it so happened, I had Revell's big Corsair in the stash as well. So I opted to do not one, but two Corsairs to finish out this year.

I believe this to be an original issue of this kit, that I first built at some point in the mid-70s, and then again with the Baa Baa Black Sheep release of this kit in the latter half of the '70s. And anyone who has built this kit knows that, while it was state-of-the-art at the time, it does not measure up in terms of detail to current offerings from Tamiya, Trumpeter et al. That led to a good bit of scratch building for this build.
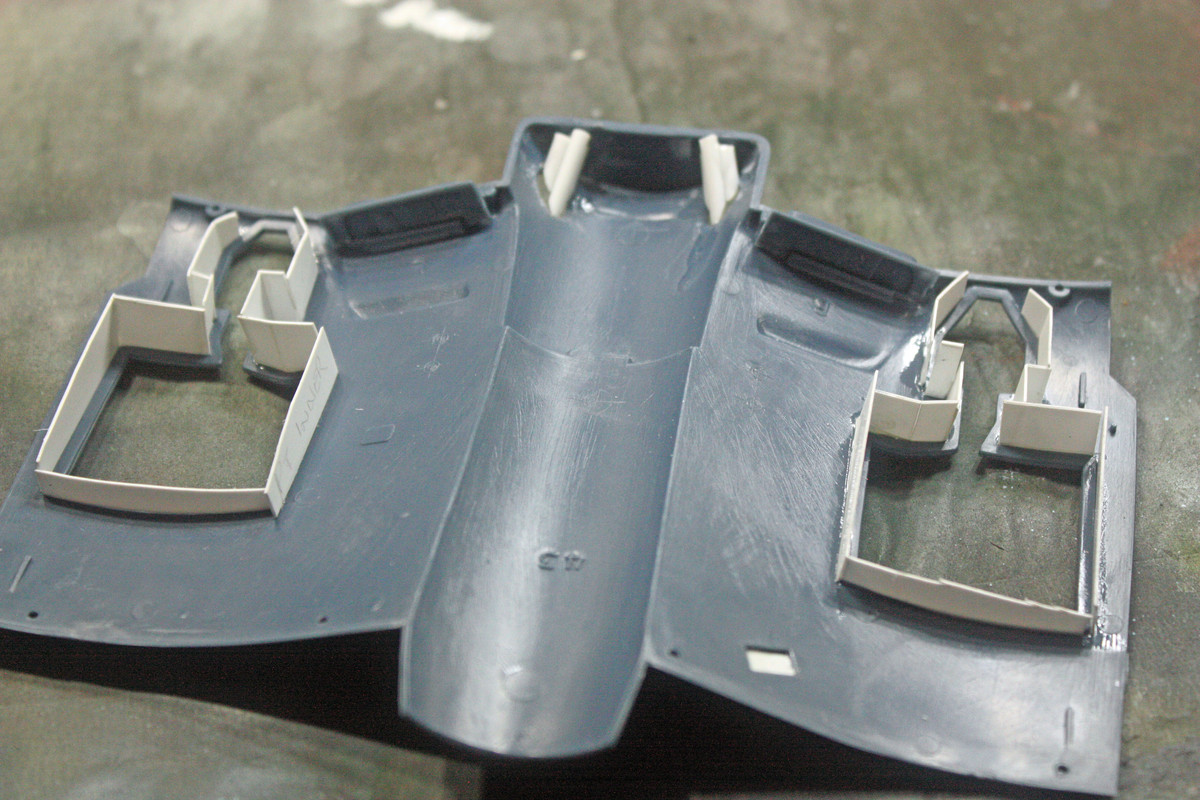
I added ribbing details to the rear gear bay, and depth to the main gear doors based on what I found in the Tamiya kit.

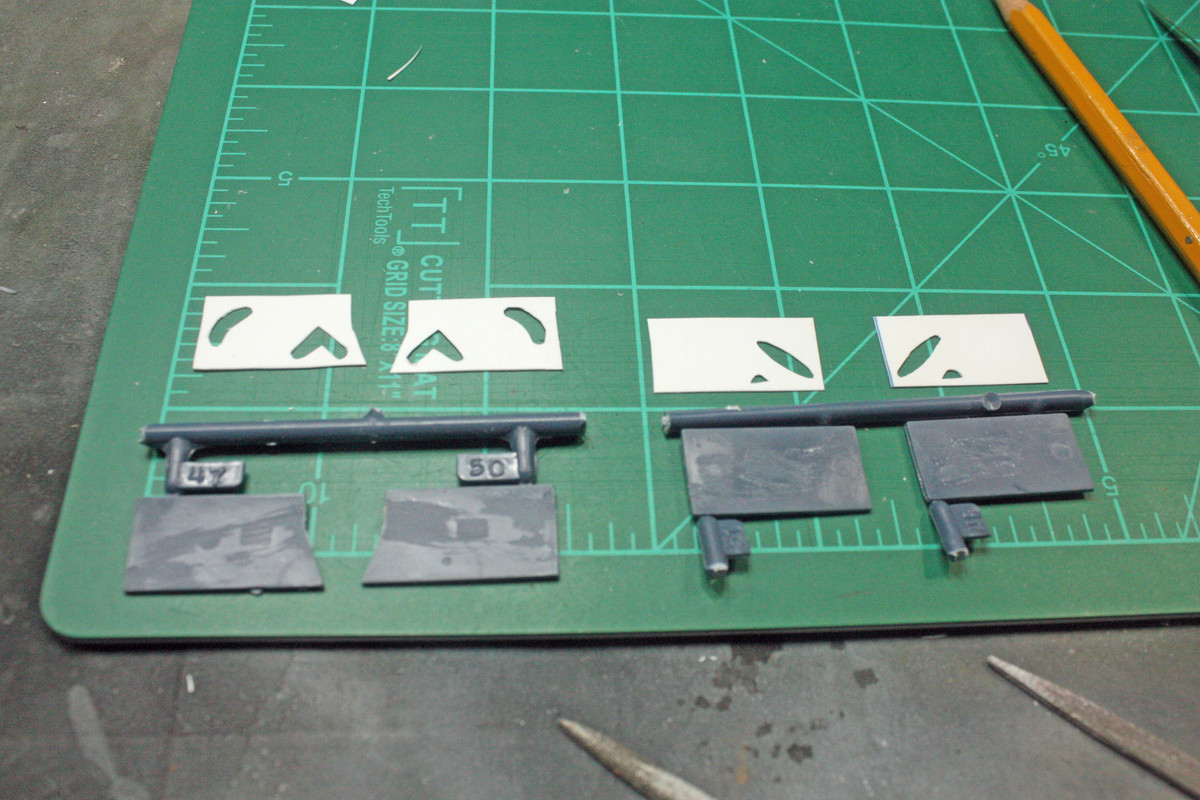

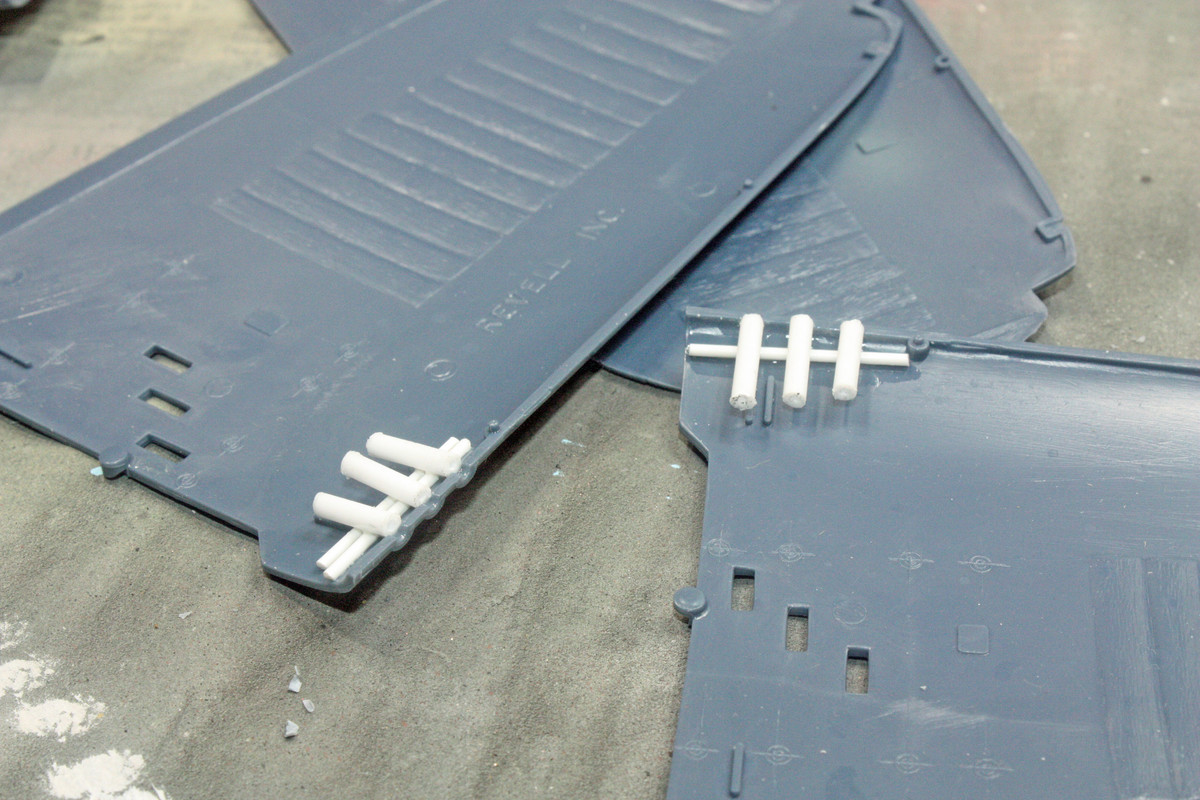
The main gear bays are non-existent on this kit, so I scratched that in a very basic manner. I decided against adding a lot of additional detailing on these added parts, but it would have been pretty easy to have done so. All I really wanted for the wheel wells was to close them up. The kit features a 2D representation of the exhaust stacks; I cut all of that out and replaced with 3D tubing. While I didn't get the tubes installed to exactly the right position (based on how these look on the Tamiya kit, my scratched stacks don't extend far enough). I also filled the machine gun holes with tubing.

The cockpit for this kit is basic, but it also is a good starting point with some decent relief detail on the IP and side panels. I knew I was going to utilize a pilot figure for this build, and I also knew it was not going to be the figure included in this kit. The kit figure looks like some Dutch or Russian doll. As I'd done with my earlier Spitfire builds, the Tamiya Corsair yieled a good pilot figure for me to use in this Revell, but that required some surgery to the cockpit floor (that actually looks better as the Corsair didn't have a full floor in the cockpit).
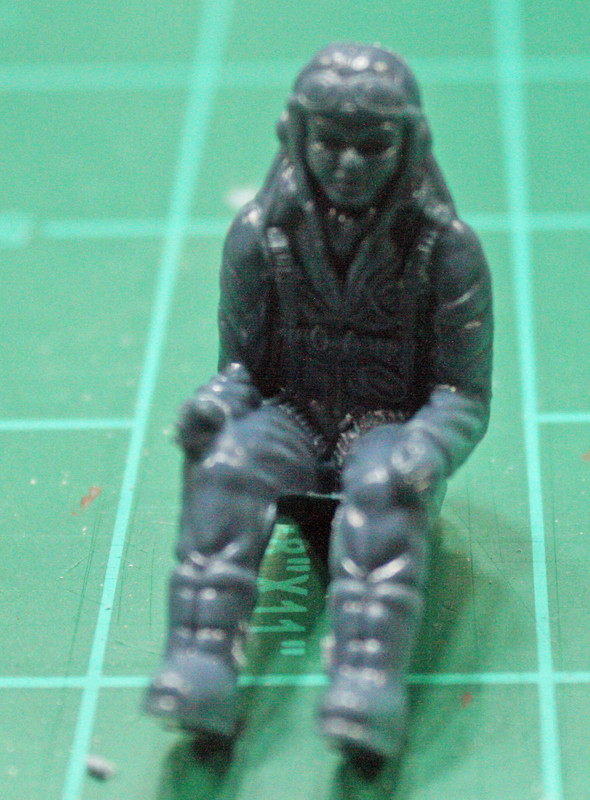
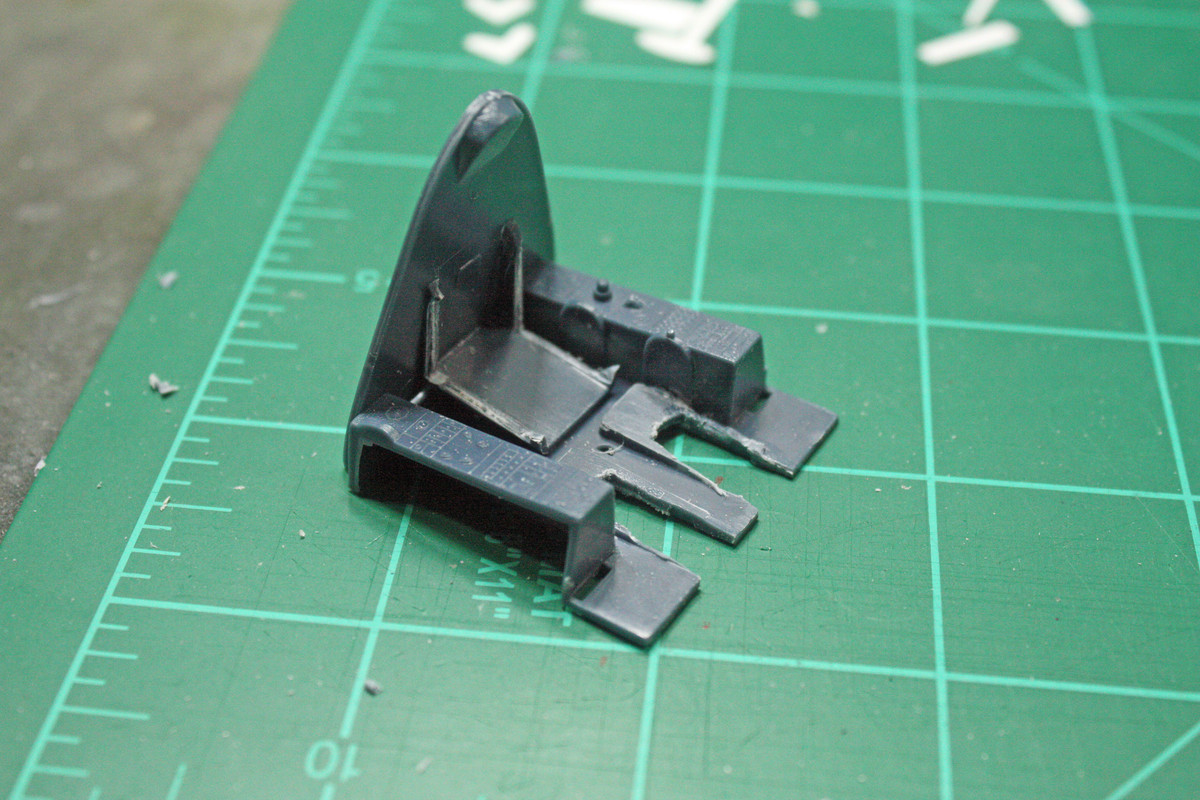
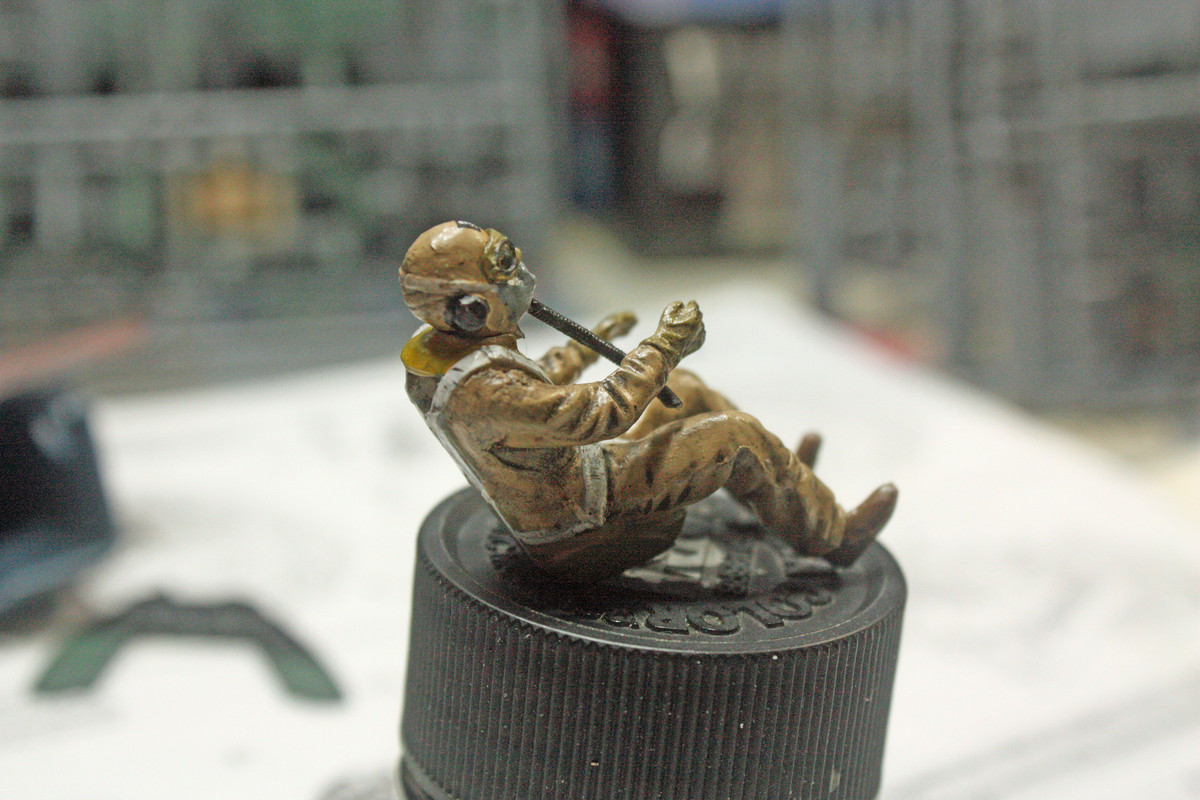
Here is the Tamiya figure (in a nod to Apocalypse Now)
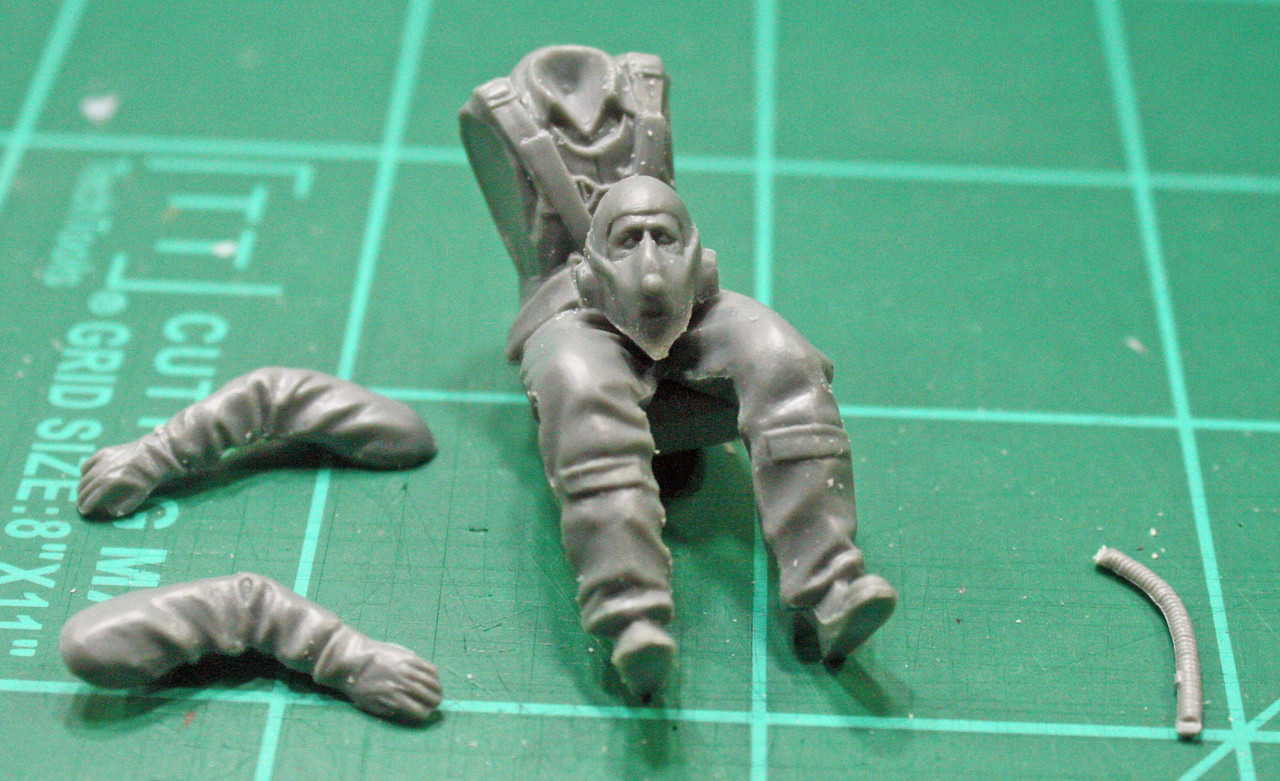
The reason for the surgery on the cockpit floor - the pilot's legs are too long, so I opened up channels through which they would fit.

Pilot painted and fit into the cockpit
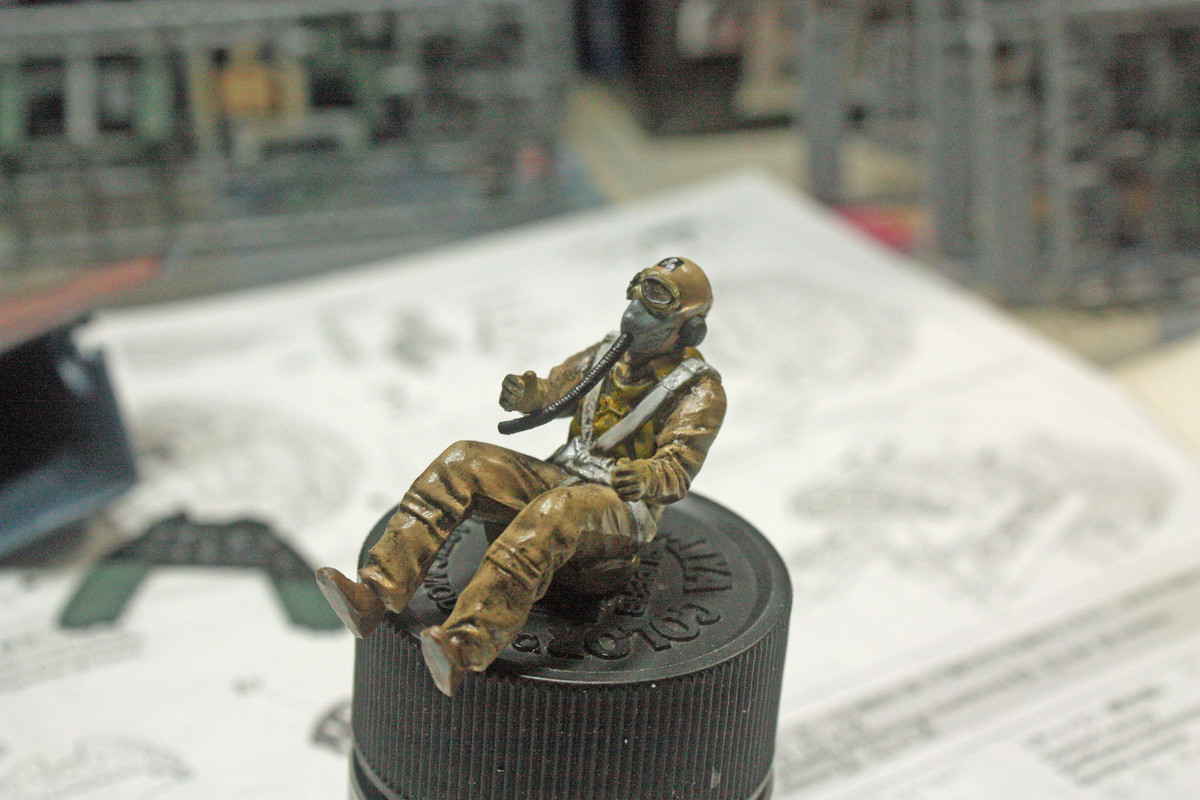
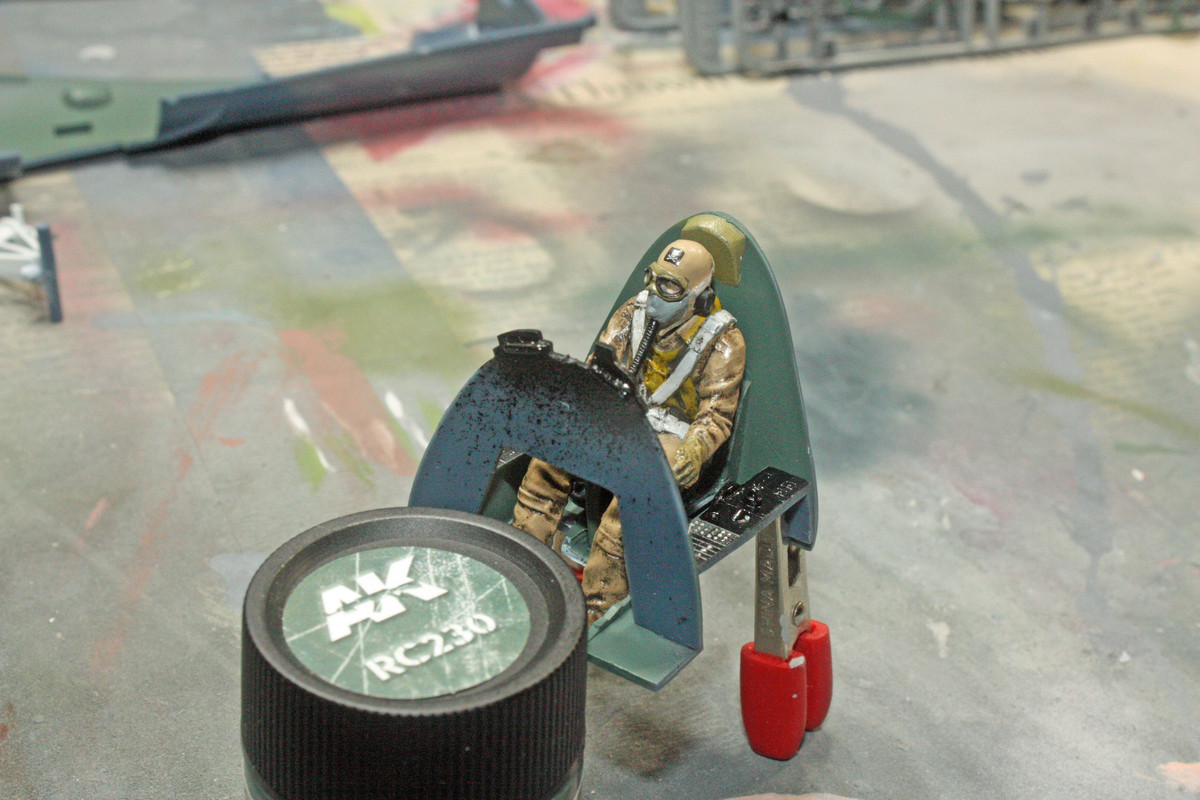


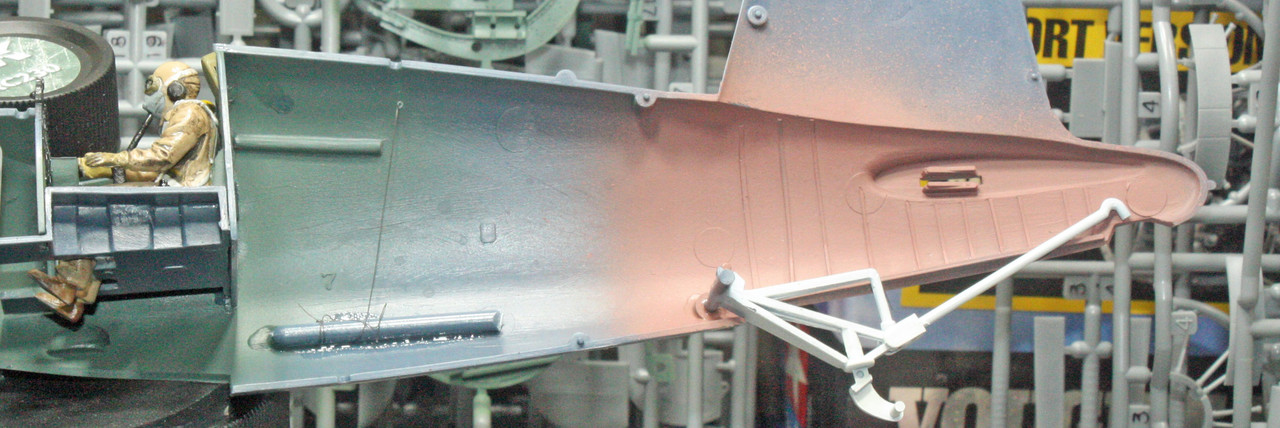
Since the last time I built a Corsair (way back in 2006-7), I had learned that early Corsairs were typically painted on most interior surfaces with a salmon color. I bought a bottle of AK Interactive salmon, but felt that color was closer to pink and didn't match what I was seeing in the various references I was using (Bert Kinzy's Detail and Scale book, a Squadron Walk-Around book, and Tamiya's book on building the Birdcage Corsair). I then mixed some red, brown, and black to get a darker color that you see sprayed in the tail gear bay.
Originally I intended to build the Corsair featured on that wonderful boxart. The Revell kit doesn't always match the actual aircraft, however, as this photograph
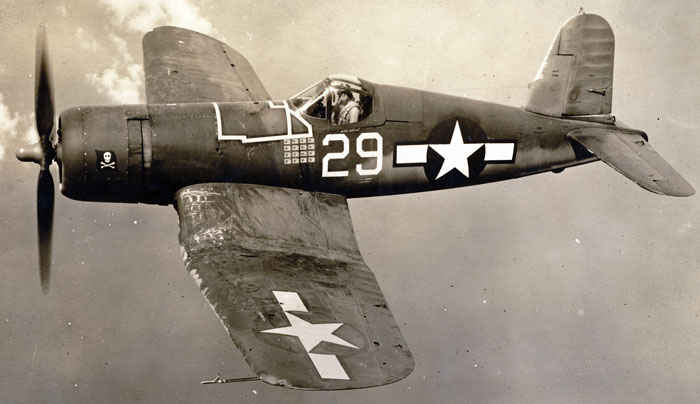
clearly shows there to be no antennas, yet there was an antenna molded into the fuselage along the spine just behind the cockpit, and a mounting point for another antenna in front of the cockpit. I chopped off the one antenna and used some Milliput putty to fill in the forward mounting position. Later, I would be forced to change direction as to which aircraft I would actually build, and cannot vouch for the presence of the spine antenna or not.
The reason for that is that the kit decals came apart at the mere mention of the word water. I bought a set of wet transfer decals by HGW off eBay. The photo of the set in the listing included White-29, but the photo was incorrect; I actually got the third set of the series, which did not include White-29. The markings scheme that I liked most was for the "Lonesome Polecat", White-9 piloted by Lt. Butch Davenport.

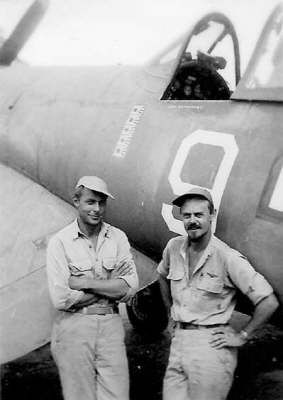
Note the lack of a forward antenna in this second photograph.
To my surprise, the Revell kit went together pretty well. There were some big seams but I was able to scrape / sand those away; I used very little putty on this build. My goal with the painting was to capture a war-weary look that USN aircraft operating in the South Pacific were known for. The photo of White-29 shows a lot of random paint fading and some paint chipping as well.
To achieve the chipping, I first primed the kit with grey Stynylrez then put down a coat of AK Interactive XTreme Metallic Aluminum. At that point I applied some random sea salt to areas where I wanted paint to appear chipped. After the salt dried, I then put down a coat of Mission Models Green Zinc Chromate and repeated the salt process. Once that second salt treatment dried, I sprayed the entire topside with Color of Eagles US Sea Blue. At that point I wet down the salted areas and removed, revealing some good-looking underlying GZC and aluminum. I then finished painting the underside with Vallejo Insignia White and Vallejo Intermediate Blue (the latter I also used to complete the tri-color scheme along the sides of the fuselage). Then I sprayed a coat of flat clear.
Once everything had dried up well, it was then that I noticed some significant fading in the areas where I had put the salt. Now I am not a chemist, but I did take a couple of chemistry classes during high school and college, so I'm thinking the clear flat reacted with residue of the salt. I liked the look but it was a bit too stark, so I sprayed a light mist of sea blue over it to cut it down a bit.
So now I get to the real "fun" - the decals. I already mentioned that I replaced the kit decals with these wet transfers. I had one issue where I probably didn't allow the transfer to stay in water long enough to fully release the decal, and when I went to apply it, a significant portion of the marking remained on the backing paper. Now the way these transfers work is this - they are a decal on paper with a clear film overlaying the markings; you are to put down some Mr. Mark Softer where you want the marking, then put it into place; then let it set for 6-8 hours before lifting away the clear film. The one thing HGW doesn't mention is something I probably should have known, but don't use an excessive amount of Mr. Mark Softer and don't apply over a flat coat. After letting these transfers dry for the recommended time frame, I was unable to lift the clear film. Some I was able to gently scrape away with only minimal damage to the markings, but for the most part, the film remains on this model. Photos don't reveal the film, but it's there. In an aside, I keep a trash model on my work bench to test stuff. I did test the HGW transfers prior to using them on the Corsair, but the marking was not an insignia so I can't say that the test was an apples-to-apples test. I later sprayed the wing tips of that junker with gloss clear, and did the full HGW application with larger (not insignia) markings, and had no issue lifting the film. That's a lot of words to say that I am not a fan of HGW's wet transfers while I am a fan of how HGW's wet transfers look when properly applied to a model (see my other Corsair build thread, that I will post shortly).
Here is the completed Corsair.
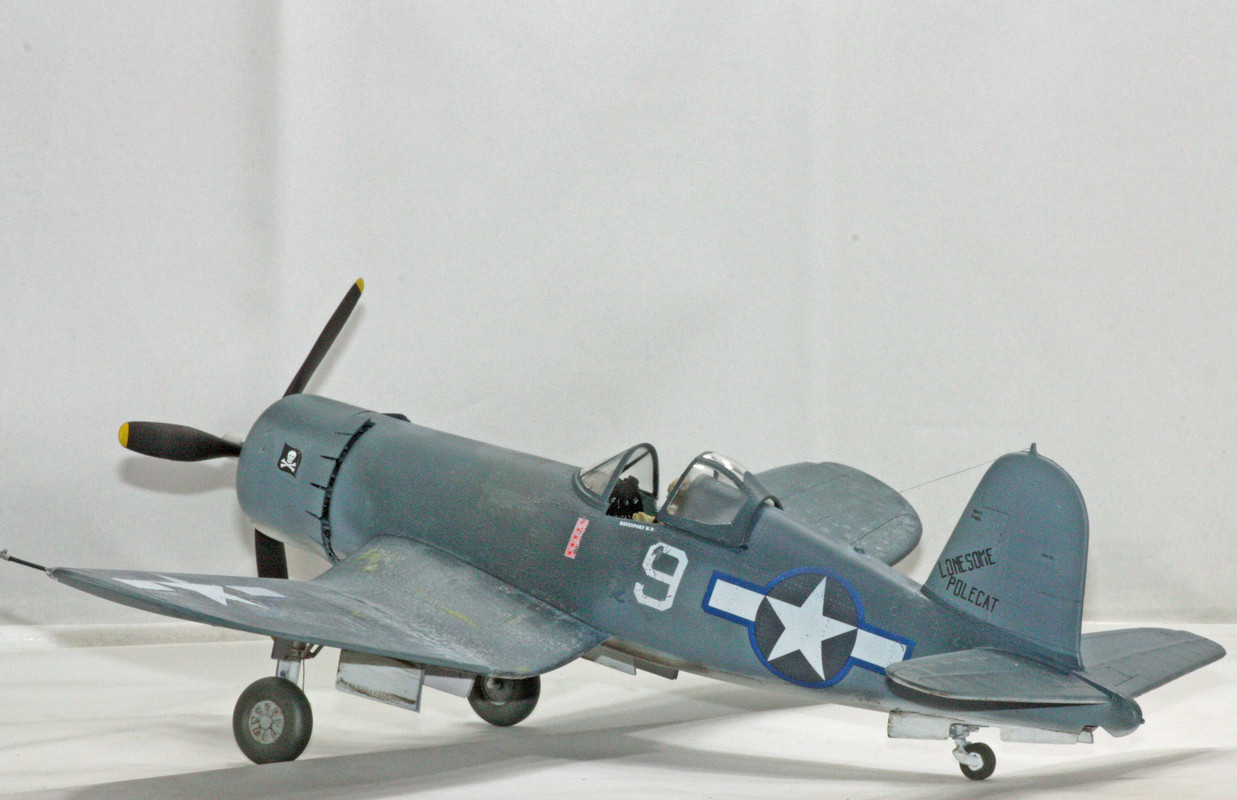
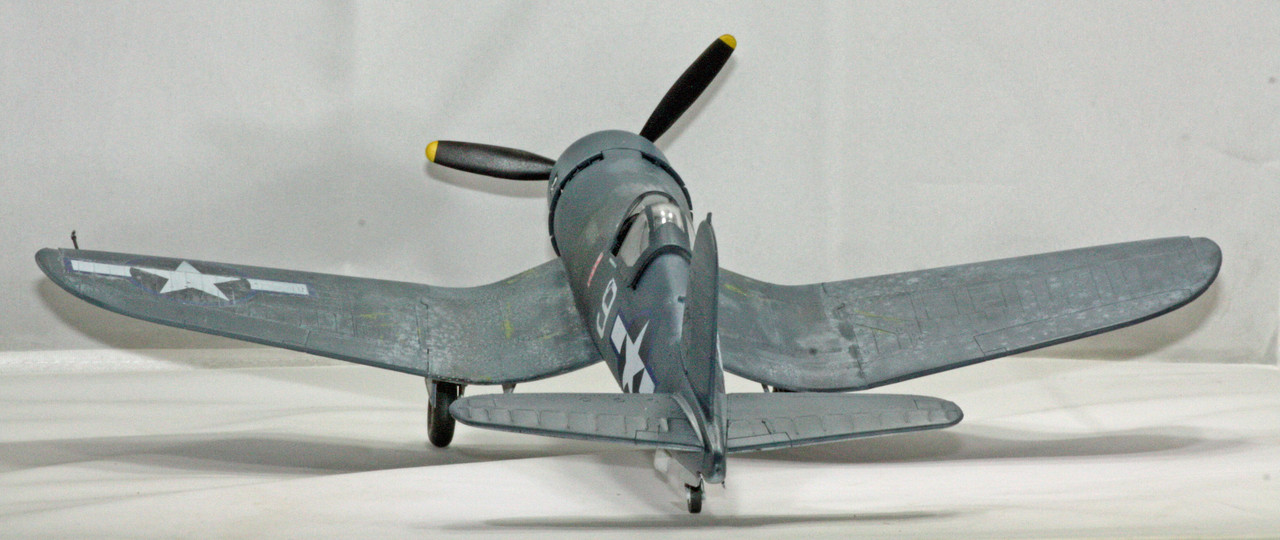
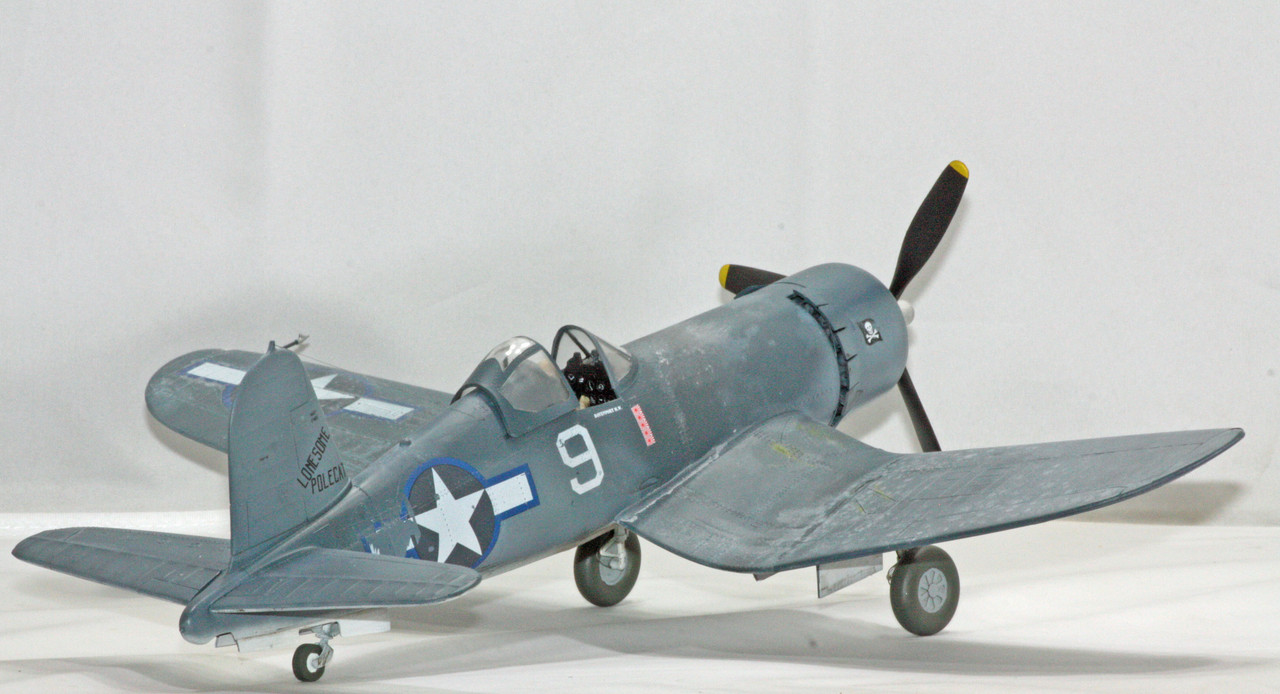
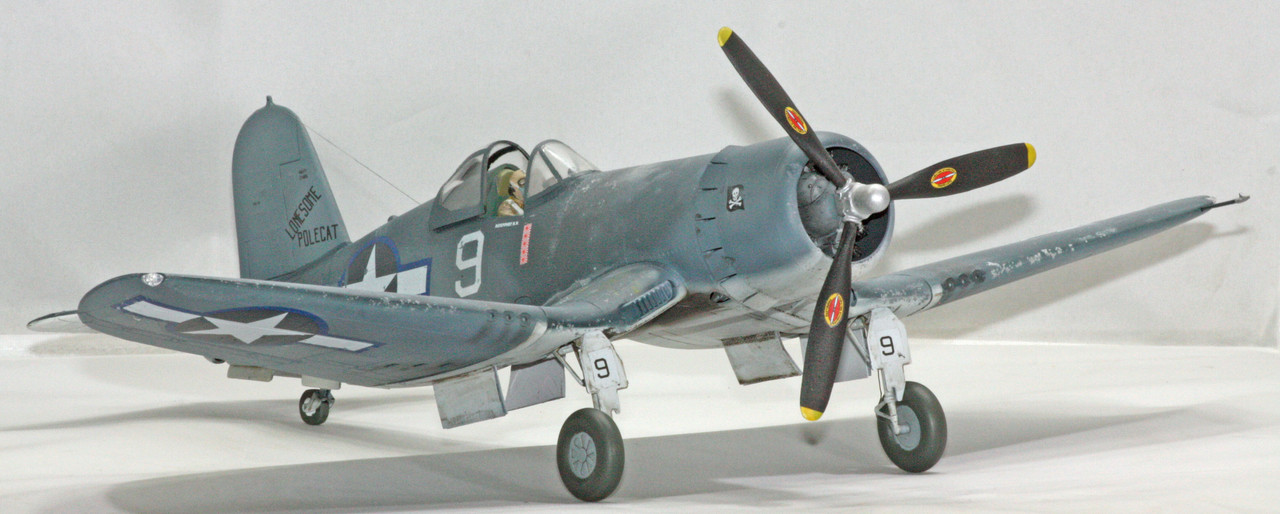


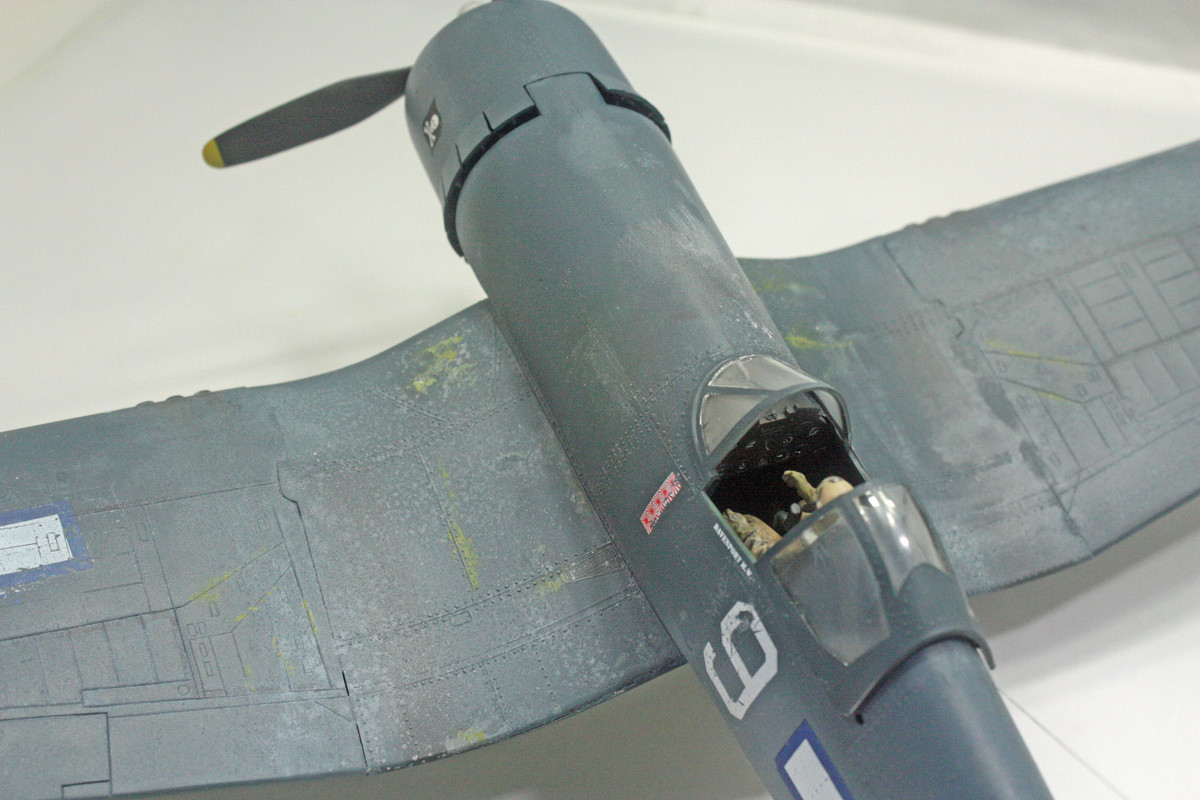

And here she is with the deck tractor that came with the Trumpeter F6F-3 Hellcat I did in November this year.
