Thanks everyone. Okay this will be one of my lasts updates for a while it seems. I've got to pack all this up and move. =/ Oh boy.
Just made some major progress on this V-1710-33 Allison. It hasn't received a clear or flat coat yet. I've got a few more things to add still before I can finish weathering everything here. One thing I had to settle on was attaching the rod for the motor mount onto the engine first. It was just too touchy trying to match it to the engine while a part of the rest of the mounting support arms. There's also some touch up painting to do still, but I really needed to get to this part so that I could move on with it.
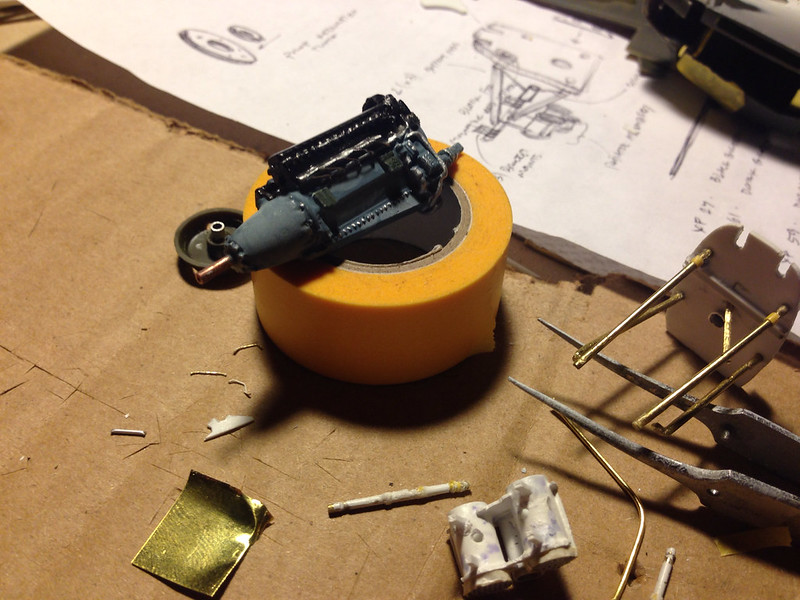 image by brittvallot, on Flickr
 image by brittvallot, on Flickr
You can see here where a few of the ignition cables have fallen off while handling. They'll get put back on later.
 image by brittvallot, on Flickr
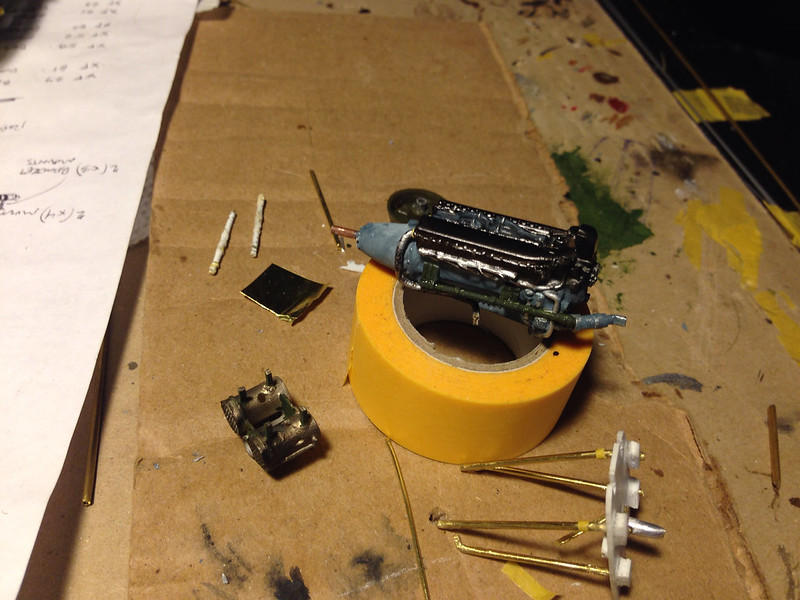 image by brittvallot, on Flickr
 image by brittvallot, on Flickr
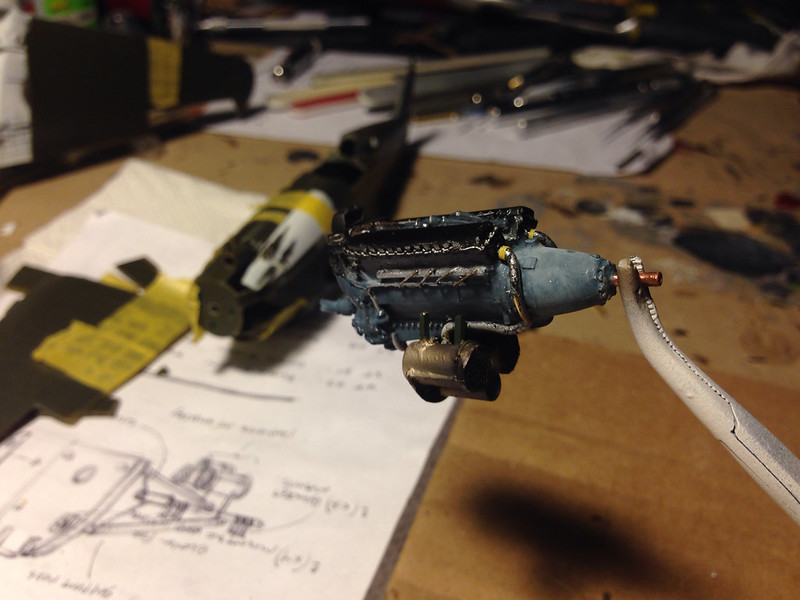 image by brittvallot, on Flickr
Here the radiator is loosely attached to test fit. Quite pleased with it so far. =]
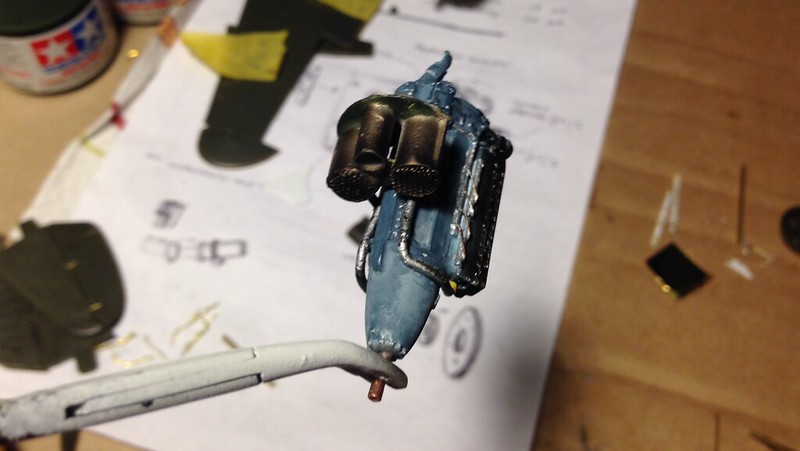 image by brittvallot, on Flickr
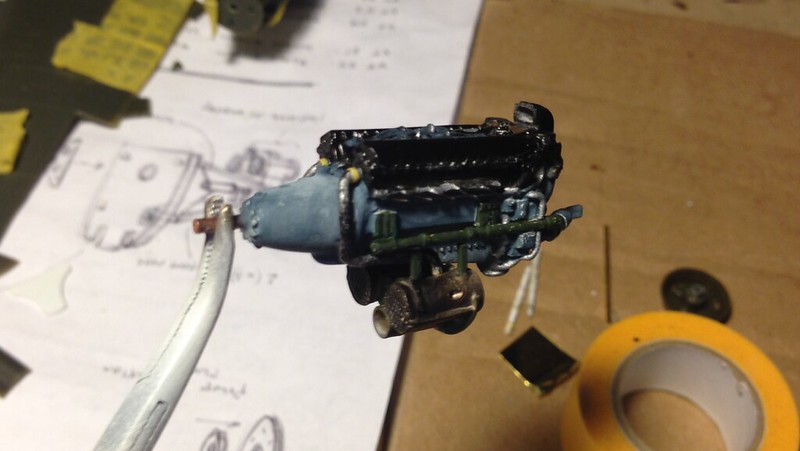 image by brittvallot, on Flickr
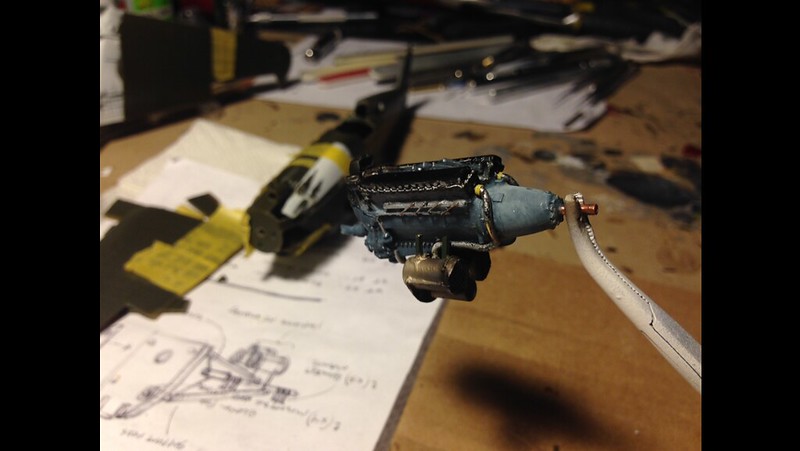 image by brittvallot, on Flickr
The blue is a Tamiya's Medium Blue. I made a quick coat with the AB and followed up with some Med Blue lightened up with Flat White with a fine brush to fix up weathering the paint in places. I mixed and thinned the color to lay down somewhat what randomly.
The top over the crankcase is painted in Alclad's Jet Exhaust. It puts down a nice dark color that isn't quite black but has enough character to look to reflect some of what is going on with the rest of the engine being hot. The oil and coolant piping is made of brass rod and primed and painted in Tamiya's Flat Black and then Flat Aluminum. The radiator is painted in Alclad's Pale Burnt Metal first and then touched up with Exhaust Manifold. All of the green parts are just painted in Tamiya's Olive Green for now so that I have something up there. I will later paint these with a color that will go down on the rest of the cowl parts of the engine area.
This is a really fantastic resin engine from Engine & Things and with just a little bit of love and some scratchbuilding, you can make something quite special to add some life to your build. =] I'm glad I got one!