Crisis averted.
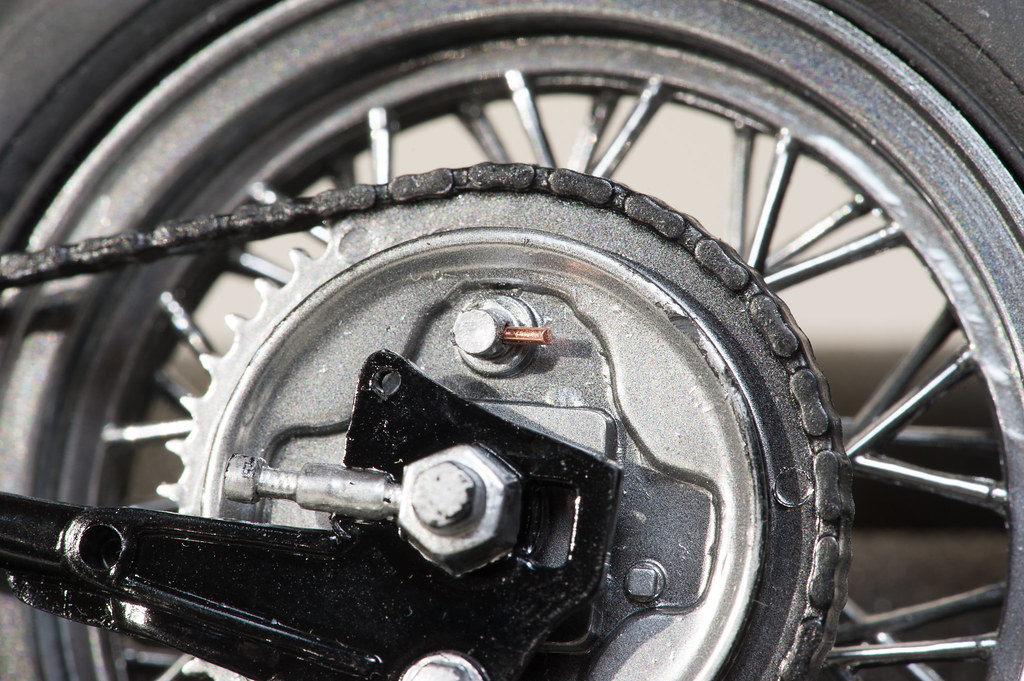
The little brass thing below is a piece of copper from the aforementioned 20 gauge wire. Amazing. It is where the little plastic protrusion Bill was talking about was before it broke off. FWIW, it is .031" dia.
The next pic just shows the hose attached to it.
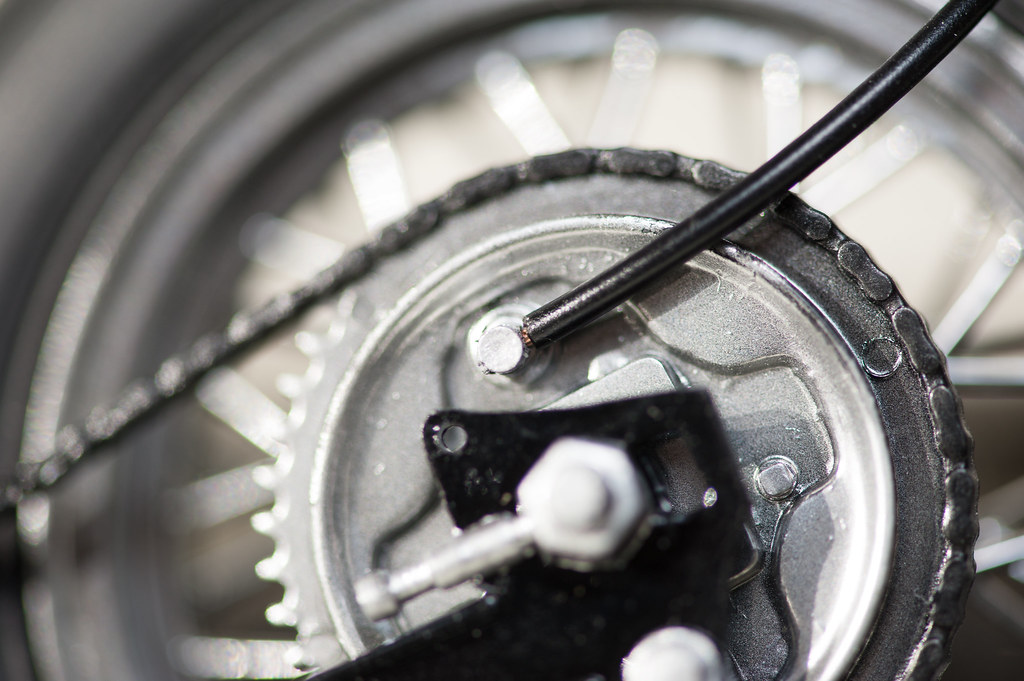
It has since occurred to me this will all be hidden by the chain cover, so the hose could have been attached to nothing and nobody would have ever known. ![Zip it!]()
I sure appreciate all the help here. These hose troubles would have set me back probably forever back in the build all alone days.
![]()