- Member since
December 2007
- From: Beavercreek, Ohio
|
Posted by Wrinkledm
on Saturday, July 15, 2017 8:06 PM
Well
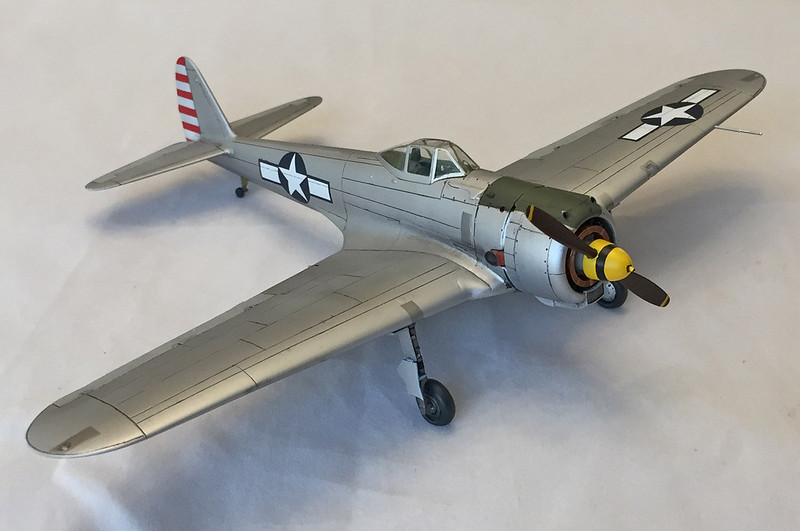
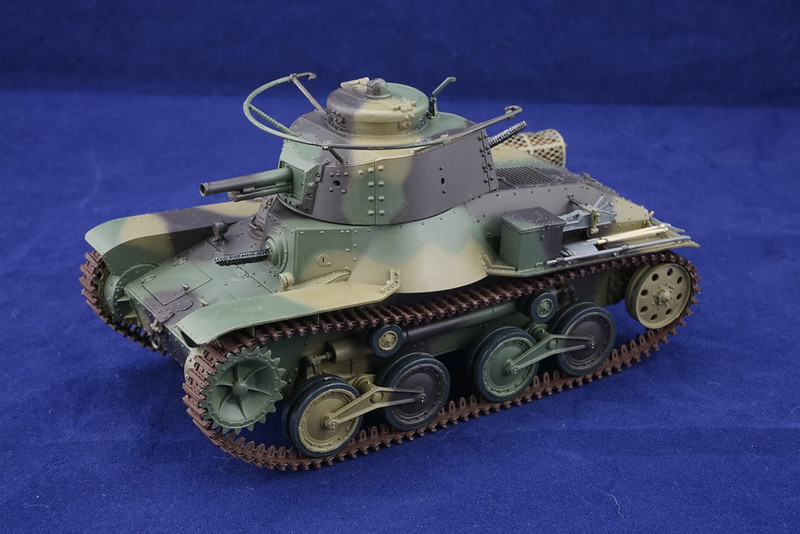
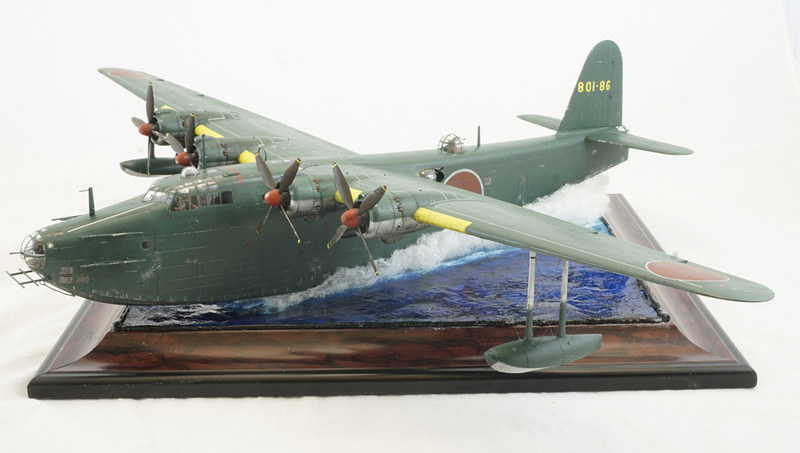
After the Peebucket fiasco, here are my images again... I shudder to think of how many photos are directly linked on other forums etc.... :( sigh. Pictured are my completed builds for the 2017 GB with the Oscar a carry over from last GB. So, I have pictured (Hasegawa Oscar 1/48, Dragon Ke-Nu 1/35, Tamiya A6M5 Zero 1/72, and a special post of a recently completed Hasegawa "new tool" Emily 1/72.) I can NOT OVERSTATE how wonderful the Emily and 1/72 Tamiya Zero kit are. To date, the Tamiya zero has to be the most enjoyable kit to build. :)
1/72 Tamiya Zero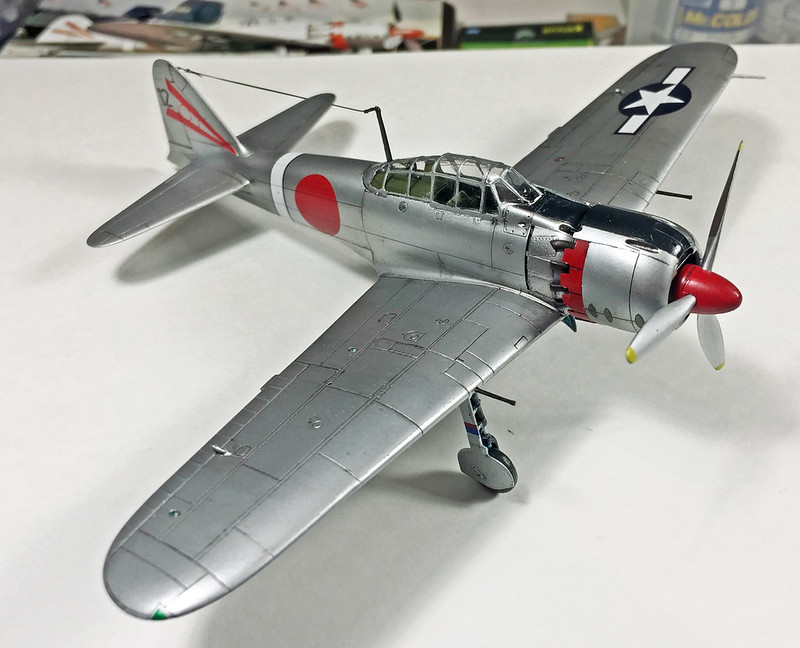
1/48 Hasegawa Oscar
1/35 Dragon Ke-Nu
1/72 Hasegawa Emily
|