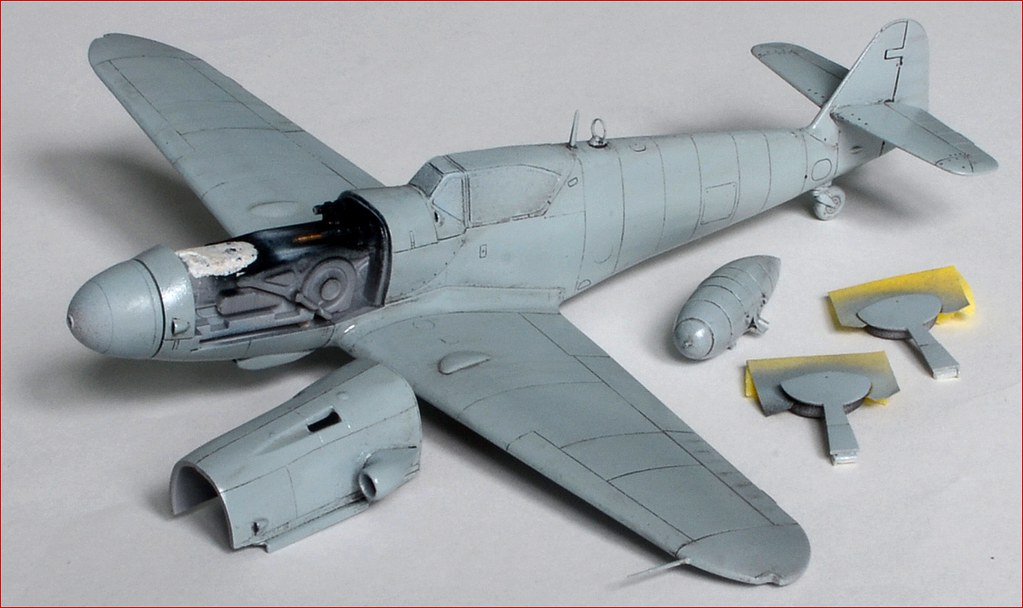
Quick update, primer problem sorted and have applied base color RLM 76:
Another hiccup with the Florys wash stage. Since much of the engraved detail is so fine, I thought it would be best to apply the wash after only one layer of future, and then add a second as a prep for the decals. Of course, brushing on the future rejuvenated much of the wash product, resulting in a patchy look in the engraved areas.
Anyhow, will let this dry for a bit, setting sights on Friday for the decals.
regards,
Jack