Yeah, those look great Griffin. I might have to try that myself. And the MG does look good, great to see Tamiya quality.
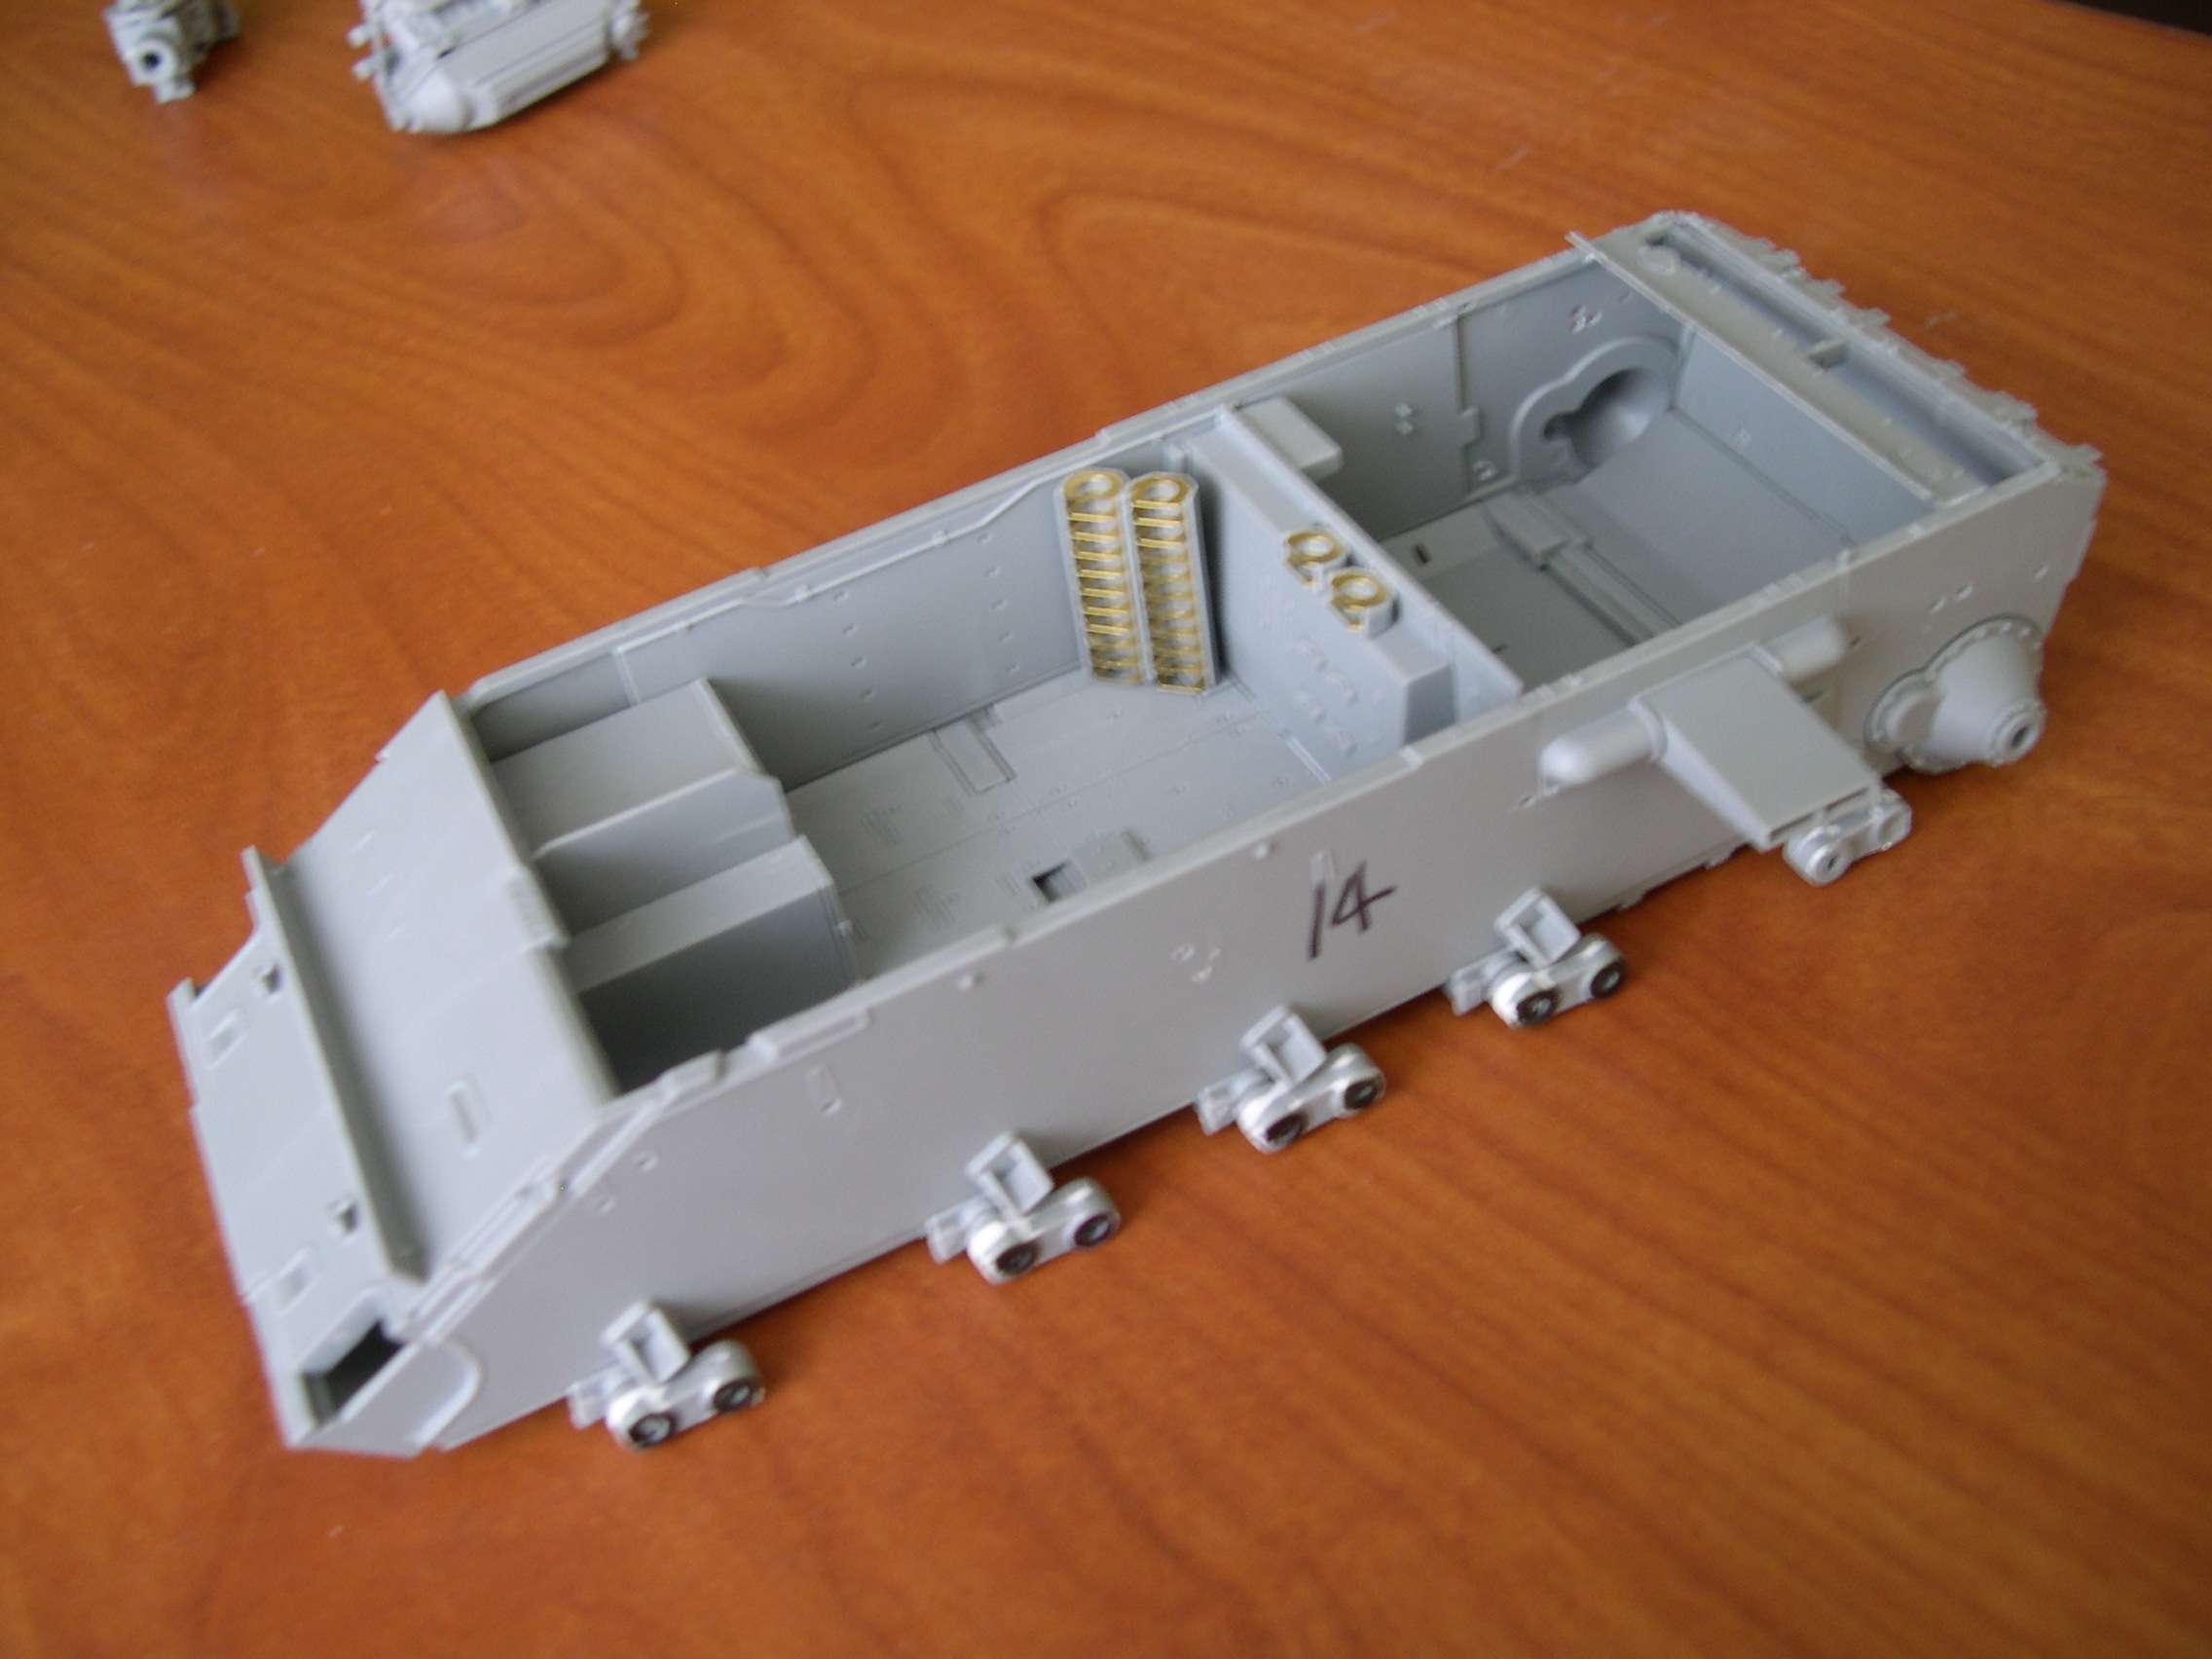
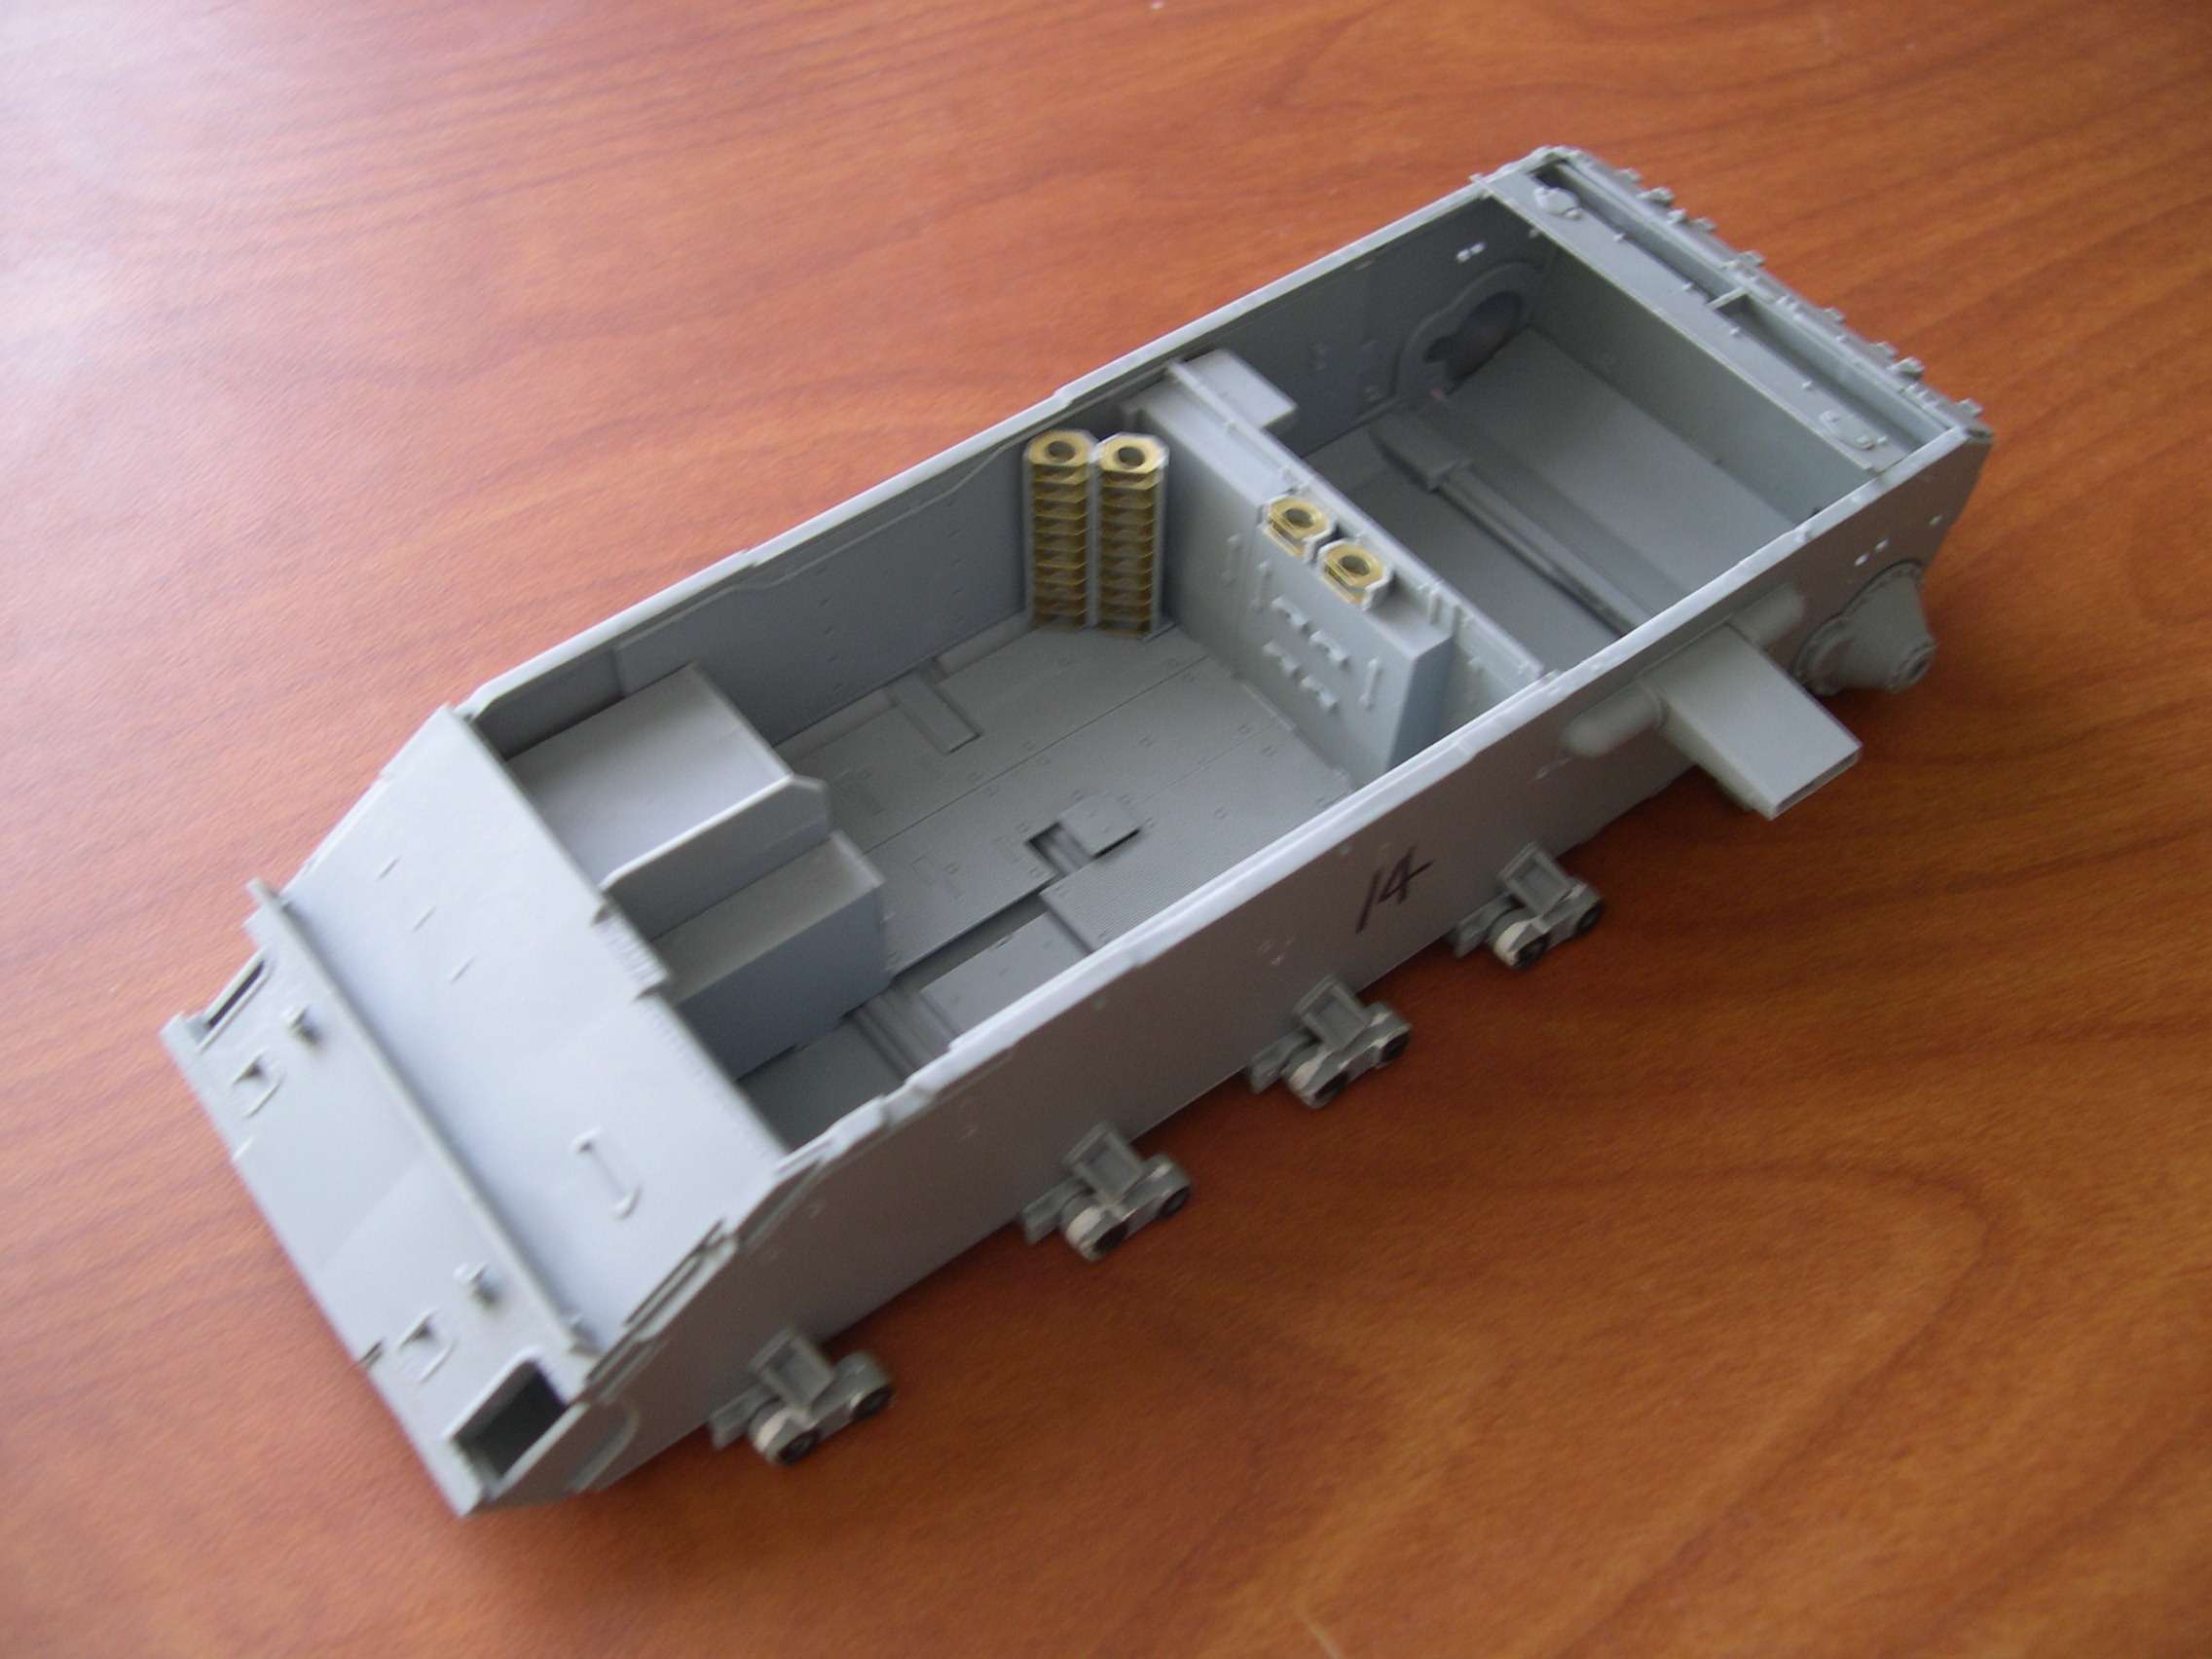
Anyway here's some of what I've gotten done on the hull. I really like the plastic and PE racks for the drum magazines for the MG:
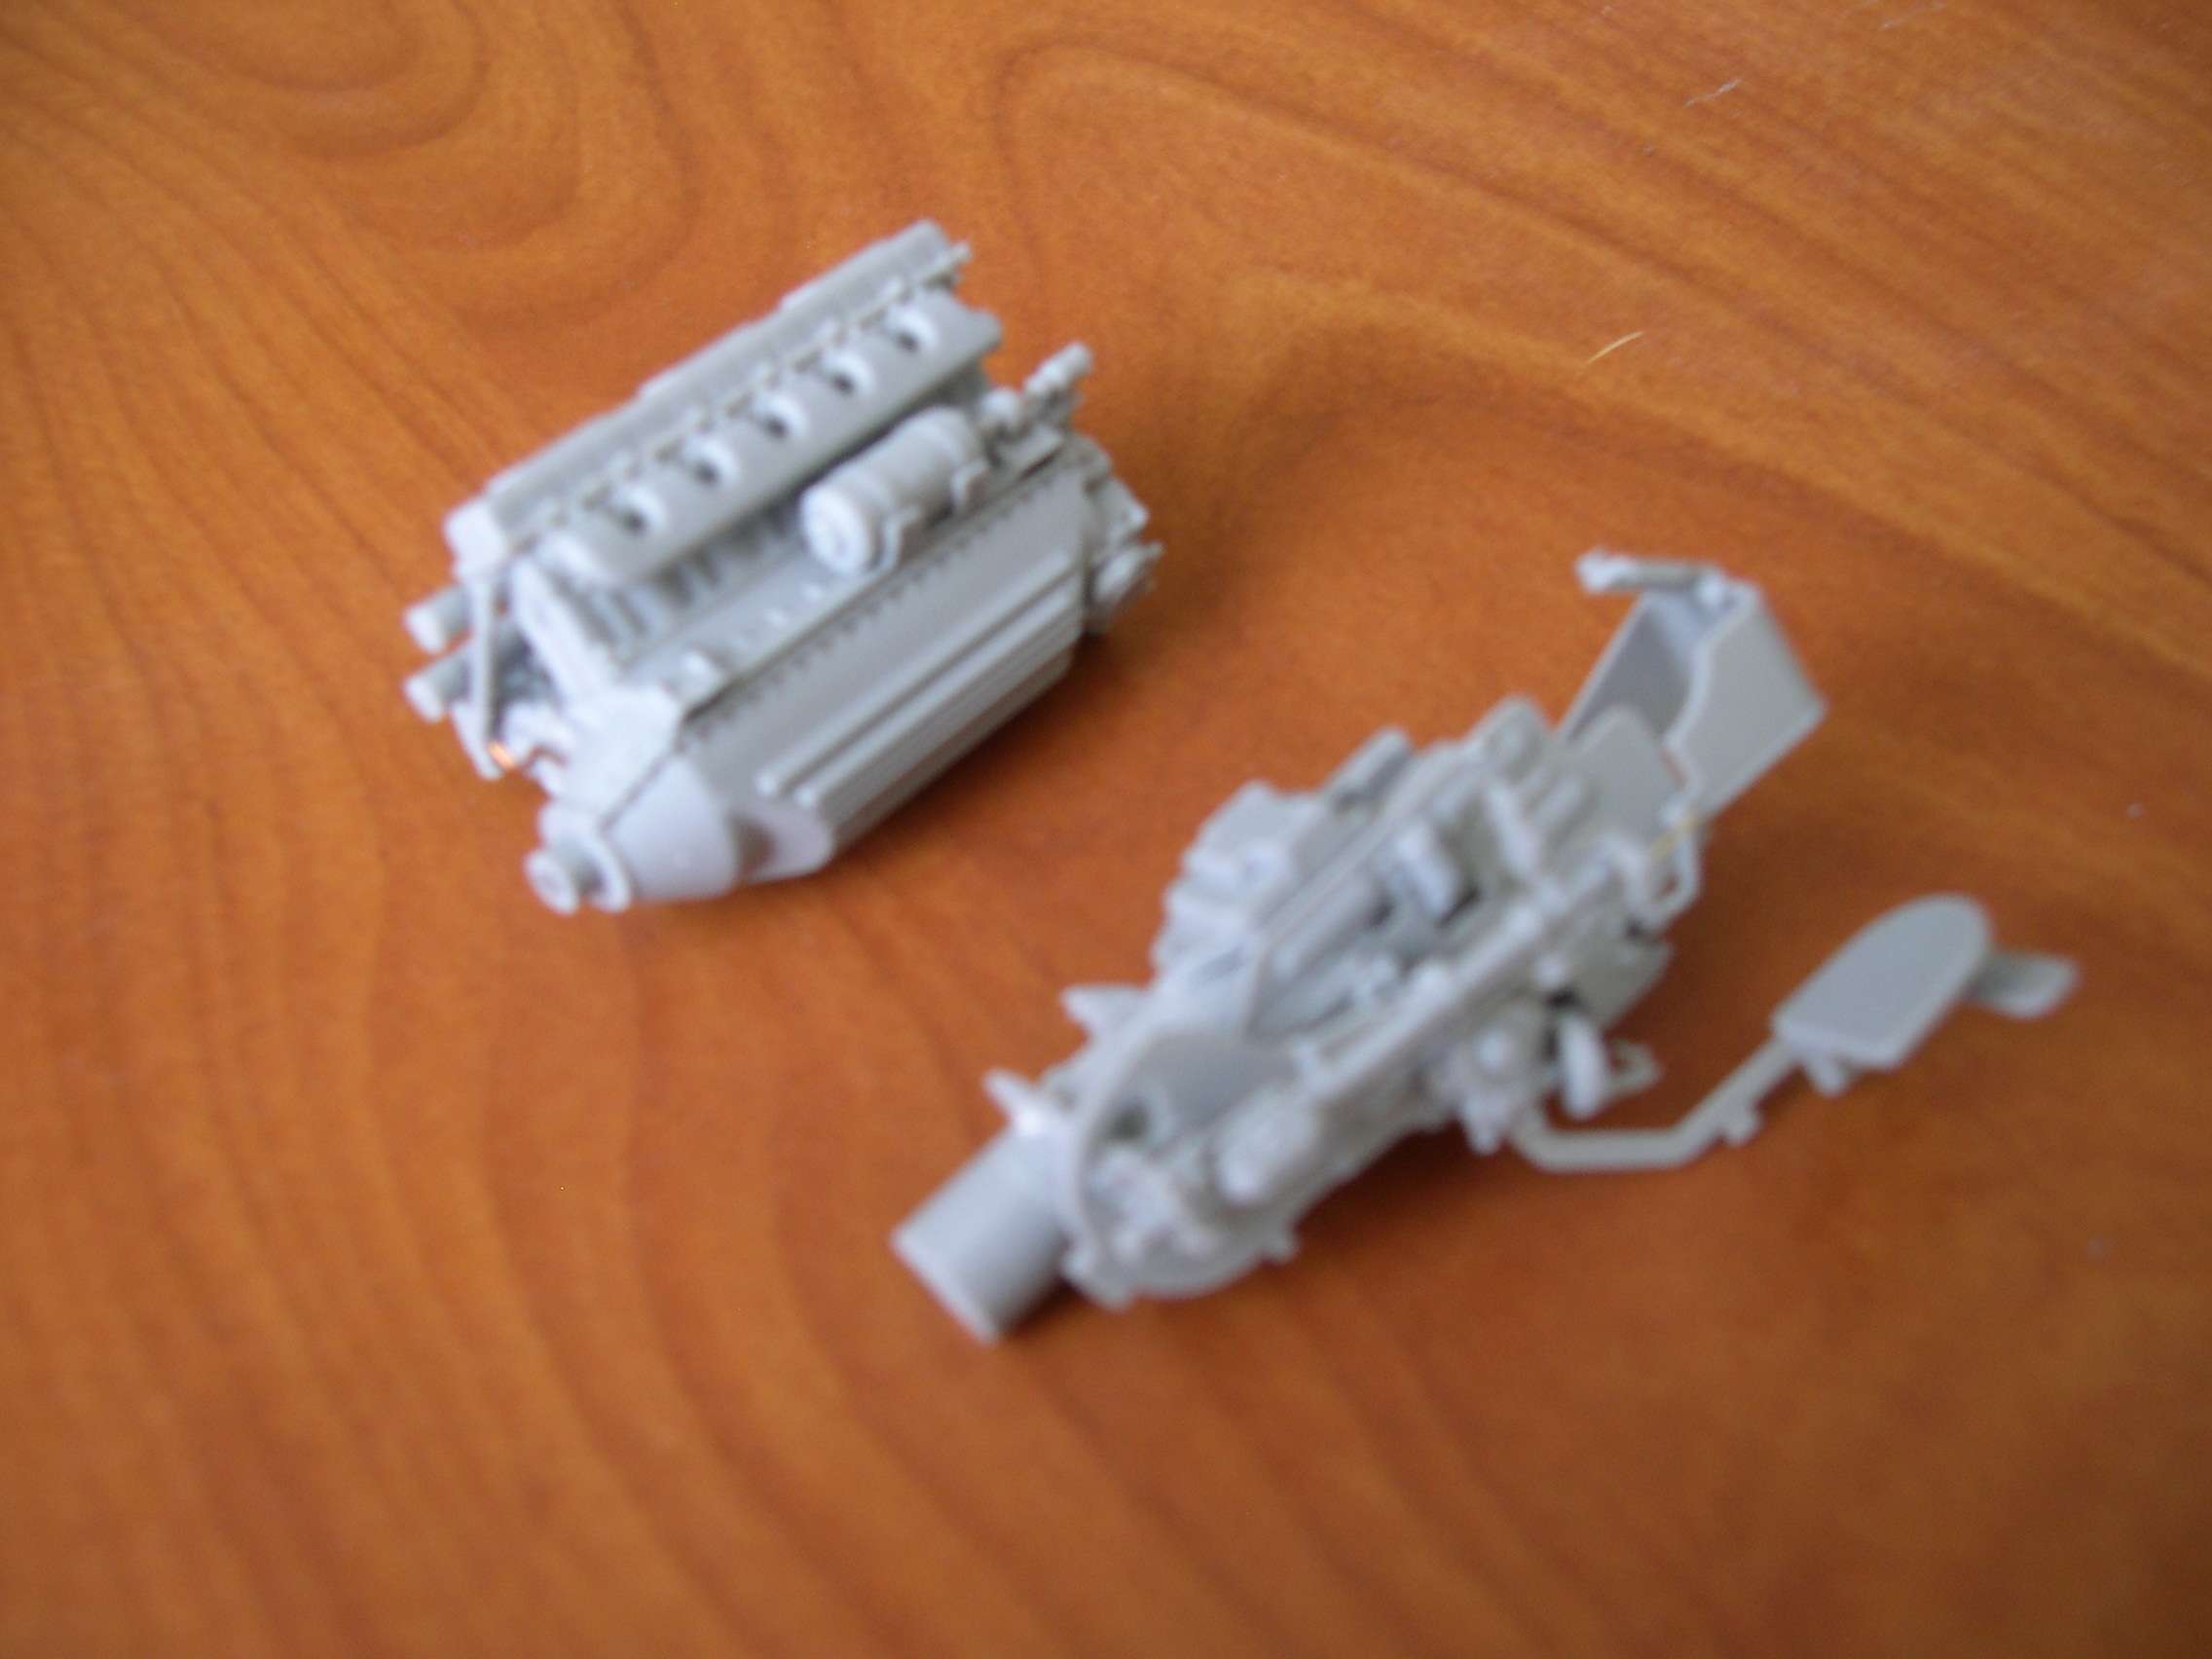
And the kit engine and gun breech. Sorry they're a little blurry, I don't have my camera mini-tripod with me:

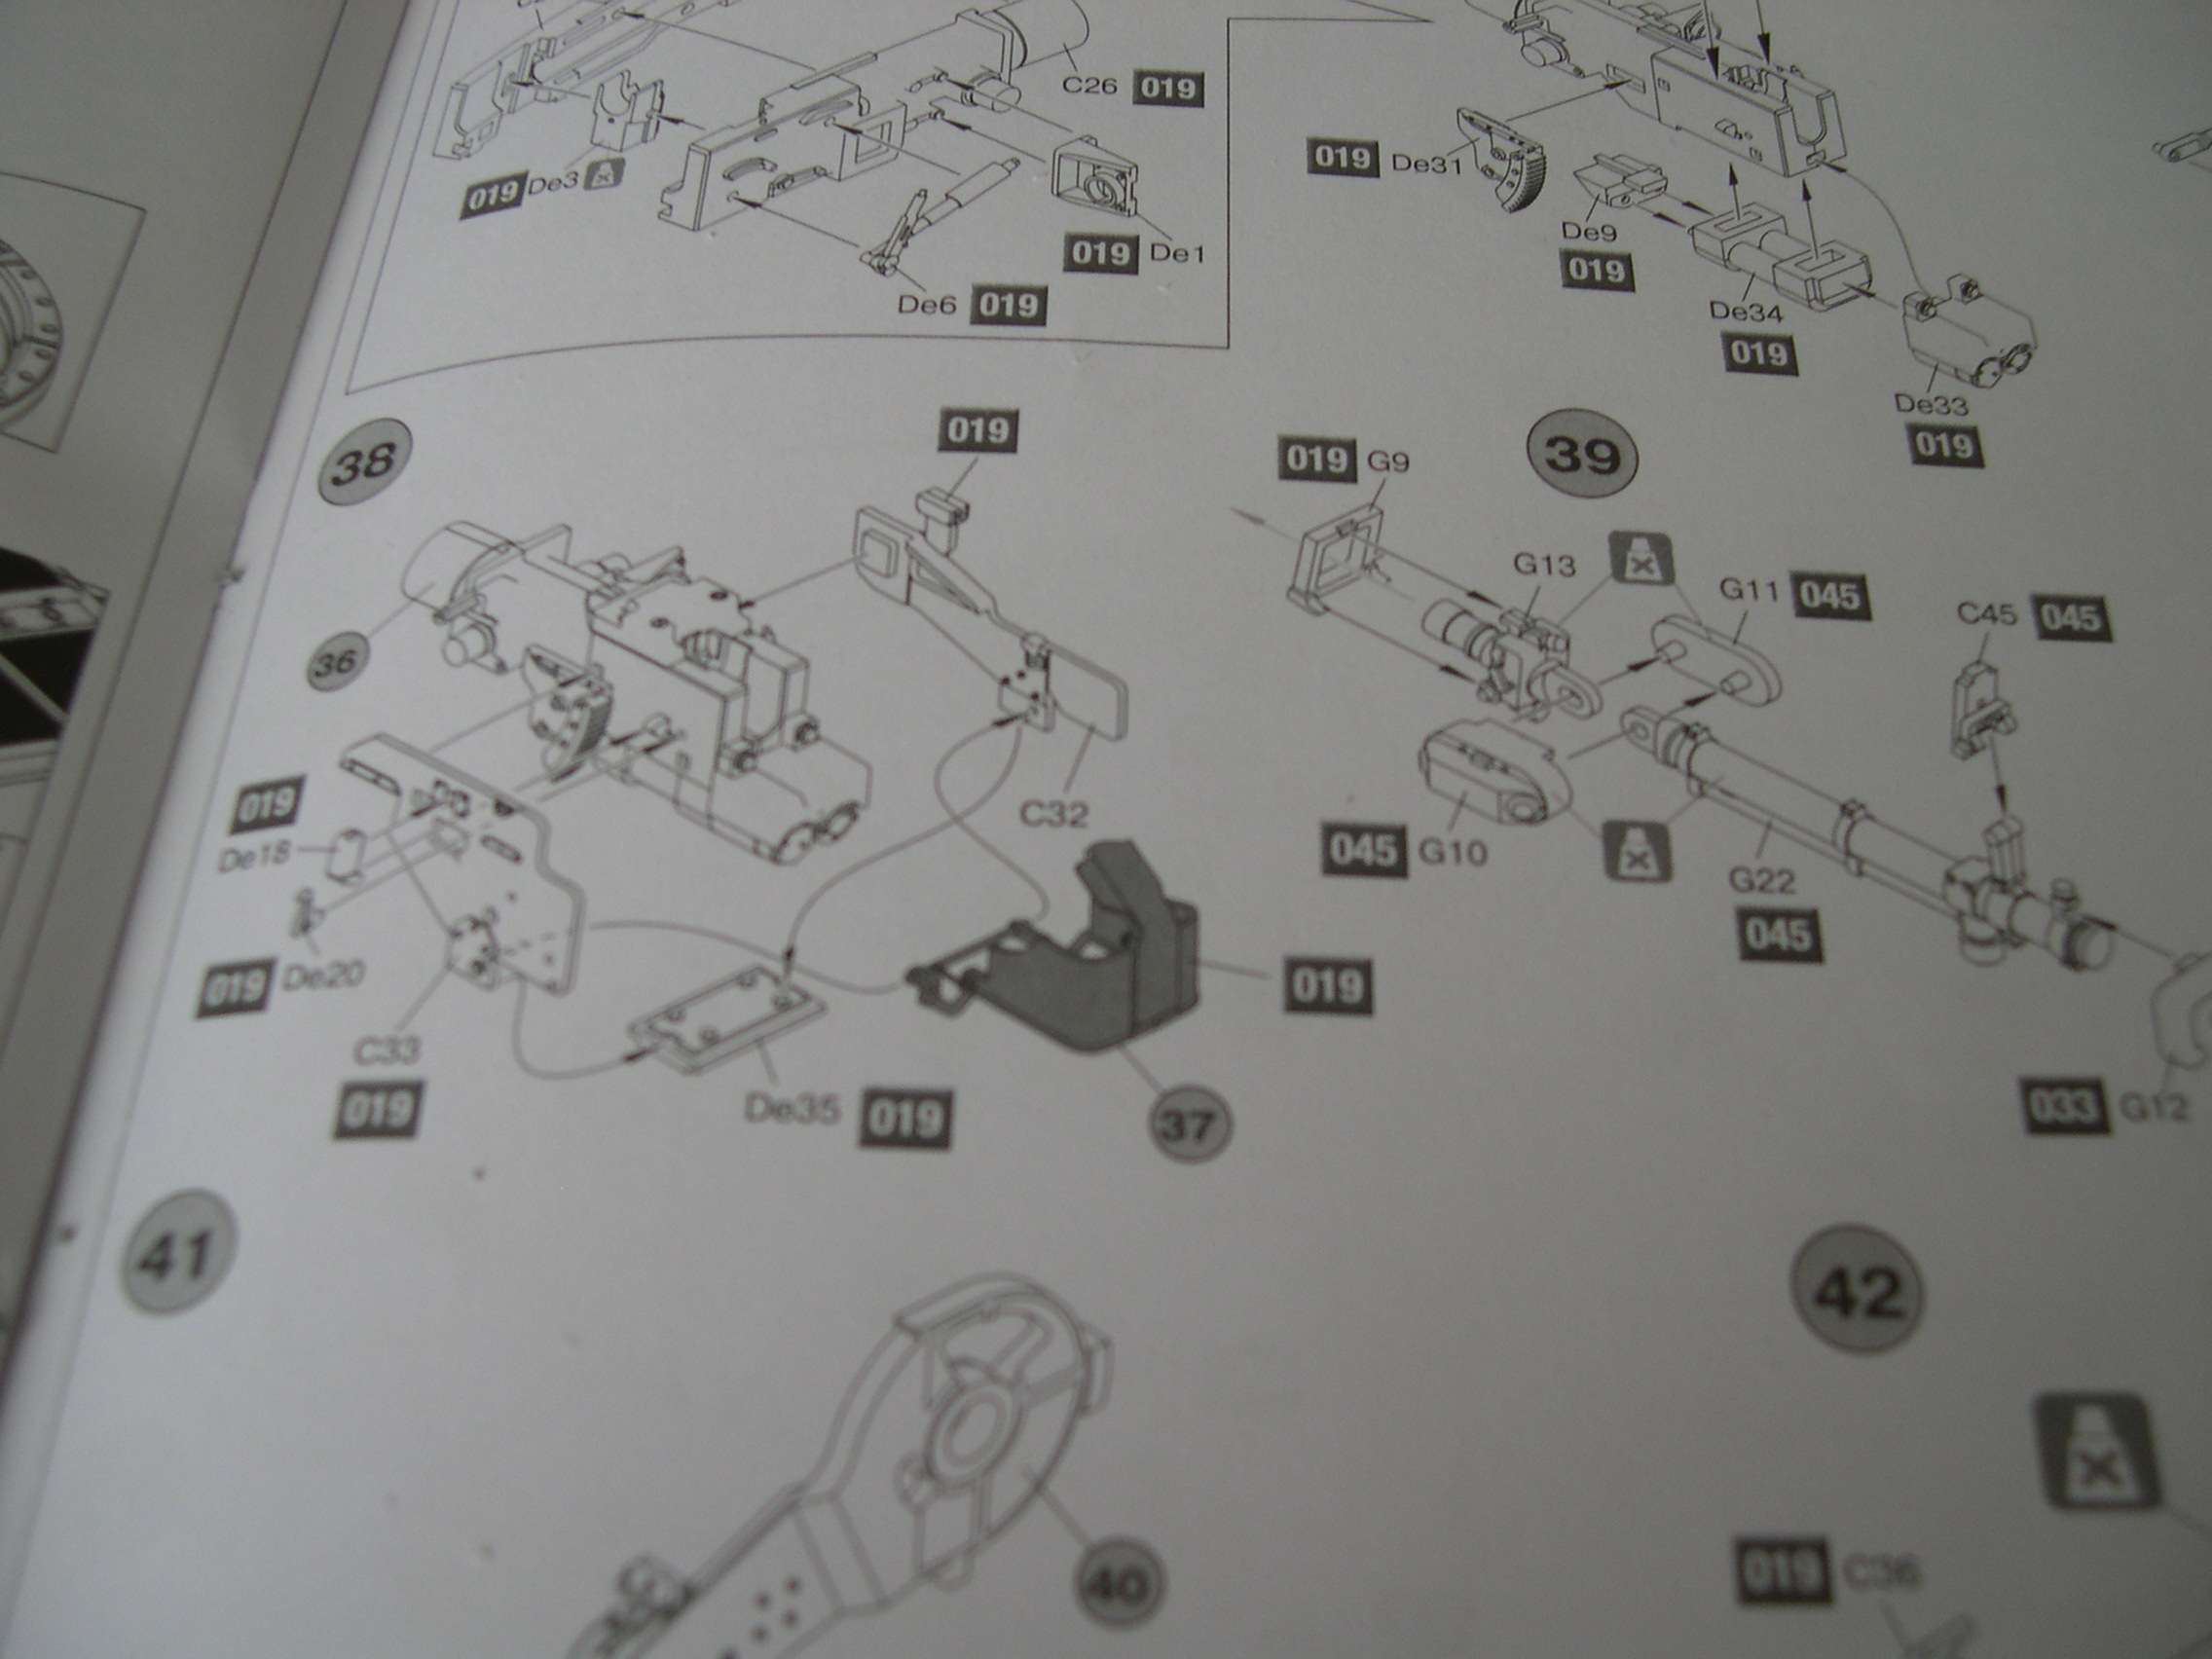
The instructions are intricate but clear, I've only had a few parts where I was unclear on what to do next. Really important since I'm having to go out of order on some stuff since I don't have any paint here to prime or paint the interior: