simpilot34
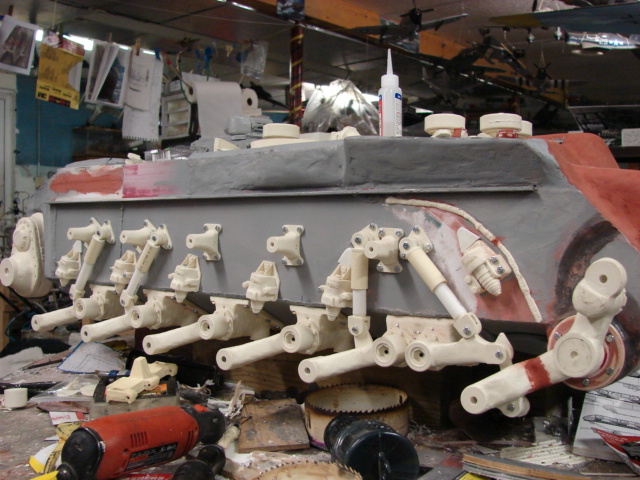
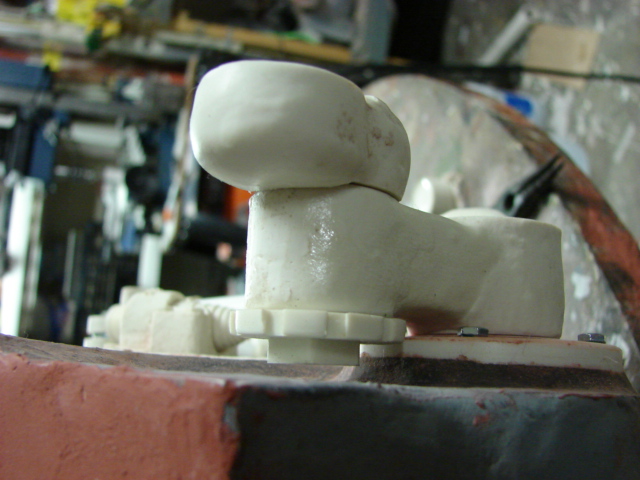
That is looking awesome mate!!!! PVC pipe for the shock uppers?
Thanks, the shocks are made out of two sizes of machined PVC pipe with cast resin end connectors.
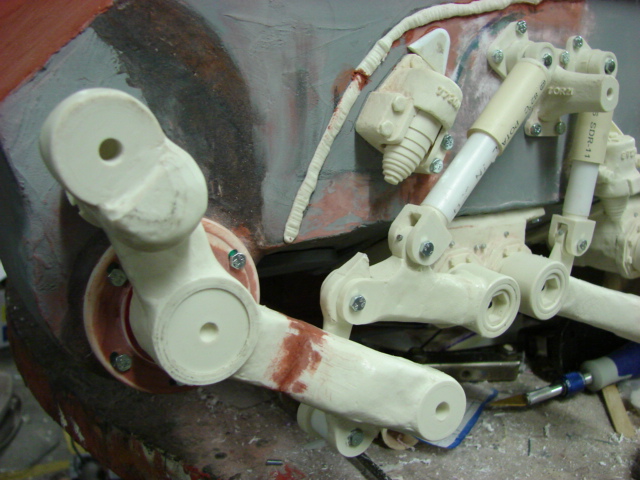
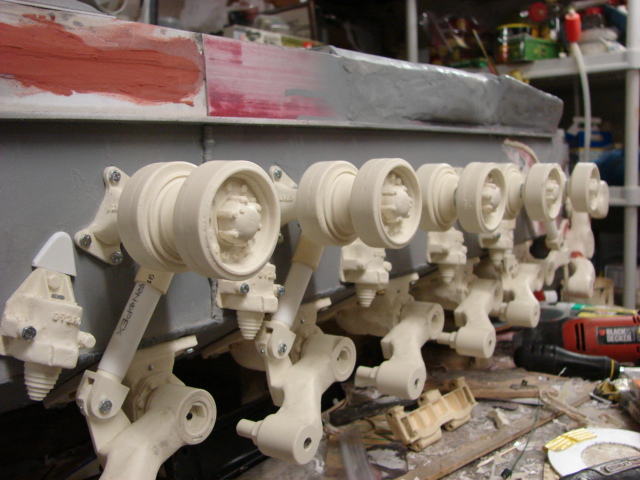
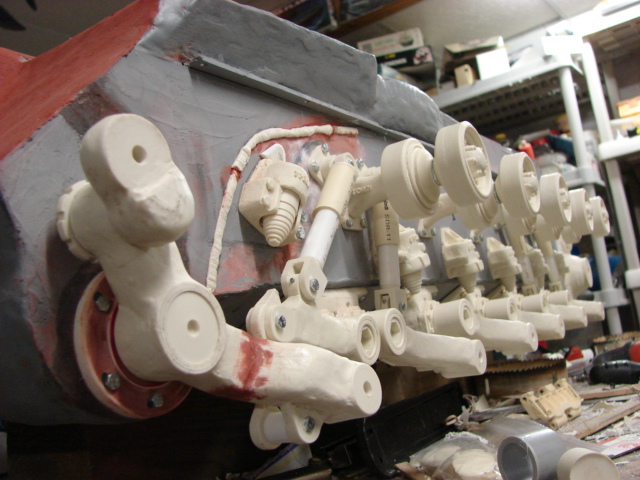
I have completed and installed the final swing arm suspension components.
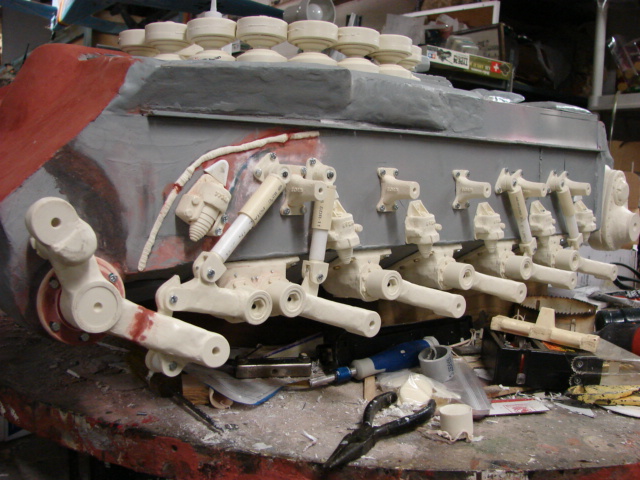
Before I was able to install any of the cluster components I needed to finish the front swing arm mount. Once complete I was then able to proceed with the installation
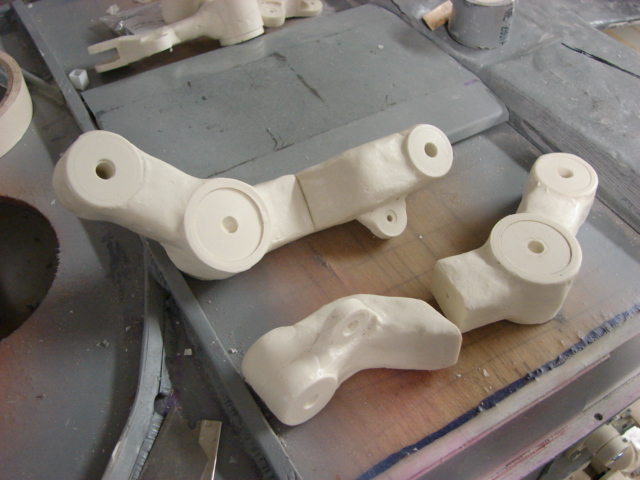
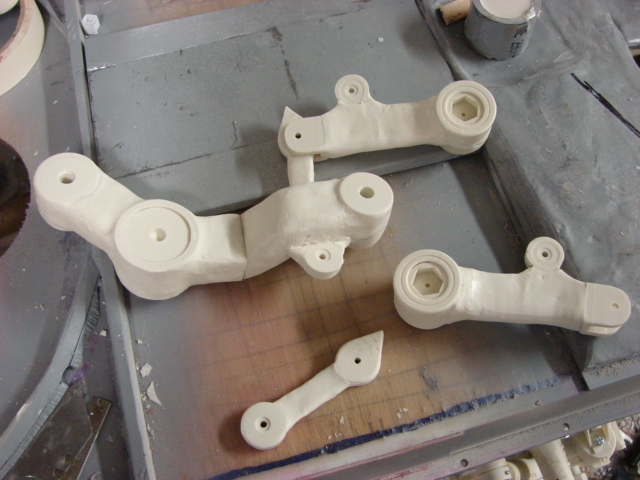
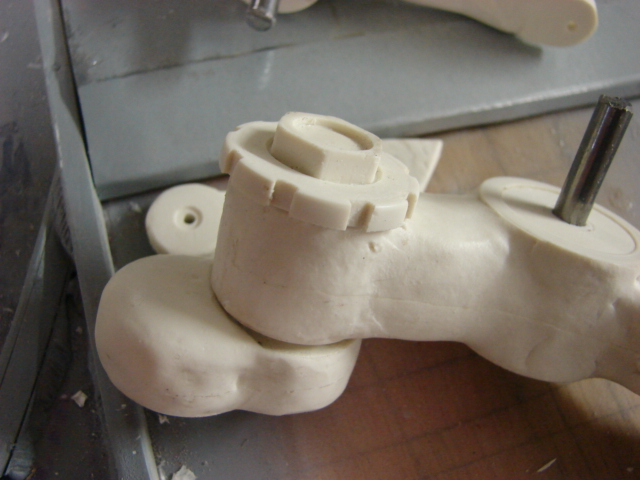
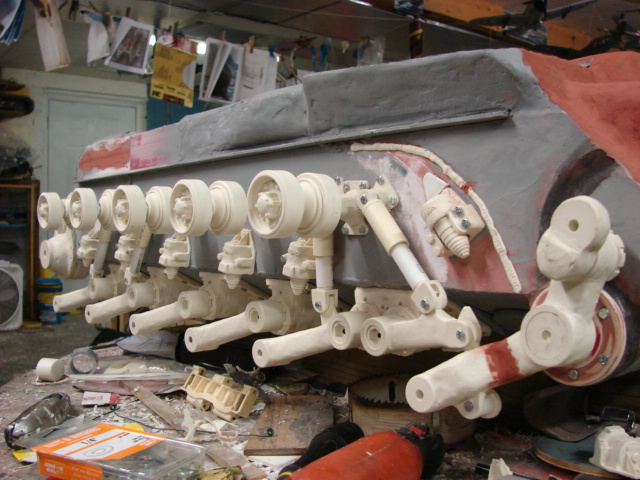
The cluster comprises of two swing arms and one shock absorber. The first road wheel and the front idler wheel are both mounted on the large swing arm. The second smaller swing arm connects to the bottom of the large swing arm and it is used for more tension and support for the large idler and road wheel swing arm. For added support the smaller swing arm has a shock absorber mounted to the top of the swing arm.
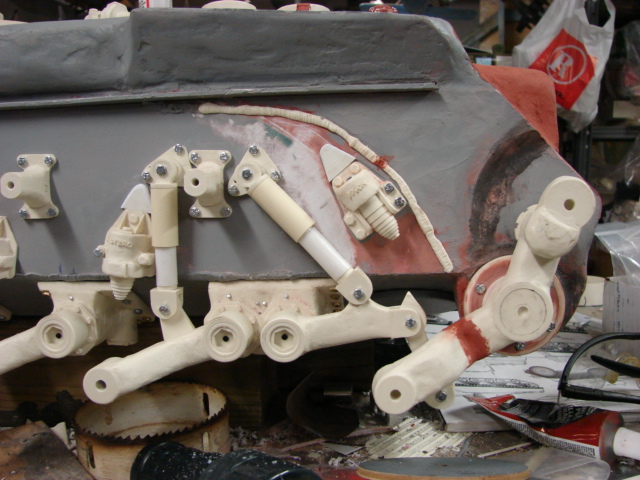
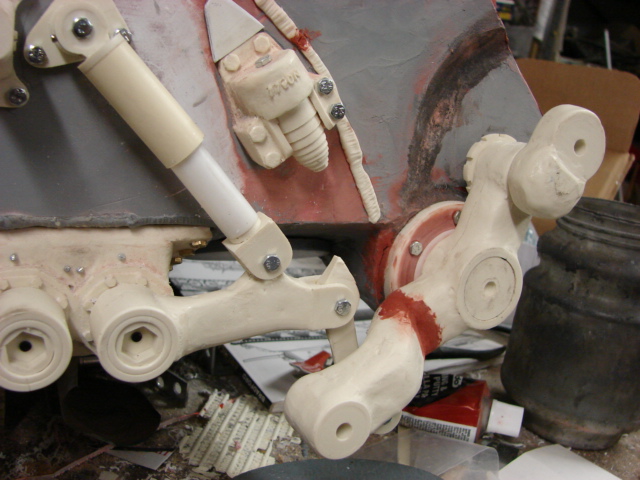
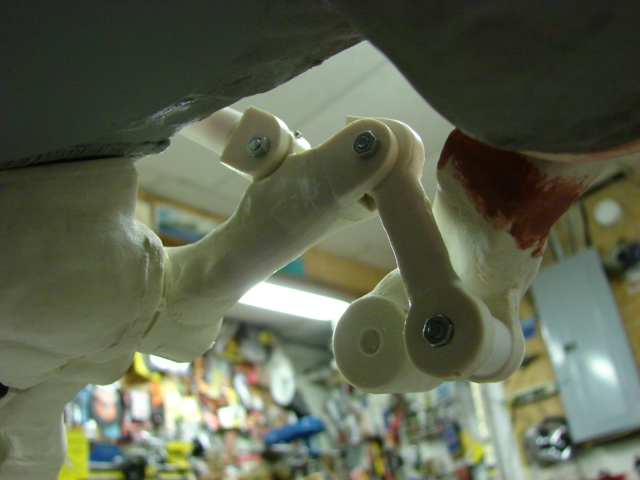
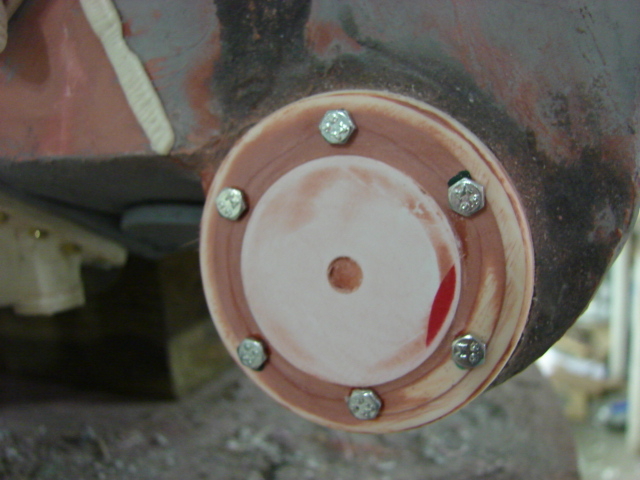
The front idler wheel connects to the swing arm with a smaller adjustable mount. On the real tank the mount is adjusted with a large hex nut and castle washer positioned on the rear portion of the large swing arm.
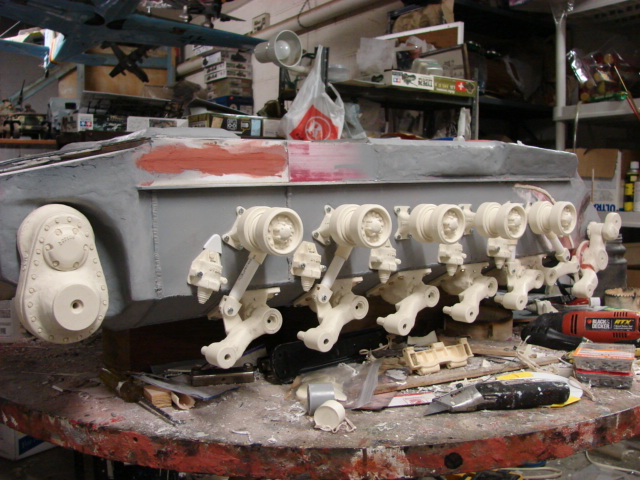
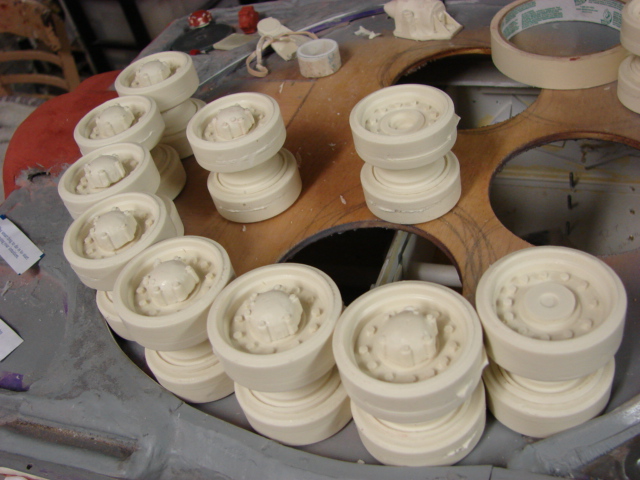
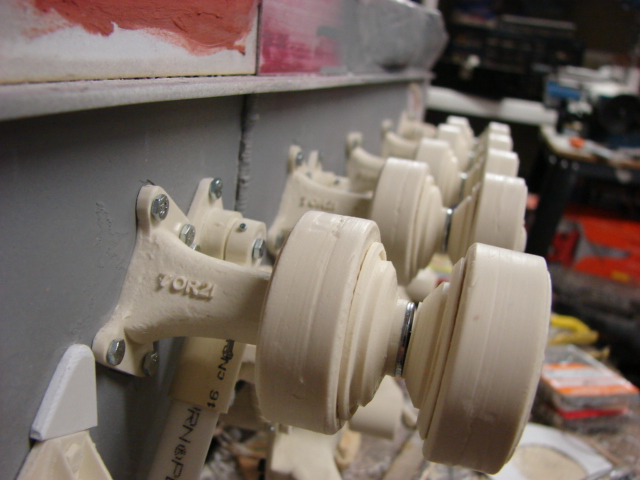
With the cluster and the suspension out of the way I have now started on the tank's running gear. I have already completed the tank's small return rollers.
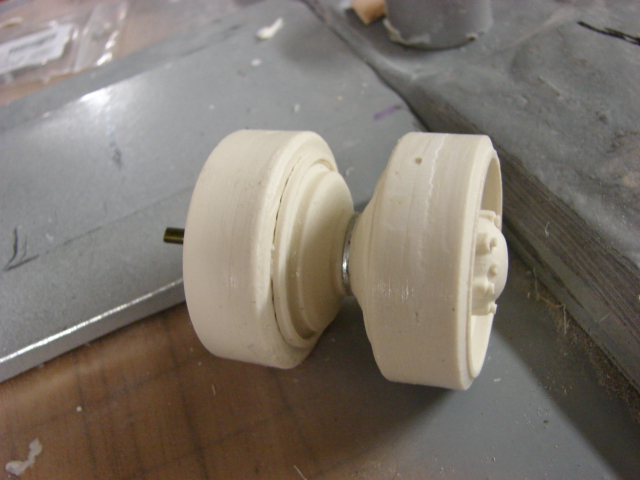
The M26 used the same return rollers found on the M4 Sherman HVSS suspension. The only difference is that the M26 used a different roller hub cap. I already offered the HVSS return roller wheels for the Sherman when I was building my T-28 super heavy tank, so I had a good starting point for the new wheels.
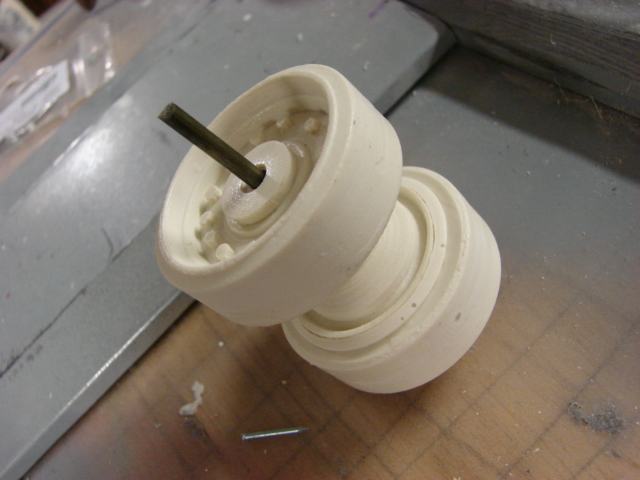
My first return roller wheels had the M4 HVSS style hub caps molded in. They also were casted flat with no back detailing or structure. While building this model I decided to retool my old return roller, with the back structure and detail molded in and with removable hub caps.
I currently have the M26 style hub caps mold created , and I have the M4 style hub caps on the way. Once ready the current M4 rollers will be replaced with the new tooled versions.
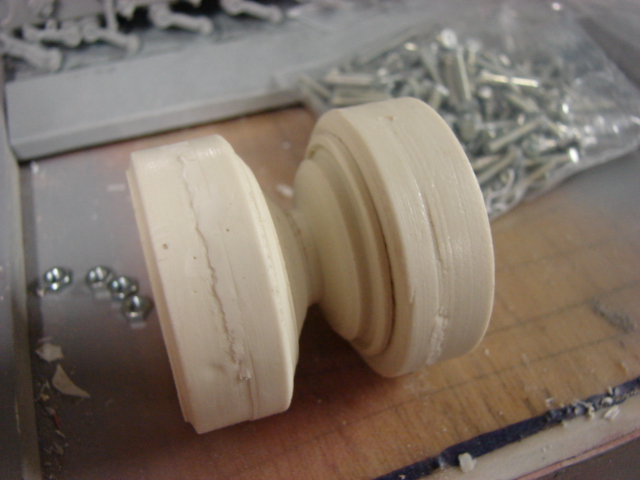
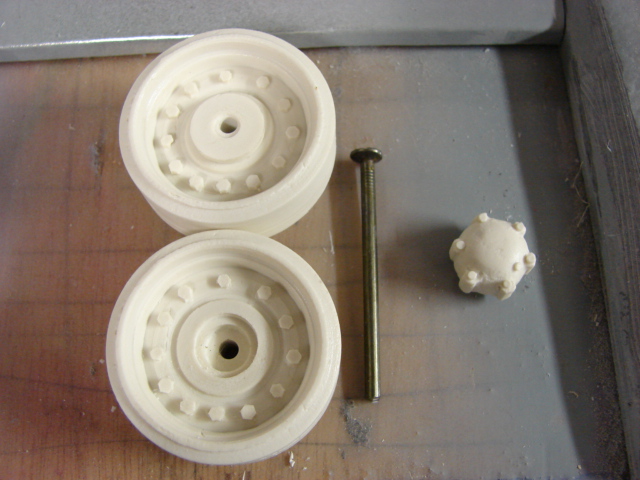
The separate hub cap allowed me to mold in a counter sunk divot into the road wheel center. This allows me to install the wheel with a broad head nail. The nail allows the wheel to be mounted securely, yet will allow the wheel to spin freely. The nail head is then concealed with the resin hub cap.
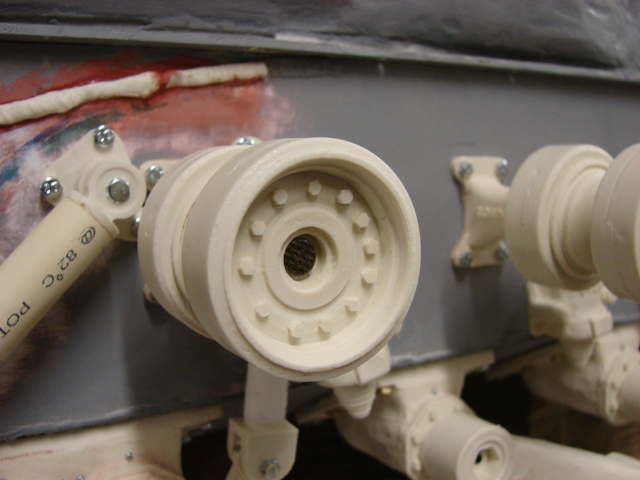
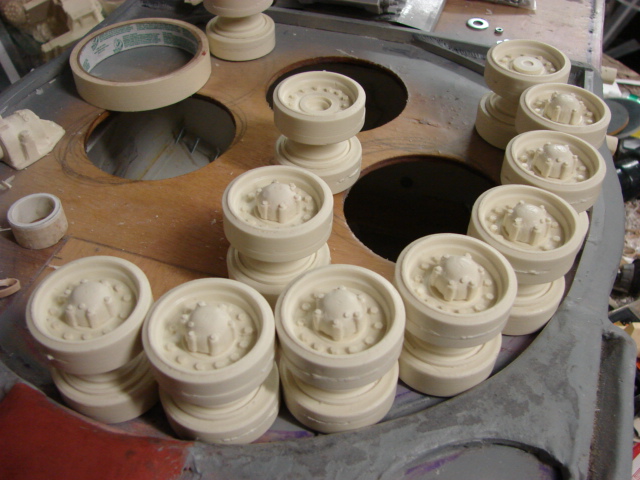
All of the return rollers have been installed and the model is starting to grow outward in it's appearance.

I was also able to add the final smoother cast texture to the front armored plate, more info to follow after the completion of the running gear!
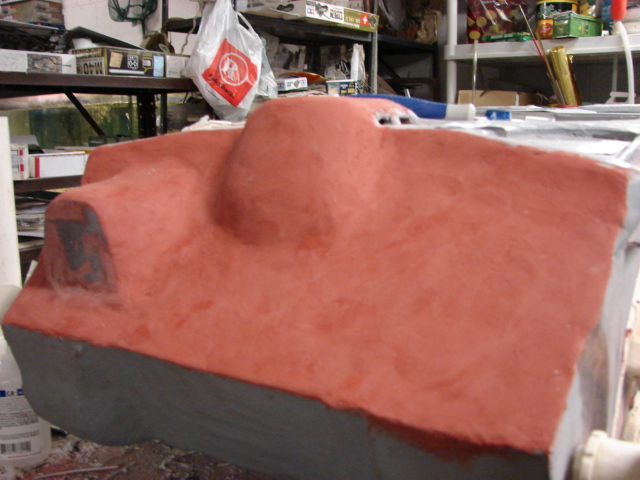
Currently I'm working on the tank's main road wheels. More info to follow! :D