If you are new to weathering, I'd say start by maybe drybrushing some silver onto handles or grab bars, or anything else humans will walk on, step, or touch on the tank. You can also use dark shades of black, gray, or brown tones to simulate smoke or soot stains, or fuel spills in the same way.
If you don't want the brand new, glossy, shiny factory tank look, you'll also need to make sure it has a good coat of flat clear on it. You can get flat clear lacquer in several different brands in a spray can, but I like the Model Master Flat. It used to be called Dullcote. Don't know if it still is. You can get it in the bottle, too, which is my preference as I like to airbrush it.
If you do have an airbrush, you can mix a lighter shade of your base color and mist it over the top of the tank. This helps blend things in and it can be useful in fading the decals a little bit for a more realistic appearance. I will also mix a shade of paint to simulate the type of terrain you think your tank will have operated in. Red earth, sand, darker wetter earth, etc. I airbrush that in light coats around the tracks, road wheels, and up under the skirts. Also under the front glacis and at the rear. Think about how the tank would kick up dust while it drives, even if on a relatively clean road.
I would say the above are very basic, sort of beginner weathering tips. There's a whole host of weathering powders and whatnot you can buy and use for more realism, but you may want to get the basics down before you start shelling out cash for stuff like that.
Hope this helps.
--Chris
edit--here's a pic of a Soviet vehicle I did a while back. You can see a dusting of dirt around the lower edges, and you'll see some silver wear on the shovel. The biggest thing is just to think about how the vehicle is used and what it sees:
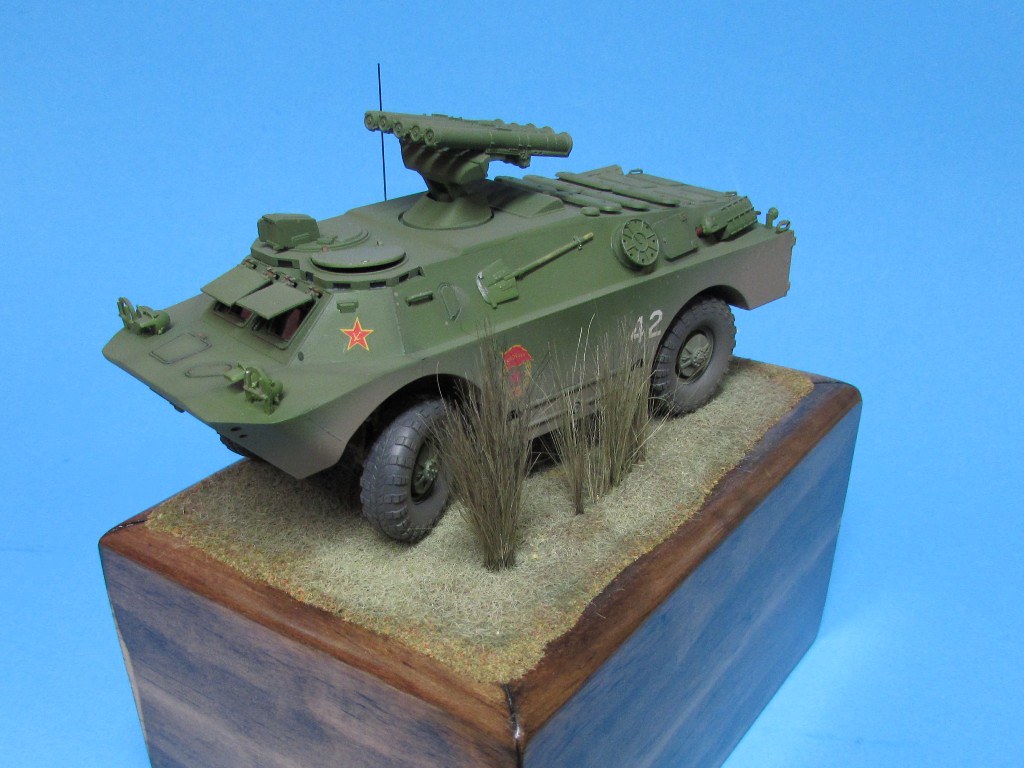 . by theirishavenger, on Flickr