SEARCH FINESCALE.COM

Enter keywords or a search phrase below:

1:35 King Tiger by Tamiya

2580 views
9 replies
1 rating 2 rating 3 rating 4 rating 5 rating
  • Member since
    September 2018
Posted by Point Alpha on Thursday, November 8, 2018 4:32 PM

  • Member since
    September 2018
Posted by Point Alpha on Saturday, October 13, 2018 8:57 AM
Thanks a lot! glad you like it.. Great name by the way

  • Member since
    June 2004
  • From: East Stroudsburg, PA
Posted by TigerII on Friday, October 12, 2018 7:38 PM

Hey Lars, thanks for the tag.

The only thing I can say about this KT is 'great'. As you've responded earlier regarding the track sag and grills you have done your research. I checked out the weathering, leaves and camo and its in the up-close pics is where I can see that the plastic looks like heavy metal. So again, great job.

Achtung Panzer! Colonel General Heinz Guderian
  • Member since
    September 2018
Posted by Point Alpha on Friday, October 12, 2018 11:40 AM
Thanks a lot Gamera! Thank you aswell hobbie! The pressure is definetly important, if you are not quite sure where the sweetspot is, then just test it on an old piece of plastic etc.. It would be great to put it in a diorama, i have never made one before, but i would like to try!

  • Member since
    May 2016
Posted by Hobbie on Friday, October 12, 2018 11:18 AM

Splendid job! I'm taking note of lowering the airbrush air pressure, I forgot to dabble with it on my last build and had a hard time to get a precise work. Looking forward to your next! Any diorama in the works or will you just build it as a stand alone?

Arguing with an engineer is like wrestling with a pig in the mud : after a while, you realize the pig likes it.

  • Member since
    November 2009
  • From: SW Virginia
Posted by Gamera on Friday, October 12, 2018 11:16 AM

Love how she came out! Excellent work! The camo looks fantastic! 

"I dream in fire but work in clay." -Arthur Machen


  • Member since
    September 2018
Posted by Point Alpha on Friday, October 12, 2018 8:39 AM

Thanks for the feedback!

Tigerman, i was also thinking the same about the tracks, but as i often do, i looked at a lot of pictures of the real vehicle and you will see that the track does not hit the roadwheels until the 2nd or 3rd one. I did not quite like the grills that came in the kit, yet again i looked at a lot of pictures, and in half of them the tank did not have any grills at all, so i decided to replicate that, i like the look of it.

Keavdog, thanks a lot! I did the camo with a double action airbrush, the sparmax sp35.. I did a bit of a mistake with the thinning on the black base coat, so the paint is a bit thicker than it should have been... The satin varnish helped it out a lot in the end however.. The flecks were simply made using the 3 colors in the camo, and applied with a very fine tamiya detail brush.

  • Member since
    April 2003
  • From: USA
Posted by keavdog on Friday, October 12, 2018 12:20 AM

That looks great Lars.  Did you do the camo with a single action or double action brush?  I'm not an armor modeler but appreciate the work and skills.  How do you do the light flecks of tan, green and brown? 

Thanks,

John

  • Member since
    March 2003
  • From: Rain USA, Vancouver WA
Posted by tigerman on Thursday, October 11, 2018 11:44 PM

Very solid build Lars. You did a great job on the ambush-pattern. I also like the fact that you didn't over-weather it. The only thing that I might have done is to glue the tracks down on the first road wheel to get a tighter track sag and added engine grills. Other then that, I look forward to your next build!

   http://i7.photobucket.com/albums/y269/wing_nut_5o/PANZERJAGERGB.jpg

 Eric 

  • Member since
    September 2018
1:35 King Tiger by Tamiya
Posted by Point Alpha on Thursday, October 11, 2018 1:31 PM

Hello everyone, 

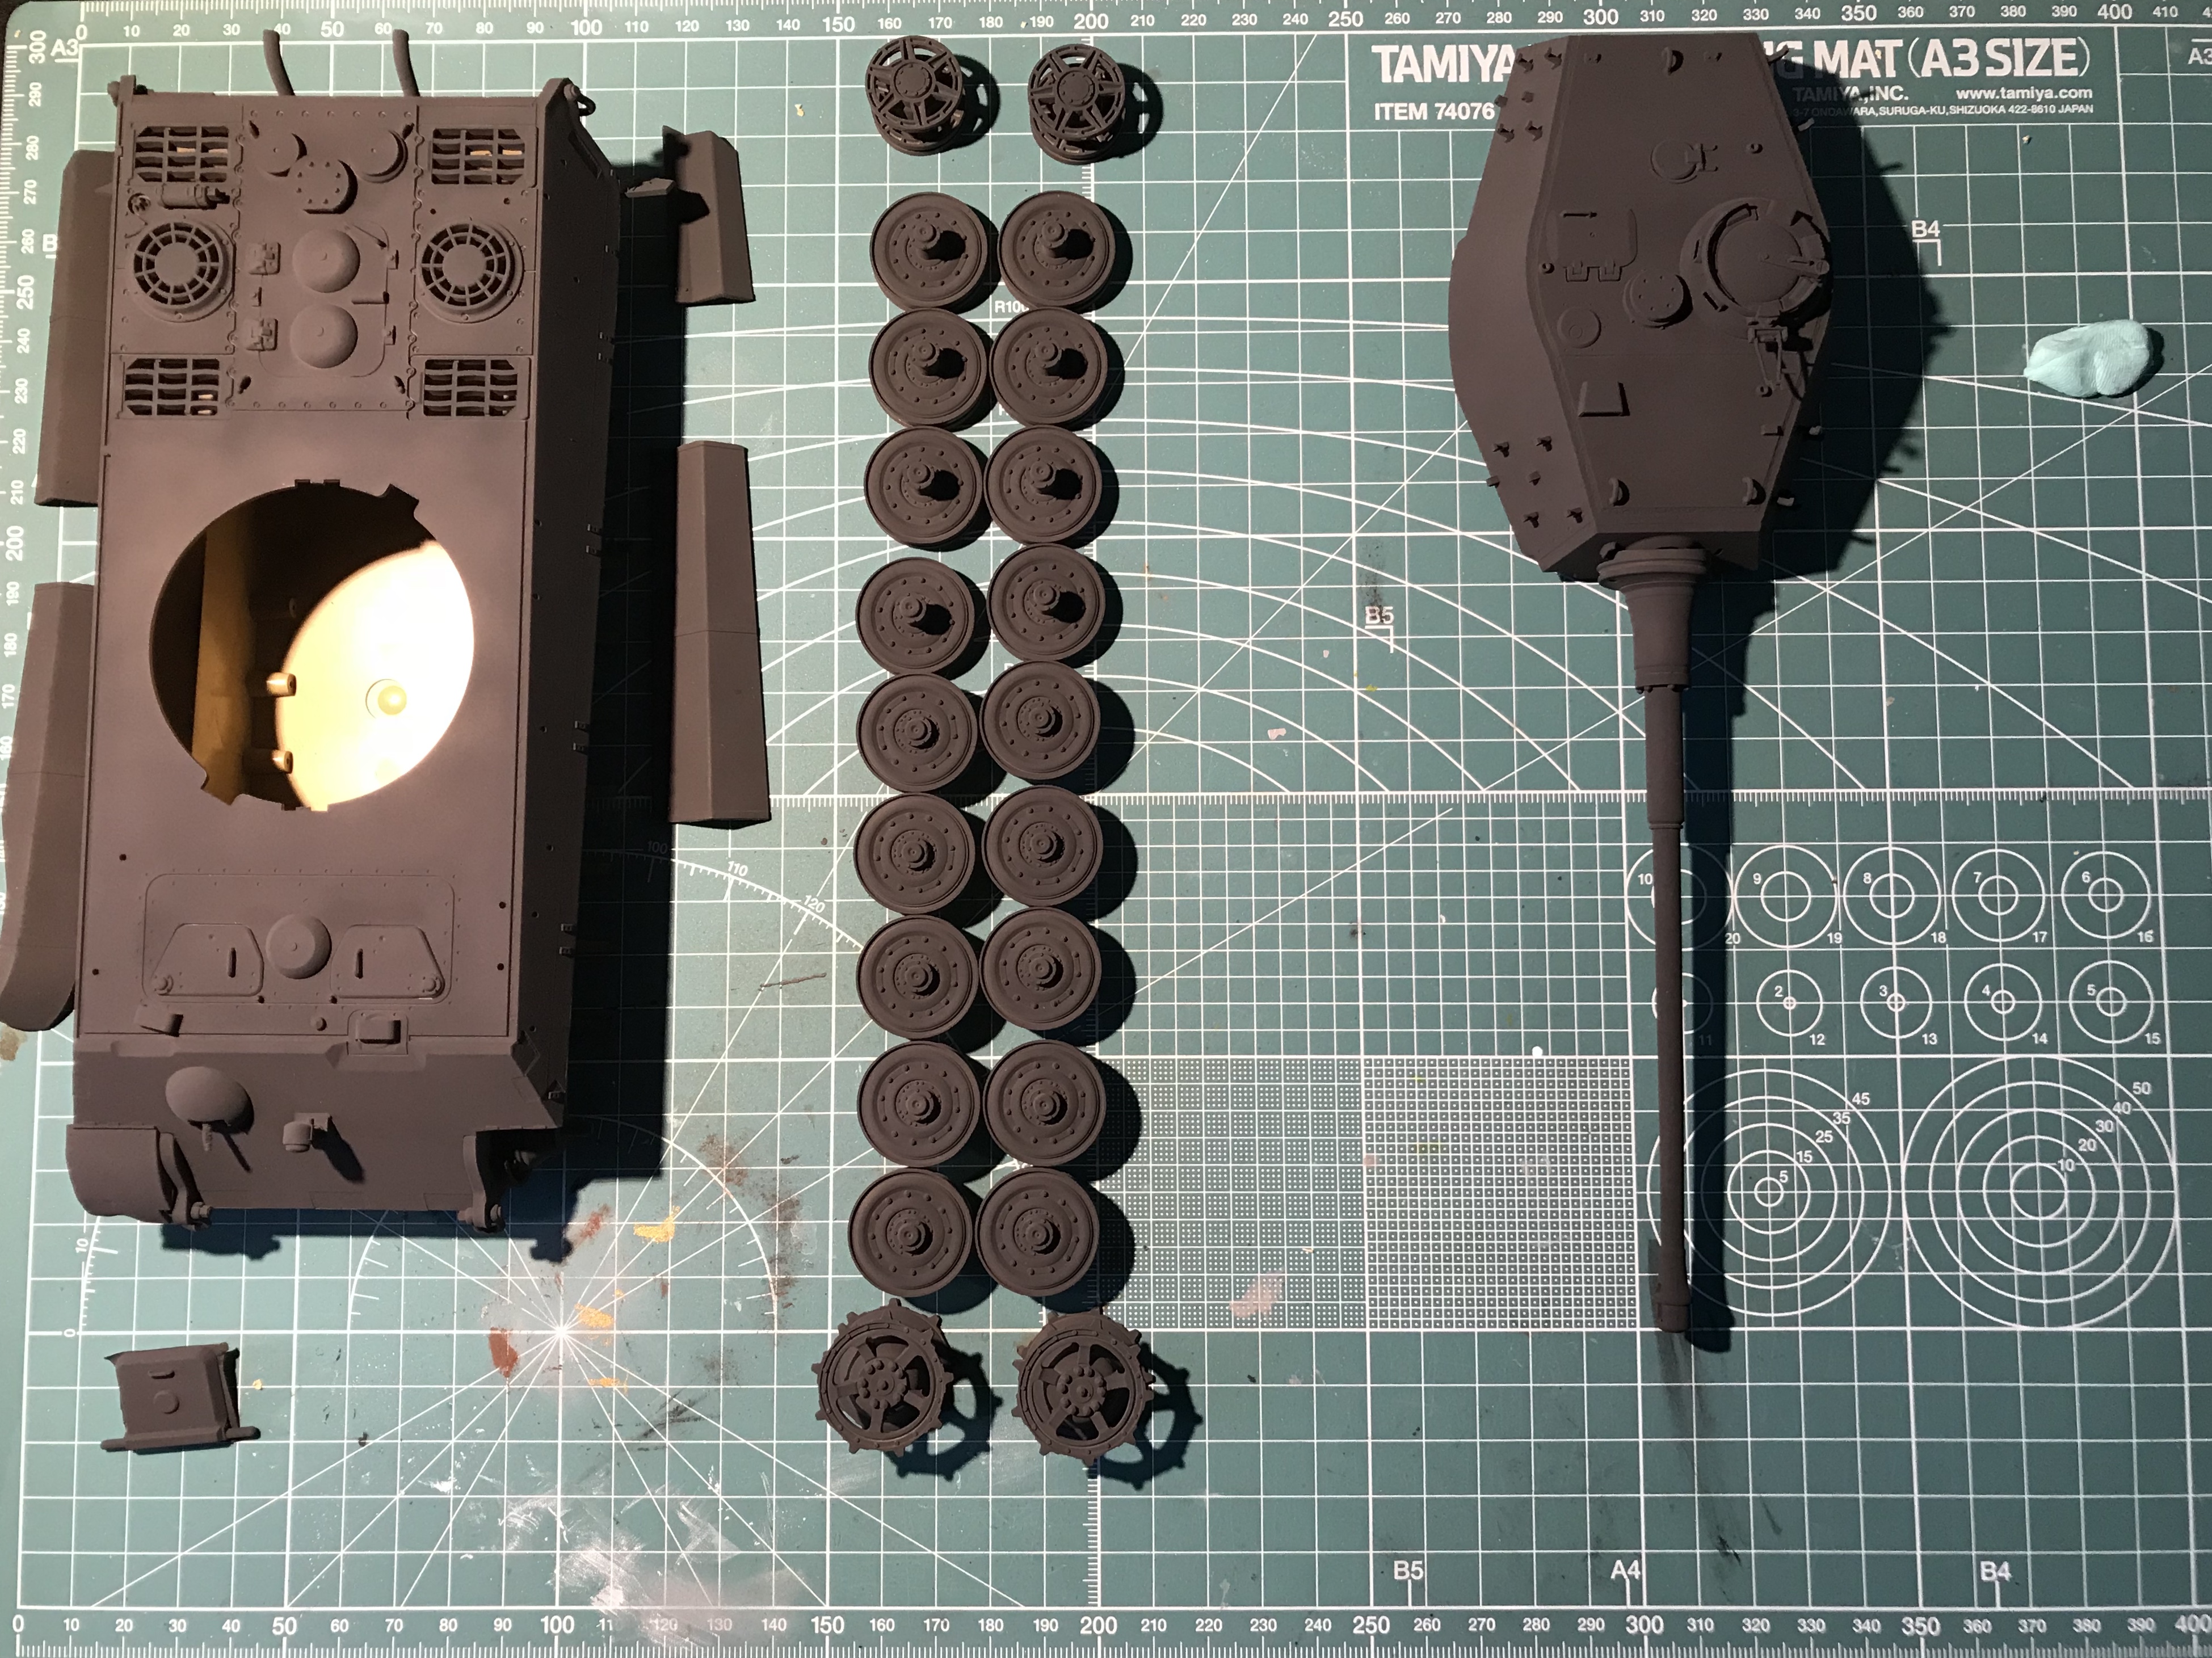
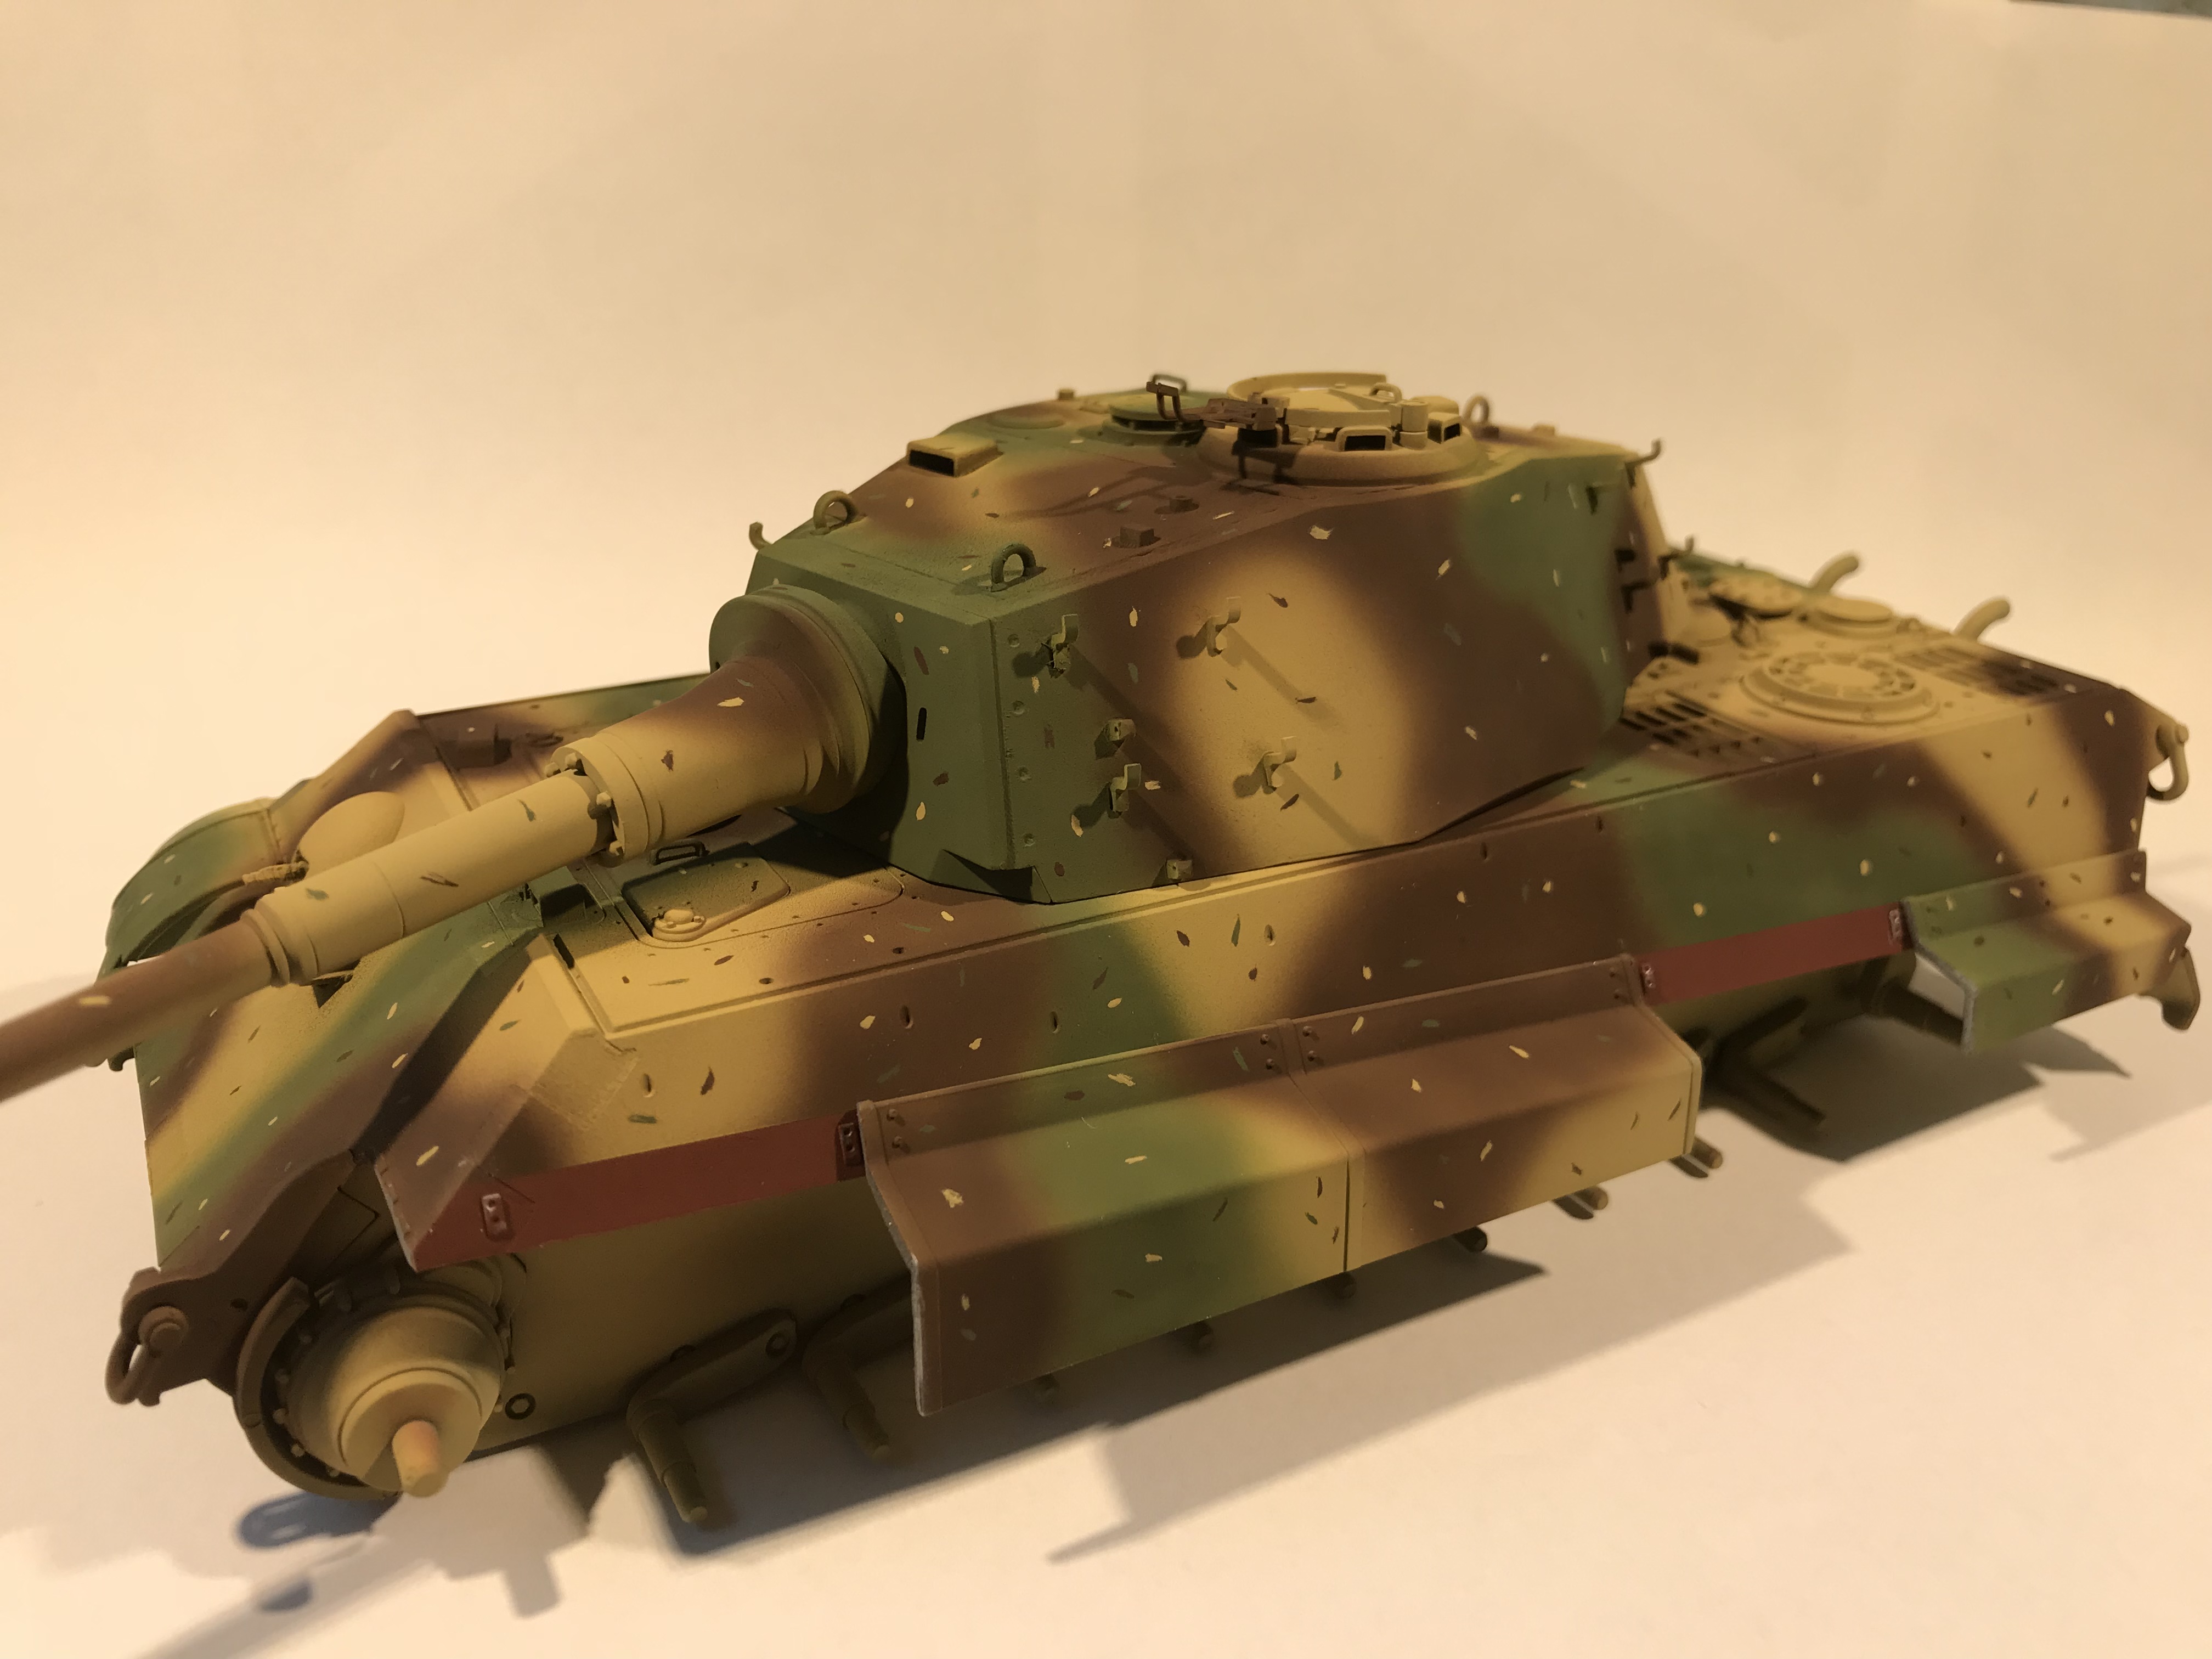
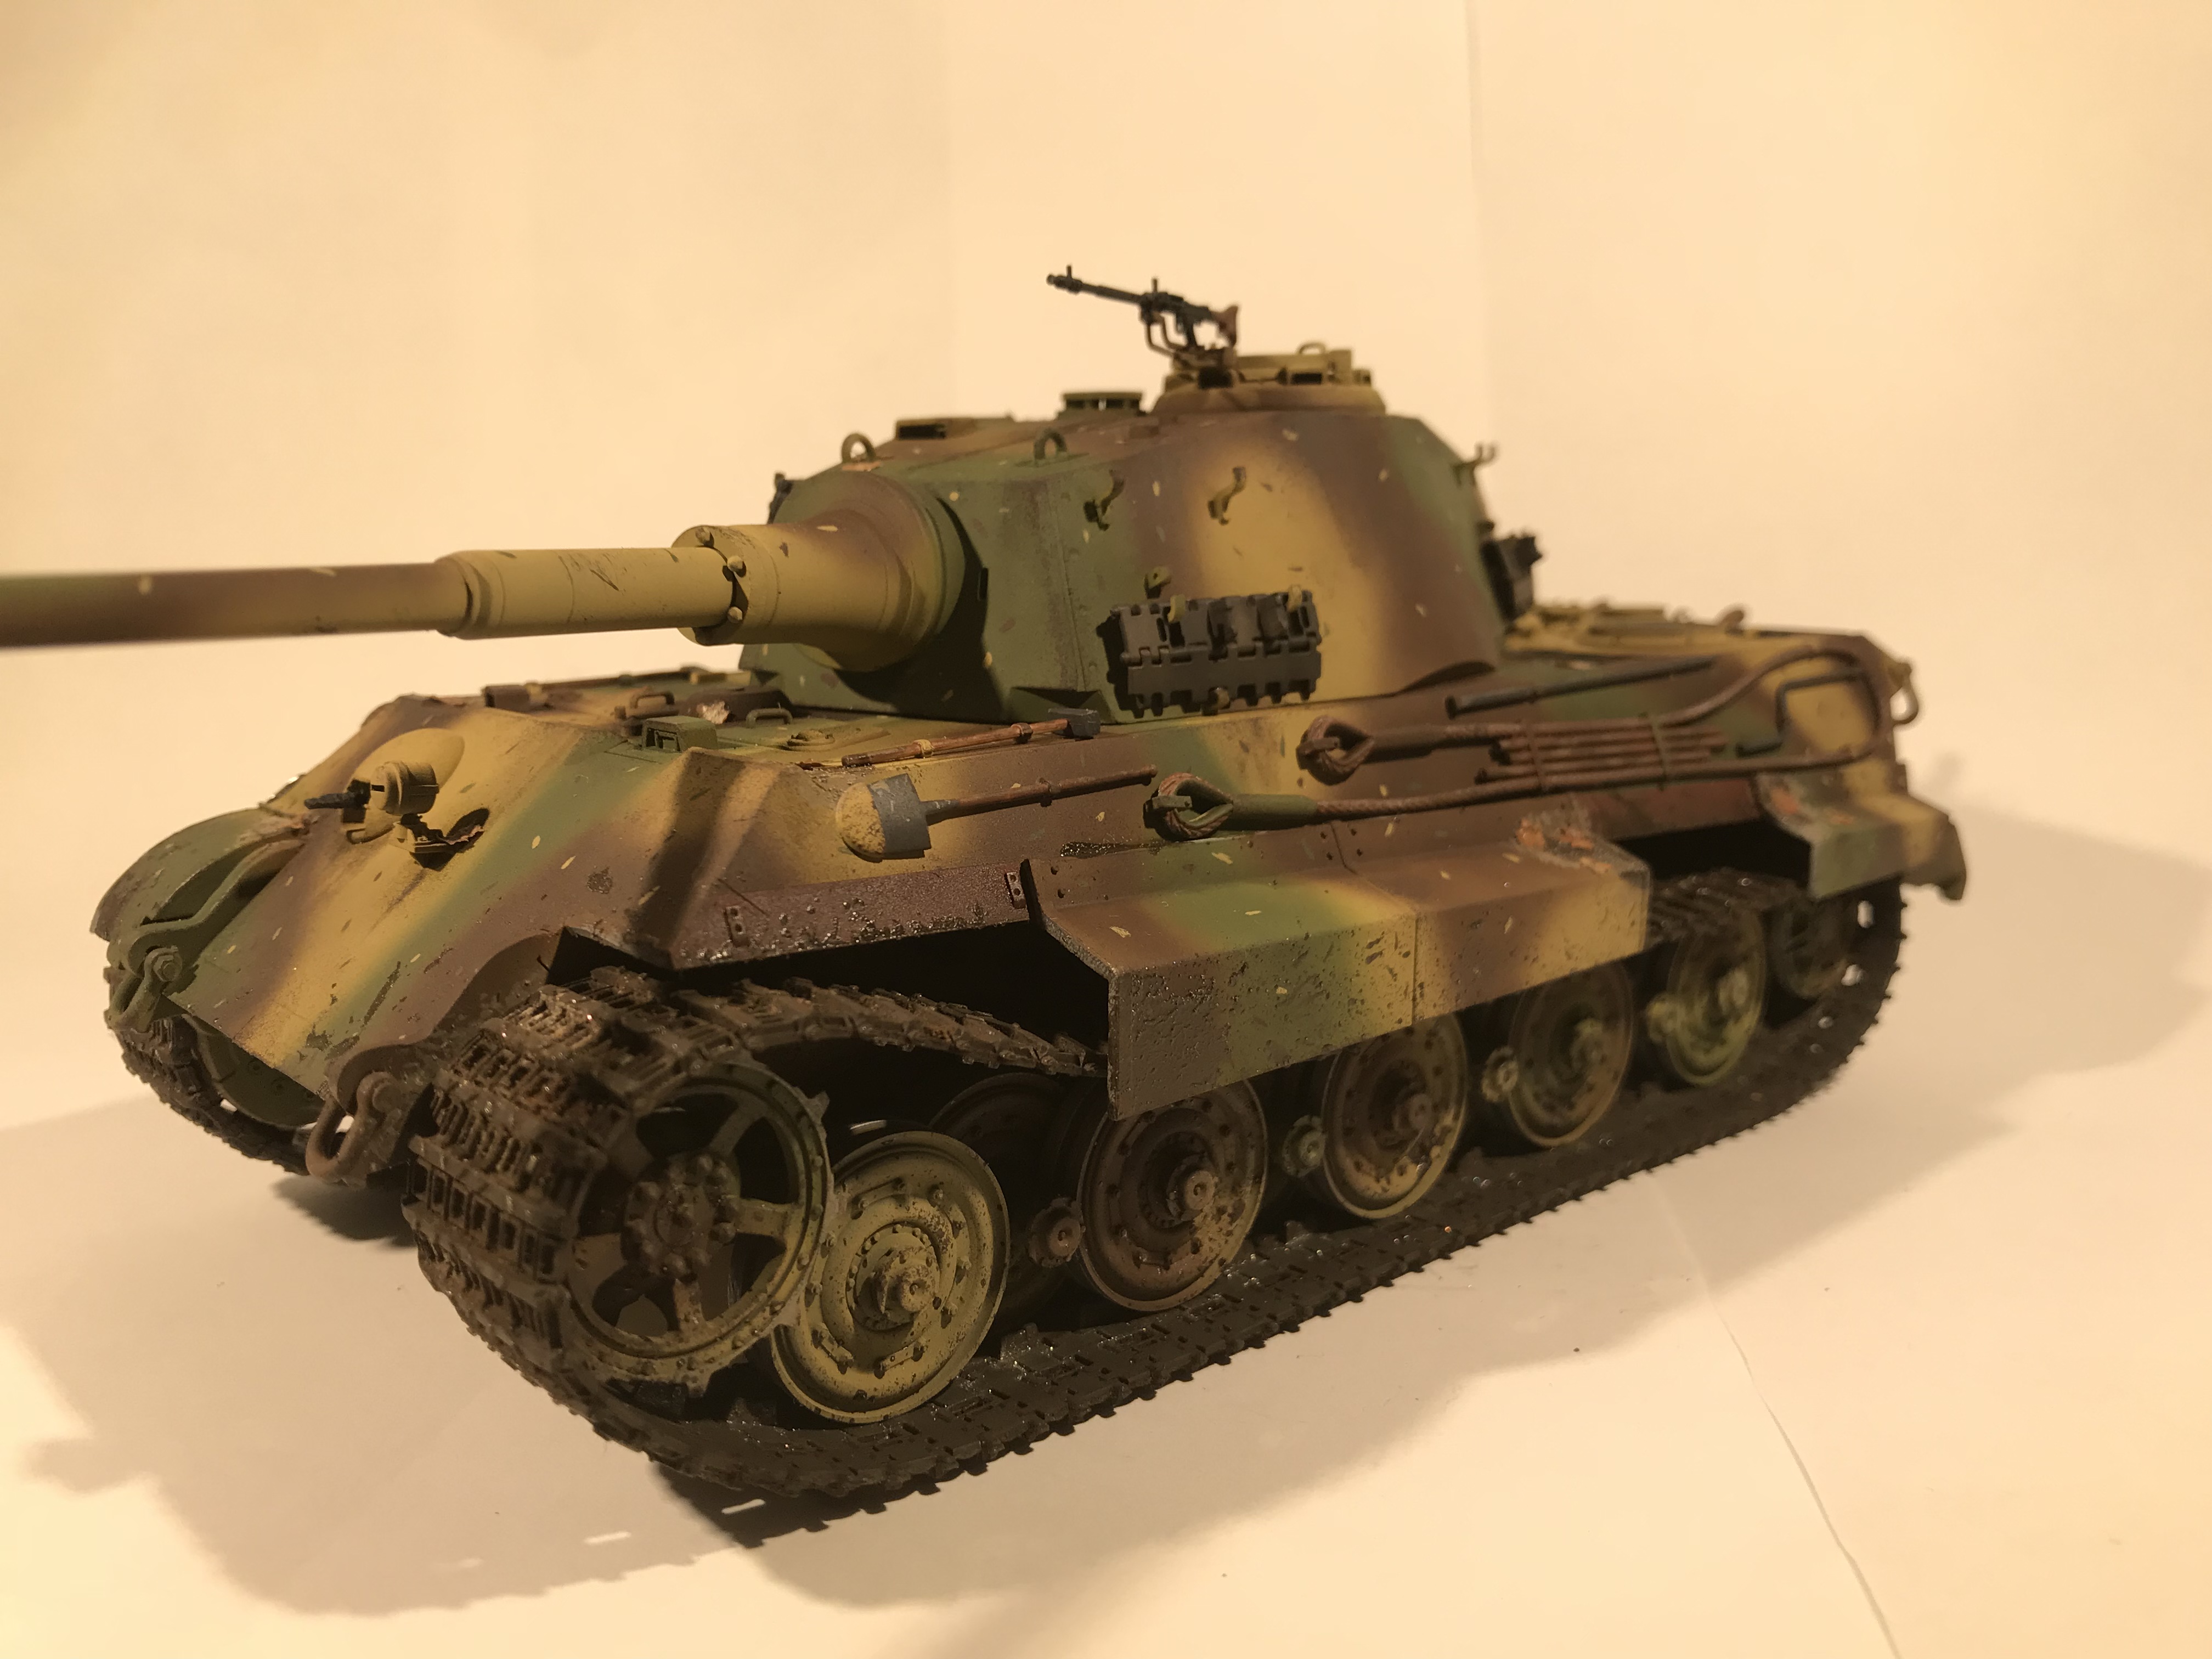
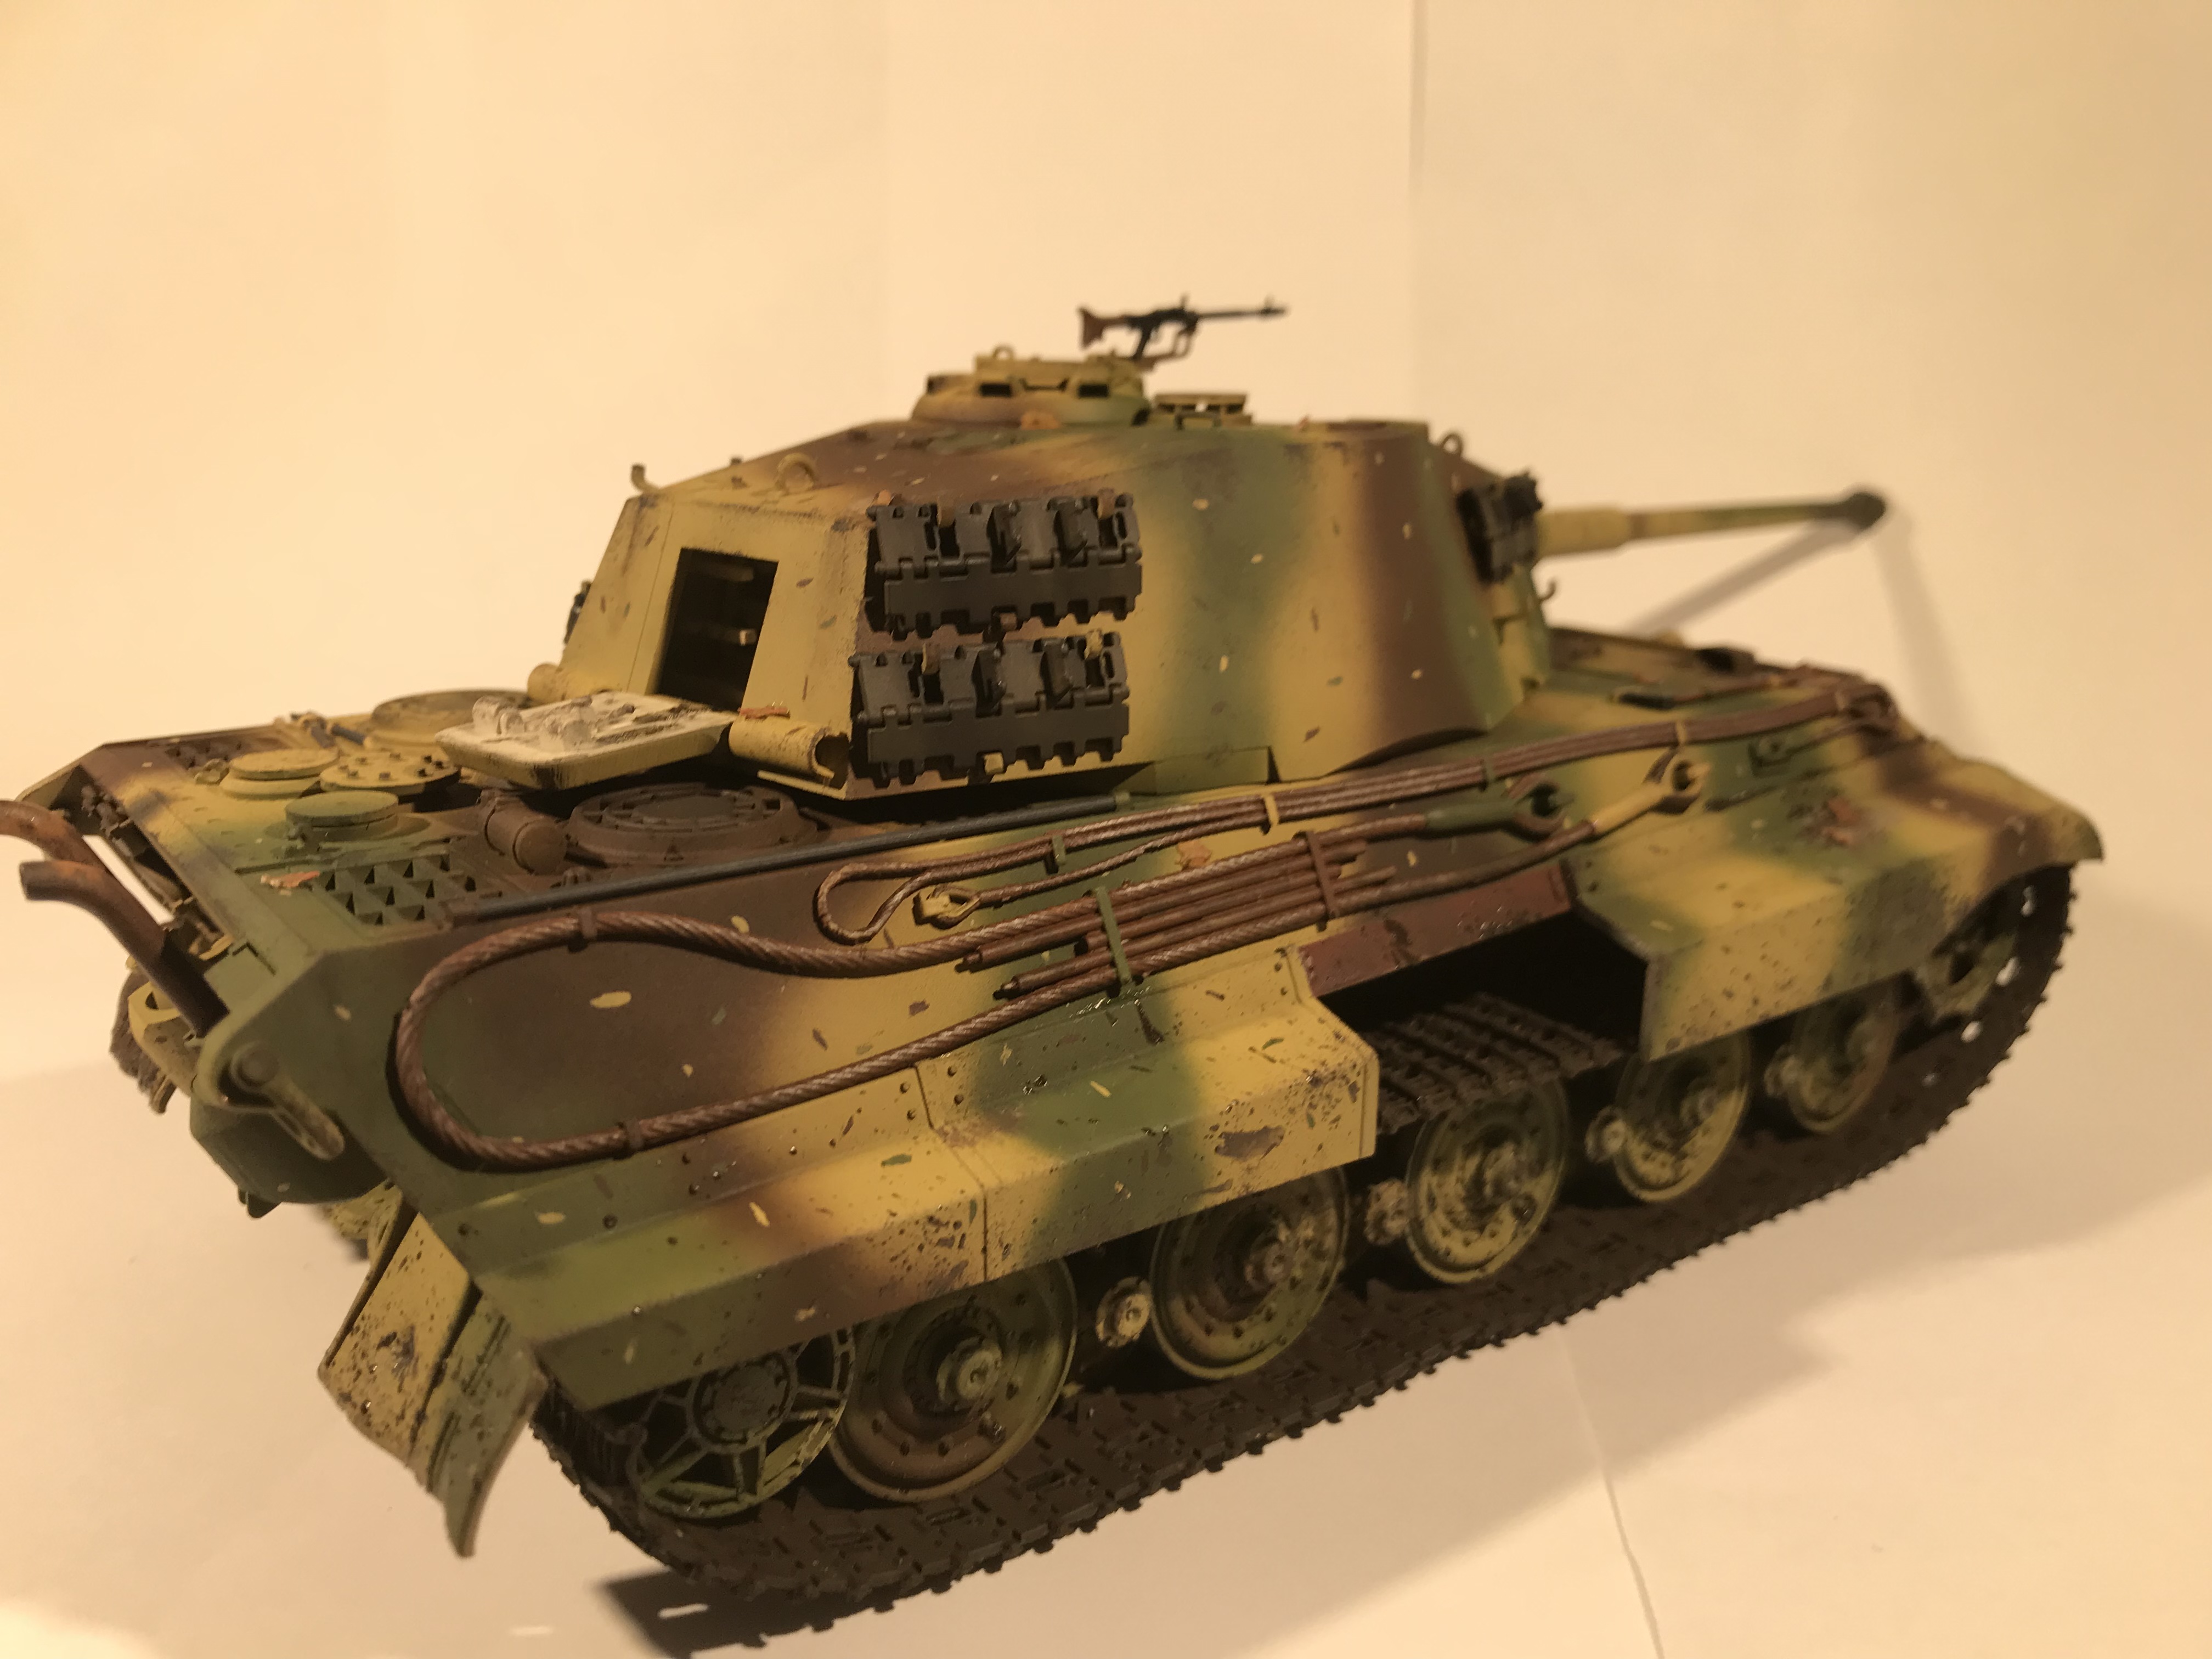
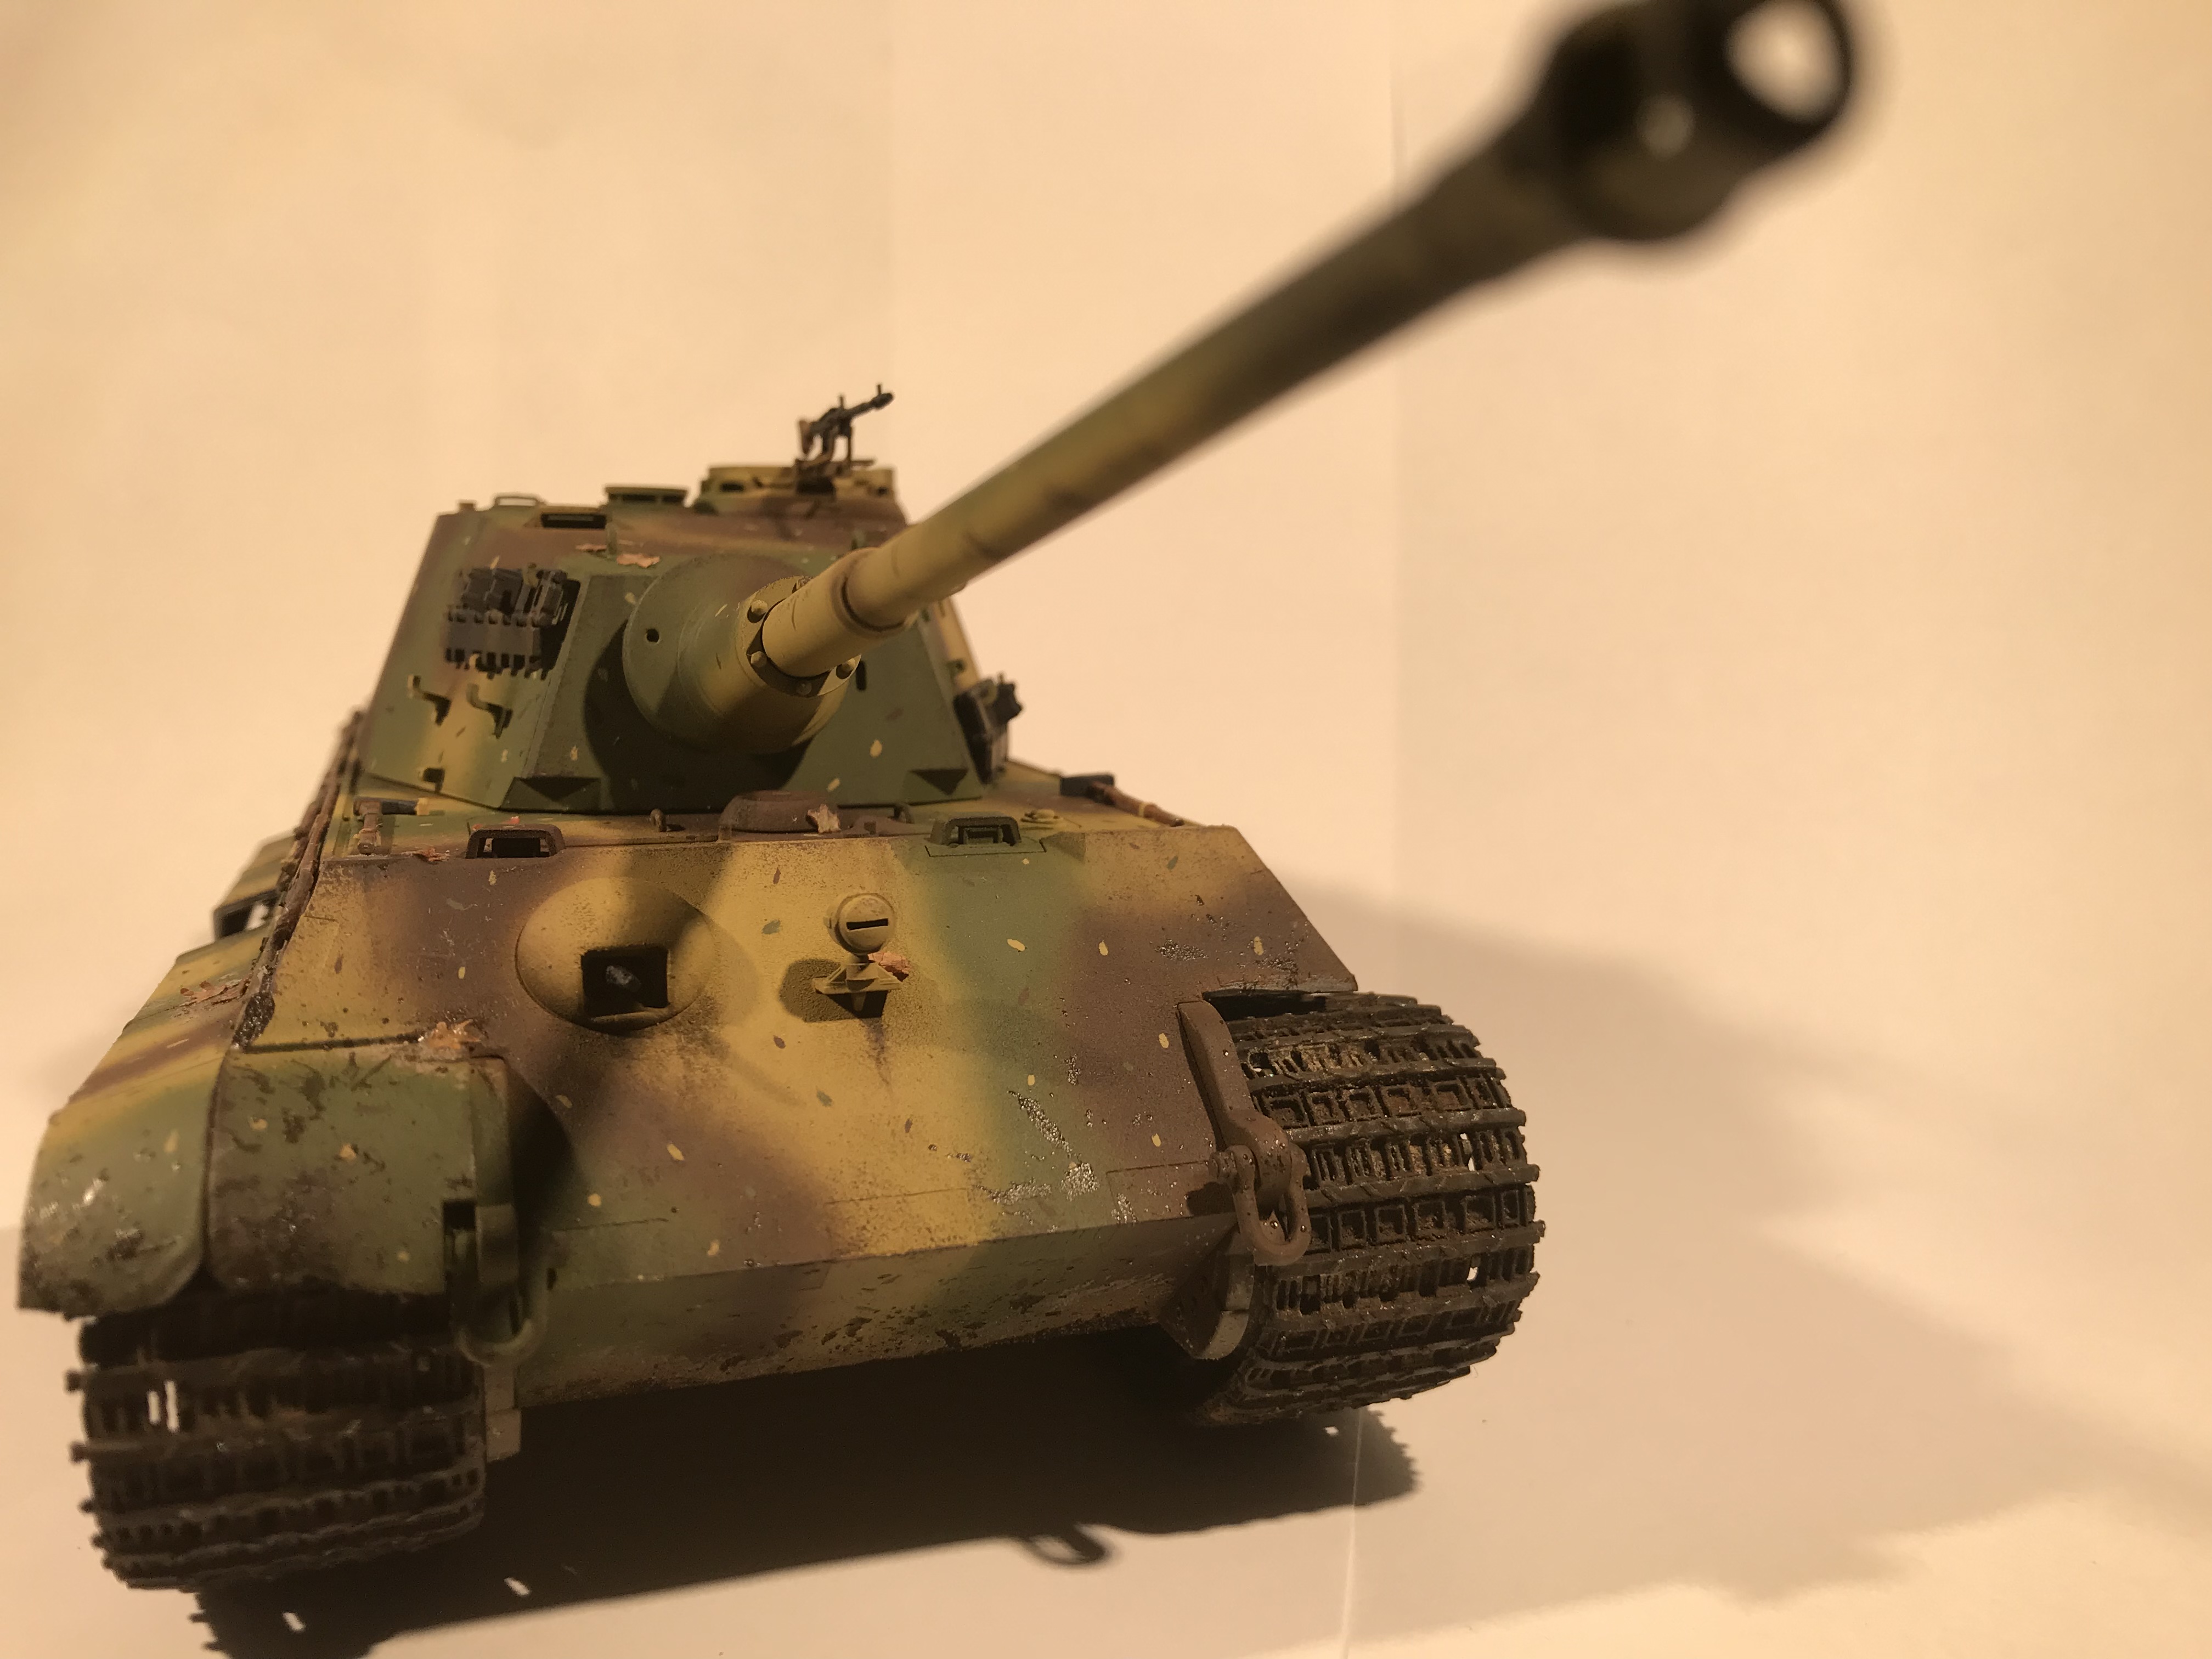
My latest project is this Tamiya King Tiger from 1993. 

The kit is absolutely brilliant for being an older mold, the only issue i ran into was the tracks being too short, but a little bit of cheating made it work well.

This is only my 15th model, so i highly appreciate all constructive criticism, i want to improve!

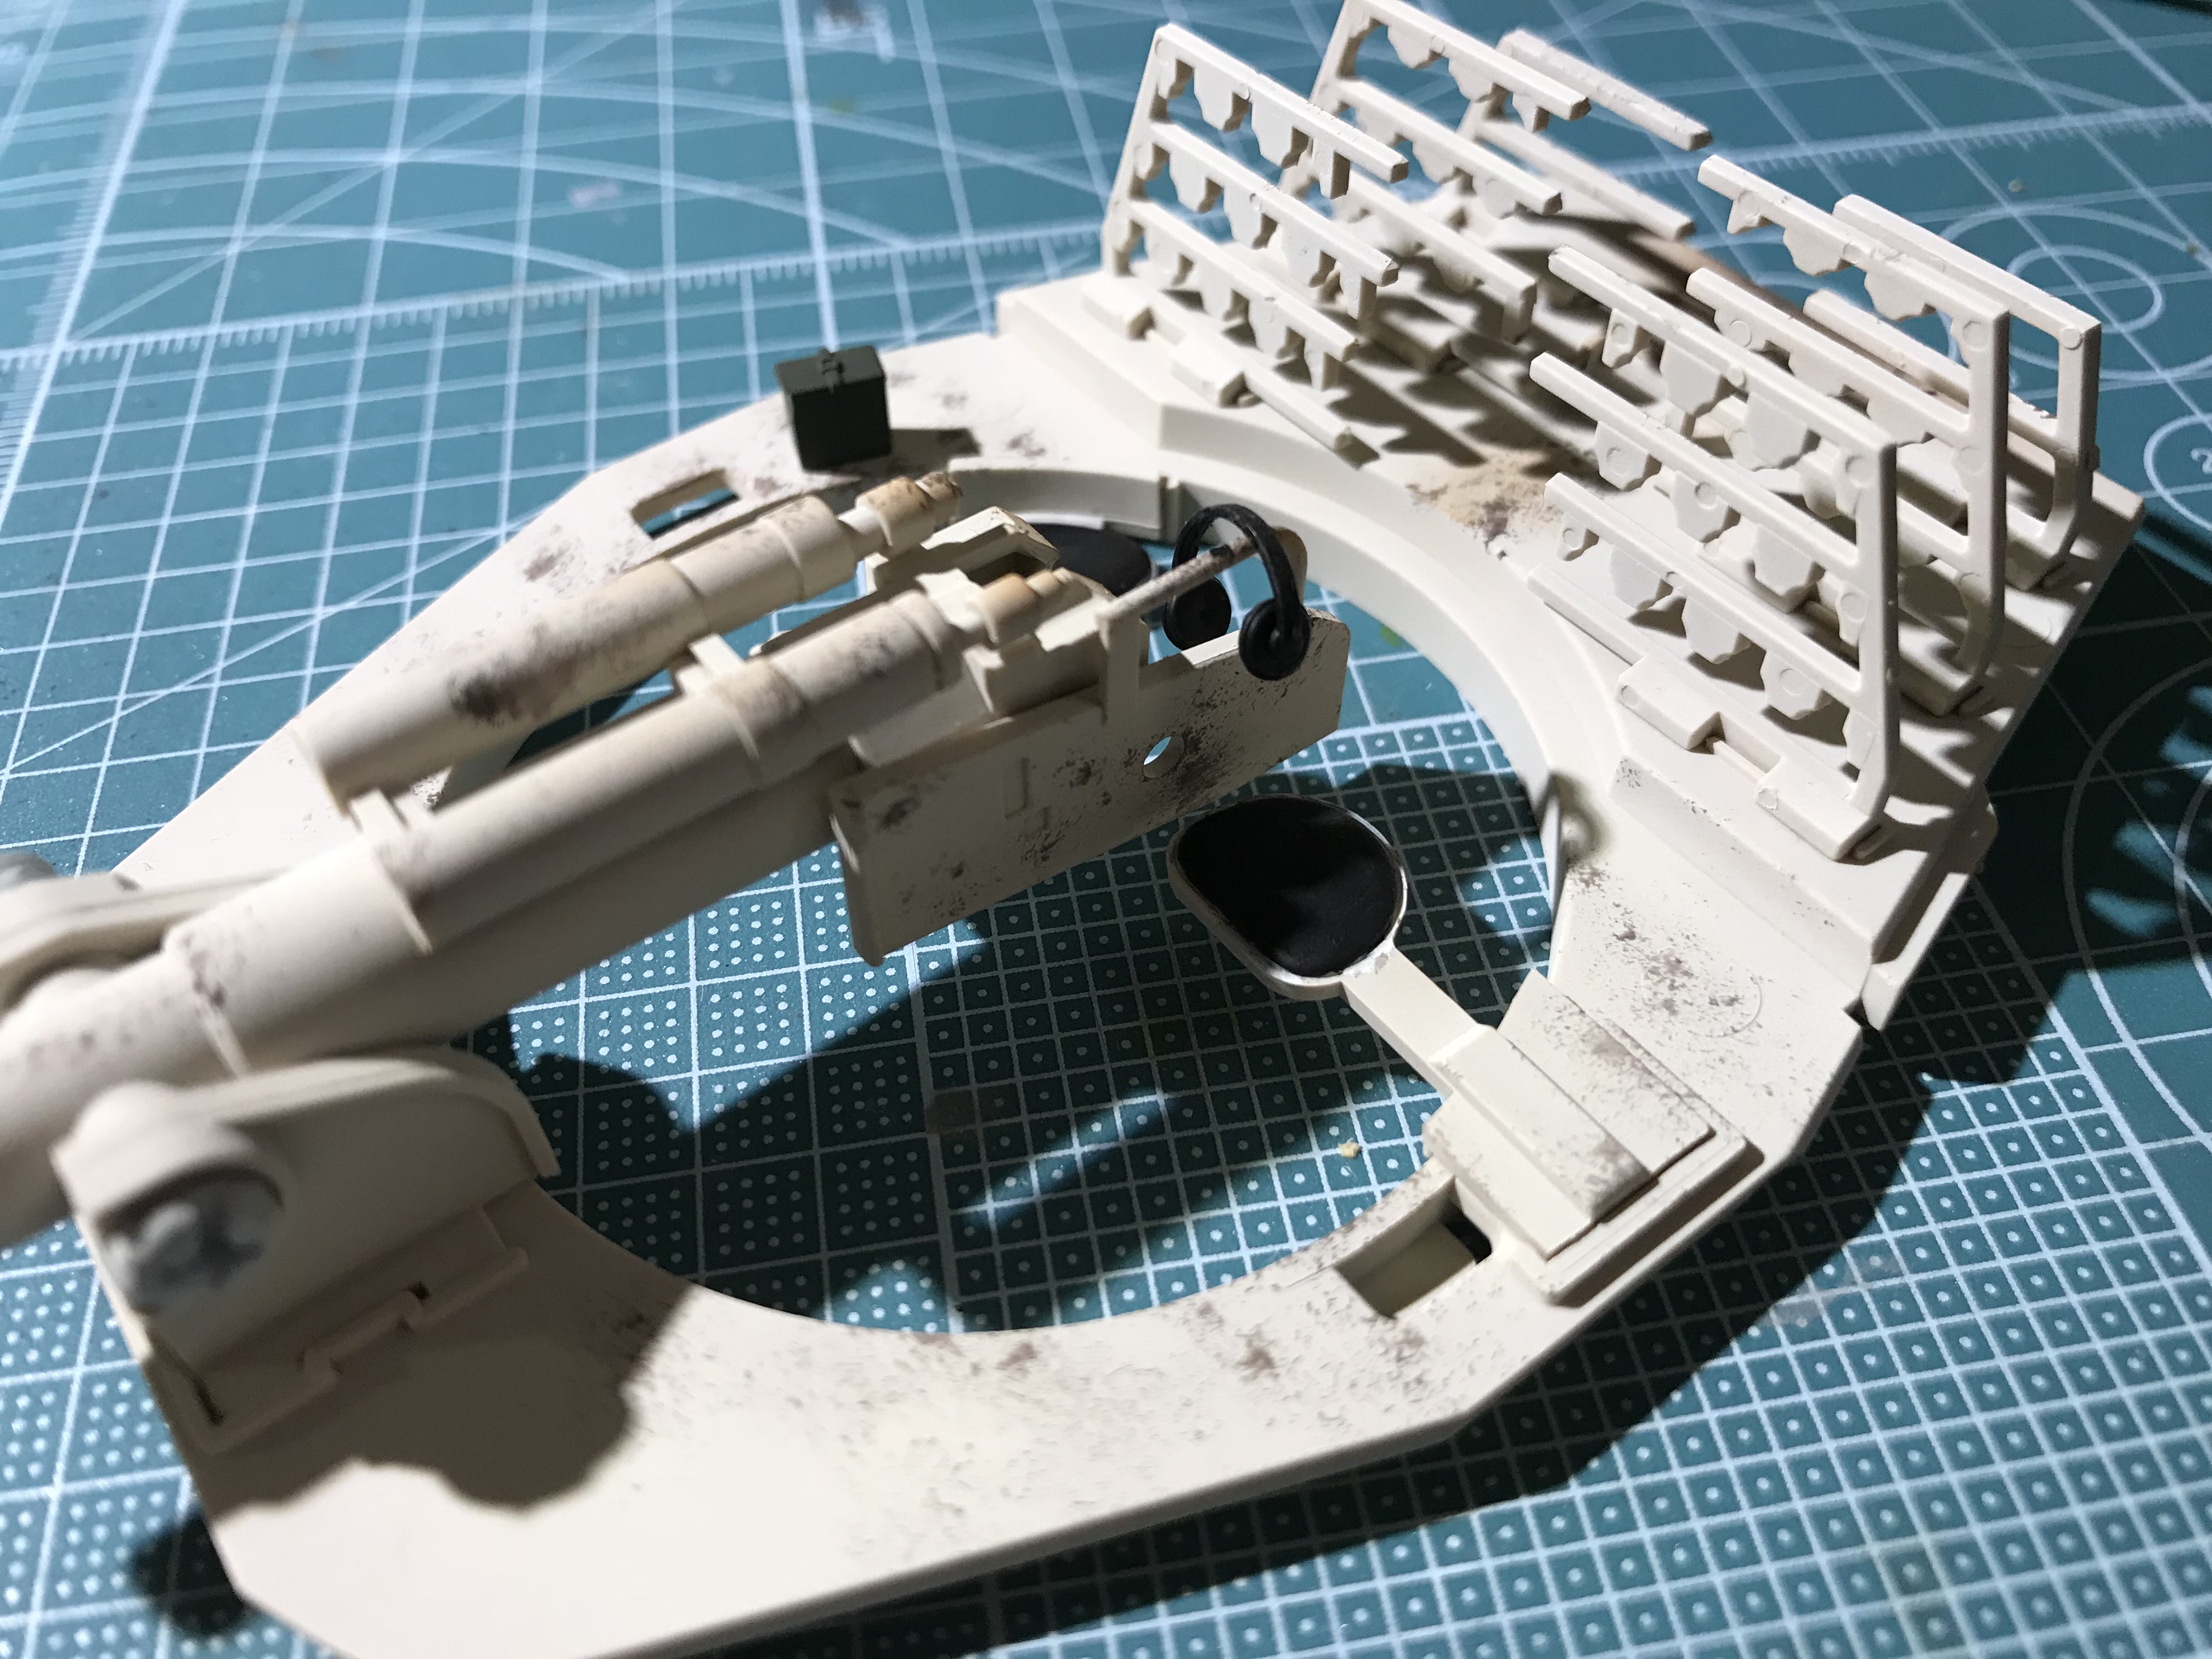
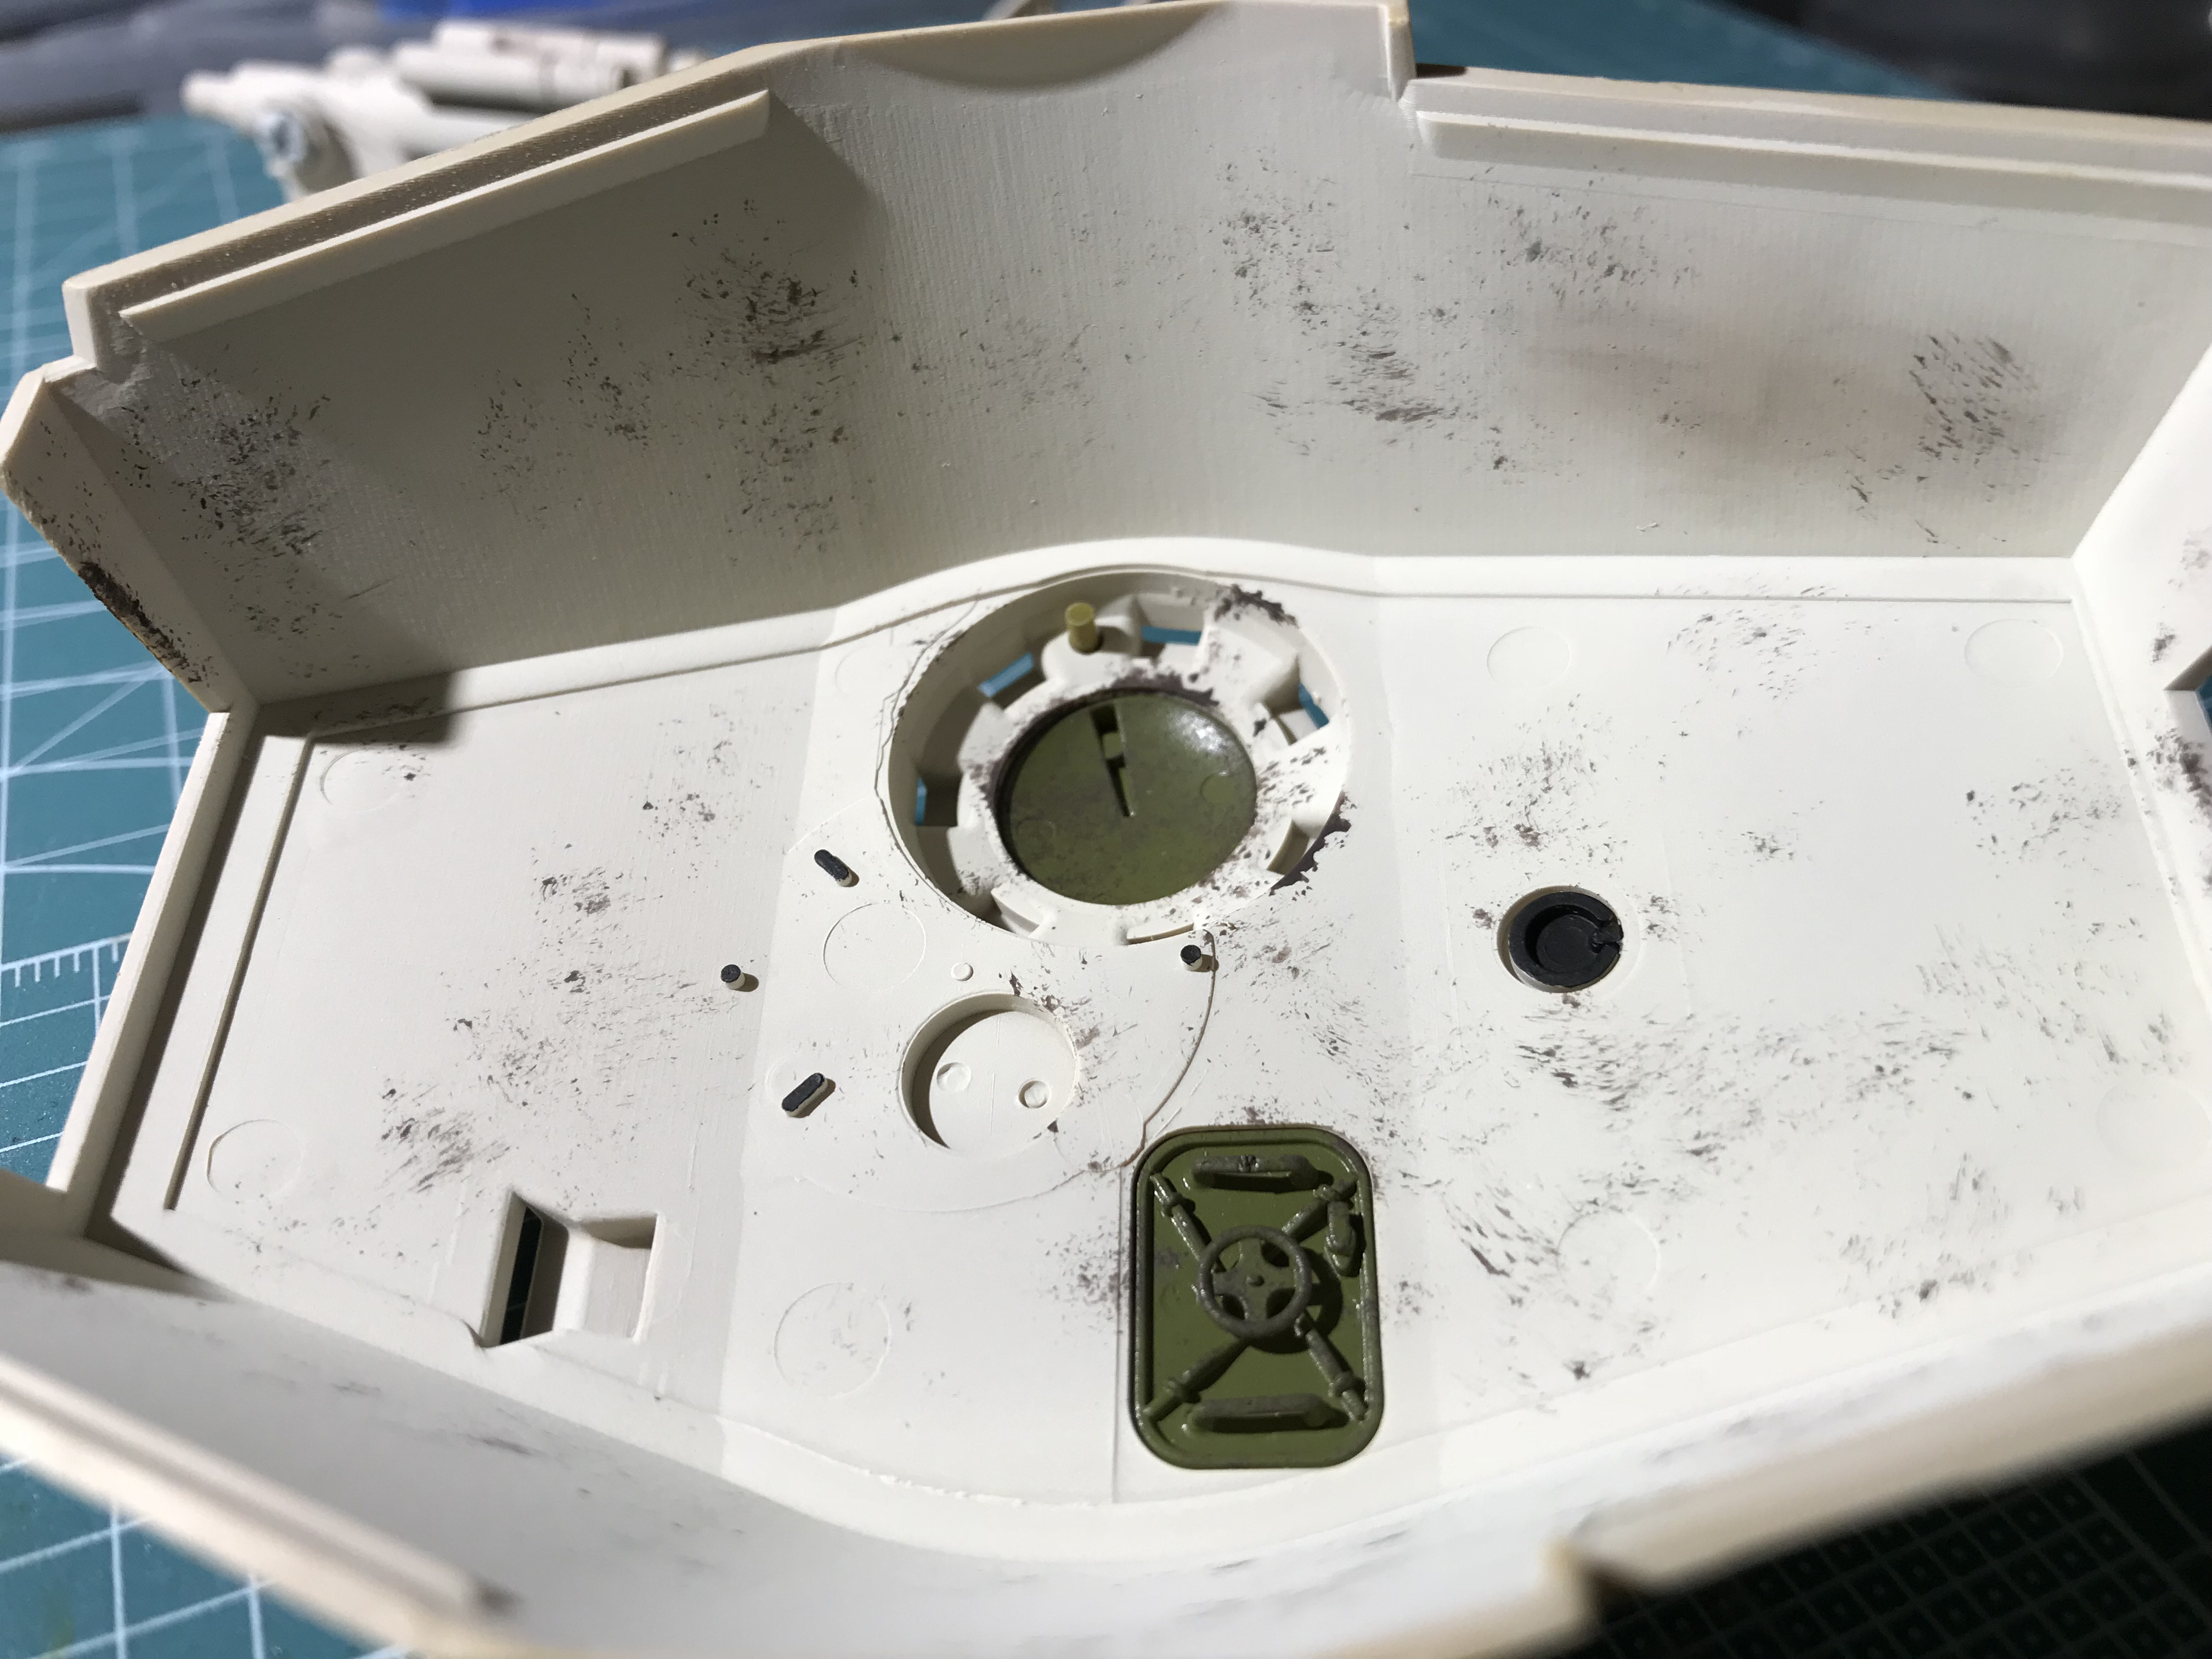
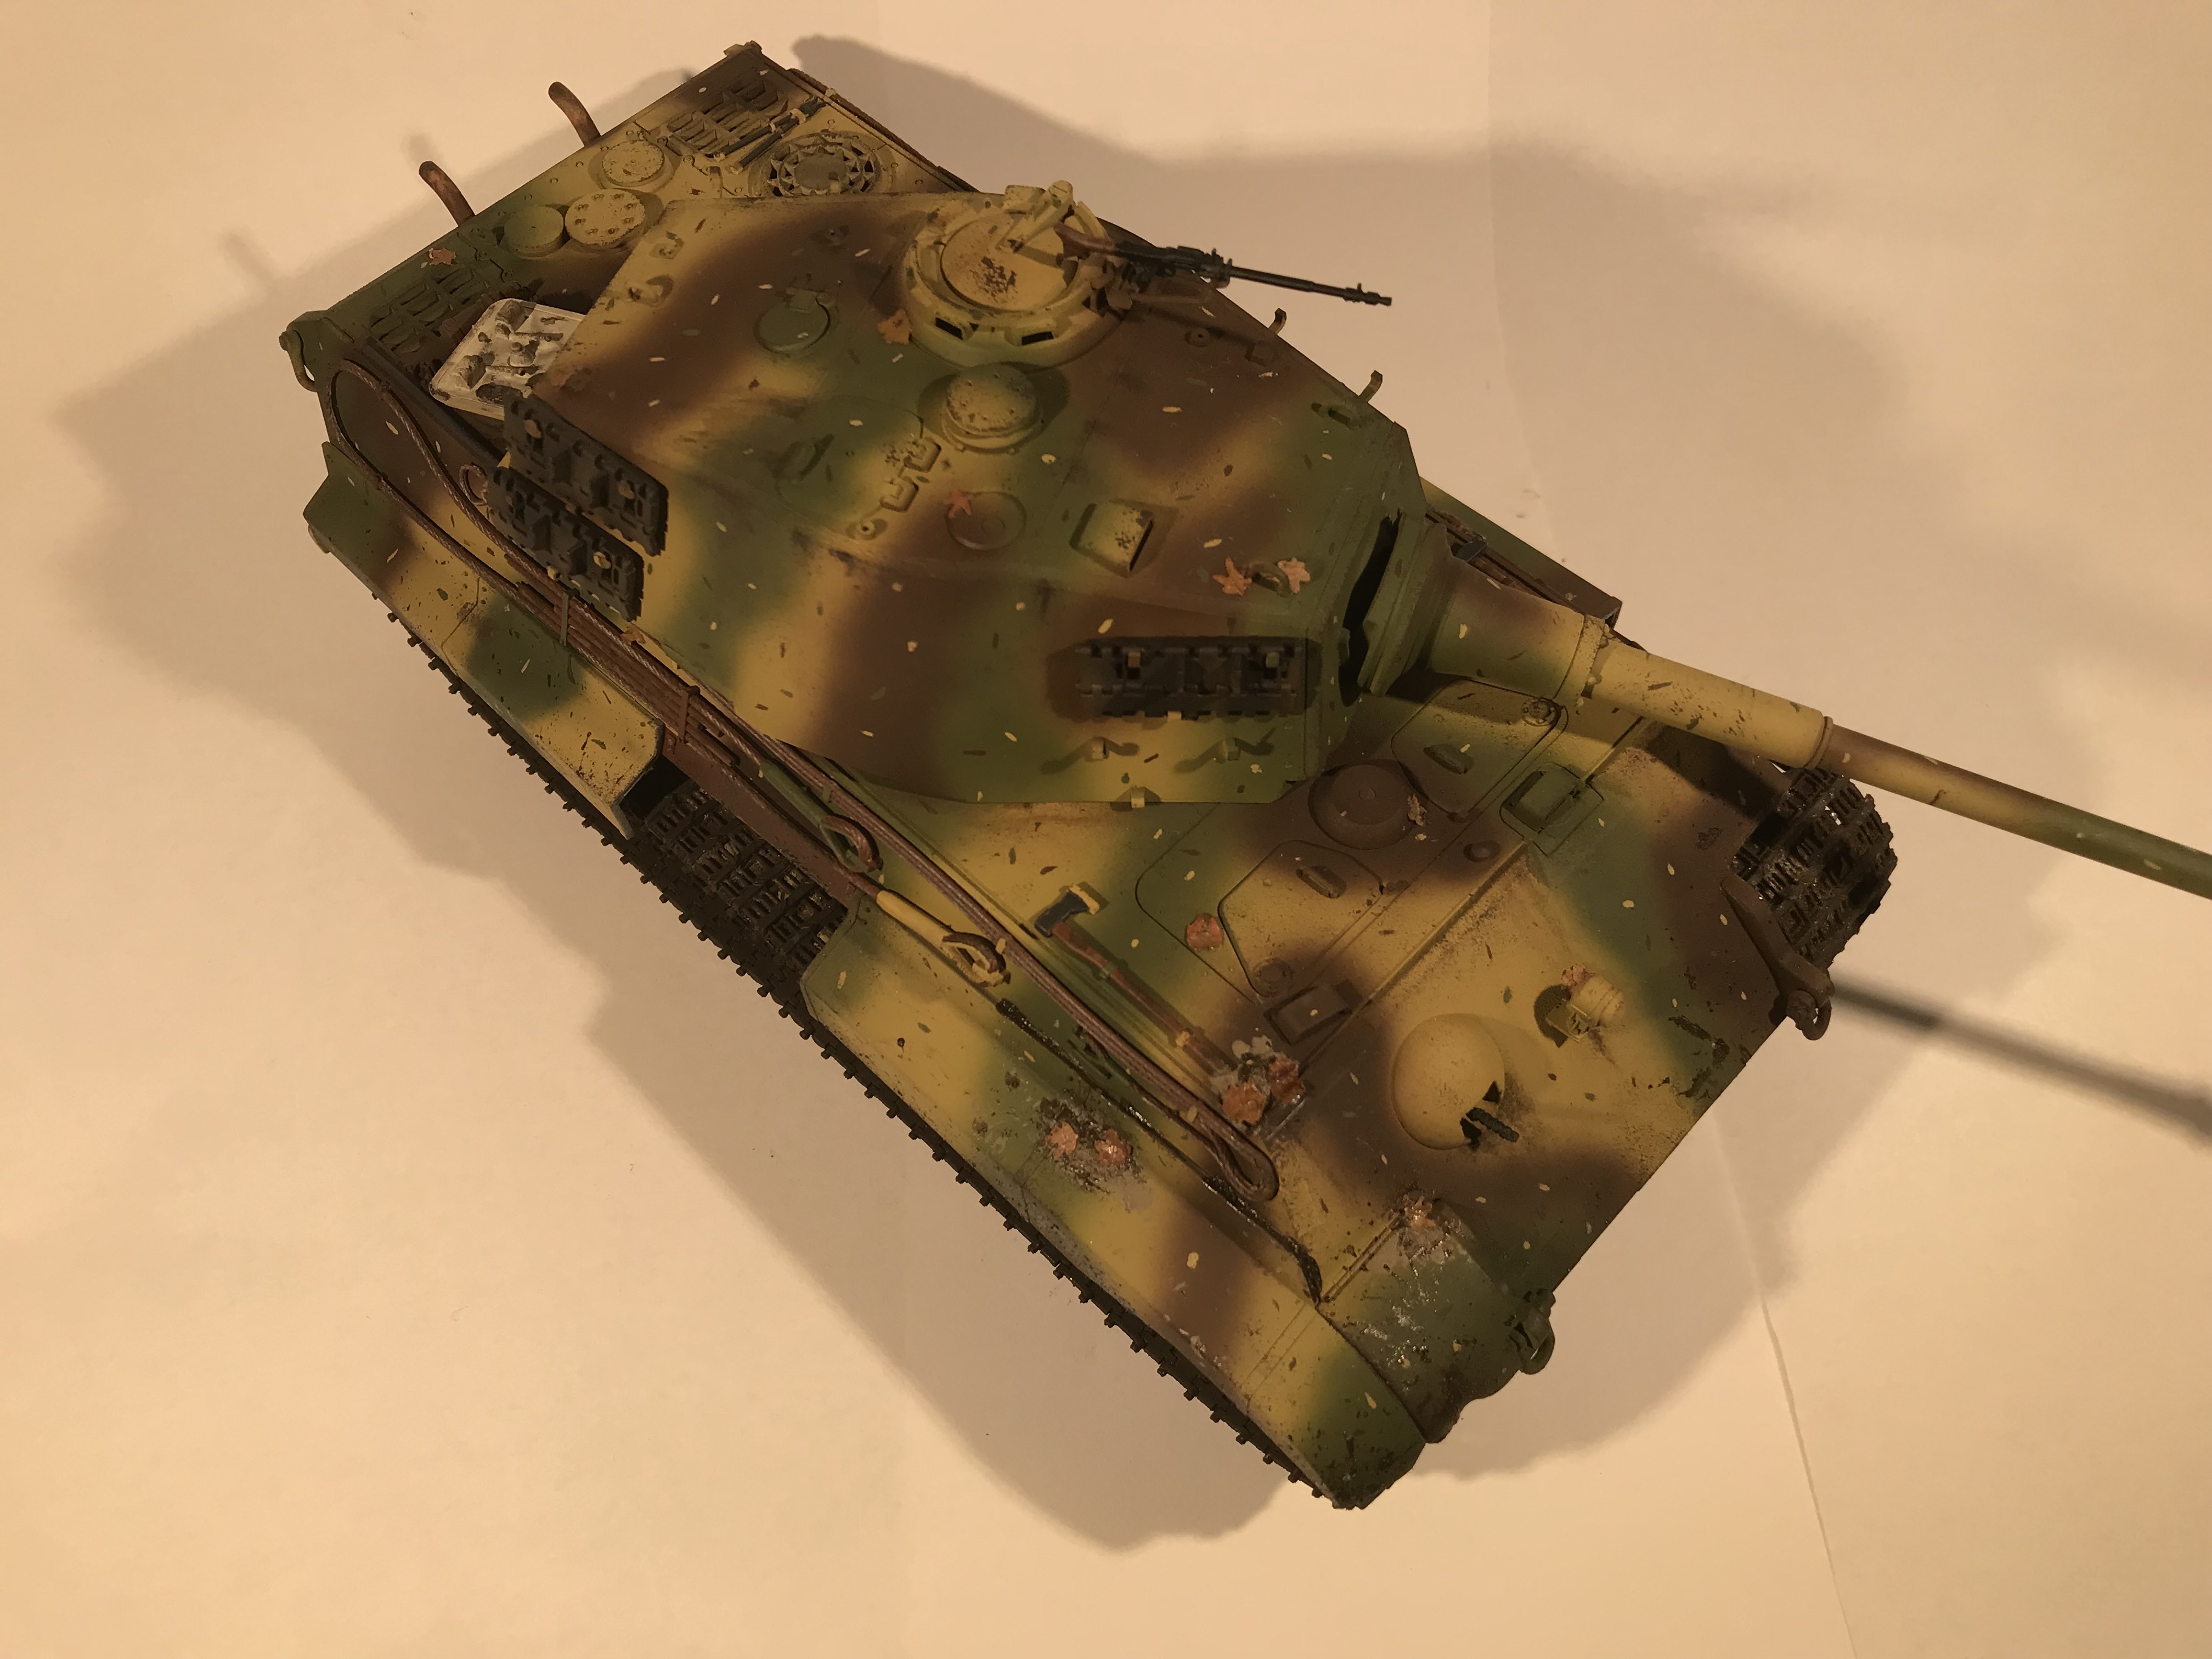
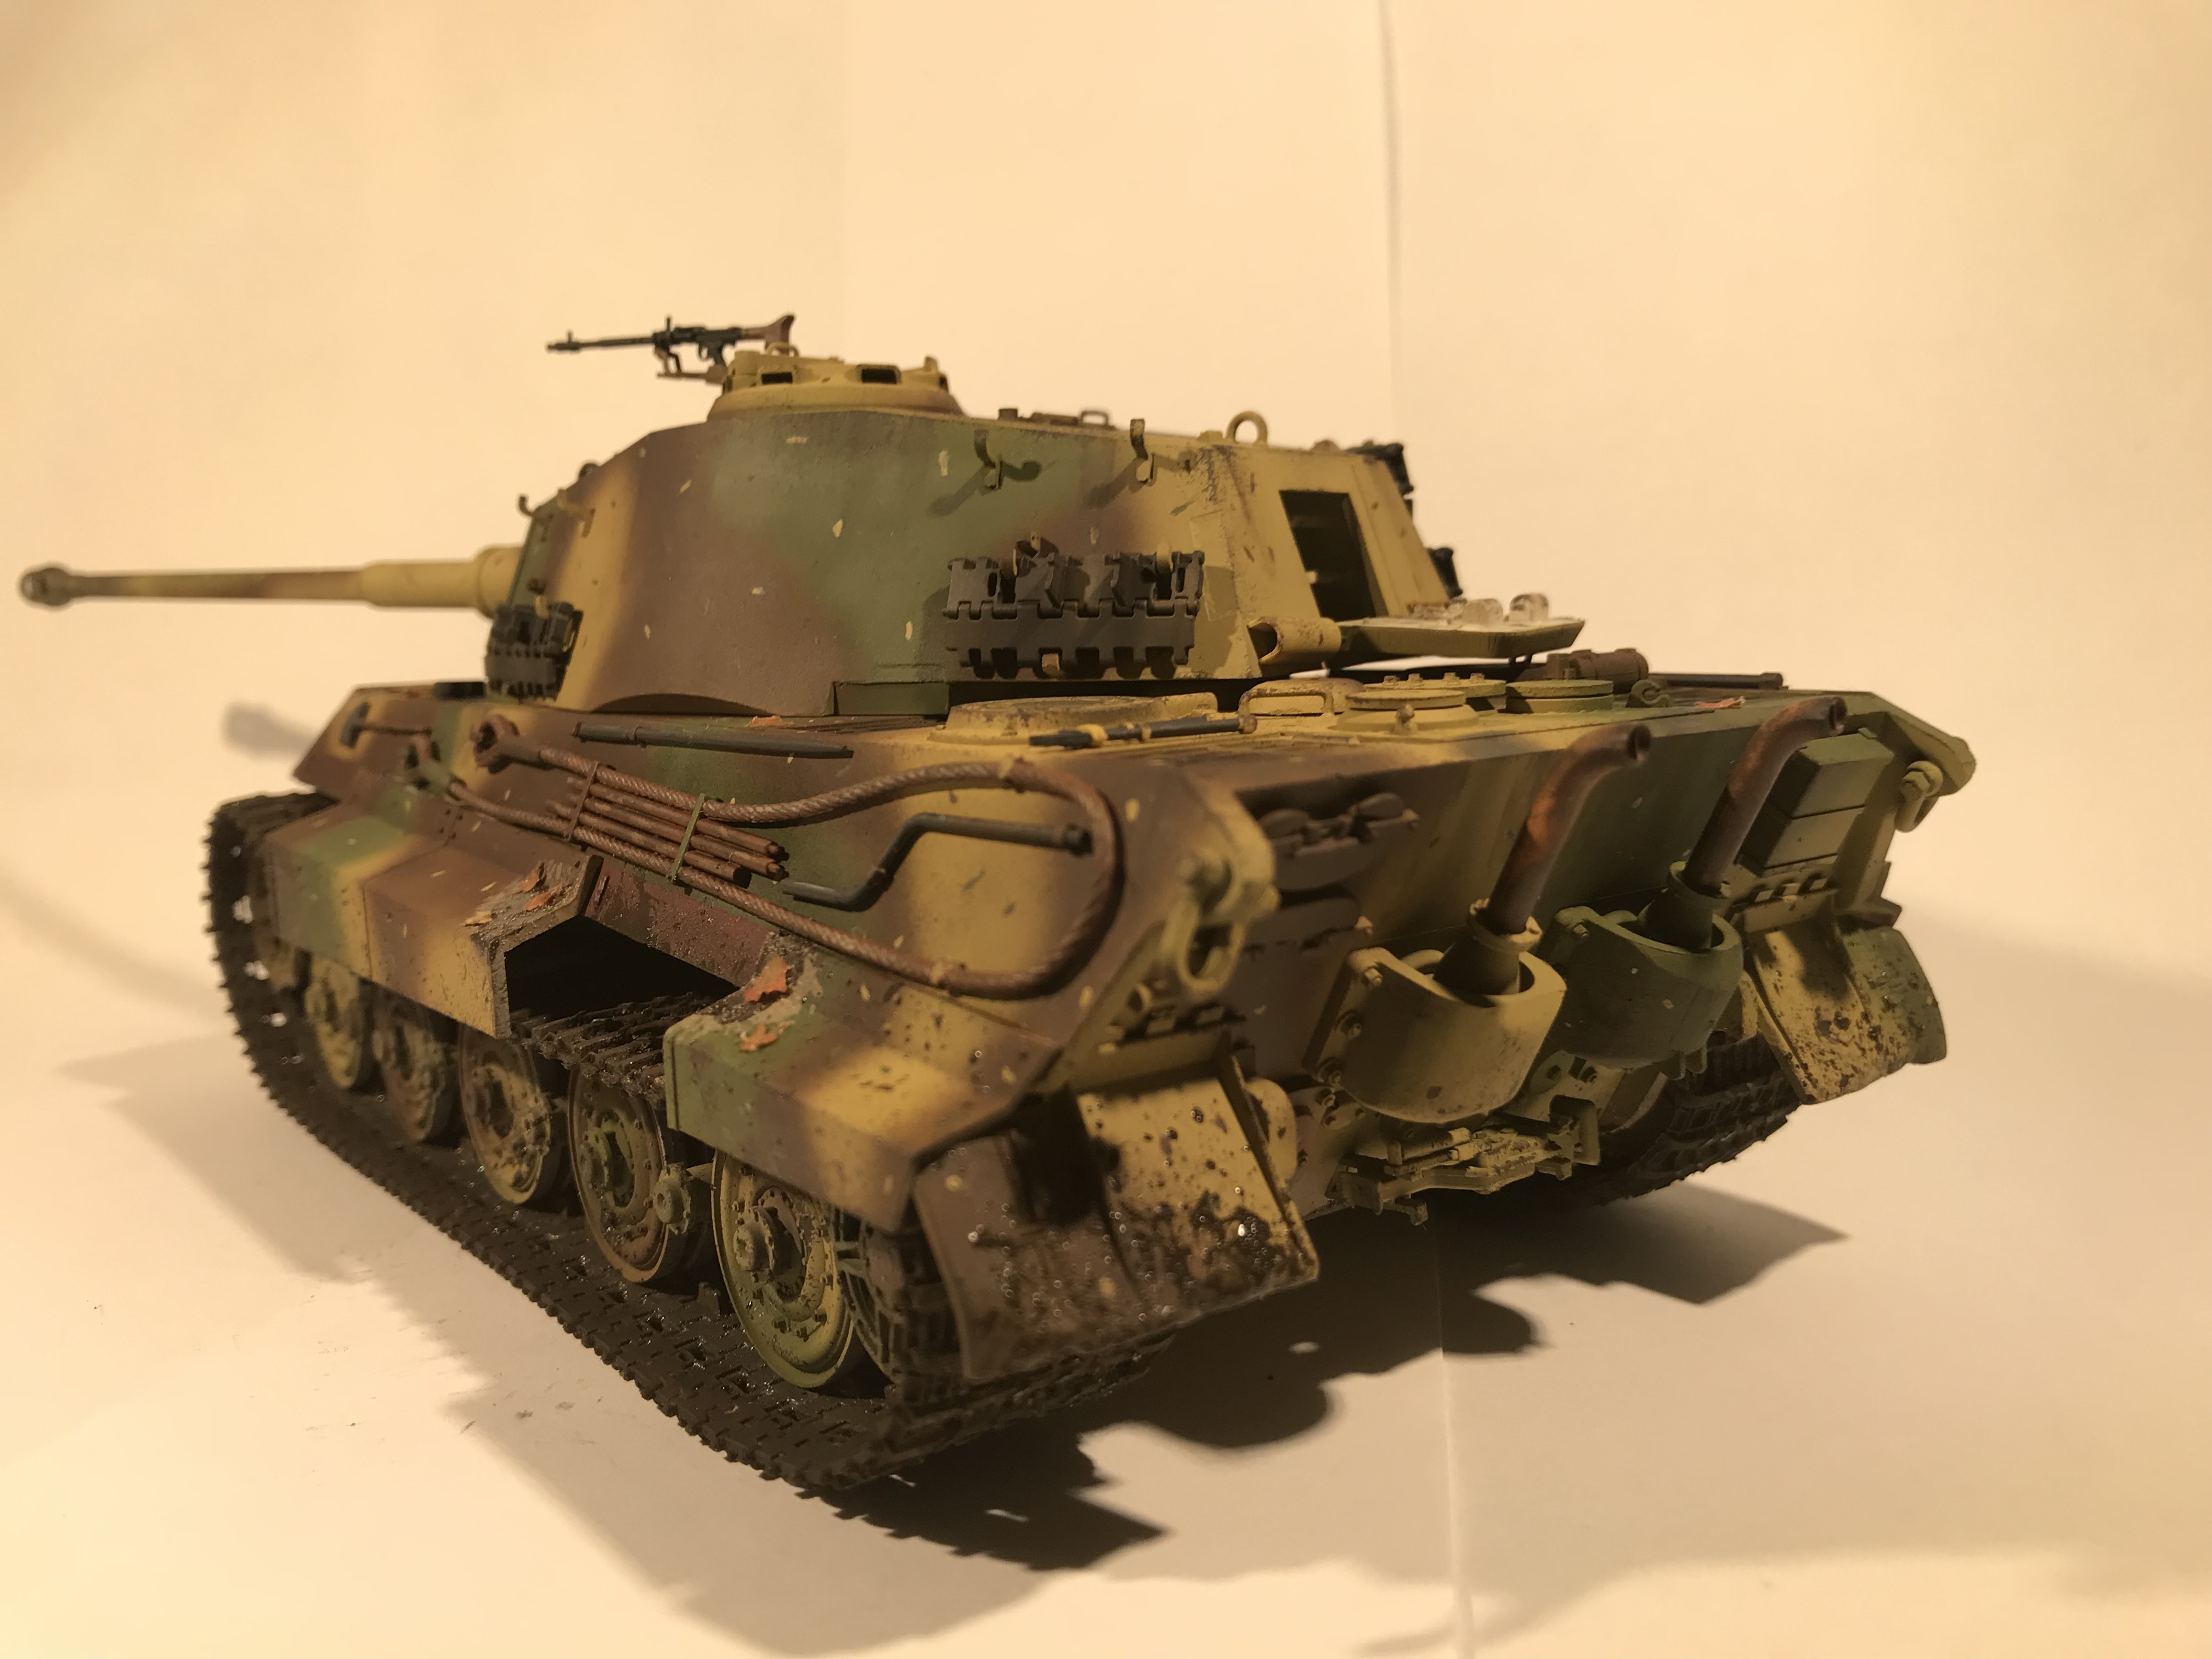
I decided to modify the kit to create some battle damage etc. I used my scalpel to cut off certain pieces of the kit, as i dont have a small saw.. that lead to many unpleasant cuts in my fingers, but that is perfectly fine as i am happy with how the model turned out.

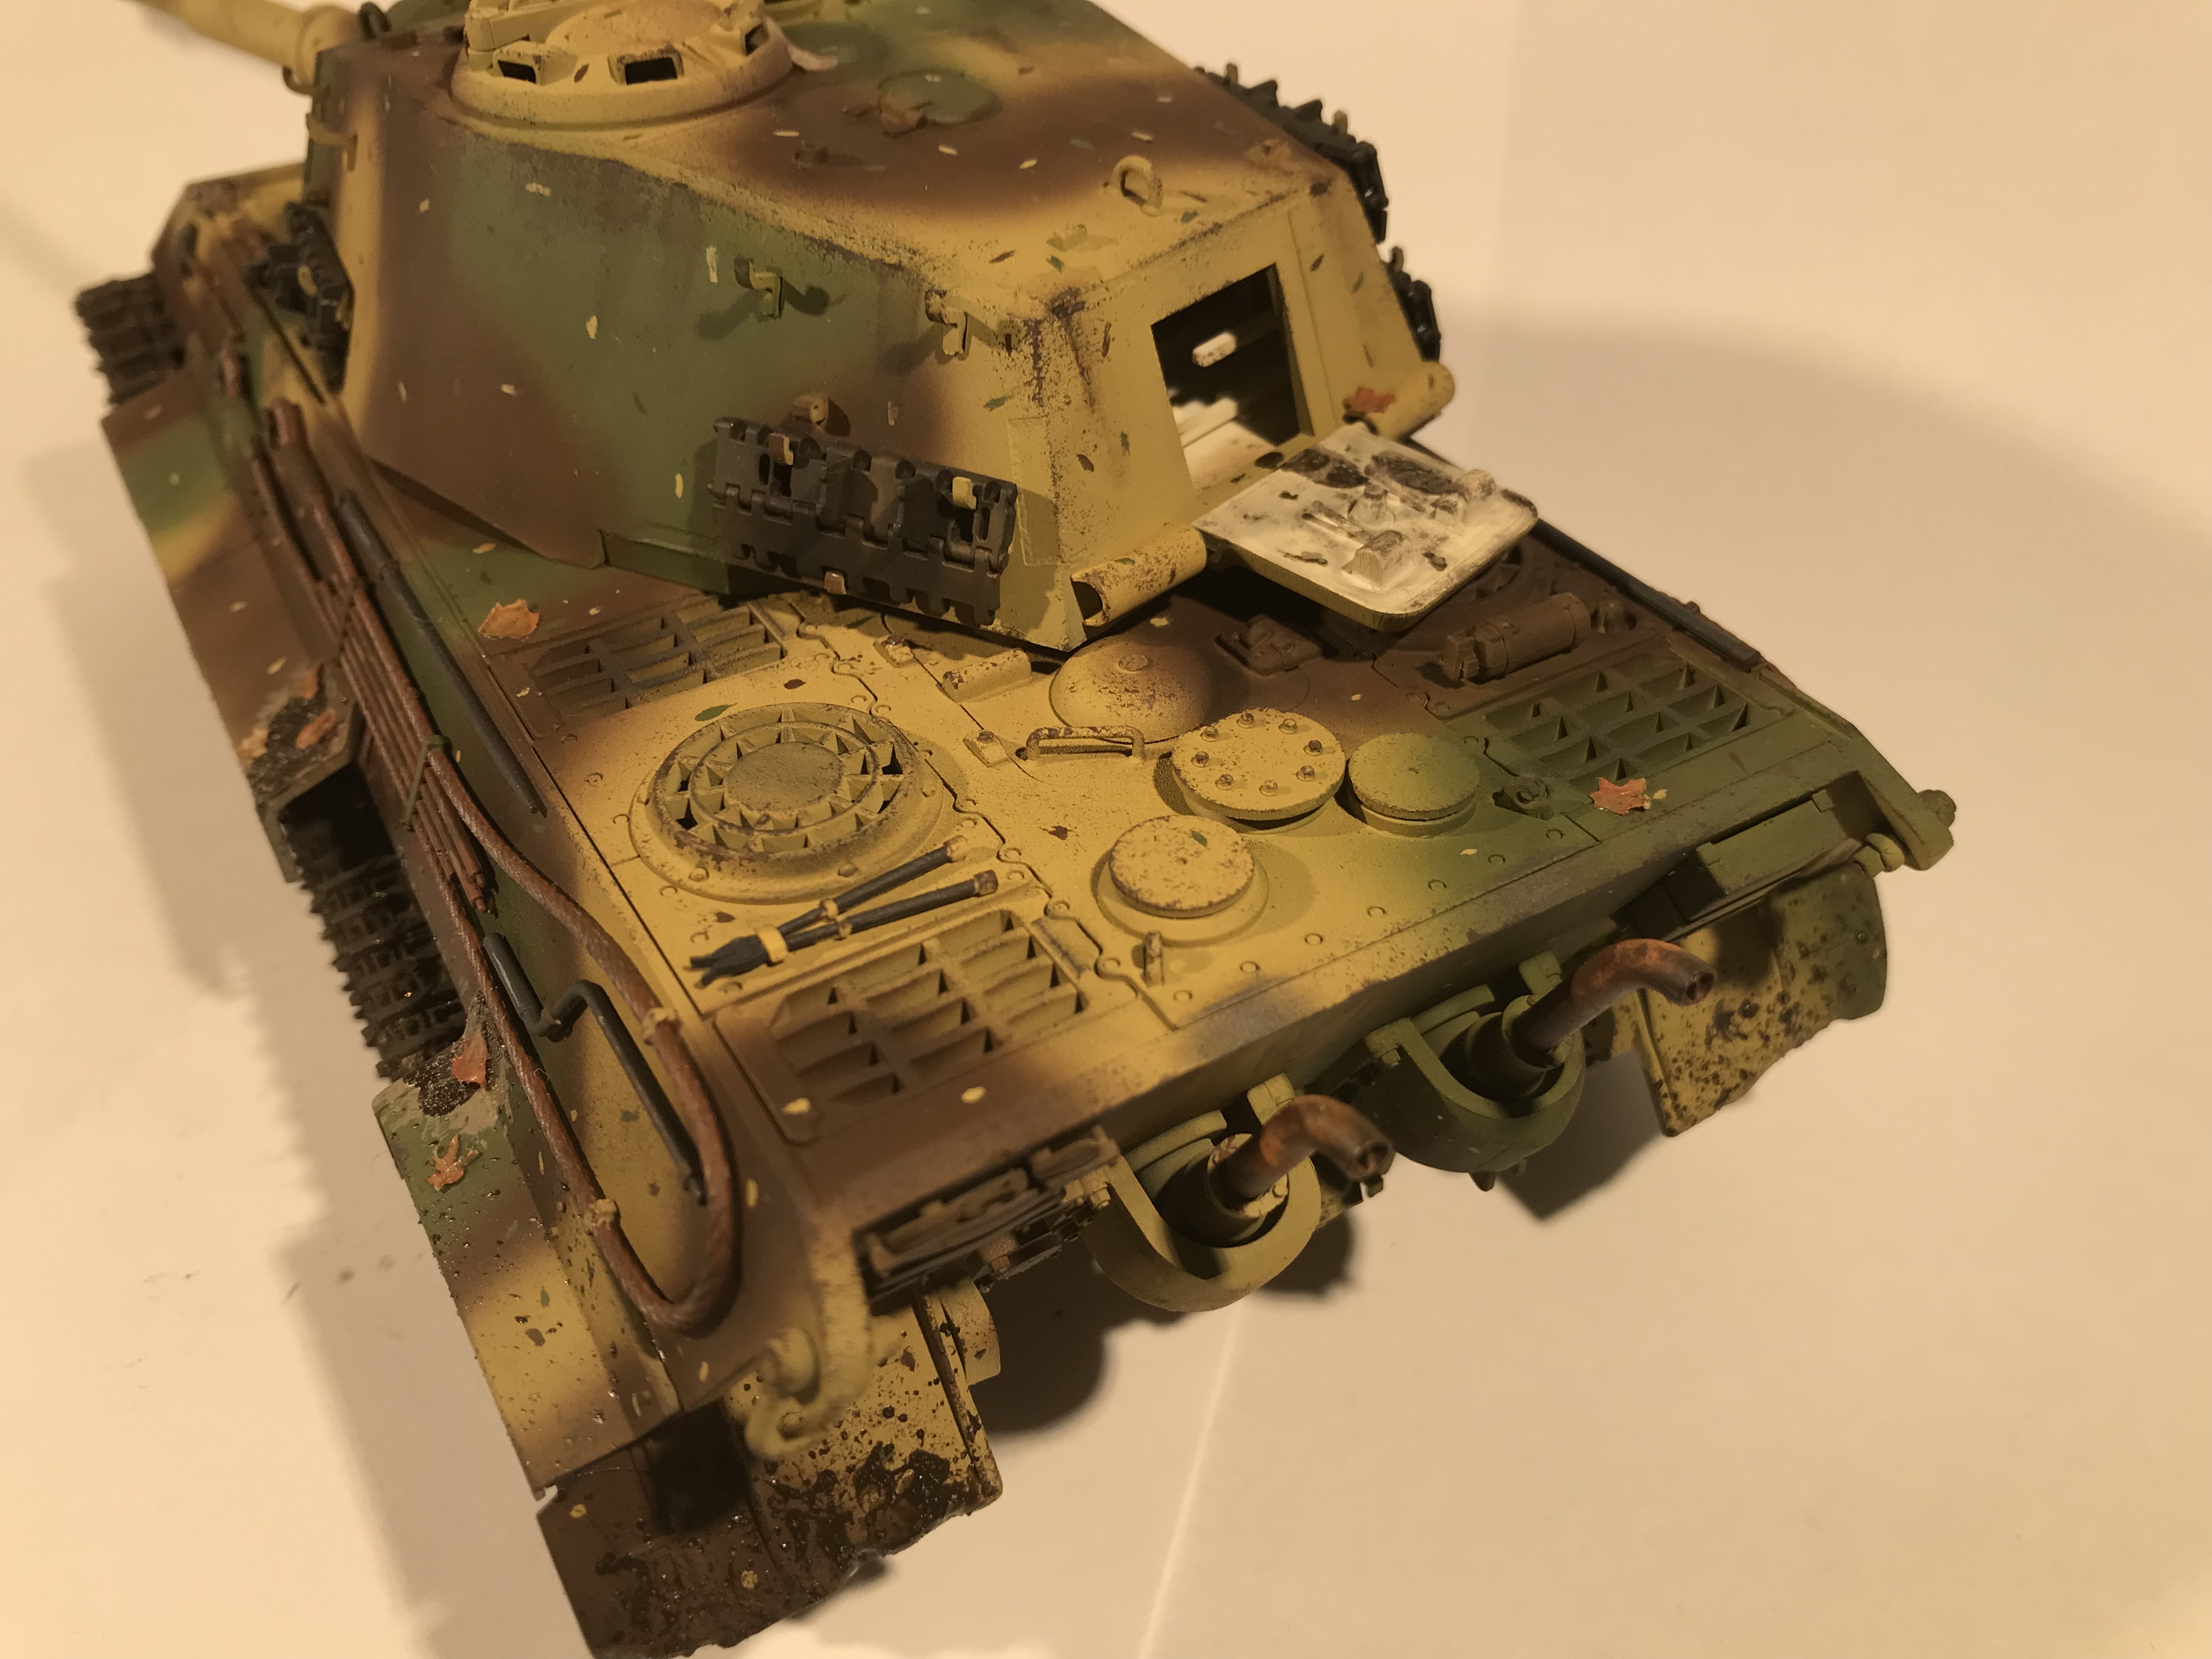
This kit had a small ammount of interior detail in the turret, and as it was possible to leave the rear hatch open, i decided that i would do so.

AK Interactive real colors 6rp russian black as a base coat


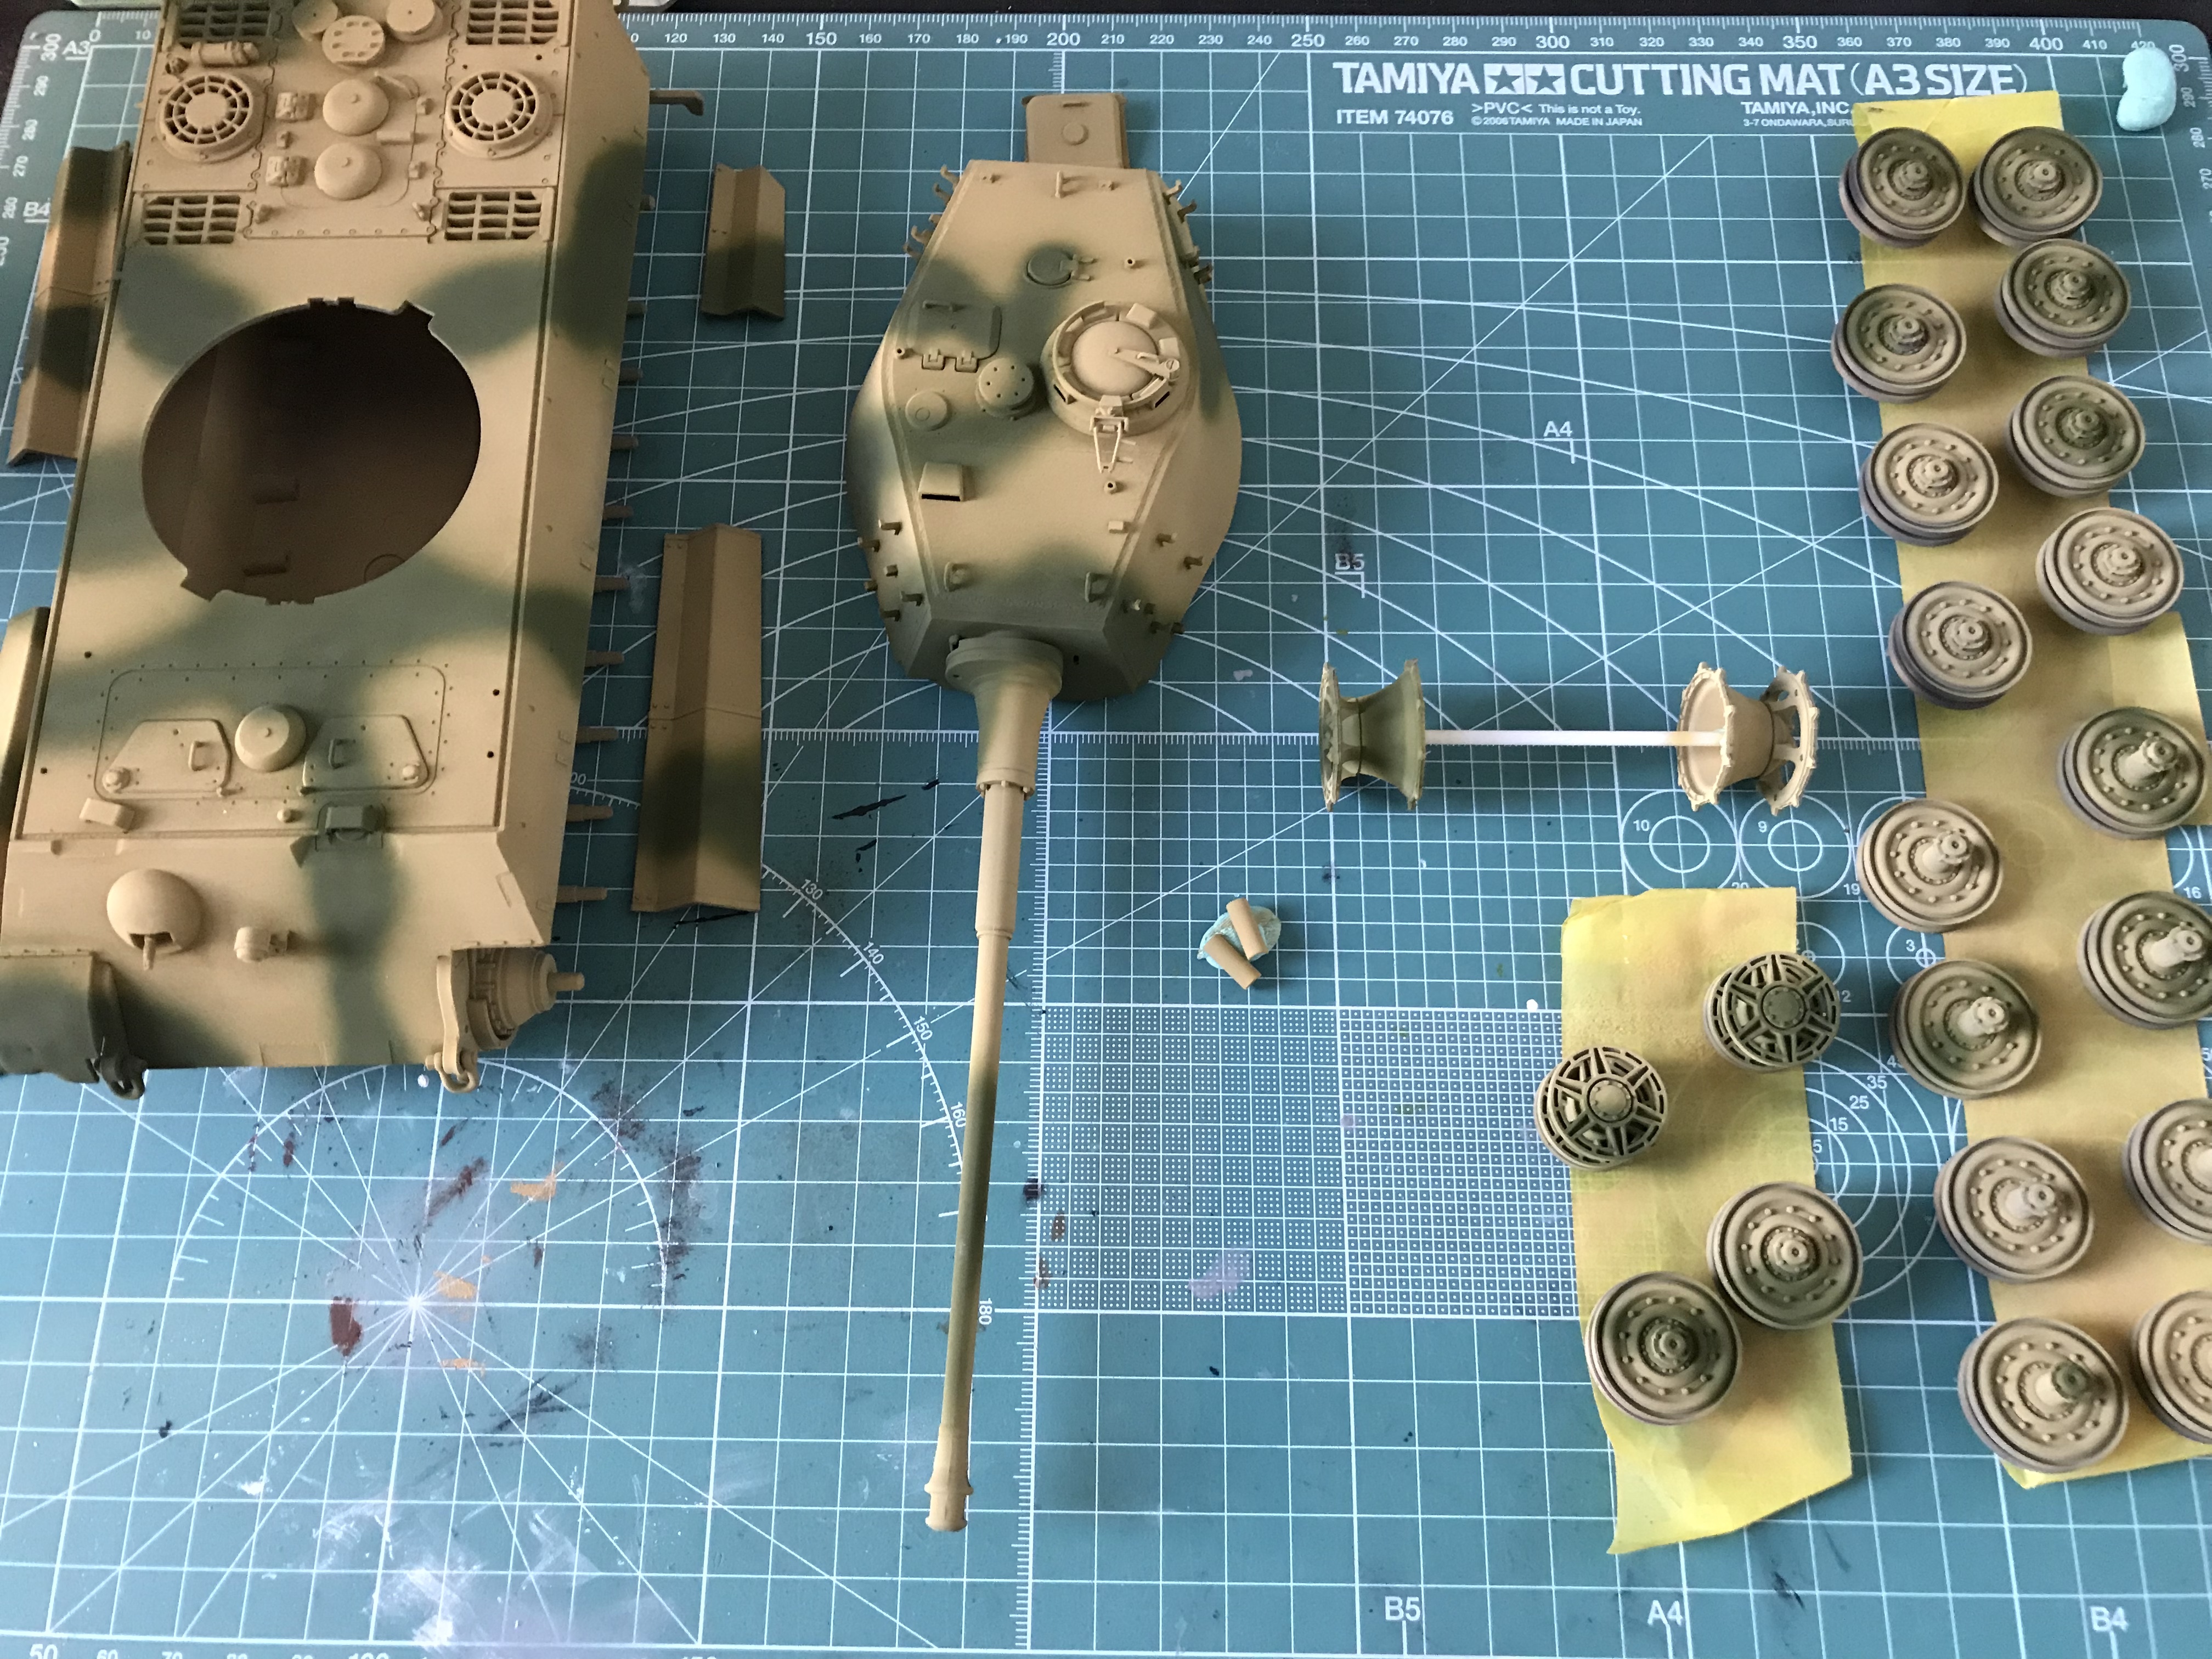
AK Interactive real colors dunkelgelb


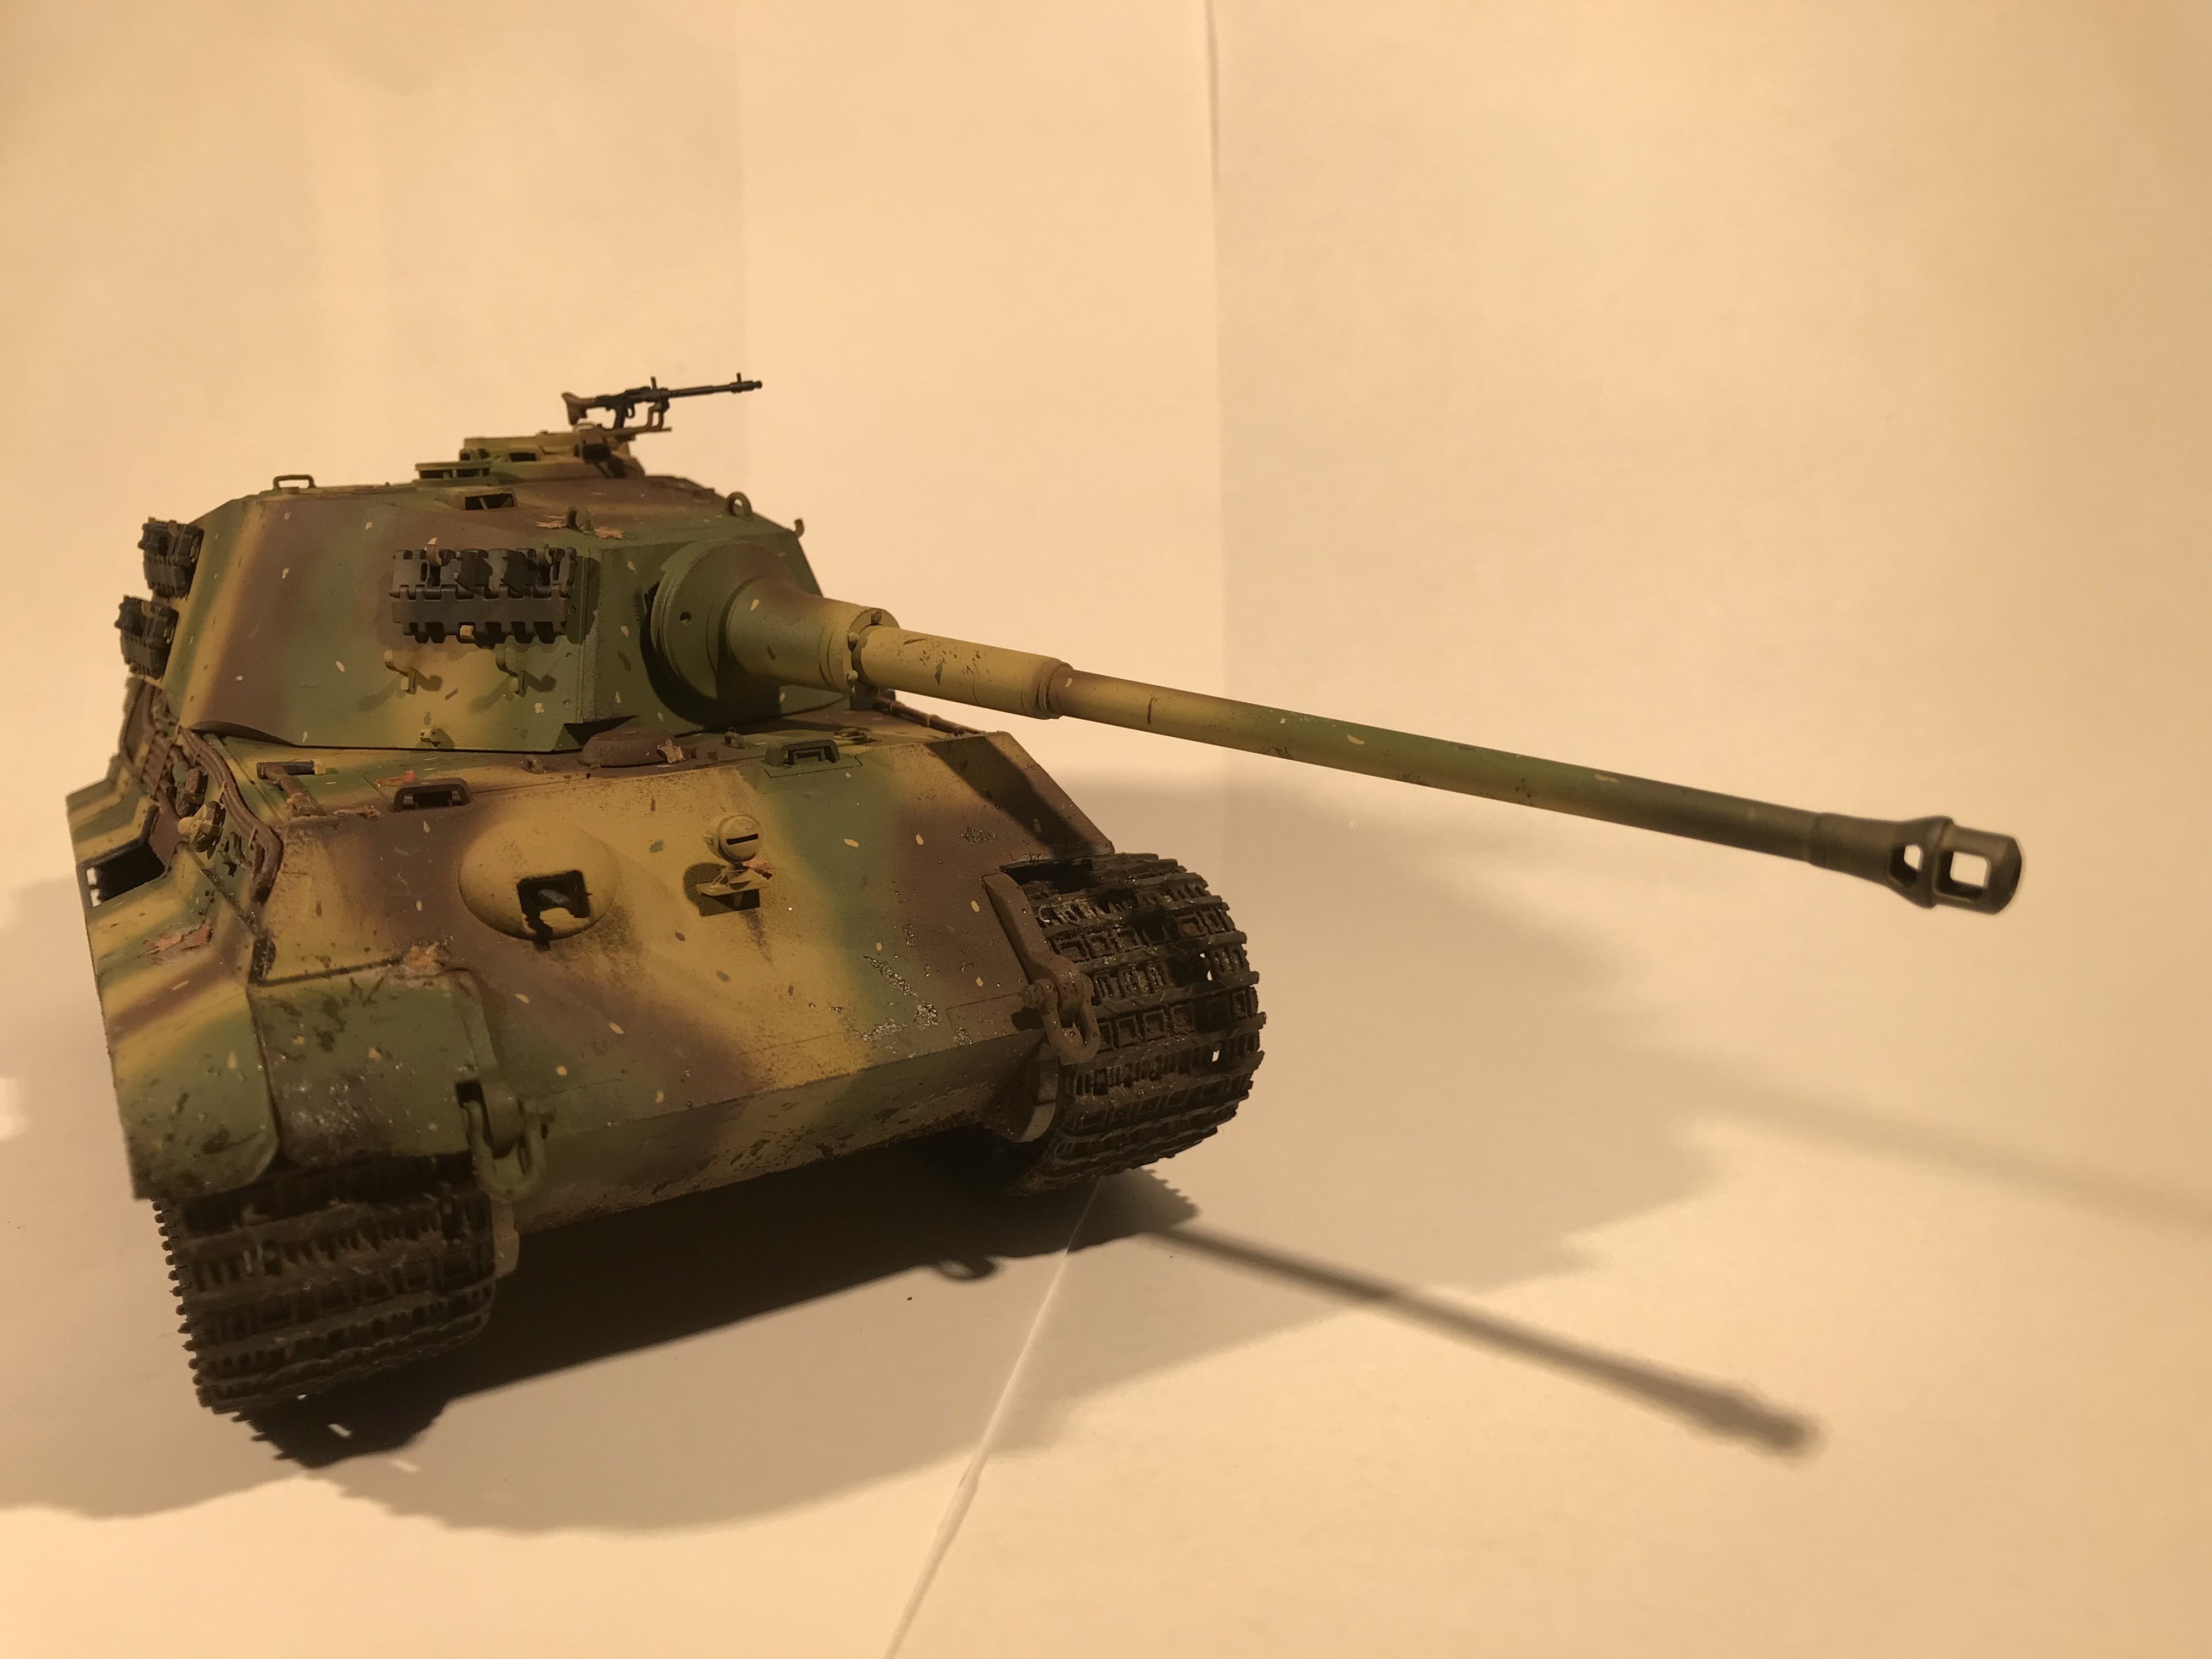
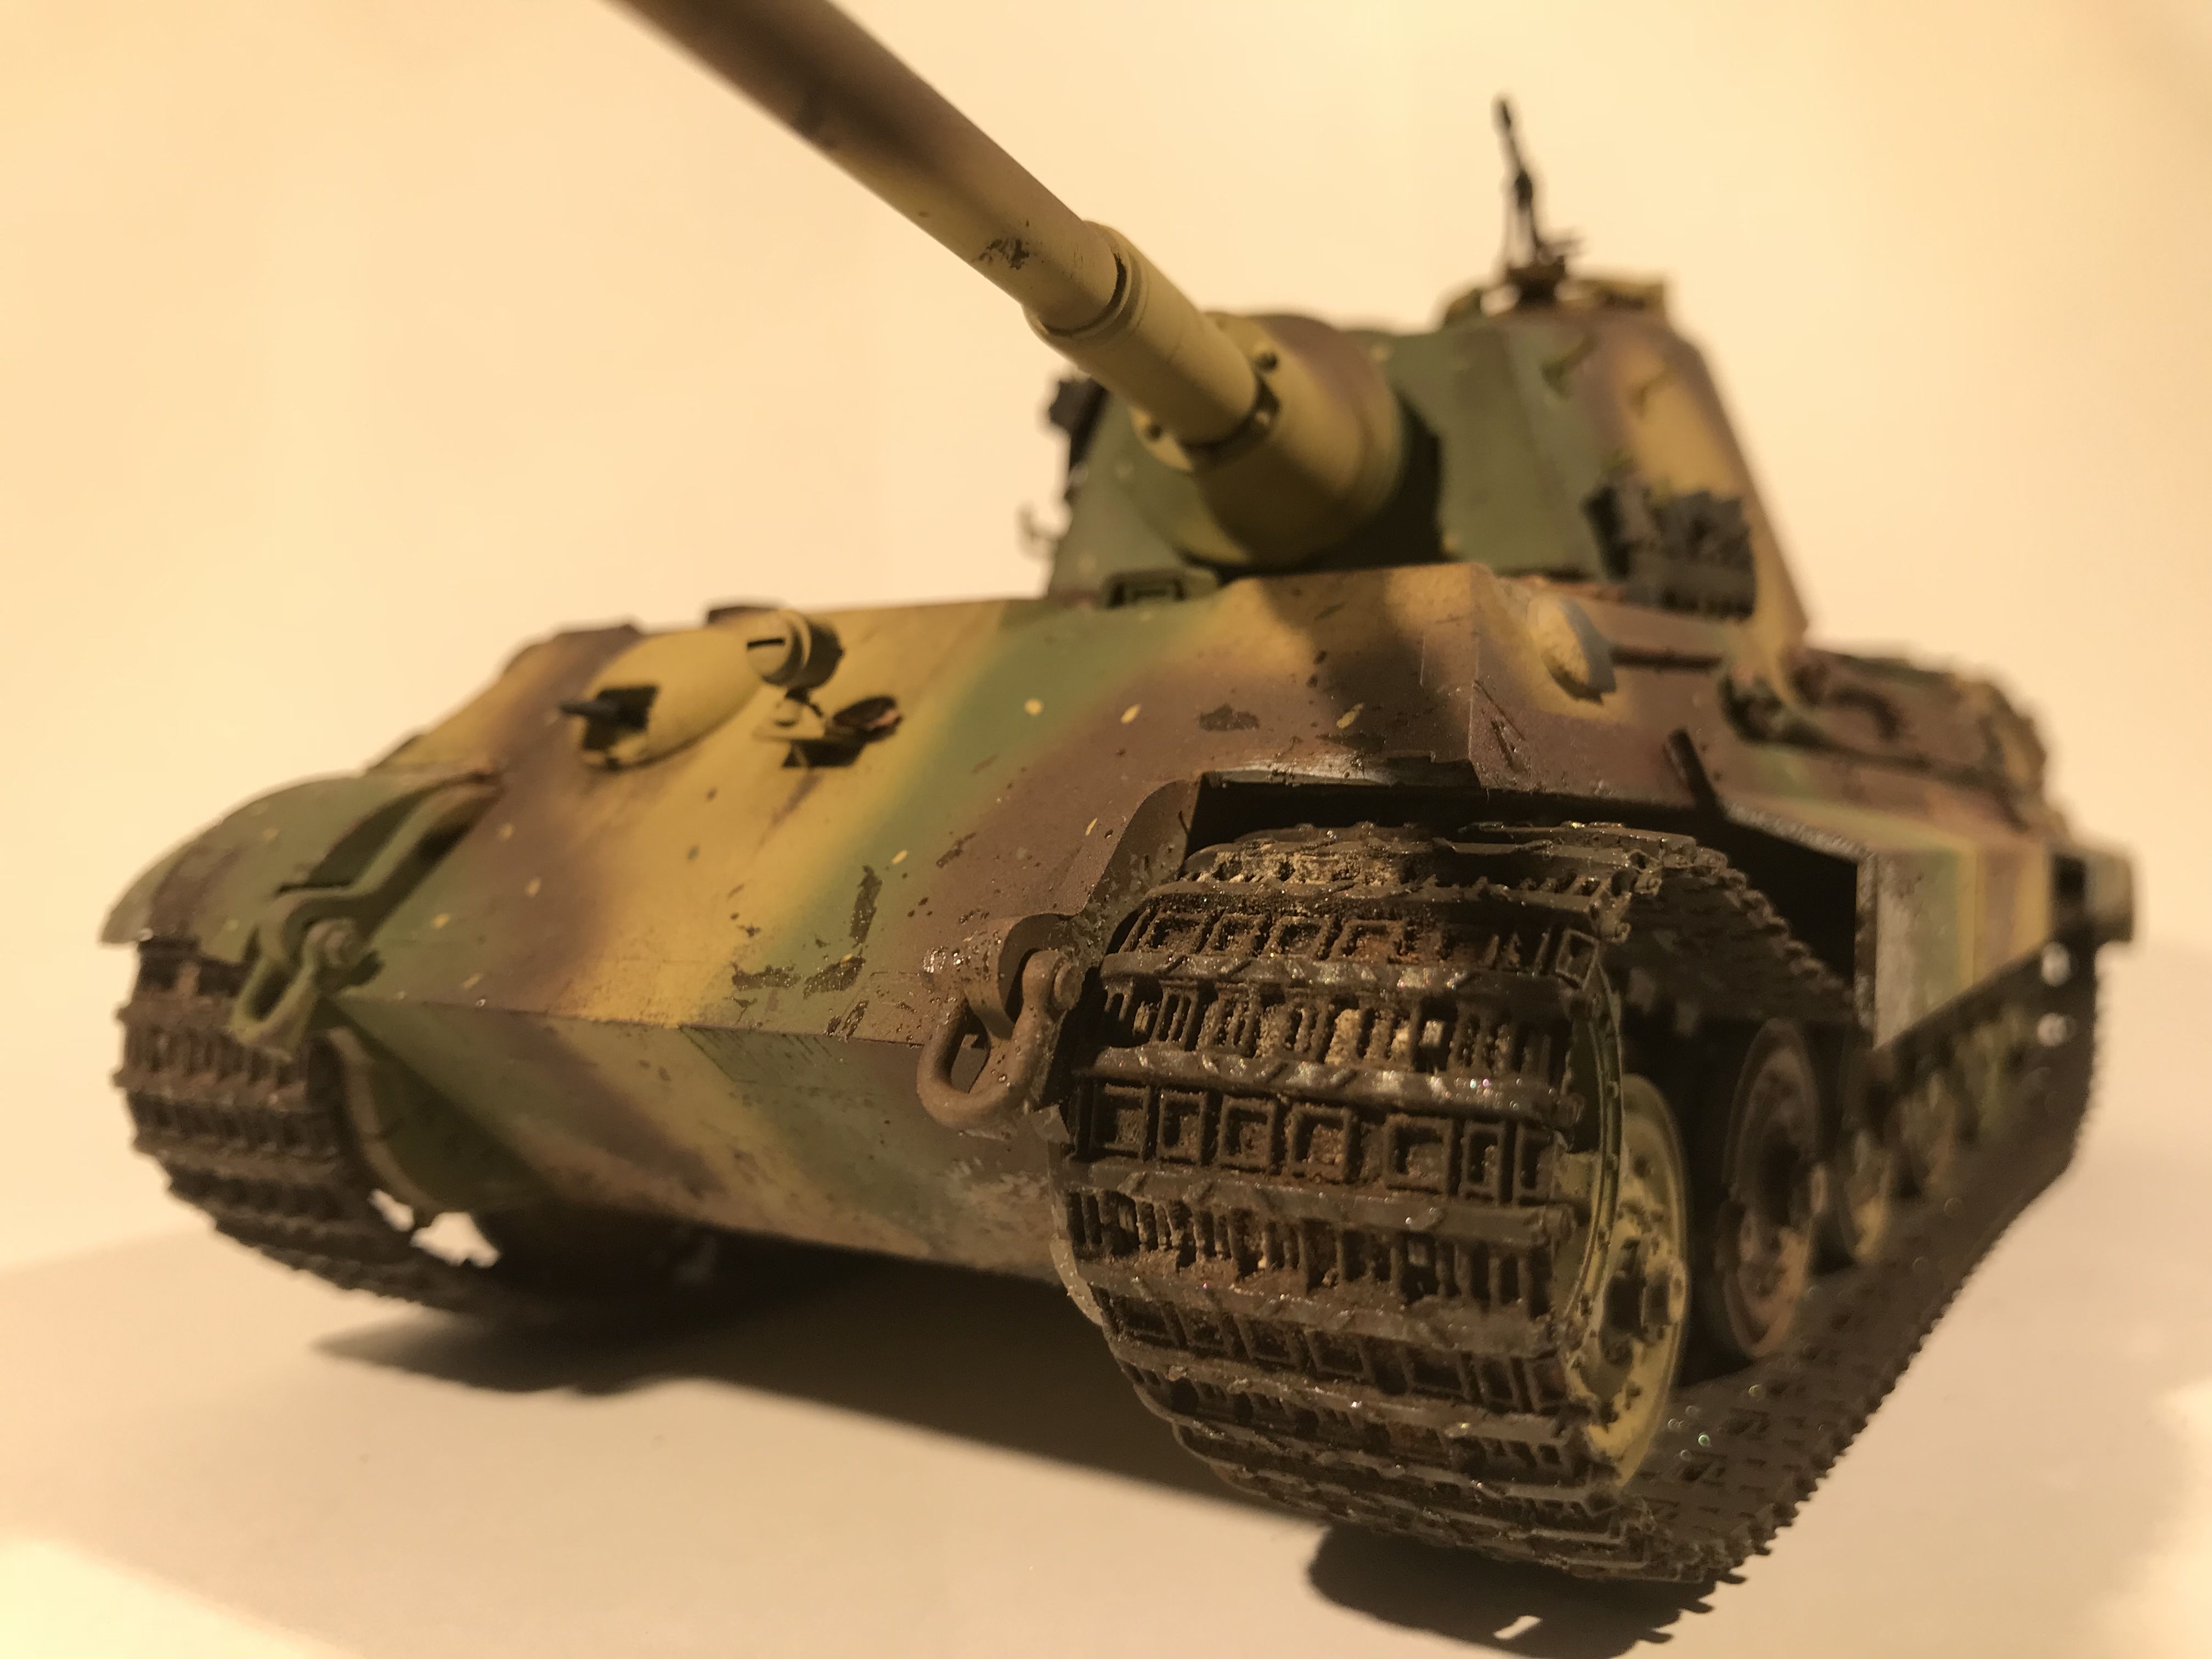
The Ambush scheme camouflage was made without masking tape, i turned down the pressure and tried to spray it on carefully, as my first free-hand camouflage i am happy with the result


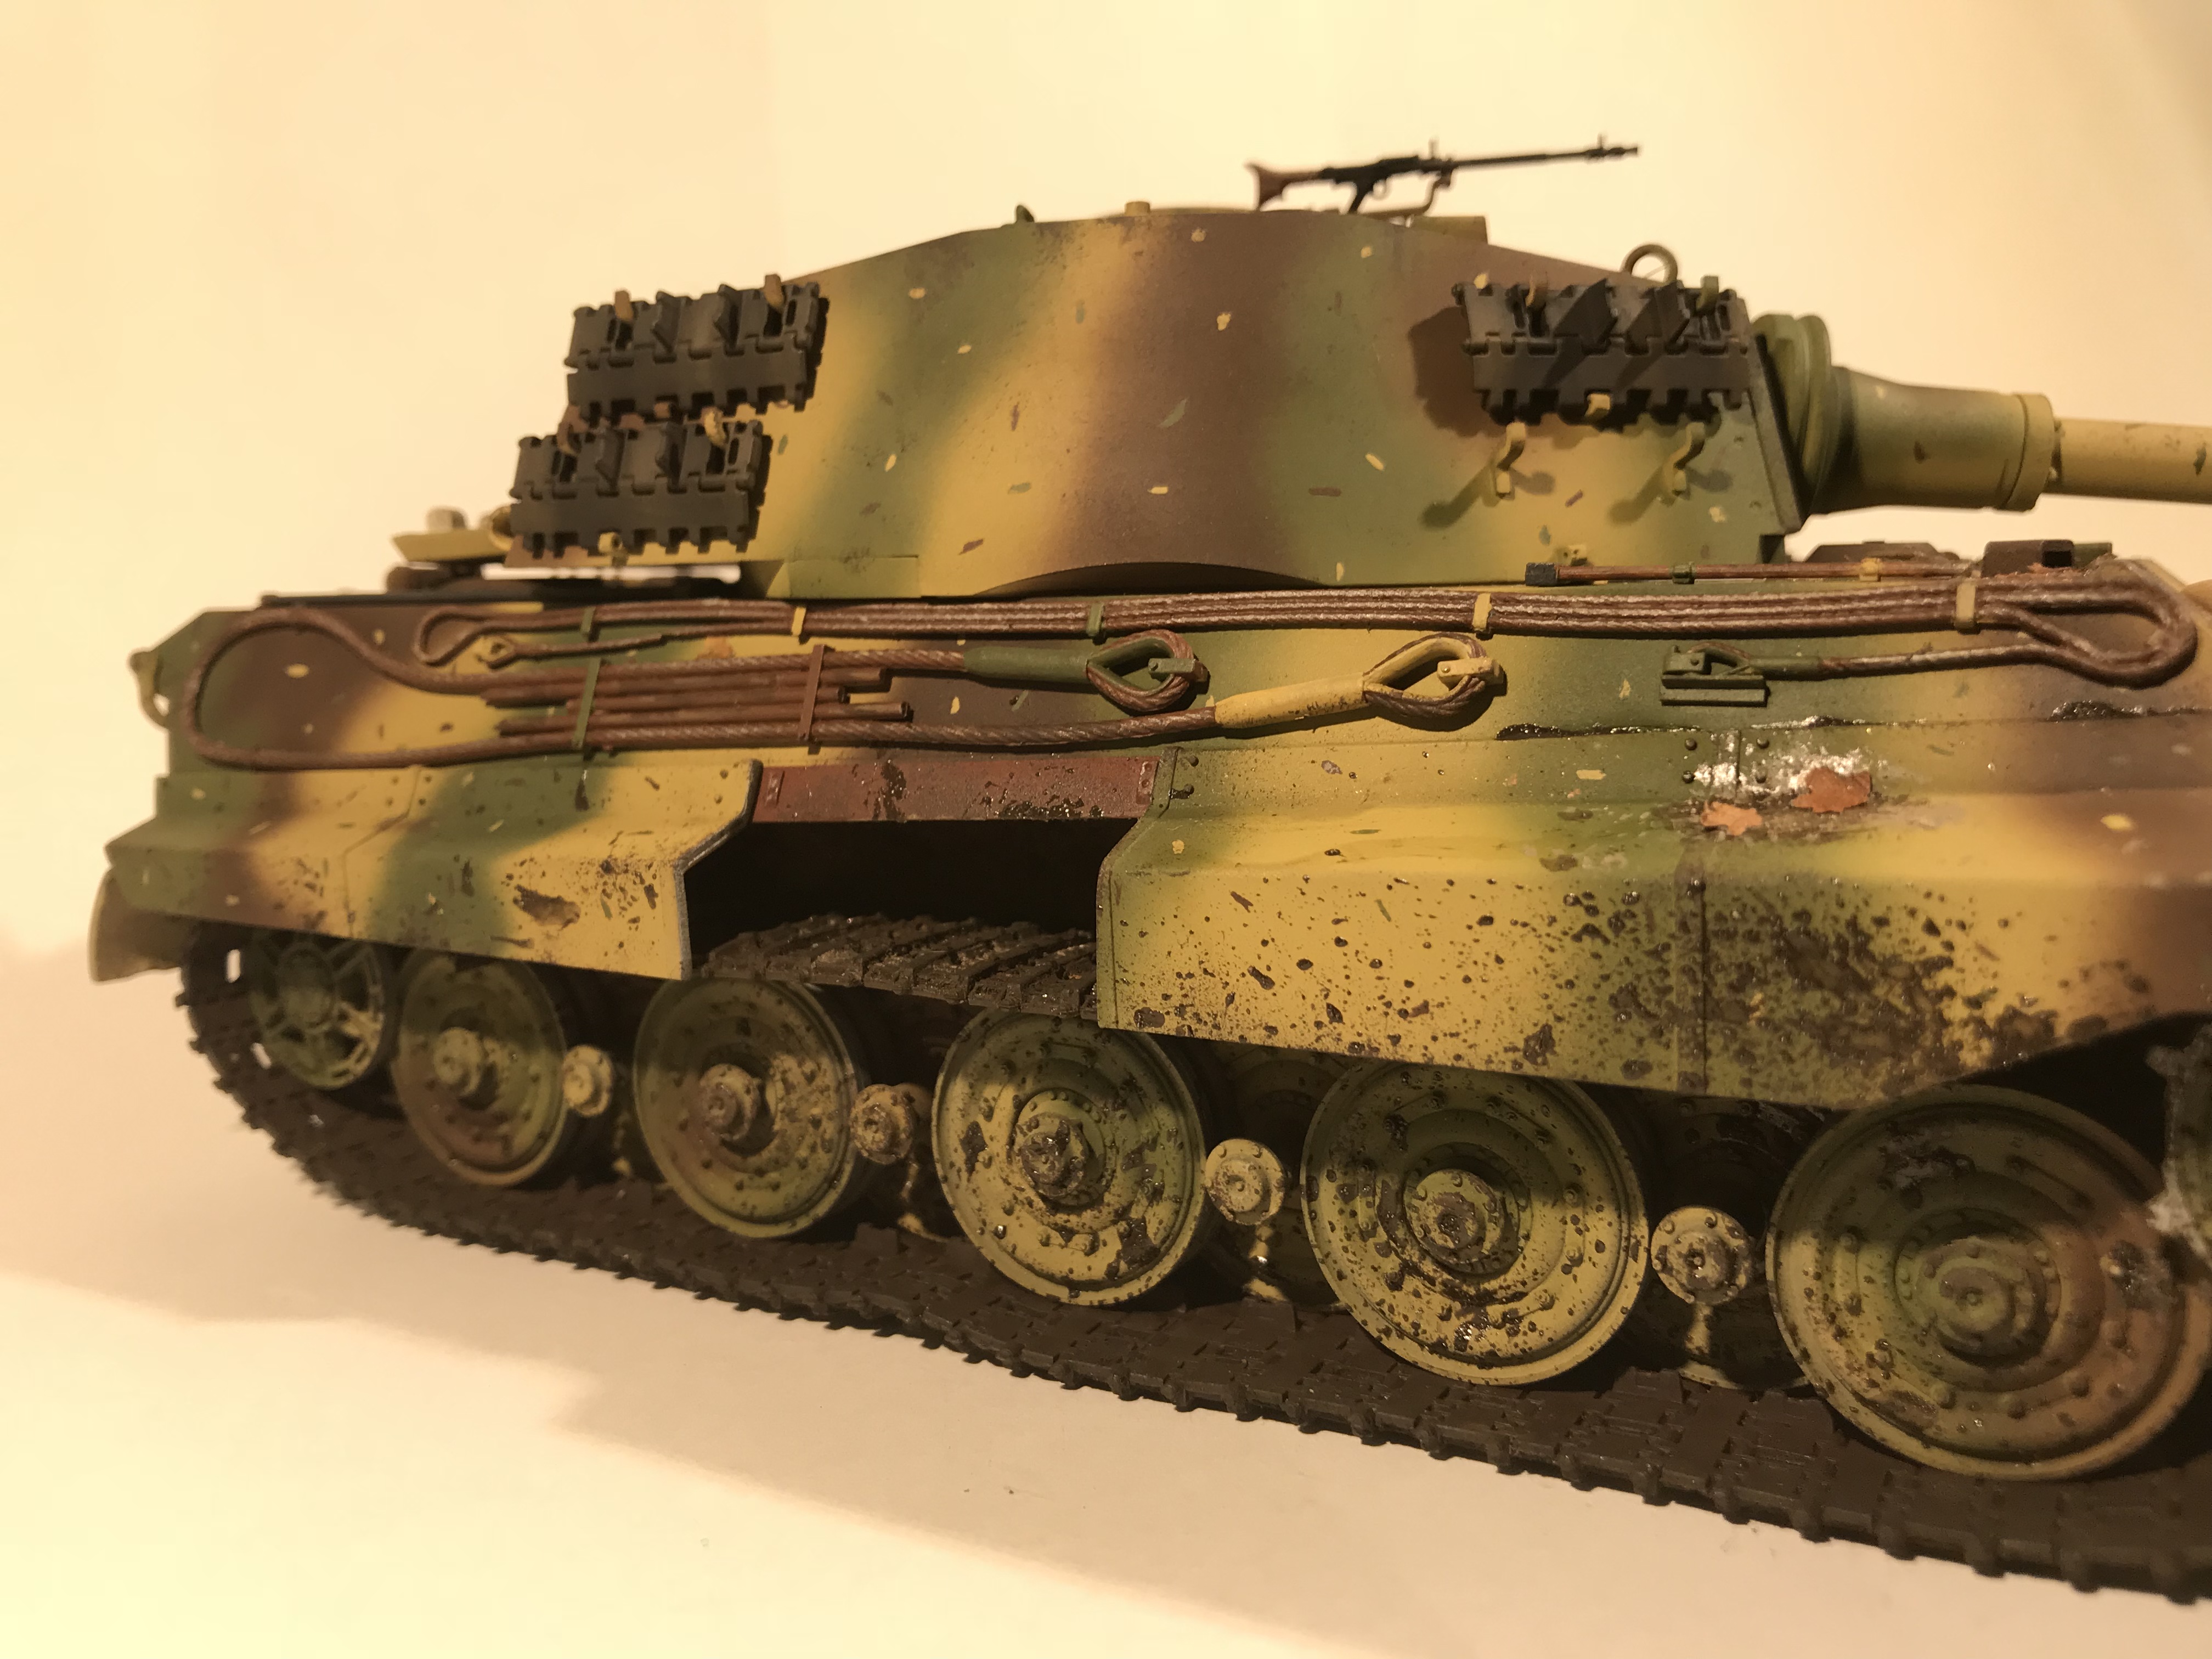
I mixed up my own rotbraun, and applied it where the sideskirts would attach

The weathering involved a sponge chipping technique, some streaking (which i definetly need to practice on), mud and dirt, and i decided as the ambush scheme was used in Ardennes during autumn, i put some leaves on the vehicle too. I went out in the garden and found some diffrent color leaves, and a rotten one. I used the leaf cutter from Green world stuff, and i think it was a nice touch.. I did some other basic weathering and this is how the vehicle turned out after 1 month with on and off building

I hope you like looking at it as much as i enjoyed building it. On my next build i will try to keep you updated as i move along.


Lars

JOIN OUR COMMUNITY!

Our community is FREE to join. To participate you must either login or register for an account.

SEARCH FORUMS
FREE NEWSLETTER
By signing up you may also receive reader surveys and occasional special offers. We do not sell, rent or trade our email lists. View our Privacy Policy.