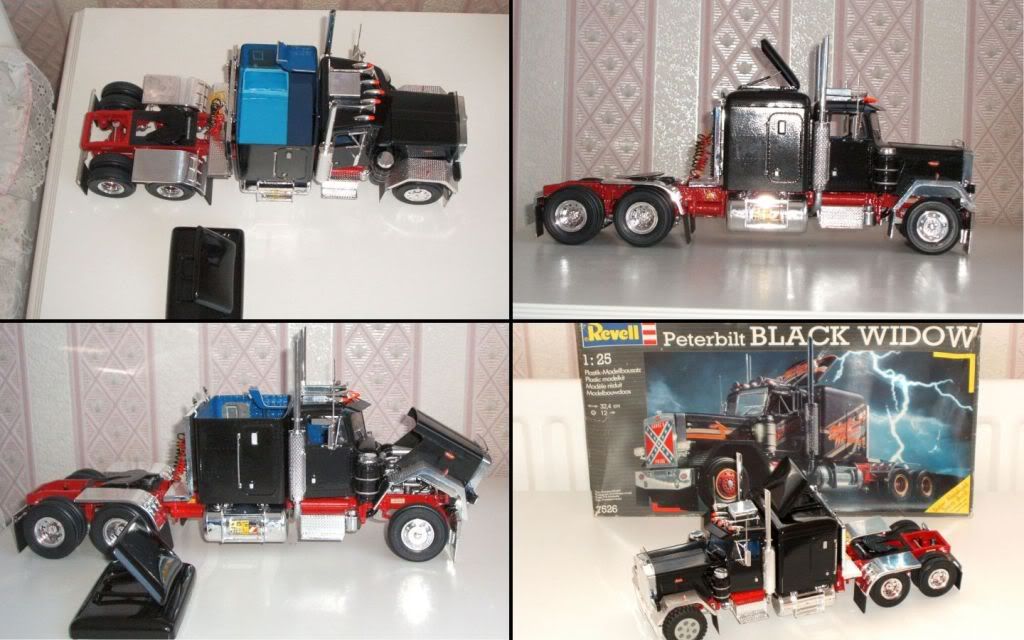
Hello everyone,
It has taken a lot longer than I expected but eventually the penny dropped and I now know how to post photos using PB and Flickr. I must admit that I found a way which is nothing like as hard as some of the instructions I have read. Everyone must have slightly different problems but I found trying to use the embedded codes from Flickr and PB is the cause not the cure of the problems when posting photos.
Anyway, since I turned up here and didn't fit the standard male modelling mould I have rocked the boat slightly with a couple of people and I am sure one or two still doubt this truck really exists so it gives me great pleasure to eventually get some photos online.
I have no idea how it compares to anything else, that's why I'm expecting honest and truthful opinions and once I stop crying and calm down (joking of course, I can take it) the next model, a dumper trailer, can only be better.
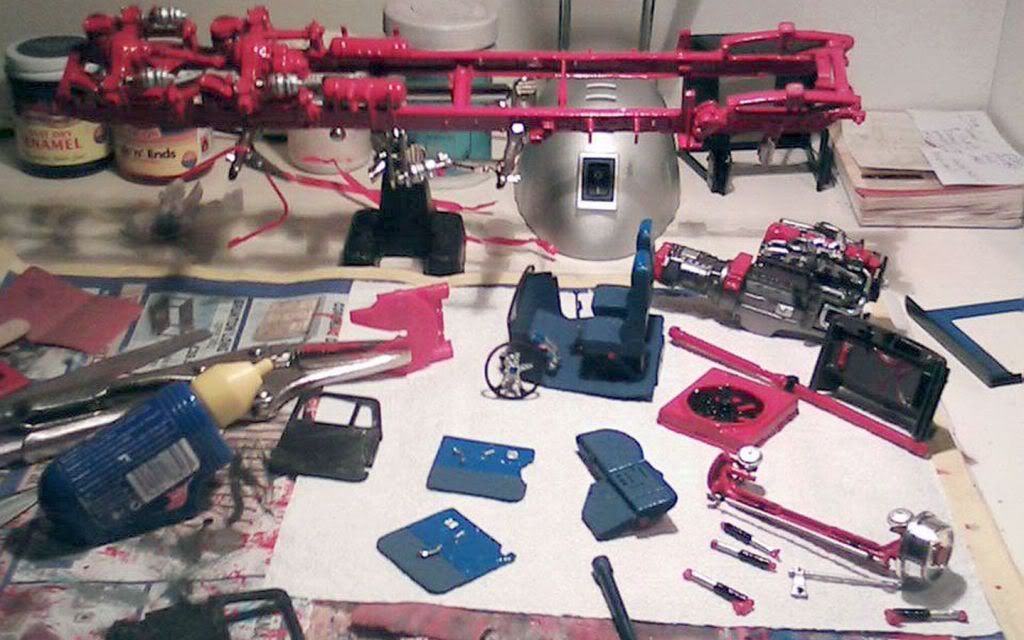
#1 Camera Phone Photo
This is the first photo I took once I decided to document what I was doing. I removed most of the twist in the chassis by glueing and clamping each single chassis leg in three stages before glueing them both back together and refitting the rear axles. It took over a week to get to this stage and I was trying to do too much at once. The steering was in a right mess after taking it apart and you can see the damage I did to the inner doors to get at the snapped hinges. The shock absorbers have been glued back together and painted, the seats are now blue, the fan is black and the steering wheel has been removed to straighten and paint.
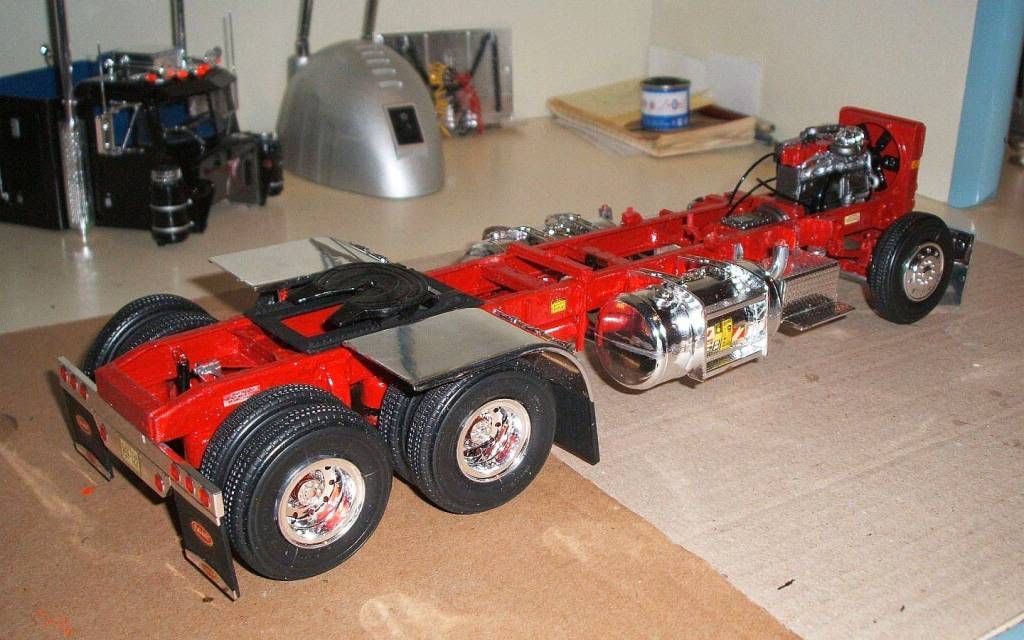
#2
The chassis is starting to take shape by now but the steering arms keep snapping. I later fix it using the same idea I had to fix the door hinges and bend two pins into right angles at the pin heads, put them through the track control arm and melt them in as new steering arms. The wheel pins have been drilled out and fitted with new pins, the engine and radiator are done and the drive shaft is back in place. I made the mistake of putting the bumpers on at this stage and very quickly realised I had no way of picking the thing up without bits falling off.
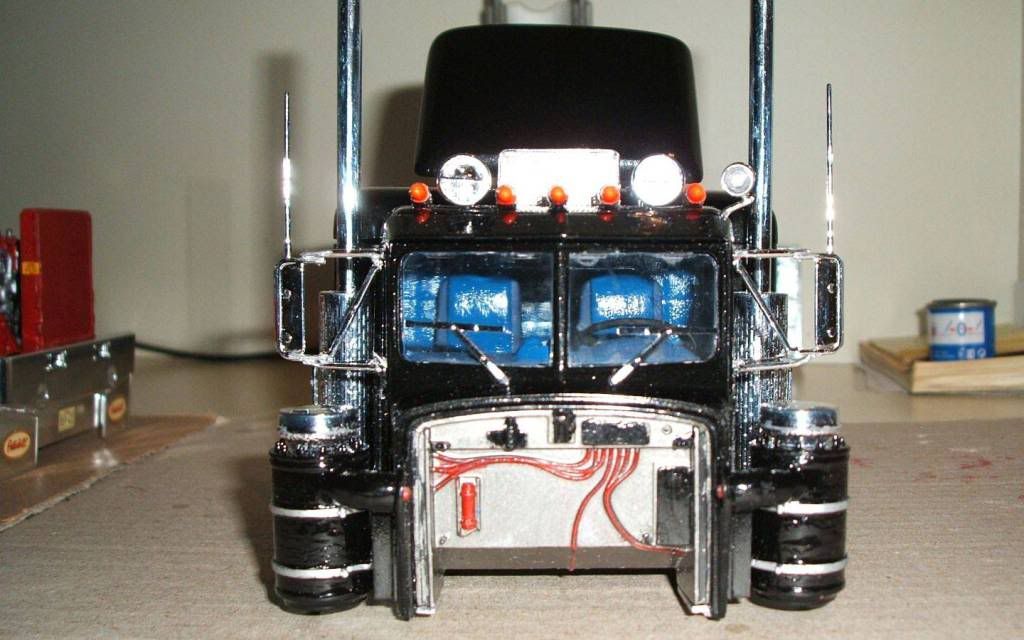
#3
The cab is almost finished, just some touch-up's needed but I never get it perfect. The glue on the glass still bugs me but my nephew was only ten when he tried to build it. I decided on metallic red for the chassis which was a deeper red than my dad originally used. The inside should have been red and brown but it isn't the 80's anymore so I used different blue's with matt black plastics and aluminium for the steering column, gear stick and window winders. The cab and sleeper roof is dark grey and it has a light blue bed (it is after all a man's truck). I bought a large can of metallic black spray for the outside and my dad showed me how to spray before I painted the cab. The temperature was below freezing in the garage so I sprayed and my dad dried used my hair drier to stop the paint from running. I didn't paint the front wheel arches, wheel centres, lower front bumper and the cooler for the roof as I wanted to keep as much chrome as possible. The engine and bulkhead are silvery bronze thanks to a touch-up brush off my dads old Nissan Sunny Drizzle. (I hated that car)
#4
The original door hinges are solid bits of glue and I spent hours making little pegs that kept snapping when I opened the door because I couldn't get them lined up. A paper clip give me the idea of cutting up a sewing needle and melting it through four plastic blocks glued to the cab. The pins are between the two half's of the doors and the blocks fit in the original hinge gap. I manage to get this door to work fine but the other door twists as it opens. It shouldn't be too much of a problem on the UK's roads though. The blue paint showing in the roof gap, the burr on the chrome hand rail, the black on the edge of the door, the lower seats and the cab floor all get corrected.
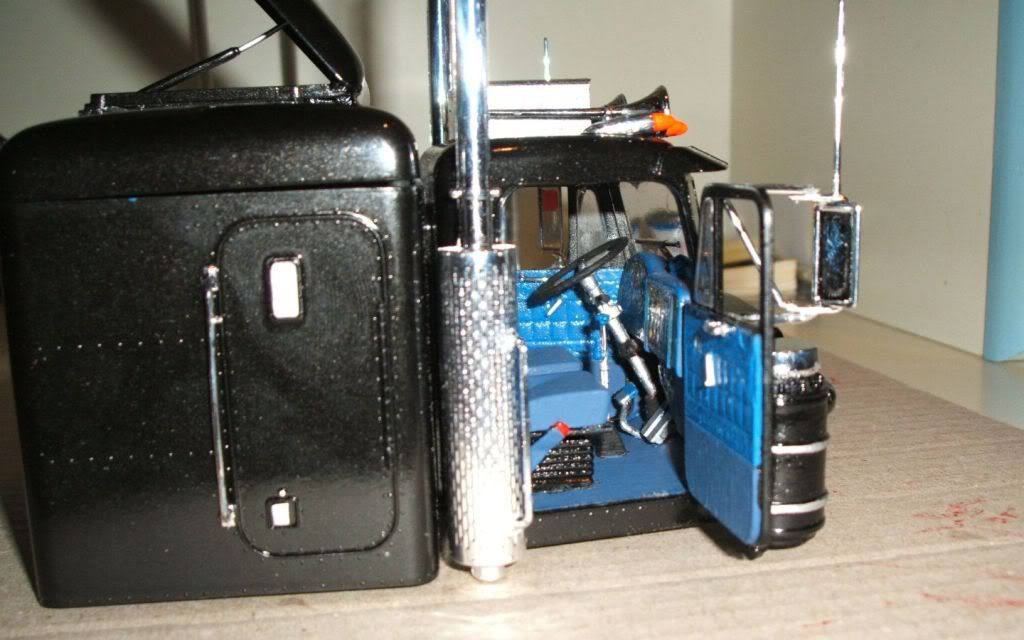
#5
A nice photo showing the two tone blue I used on the seats. It also shows the air stacks which are painted with a brush as I forgot to spray them. I have nothing but problems trying to get a smooth finish with a brush. Even with car body polish, I usually go through the paint before I get it smooth.
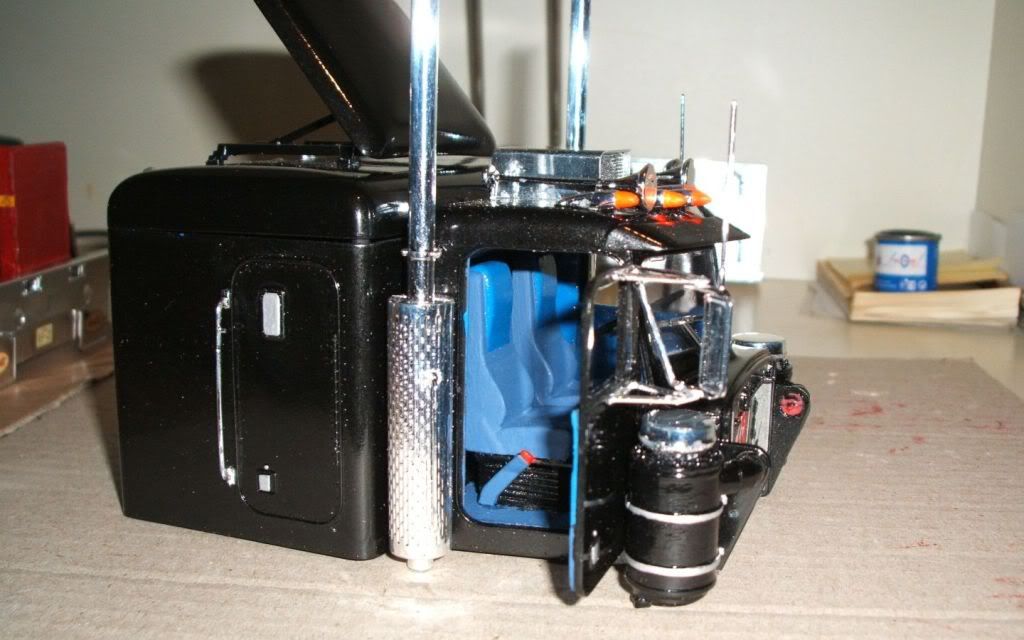
#6
A few pieces are missing in this photo. The whole left front wheel is gone. The radiator crown and part of the exhaust is missing and both compressor units that fit on top of the chrome steps are gone. I made a connector to hold the exhaust to the engine and an old pen got cut up and used for the two missing compressor units above the steps.
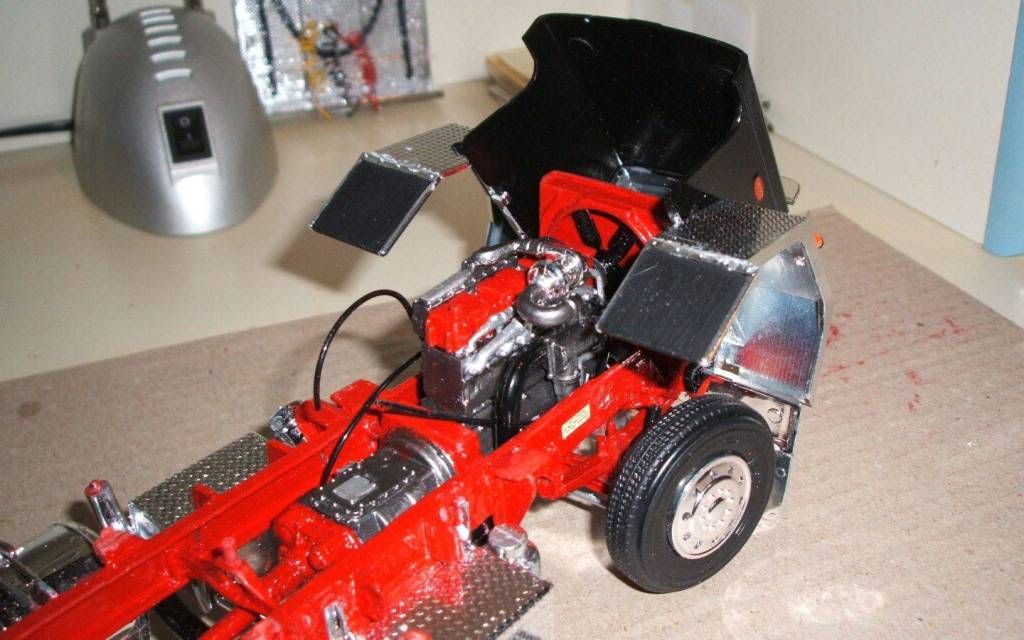
#7
There she is. When I saw it like that for the first time I was grinning like a Cheshire cat.
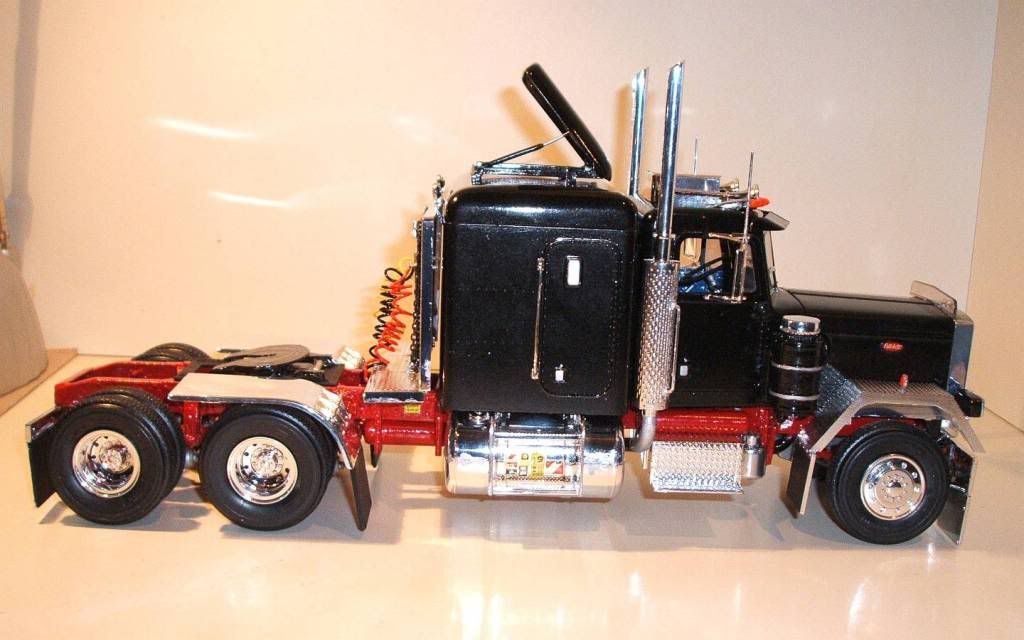
#8
The chains and air-lines make such a difference at the back. I'm not sure if hooks for the chain were snapped off but I had to make some to hold the chain up. The fifth wheel could ether be glued in place or left loose but I didn't like that so I made a bracket underneath it so it still slides but will not come off.
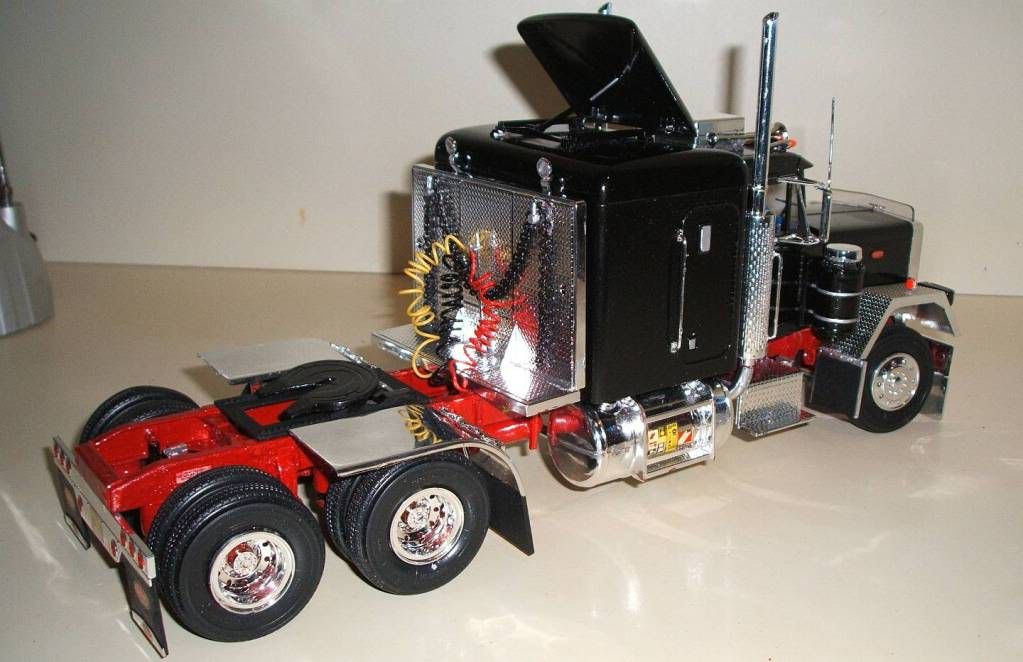
#9
One thing I have noticed is the camera flash highlights all the little faults that you don't usually see. All the wheels now turn after the old pins got drilled out and I made new ones but you can see I didn't quite get the back wheels lined up. You can also see where I first put the front number plate, then before it dried I moved it lower down not realising it would remove the chrome. You live and learn.
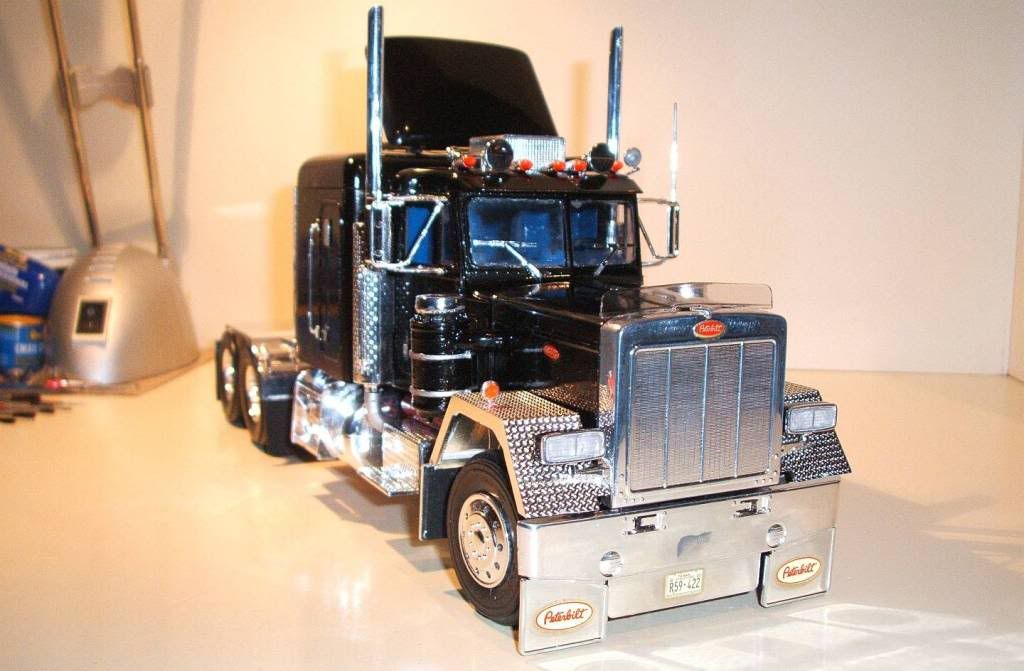
#10
Another view inside this time with my touch-up's finished. I don't have a steady enough hand to get straight lines and the silver bands around the air stacks were done countless times. I bought a pack of Revell brushes but I find them far too soft. I try to paint something and they bend right next to the metal before I can get the paint where I want it.
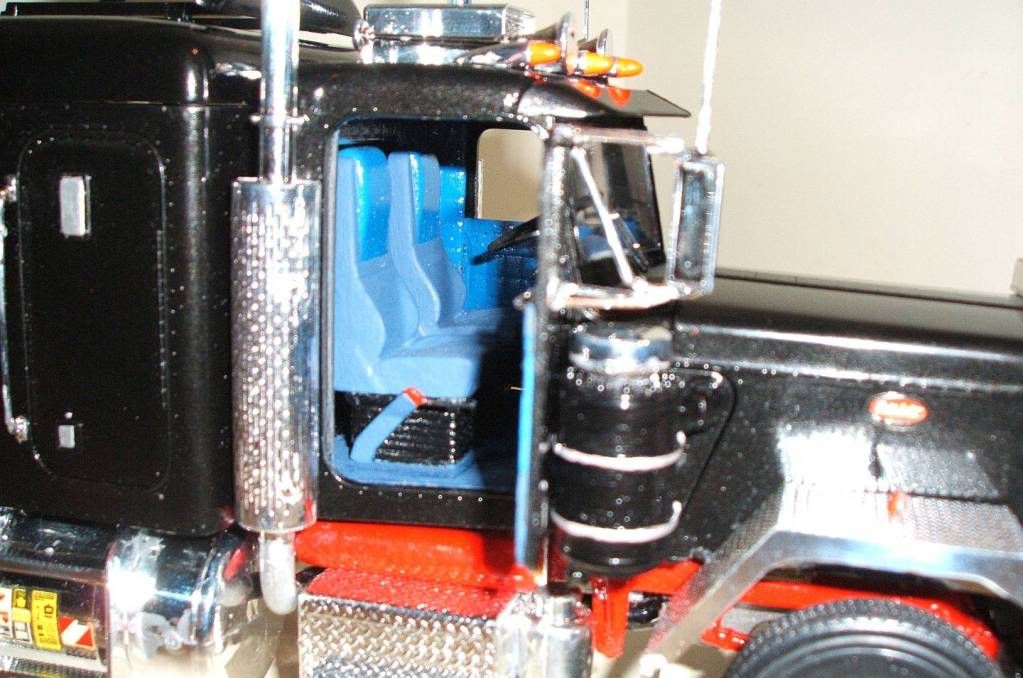
#11
I've just realised you can still see the glue around the bottom of the seat that I will redo. The camera flash makes it look like it is scratched and chipped yet it looks fine when it's pitch black (joking).
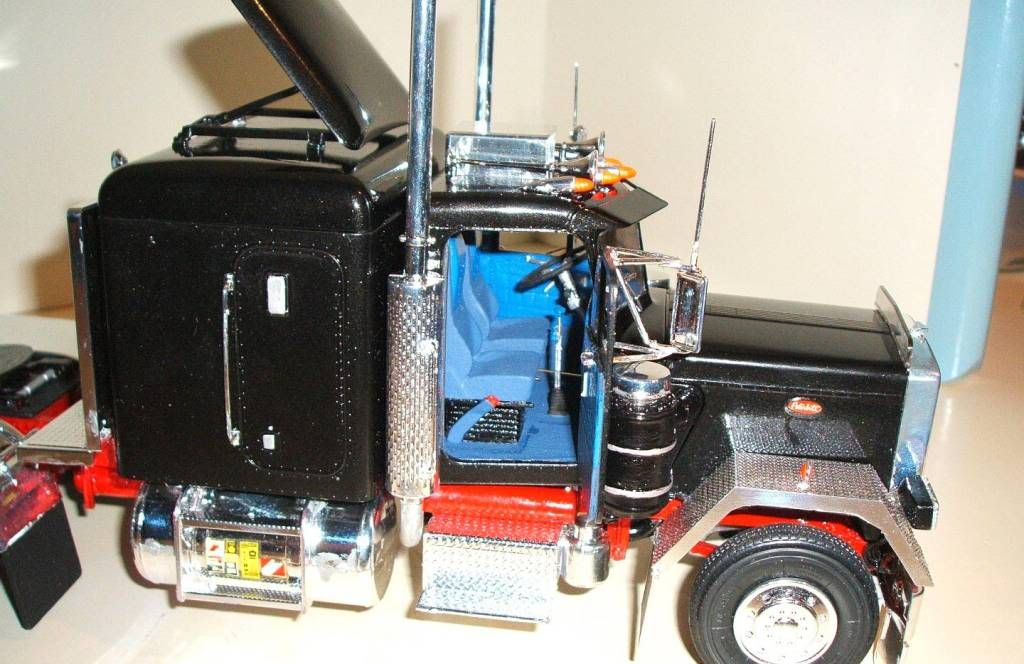
#12
I now believe that the number plates are meant to go higher up on American trucks after looking at models and real trucks online. In the UK they tend to be nearer the bottom. The second wheel that is missing is hidden by the chrome mud guard and outer wheel on the left hand side.
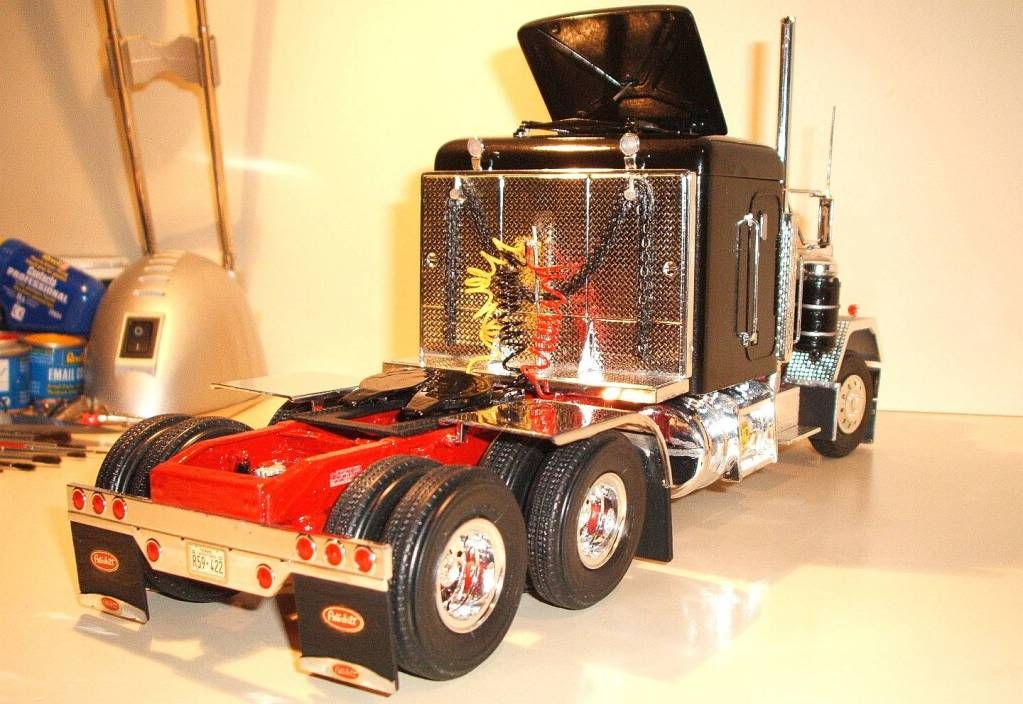
#13
I knew if I kept looking long enough I would find a wheel I could adapt to fit the truck from the hundreds of toys my brother used to play with. The wheel is from a white technic Lego truck and on the box it says scale 1:25. There should have been 11 wheels in the box but 10 were missing. This one was used at the back to steer the Lego truck.
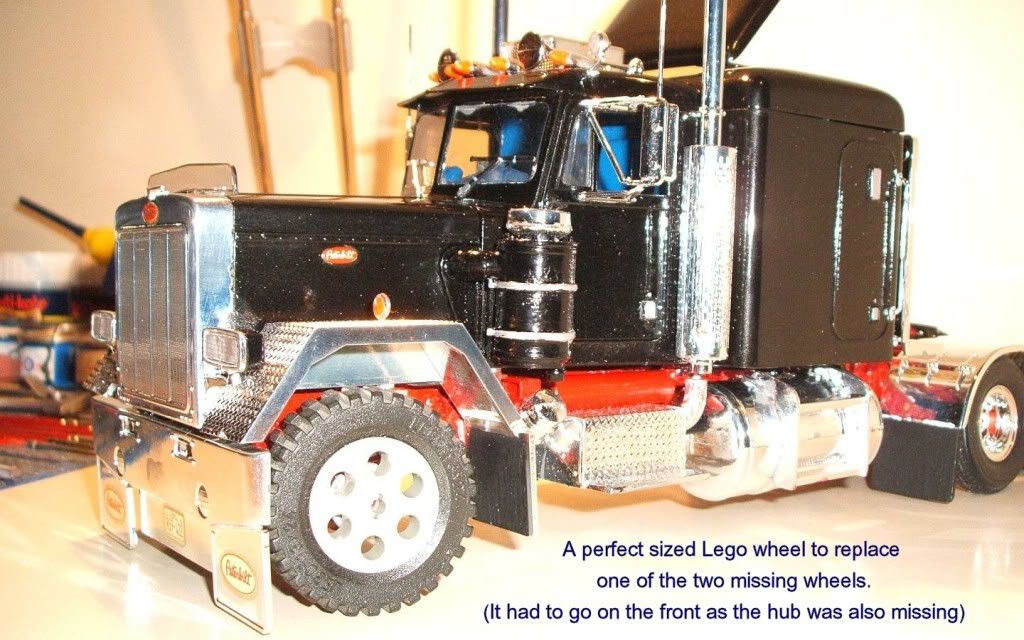
#14
Another view of the truck showing the side everything went wrong. This is the side that I always did first as you're usually a little bit better at something the second time round. The only decals that I used were a couple on the chassis, one on the fuel tank, a couple for the dash and the Peterbilt badges. I have always liked black cars with chrome trim so that's how I kept the truck.
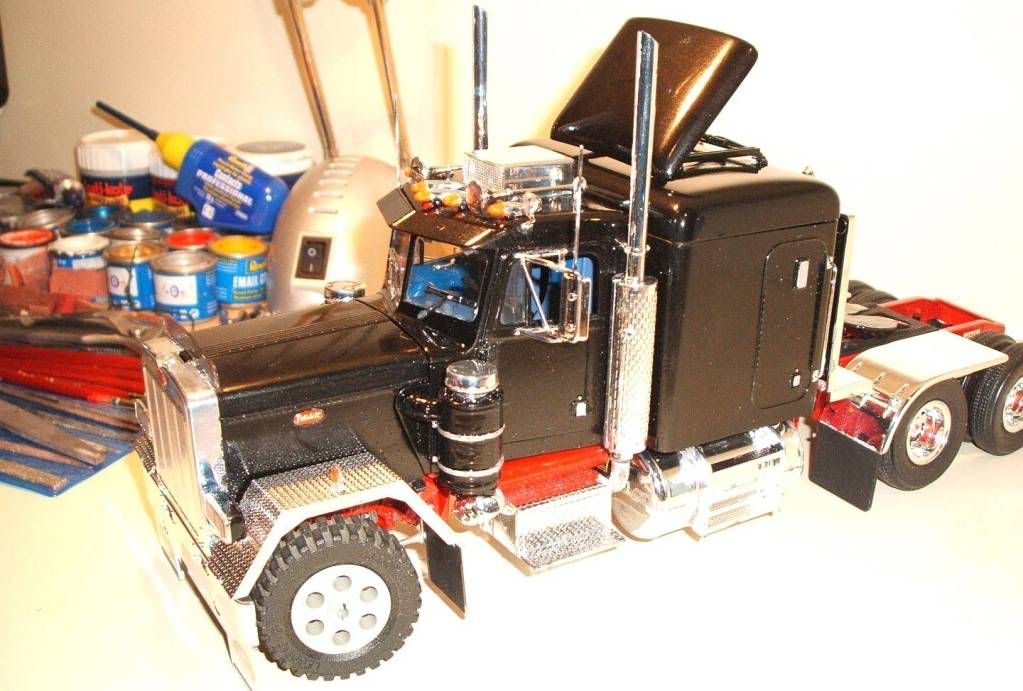
#15
Not showing much here. Just the controls above his bed.
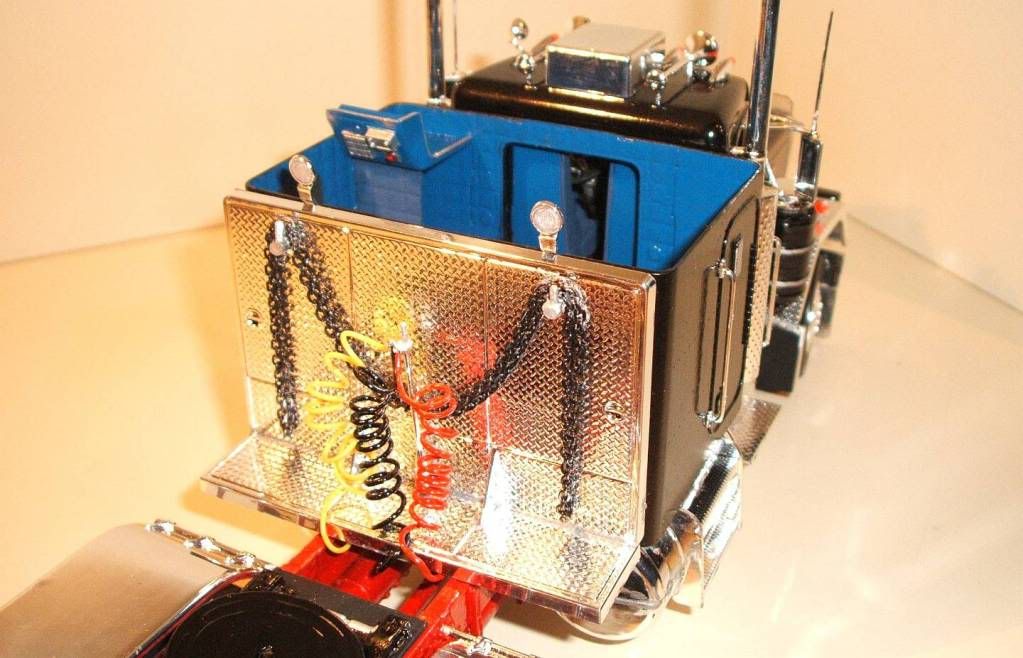
#16
That's a proper lads bedroom. A bed, a radio and a top shelf to hide his magazines. It just needs a play station, a pizza box and some dirty clothes in the corner.
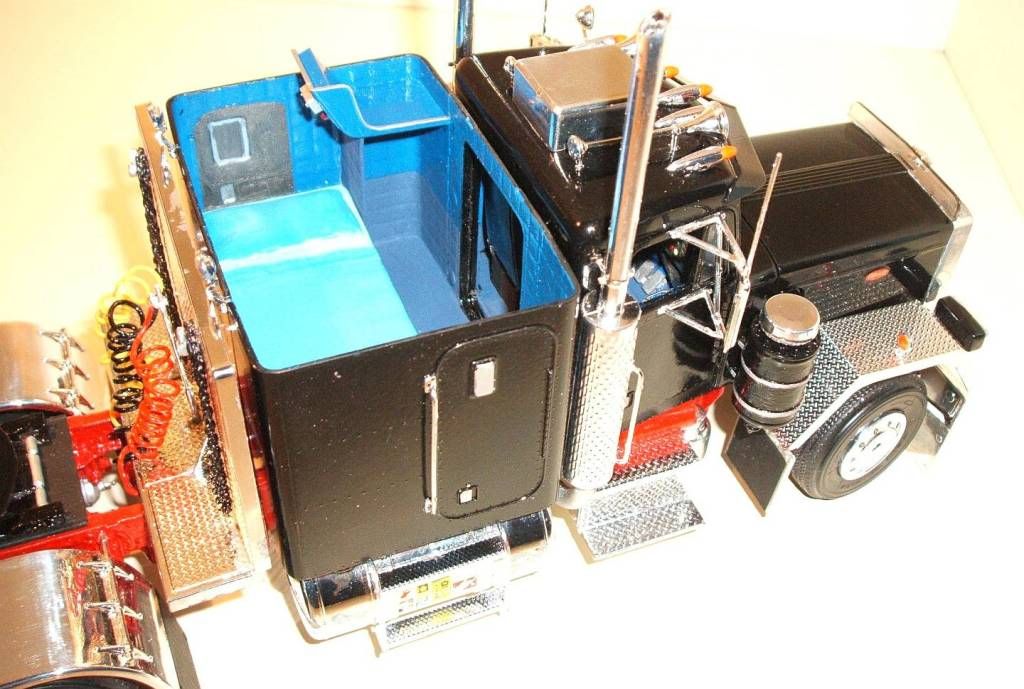
#17
I polished the truck with Autoglym Super Resin Polish and then waxed it with Autoglym High Definition Wax. It's the first time I have polished anything with wheels. I had to stop myself from using tyre dressing in case it marked my units in my bedroom. I've now got to find a home for the paint and tools I have acquired building this model. Most of the paint was found inside old boxes along with some stringy glue that got everywhere. I bought some liquid glue and it is so much better to use.
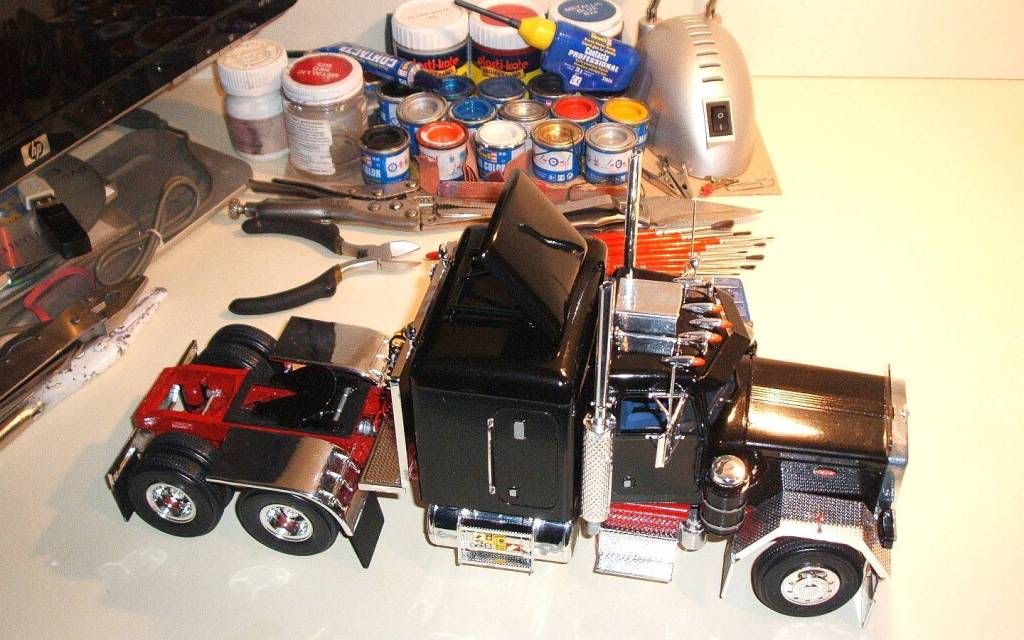
#18
The first time the truck has seen my bedroom as I built it on my dad's computer desk (didn't want to get my own room dirty). The front tyre looks flat on the carpet. It's now going to live on my units collecting dust. If I do build another one it could be 100 times better than this but as it came so close to ending up in the bin and due to the amount of problems I had to over come to get it looking like this, to see it sitting on my units makes me feel so much happier than if it was a new model I built. I guess I didn't build it because I wanted to start making models, I would never have went and bought one. I only built it because it was in such a poor condition after two people had failed to finish it I decided it was going to be third time lucky and I found out that all the work and time and frustration that went into building it is nothing compared to the feeling I get when I look at it everyday. To anybody else looking at it, it is just another fault ridden model, but it means the world to me and that's what really matters.
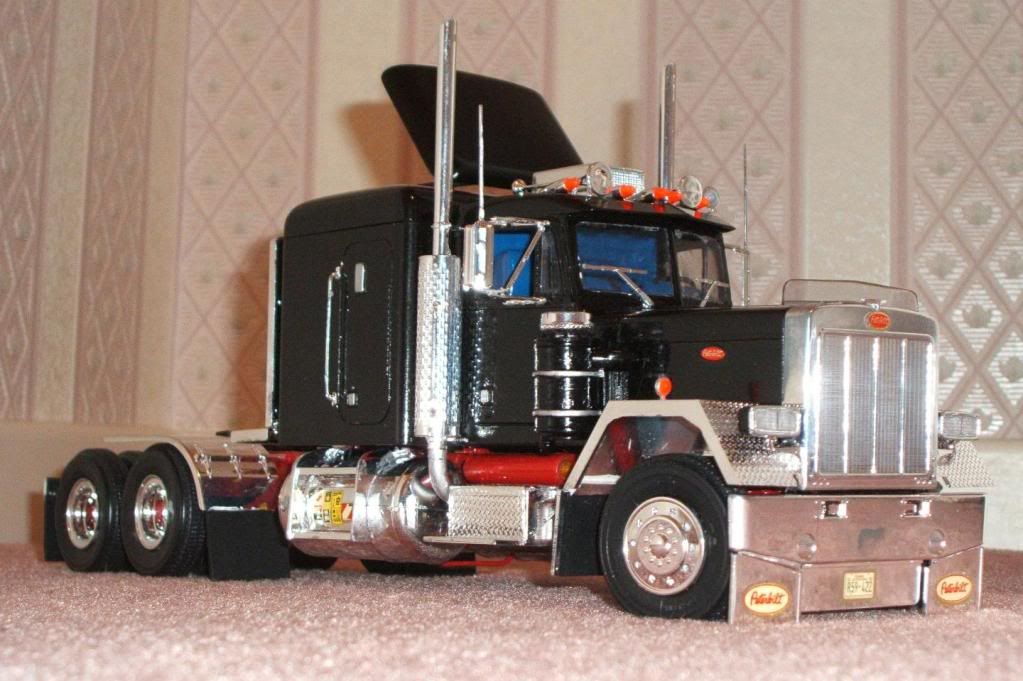
#19 (My Bedroom)
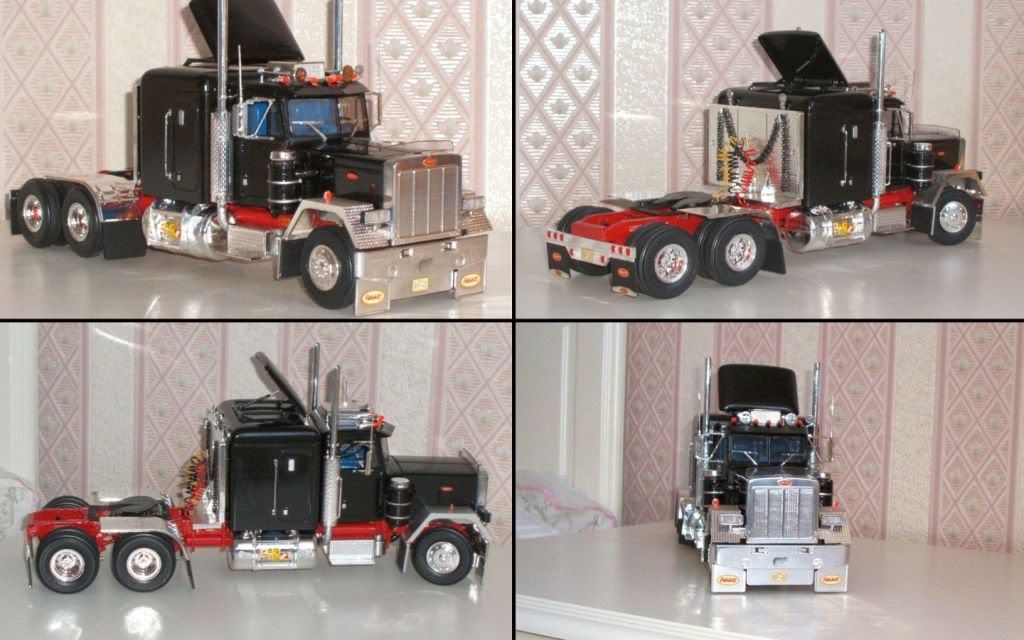
#20 (My Bedroom - Last)
