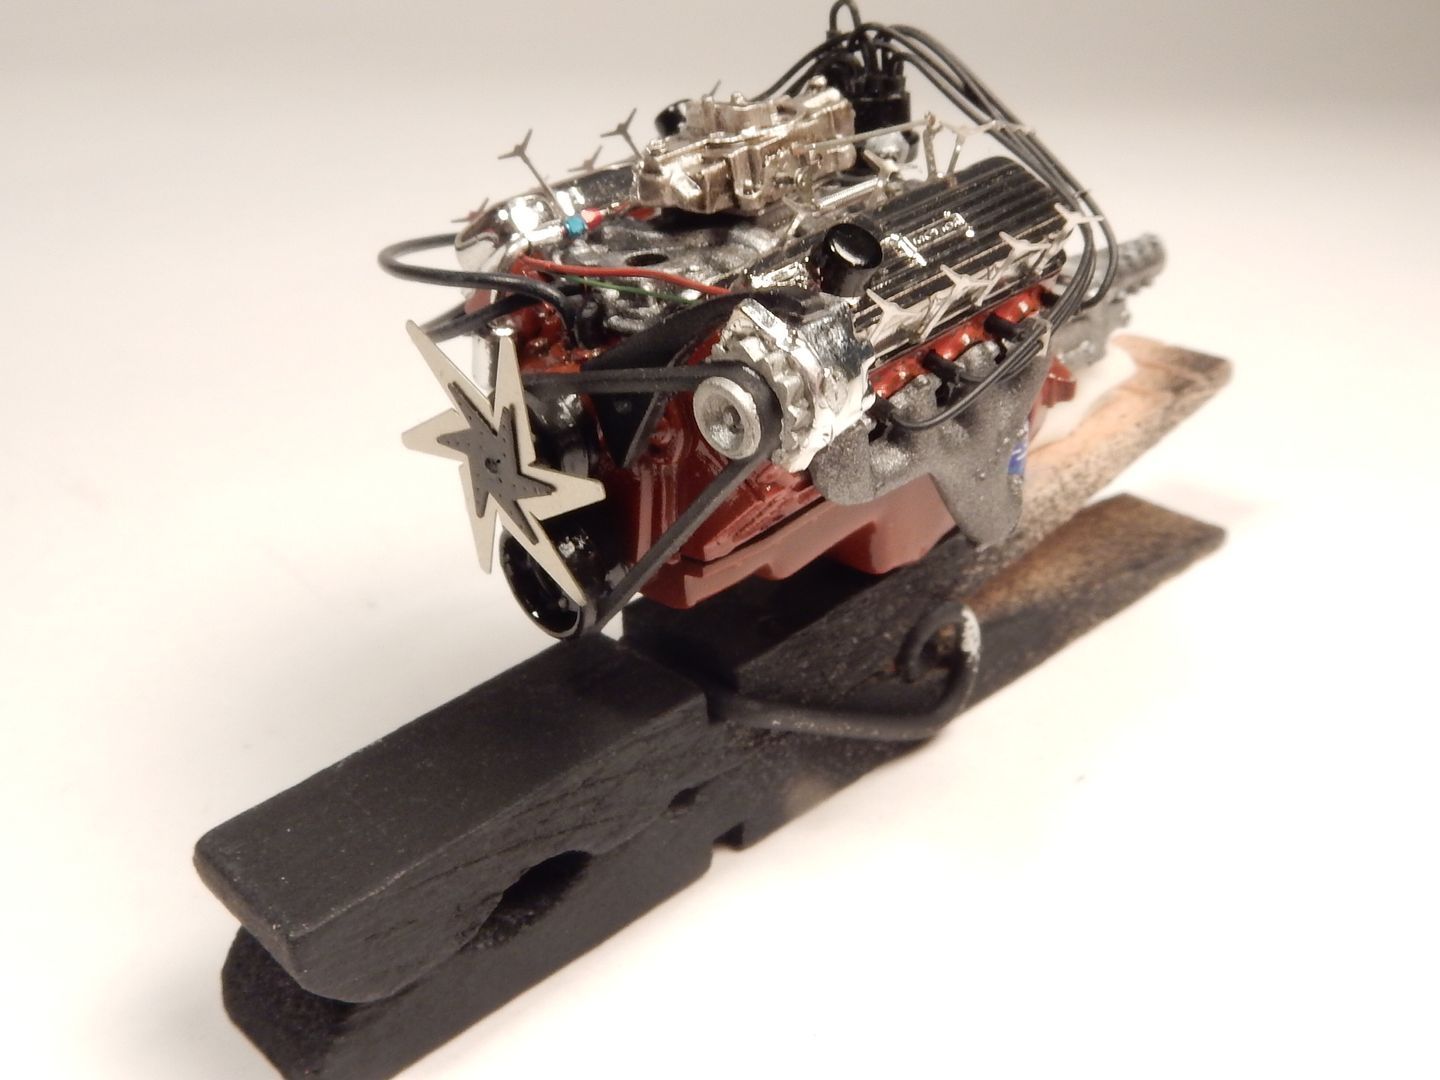
Ok folks. I believe that the 396 is done enough to where I'm going to put it in the chassis and get started on the exhaust system. I temporarily installed the center section of the fan on the front of the front just for picture taking purposes and will remove it so I can use it on the backside of the other fan I have for a future build. N E ways..............here she is:
And this one I throw in for all my friends at work. They always tell me that I have a giant clothespin hanging out in my garage.