SEARCH FINESCALE.COM

Enter keywords or a search phrase below:

Airfix Maudslay's Paddle Wheel steam Engine

4030 views
6 replies
1 rating 2 rating 3 rating 4 rating 5 rating
  • Member since
    January 2010
Airfix Maudslay's Paddle Wheel steam Engine
Posted by CrashTestDummy on Sunday, May 31, 2015 12:45 PM

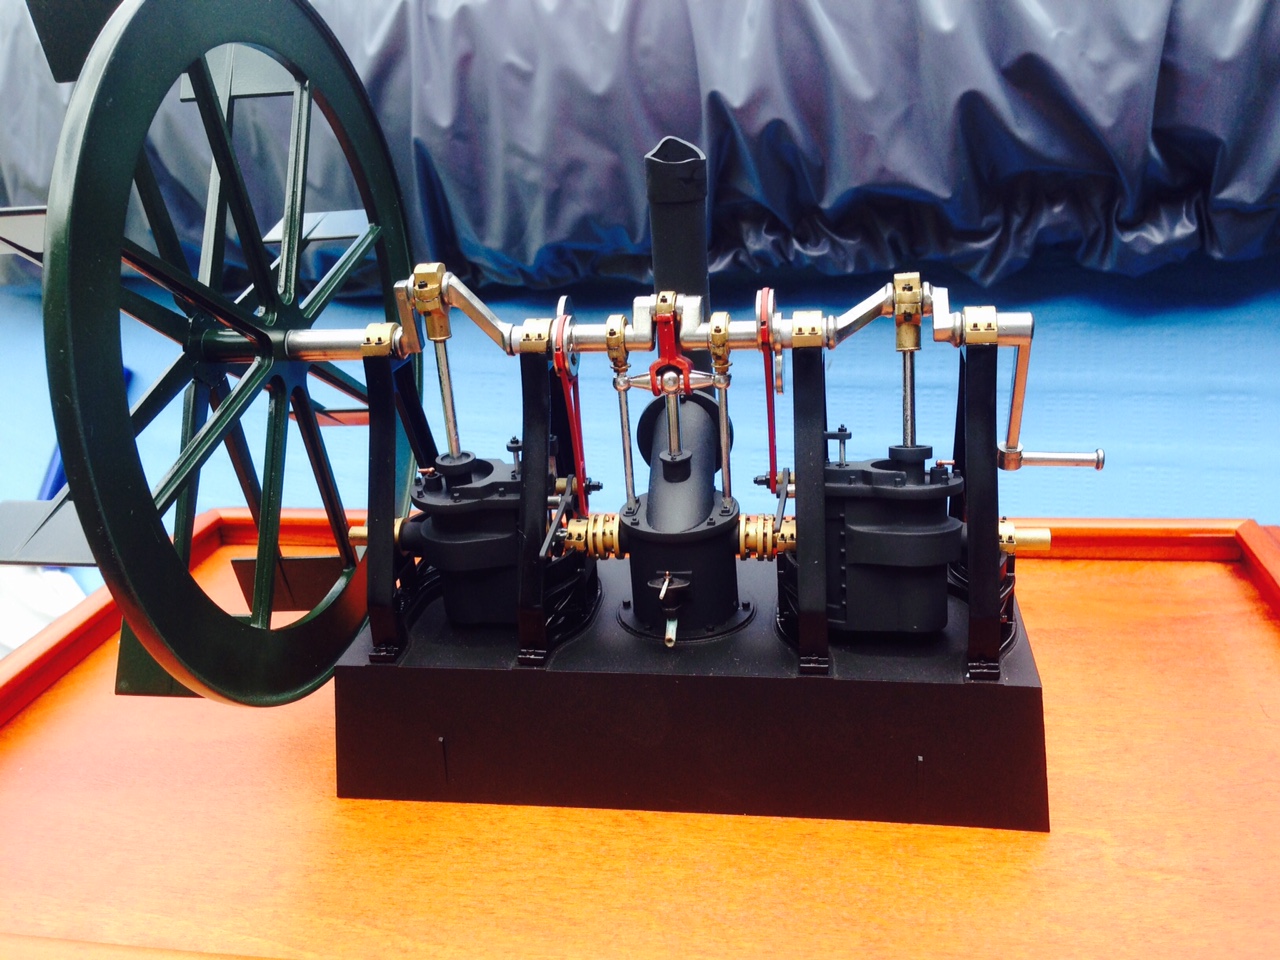
I'm mostly finished with this one.  Been working on it for a while.  I still have the plaque to finish, but that can easily go on any time.  The first coat of paint is on it, just waiting for it to dry before continuing. 

The engine has a lot of bare metal, so required a fair amount of Alclad.  Since I wanted the steel to really shine, I used Alclad 2 chrome.  For the brass parts (It looks like the 'bearings' which comprised ALL of  the main caps and rod ends) were painted with Alclad 2 Polished Brass.  Even though both paints went over gloss black Tamiya spray, the brass never did end up 'polished' looking, quite unlike the chrome paint. 

The boiler and valve chests were painted with rubber black flat.  I had originally thought about weathering the thing after the base coats went on, but decided to leave it as-is, instead of potentially messing up the metallic finishes. 

Overall, I'm quite pleased with the way it turned out.  It did have some flash, and sink marks that had to be dealt with, but nothing too bad.  All of the main caps and rod ends need to be fitted before painting, as the fit on some required some work, which then required a second application of the brass Alclad on some parts (the brass really doesn't stick very well). 

And, on the plus side, it turns!!  I'm VERY happy with that!  This kit used to be motorized, and the plastic gears and drive bits are included in the kit.  It just doesn't have any assembly instructions, or the metal parts for this portion of the kit. 
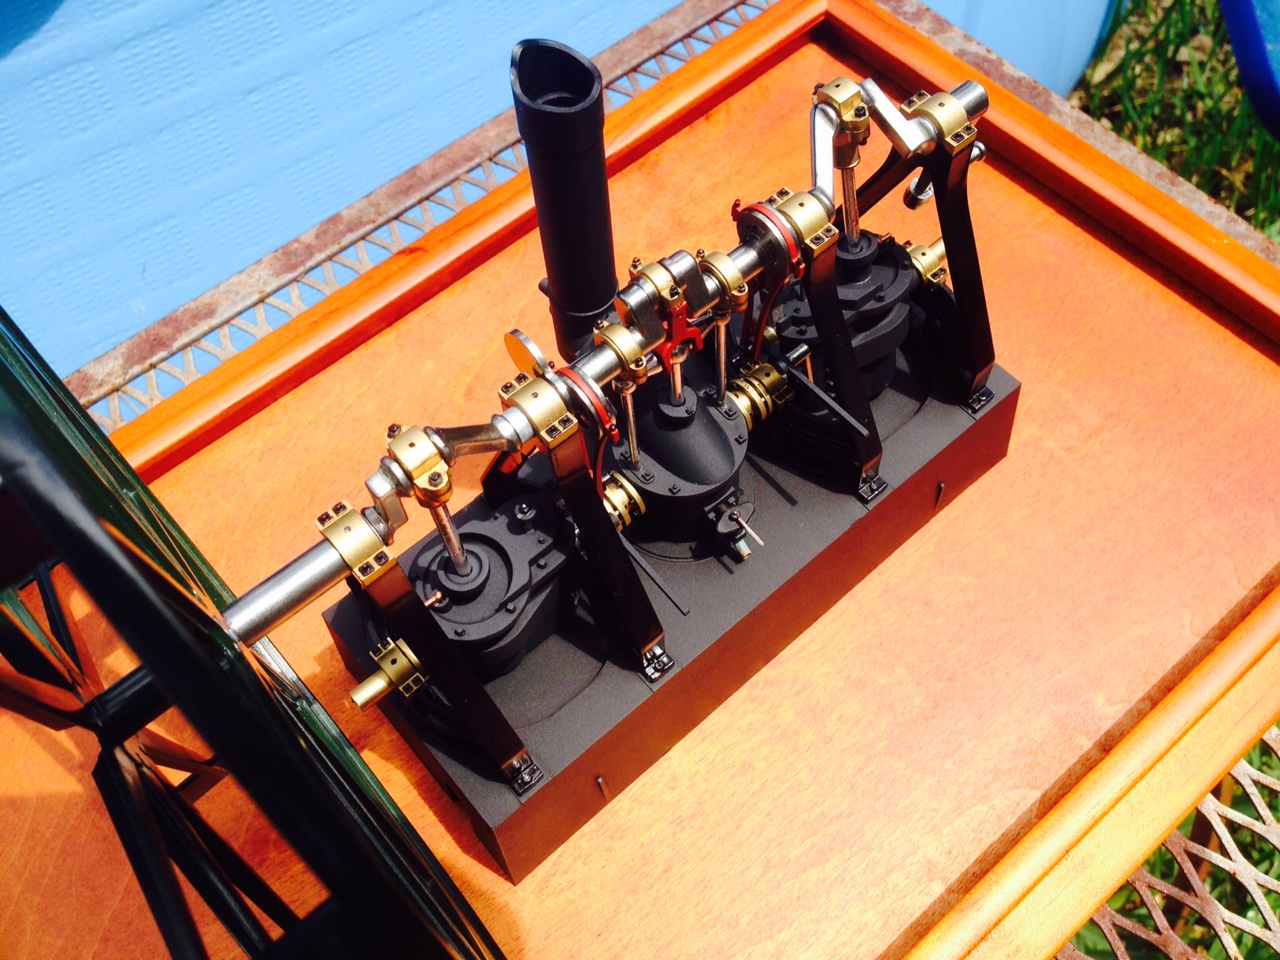
Overhead view:

Somewhat close up:

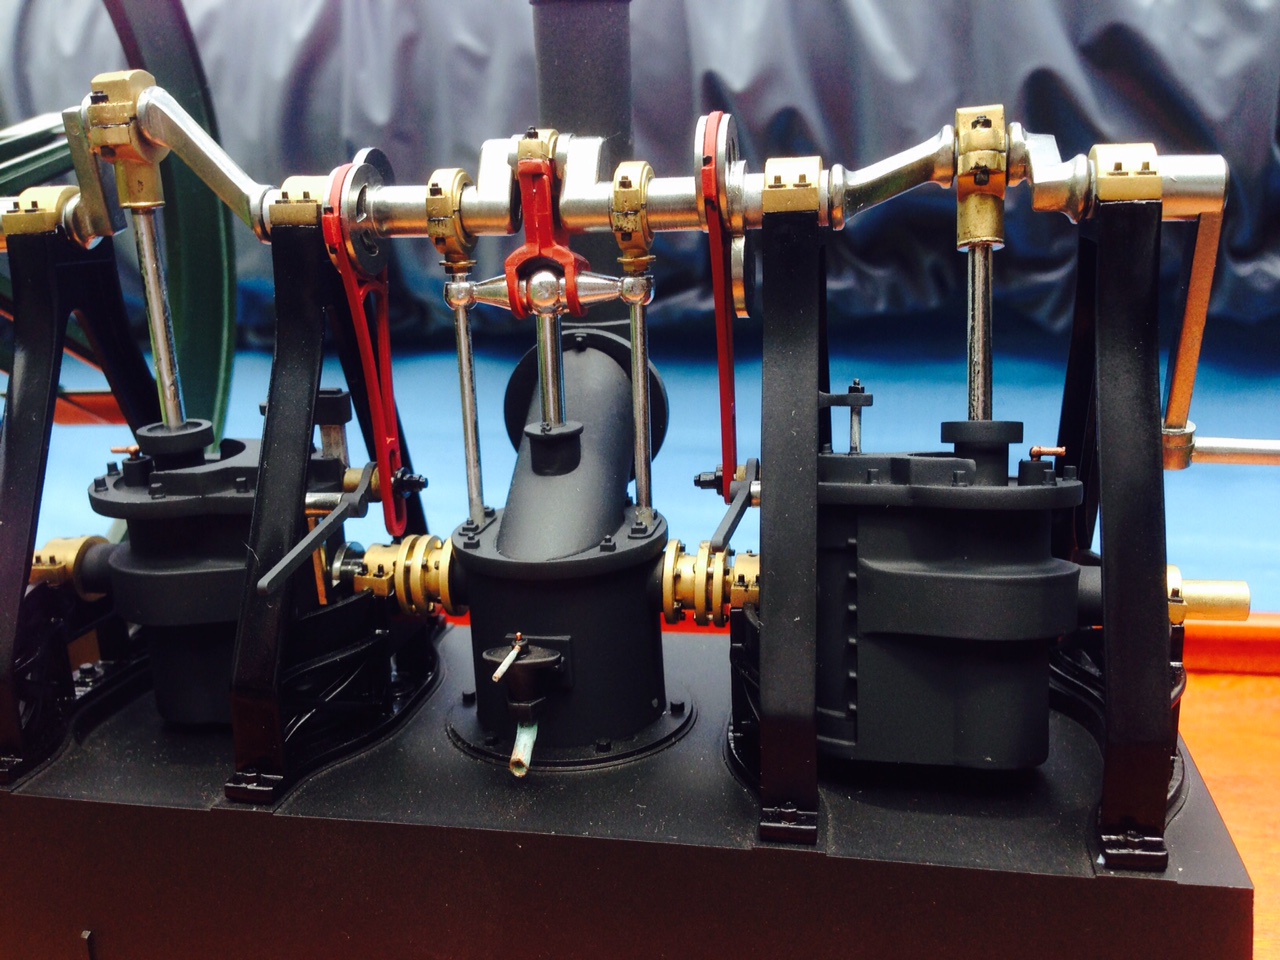
I figured that for some of the small-diameter piping they probably would have used copper (I took some artistic license here), so the part hanging off the boiler has the piping painted copper, with the application of a metallic weathering product that my wife got me from one of her craft suppliers.  It has copper, iron, brass and bronze 'reactive' paints.  You paint your subject with the paint, then spray the reactant on it, which creates the oxidation.  The piping has the green copper patina you'd expect a copper part in a marine environment to have.  It was just some playing around I did, and I like the effect. 

Gene Beaird,
Pearland, Texas

G. Beaird,

Pearland, Texas

  • Member since
    February 2011
  • From: St louis
Posted by Raualduke on Sunday, May 31, 2015 12:52 PM

Looks fantastic!  I want one

  • Member since
    January 2010
Posted by CrashTestDummy on Sunday, May 31, 2015 2:41 PM

I picked mine up during one of Squadron's (around/pre/year-end)-Christmas sales.  It was about half price, so I said, what the heck, and had them throw it in the box to my house.  It was pretty fun to put together, although some parts had to go together at the same time.  Several parts aren't even glued together, as I got to the point where everything was fitted pretty well, and I just left it in place.  

The rod ends on the big pistons (going into the 'valve casks' at either end) did pull away a bit while drying, which I found annoying.  Since the brass paint was sticking so poorly, I could find no way to keep them clamped in place while everything set.  No biggie, you can hardly tell.  

Gene Beaird,

Pearland, Texas

G. Beaird,

Pearland, Texas

  • Member since
    September 2005
  • From: Illinois: Hive of Scum and Villany
Posted by Sprue-ce Goose on Sunday, May 31, 2015 2:47 PM

Beautiful work !

  • Member since
    January 2010
Posted by CrashTestDummy on Friday, June 5, 2015 5:02 PM

Thank you.  I am finally finished.  I was going to do the plaque like the kit instructions showed, with brass background and black lettering, but couldn't get the liquid mask to stick.  So I just shot it with Alclad polished brass and called it a day.  It looks fine that way, IMHO.  

Sorry, no pics, though.  

Gene Beaird,

Pearland, Texas

G. Beaird,

Pearland, Texas

  • Member since
    August 2008
Posted by tankerbuilder on Monday, June 29, 2015 7:49 AM

Gene;

    I just got the Trevithick (1804 ) train engine and tender ( World's First train ? ) as well as the Stephenson " Rocket " (1829 ) from the V.A. Rec.Ctr. at Audie Murphy in San Antonio . They are both by Minicraft and have evidence of the molds being around for many years .

    Fun to build ? Well I am only partially done with the Trevithick Unit and then I will let you know . I would like to get one of those engines you have . After all , it goes in a floaty thingy !

  • Member since
    November 2009
  • From: SW Virginia
Posted by Gamera on Tuesday, July 7, 2015 10:40 AM

How did I miss this!?! Very cool and despite your problems I love how the 'metal' parts came out!

"I dream in fire but work in clay." -Arthur Machen


JOIN OUR COMMUNITY!

Our community is FREE to join. To participate you must either login or register for an account.

SEARCH FORUMS
FREE NEWSLETTER
By signing up you may also receive reader surveys and occasional special offers. We do not sell, rent or trade our email lists. View our Privacy Policy.