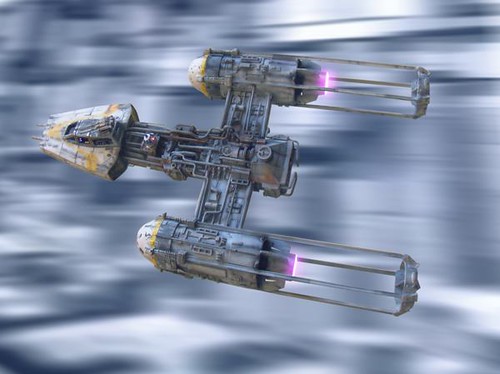
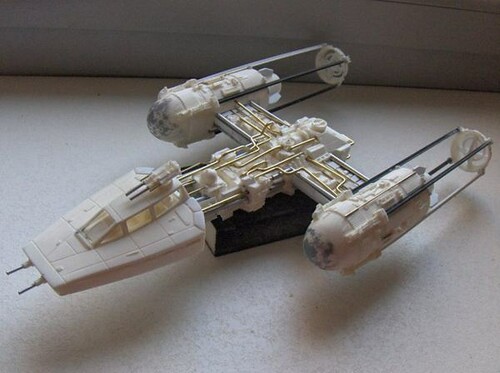
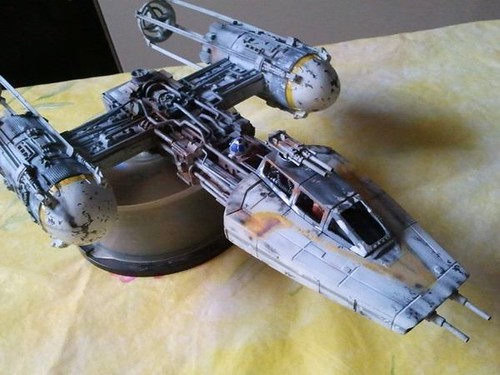
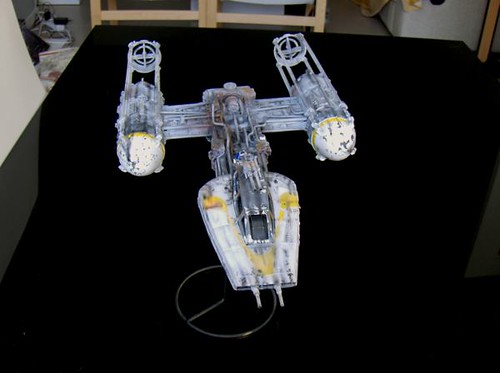
Now it's time for our beloved Y-Wing. We would like to share with you the way we builded and painted it. It's mainly a matter of patience and love for modeling. Hope you find this useful, may de force be with you!!
We'll keep posting updates in our site http://moviekits.net an in our facebook too  https://www.facebook.com/moviekits.net
Building
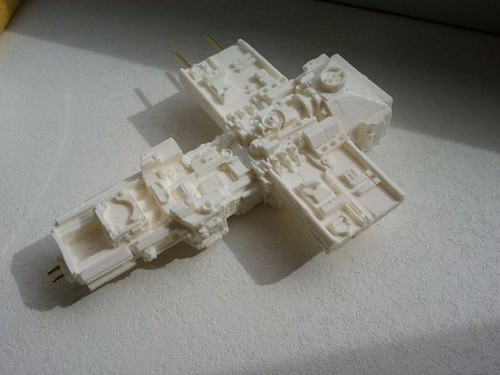
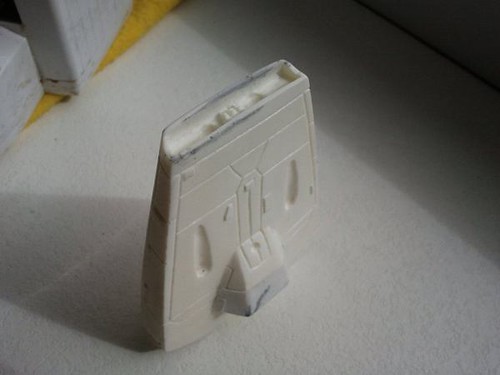
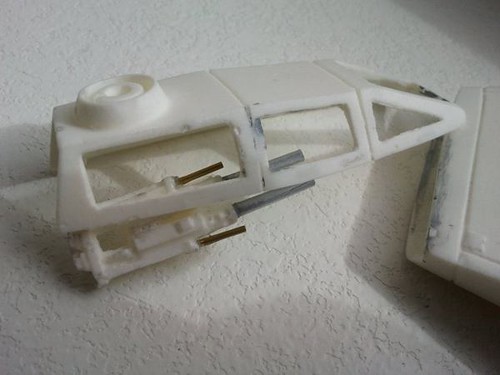
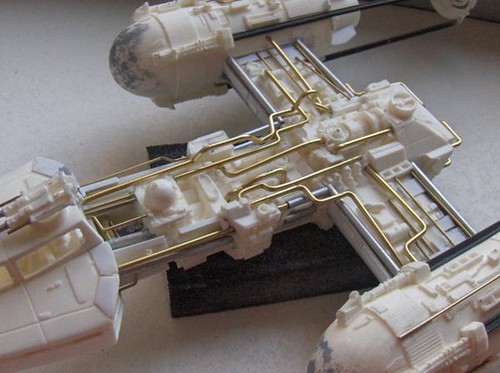
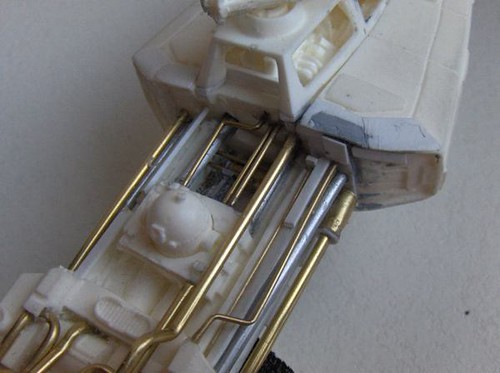
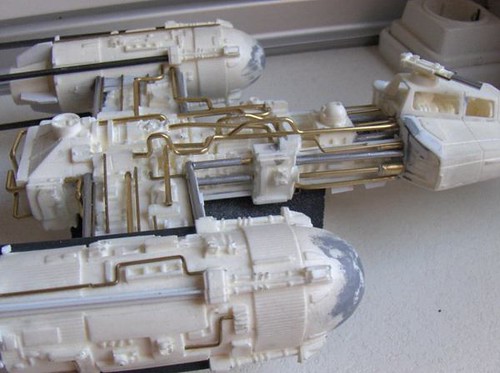
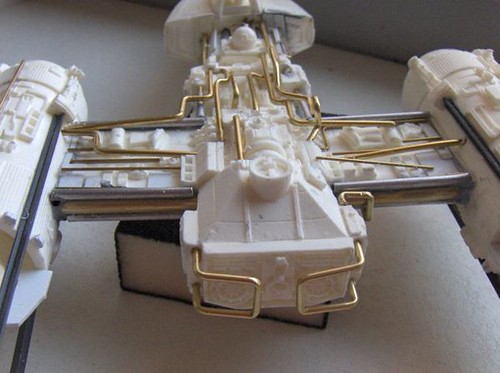
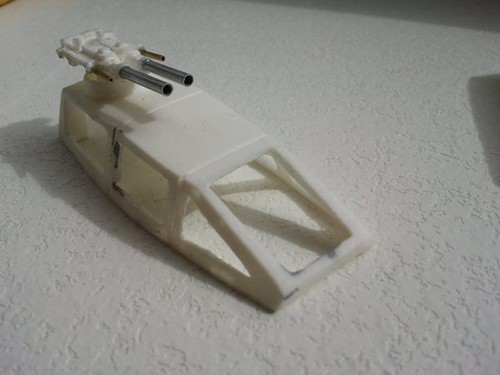
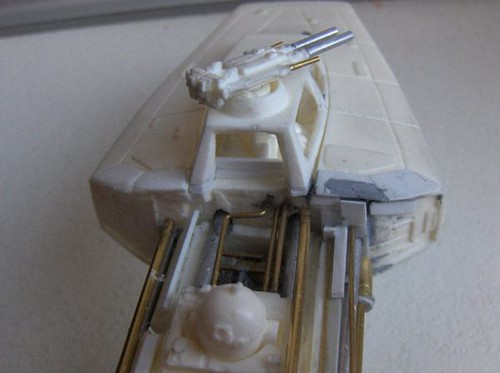
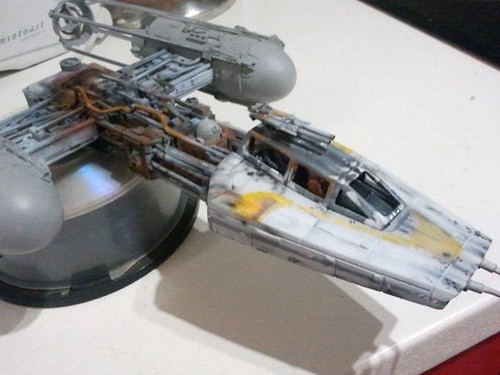
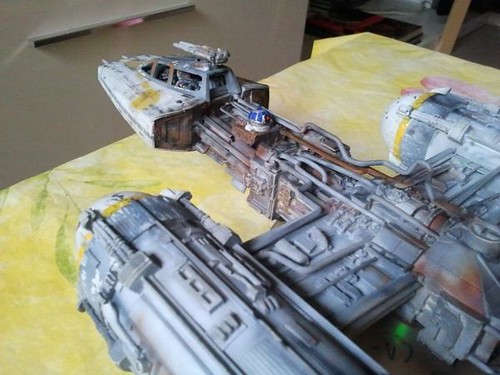
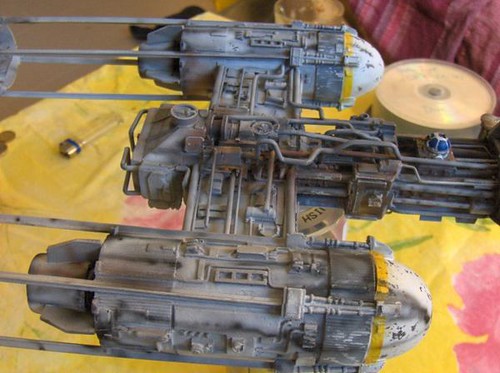
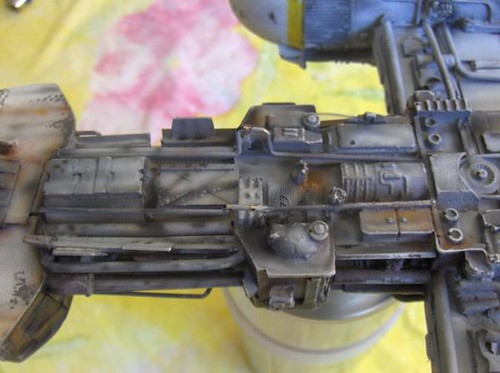
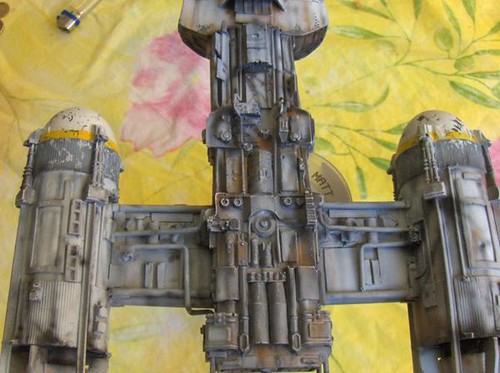
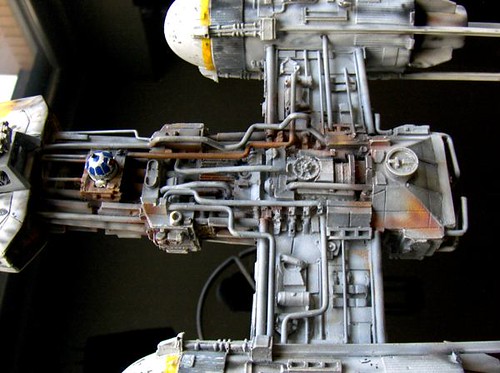
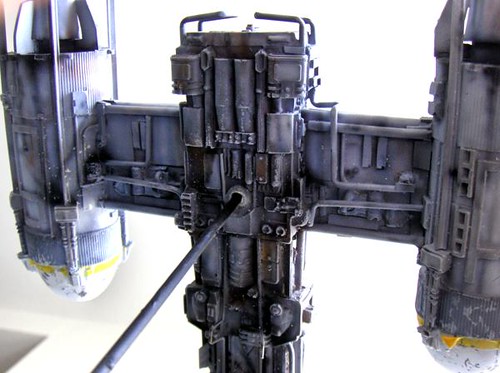
The greatest challenge was to add all the cables that didn't come with the raw model, and fix the multiple damages. Rocket launchers came with no details at all and the resin details were incorrect either. This is by far one of the worst kits we've ever bought, so we spent most of the time repairing it.
The original model has several cables covering all the structure's surface. We are afraid we bought a recast or some similar stuff, because we didn't found any cable in it. We had to fix the imperfections with putty and a sanding down all the broken and incorrect pieces.
Painting.
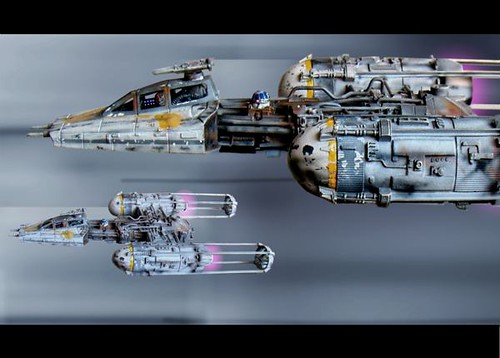
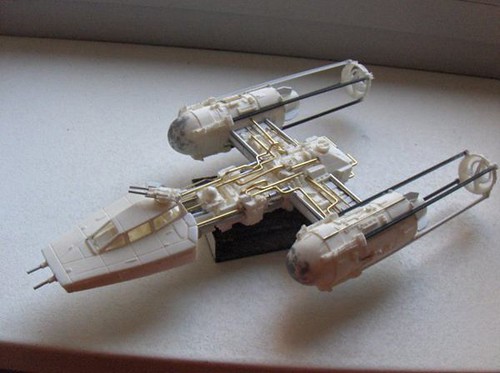
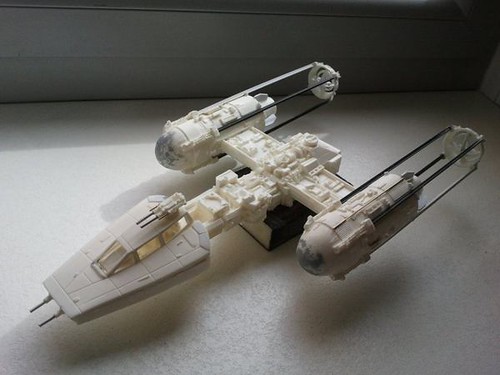
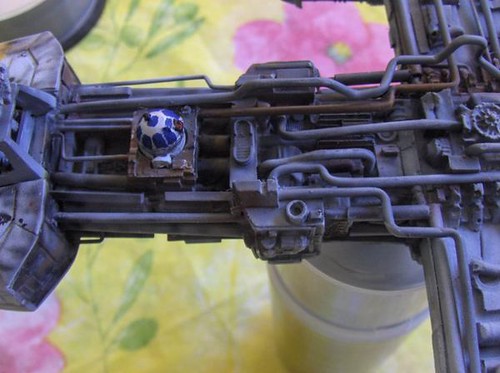
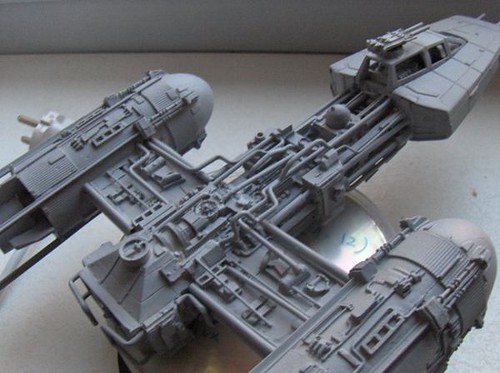
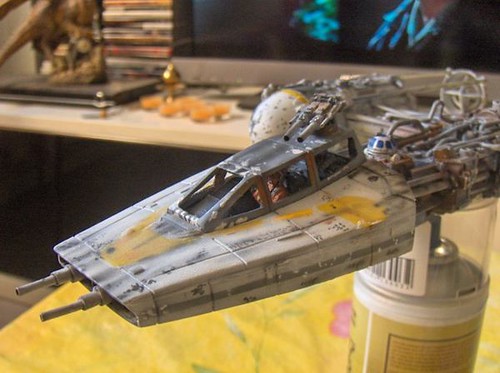
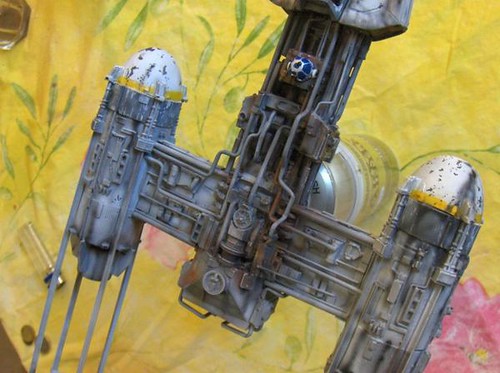
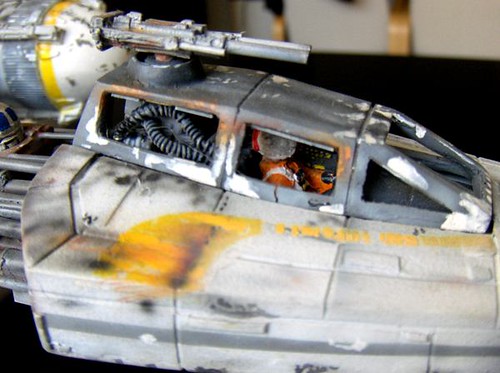
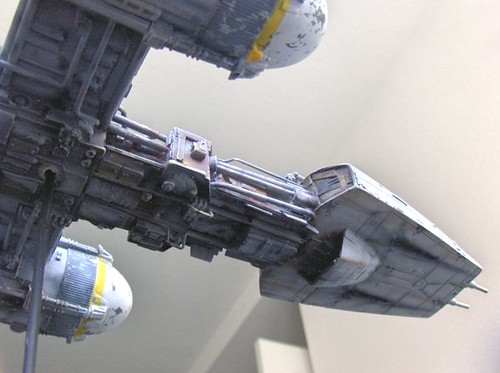
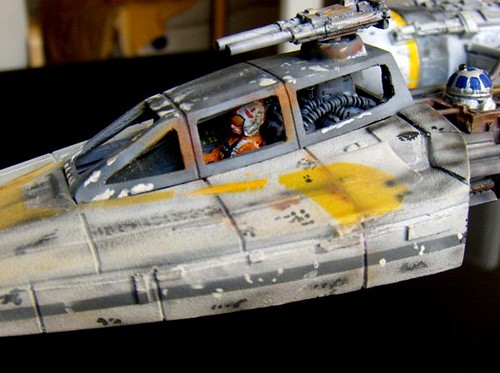
It's a model with a general greyish tone, but white in some parts. We wanted the model to look like used and, in order to achieve it, we had to work on the details thoroughly, block by block.
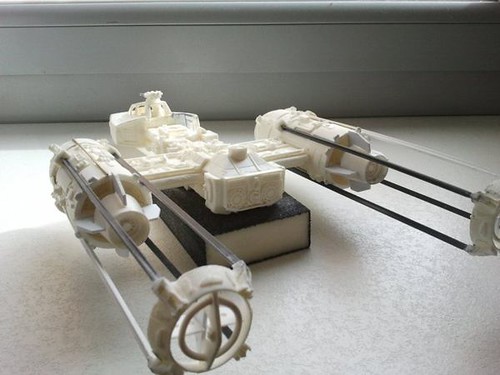
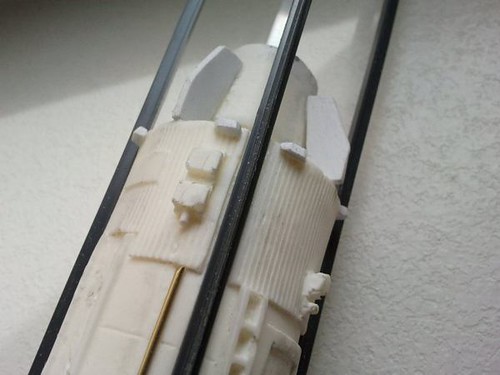
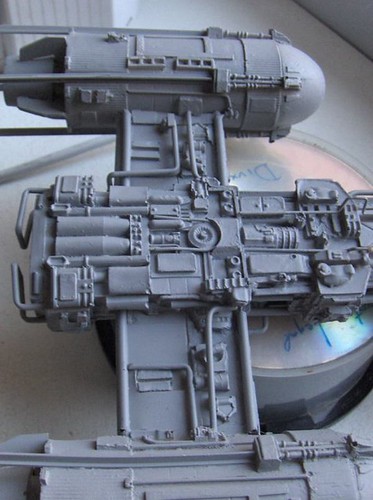
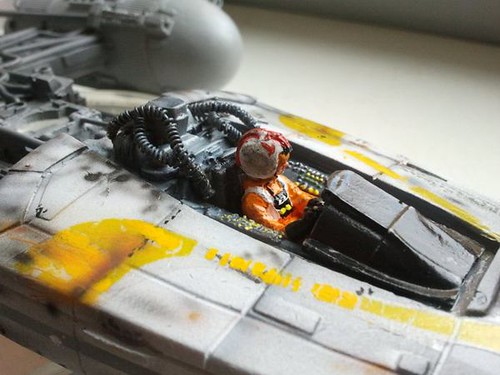
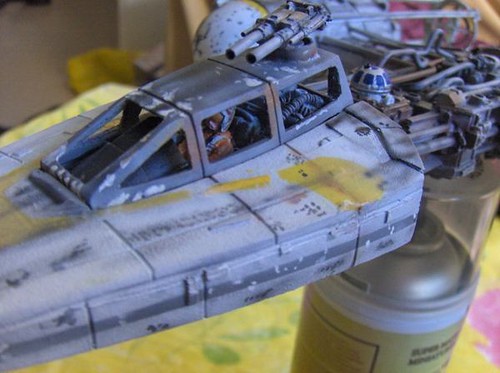
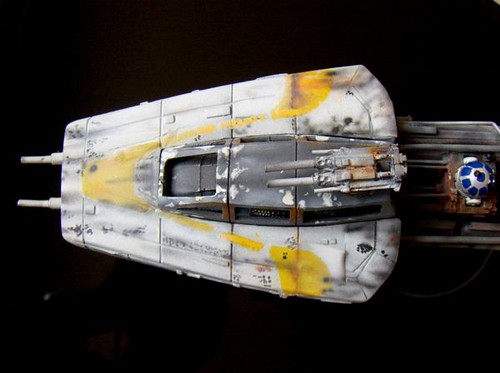
In this case we made just a few remodelings, like fixing some cables or restructure the cabin and primary and secondary cannons. We've been definitely focusing on the paint work.
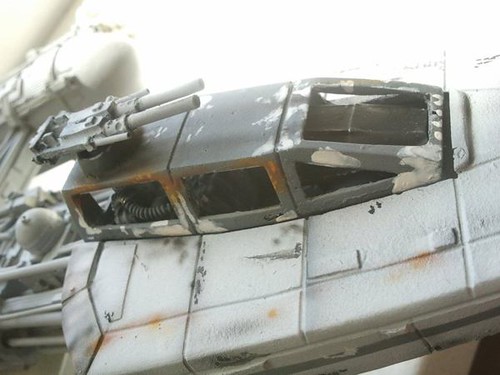
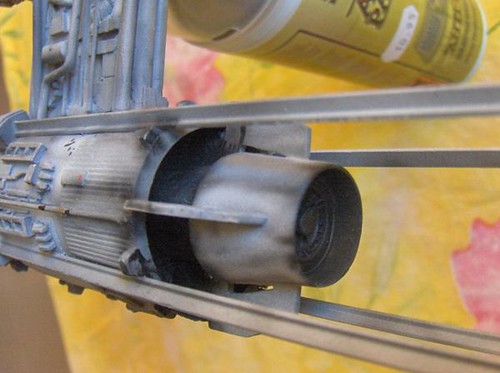
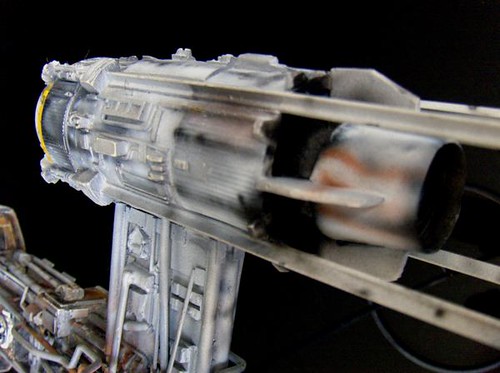
For our Y-Wing we are using a mix of cadmium orange and brown/red (90%-10%). Before applying this colour, we will spread liquid mask all over the surface. Once painted (with model mask), we’ll have a naturally made damages.
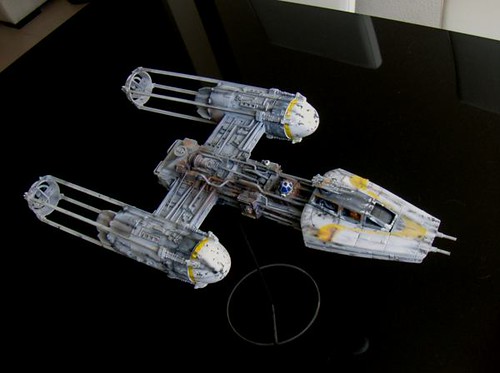
Colours:
- Grey first layer for the surface.
- Fog Grey and white in differents proportions for light flashes.
- Black and Prussian Blue for laser impacts.
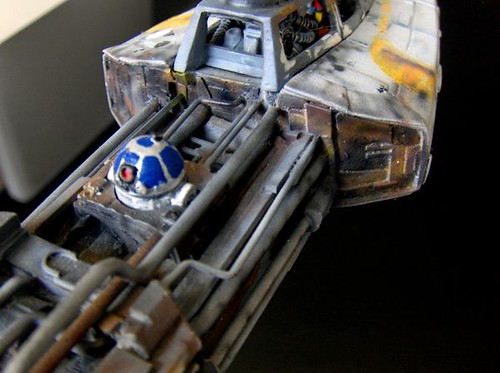
- Orange cadmium and yellow for the rust.
- Grey and blue for the grey stripes over the wings.