- Member since
June 2016
- From: Portland, OR
|
Bret Build: Bandai 1/72 TIE Fighter
Posted by Boxcar_Bret
on Sunday, June 12, 2016 10:14 AM
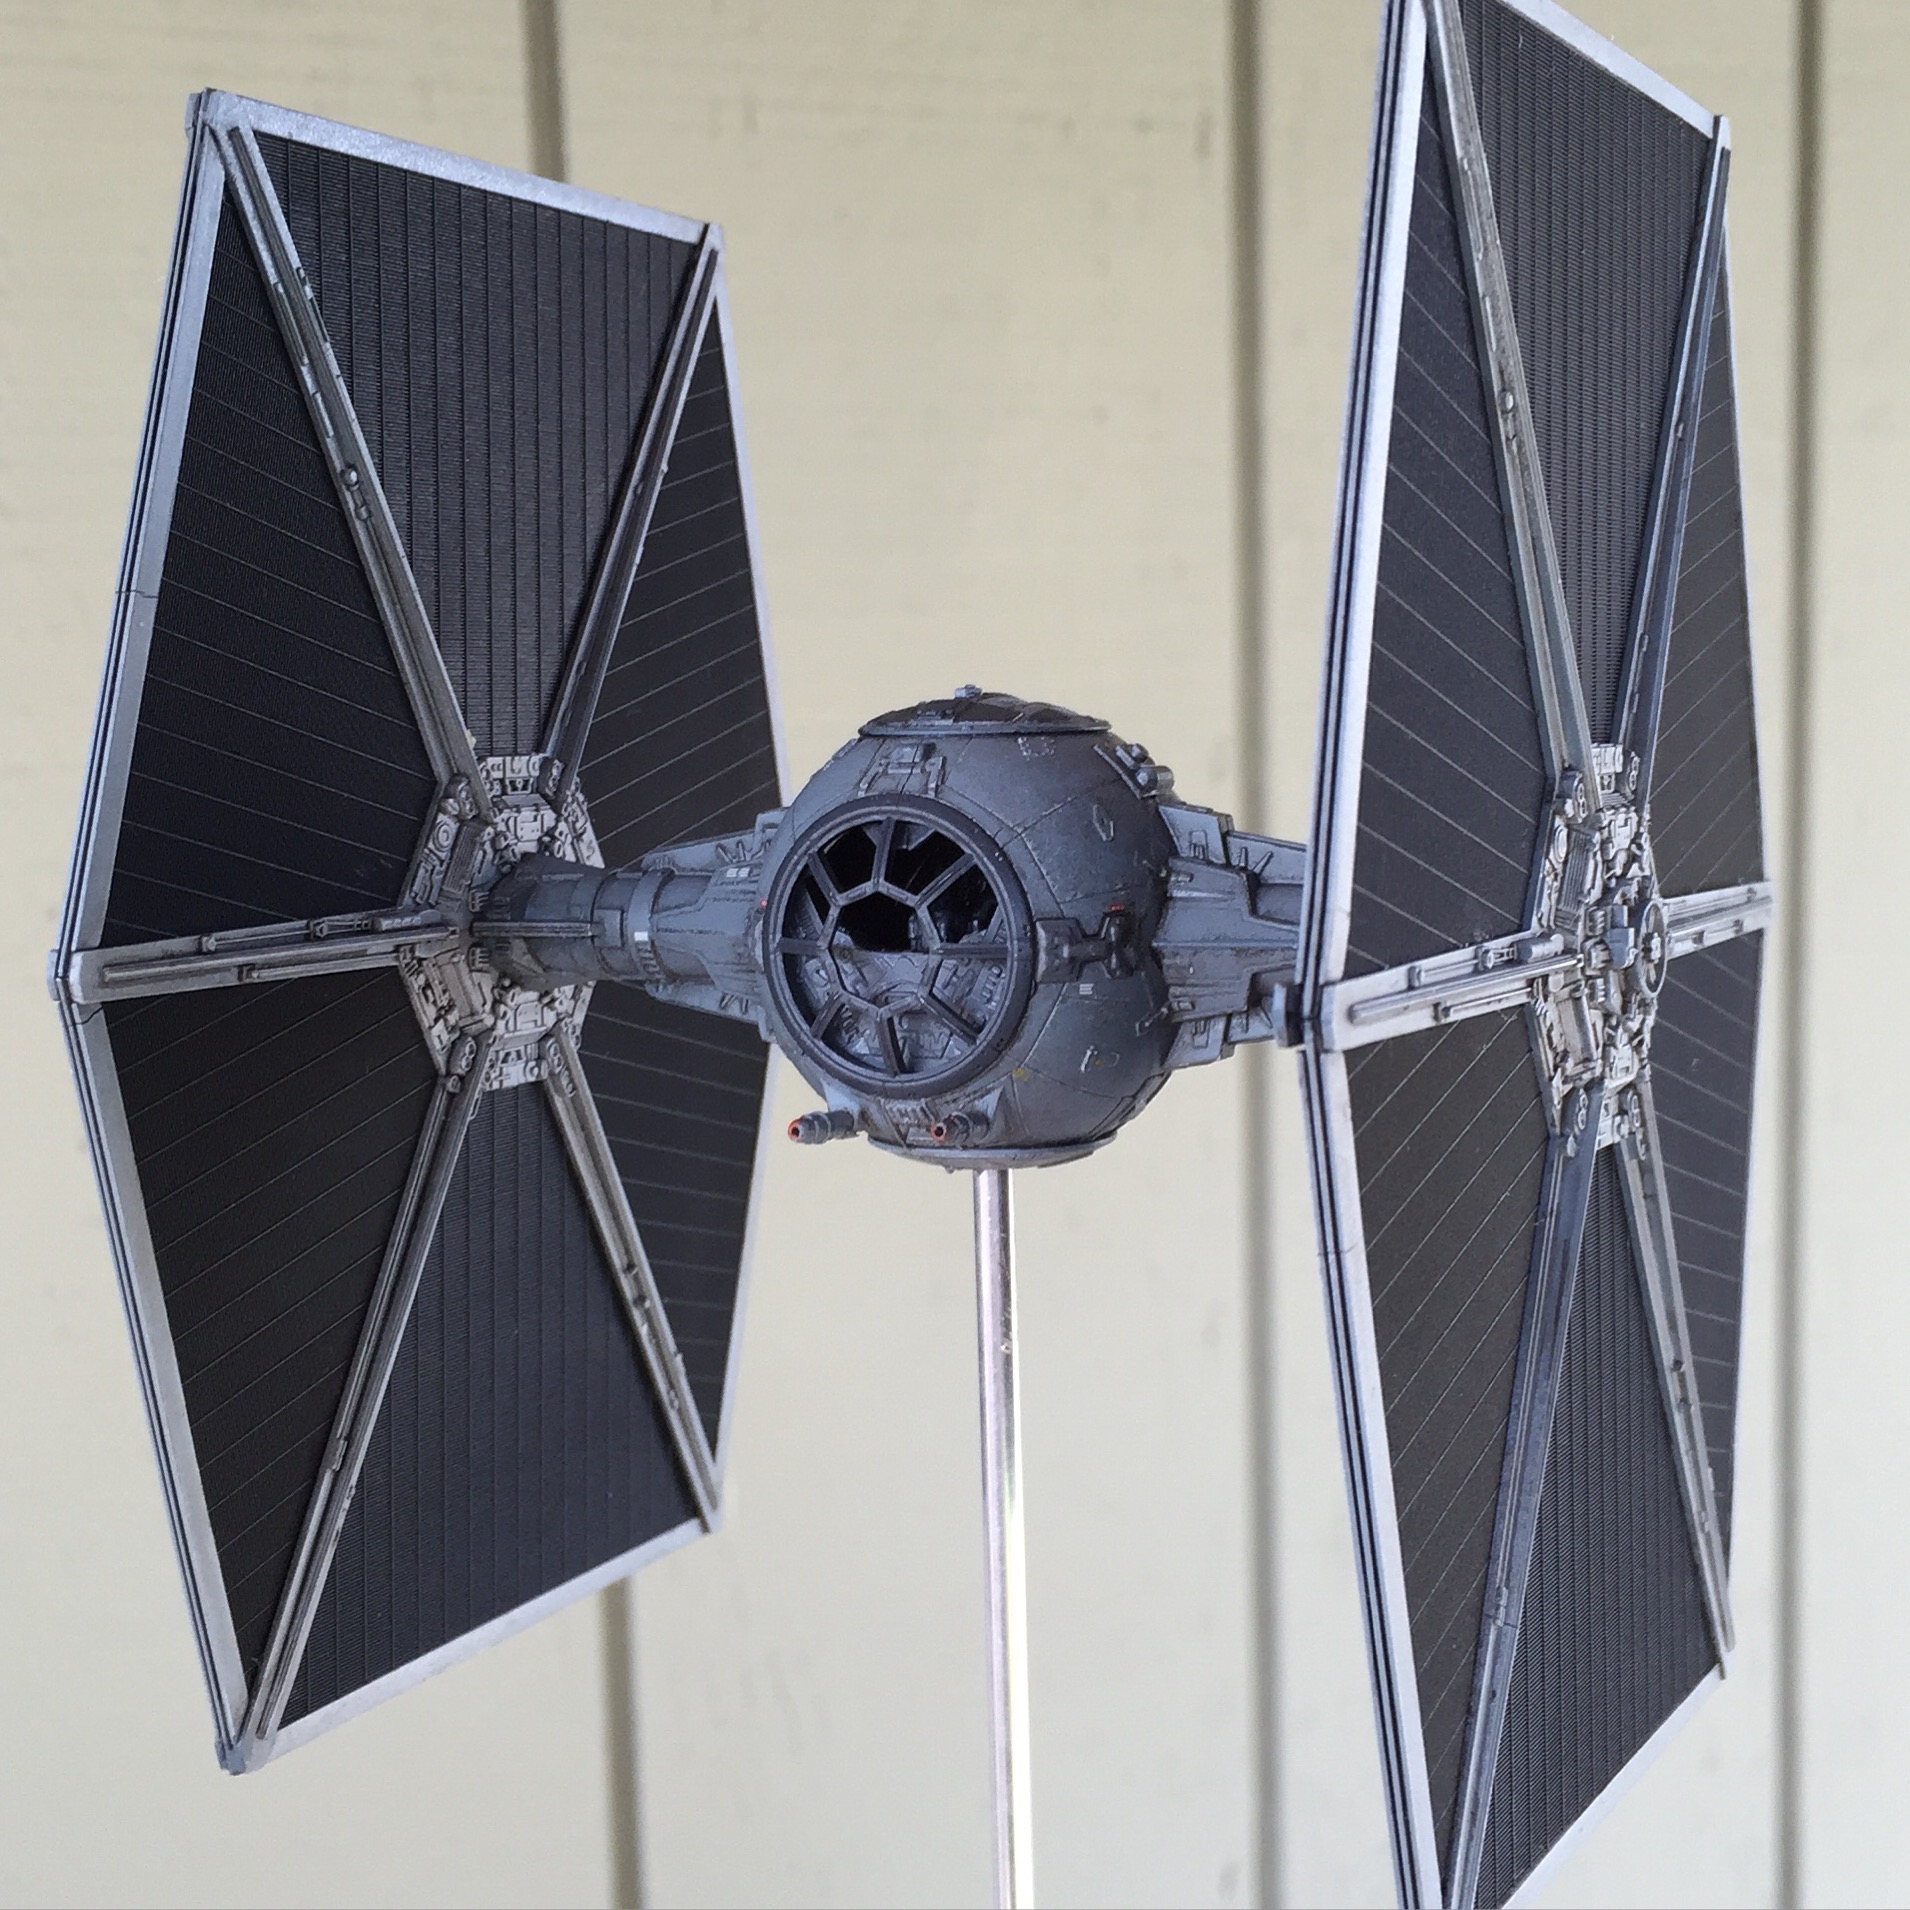
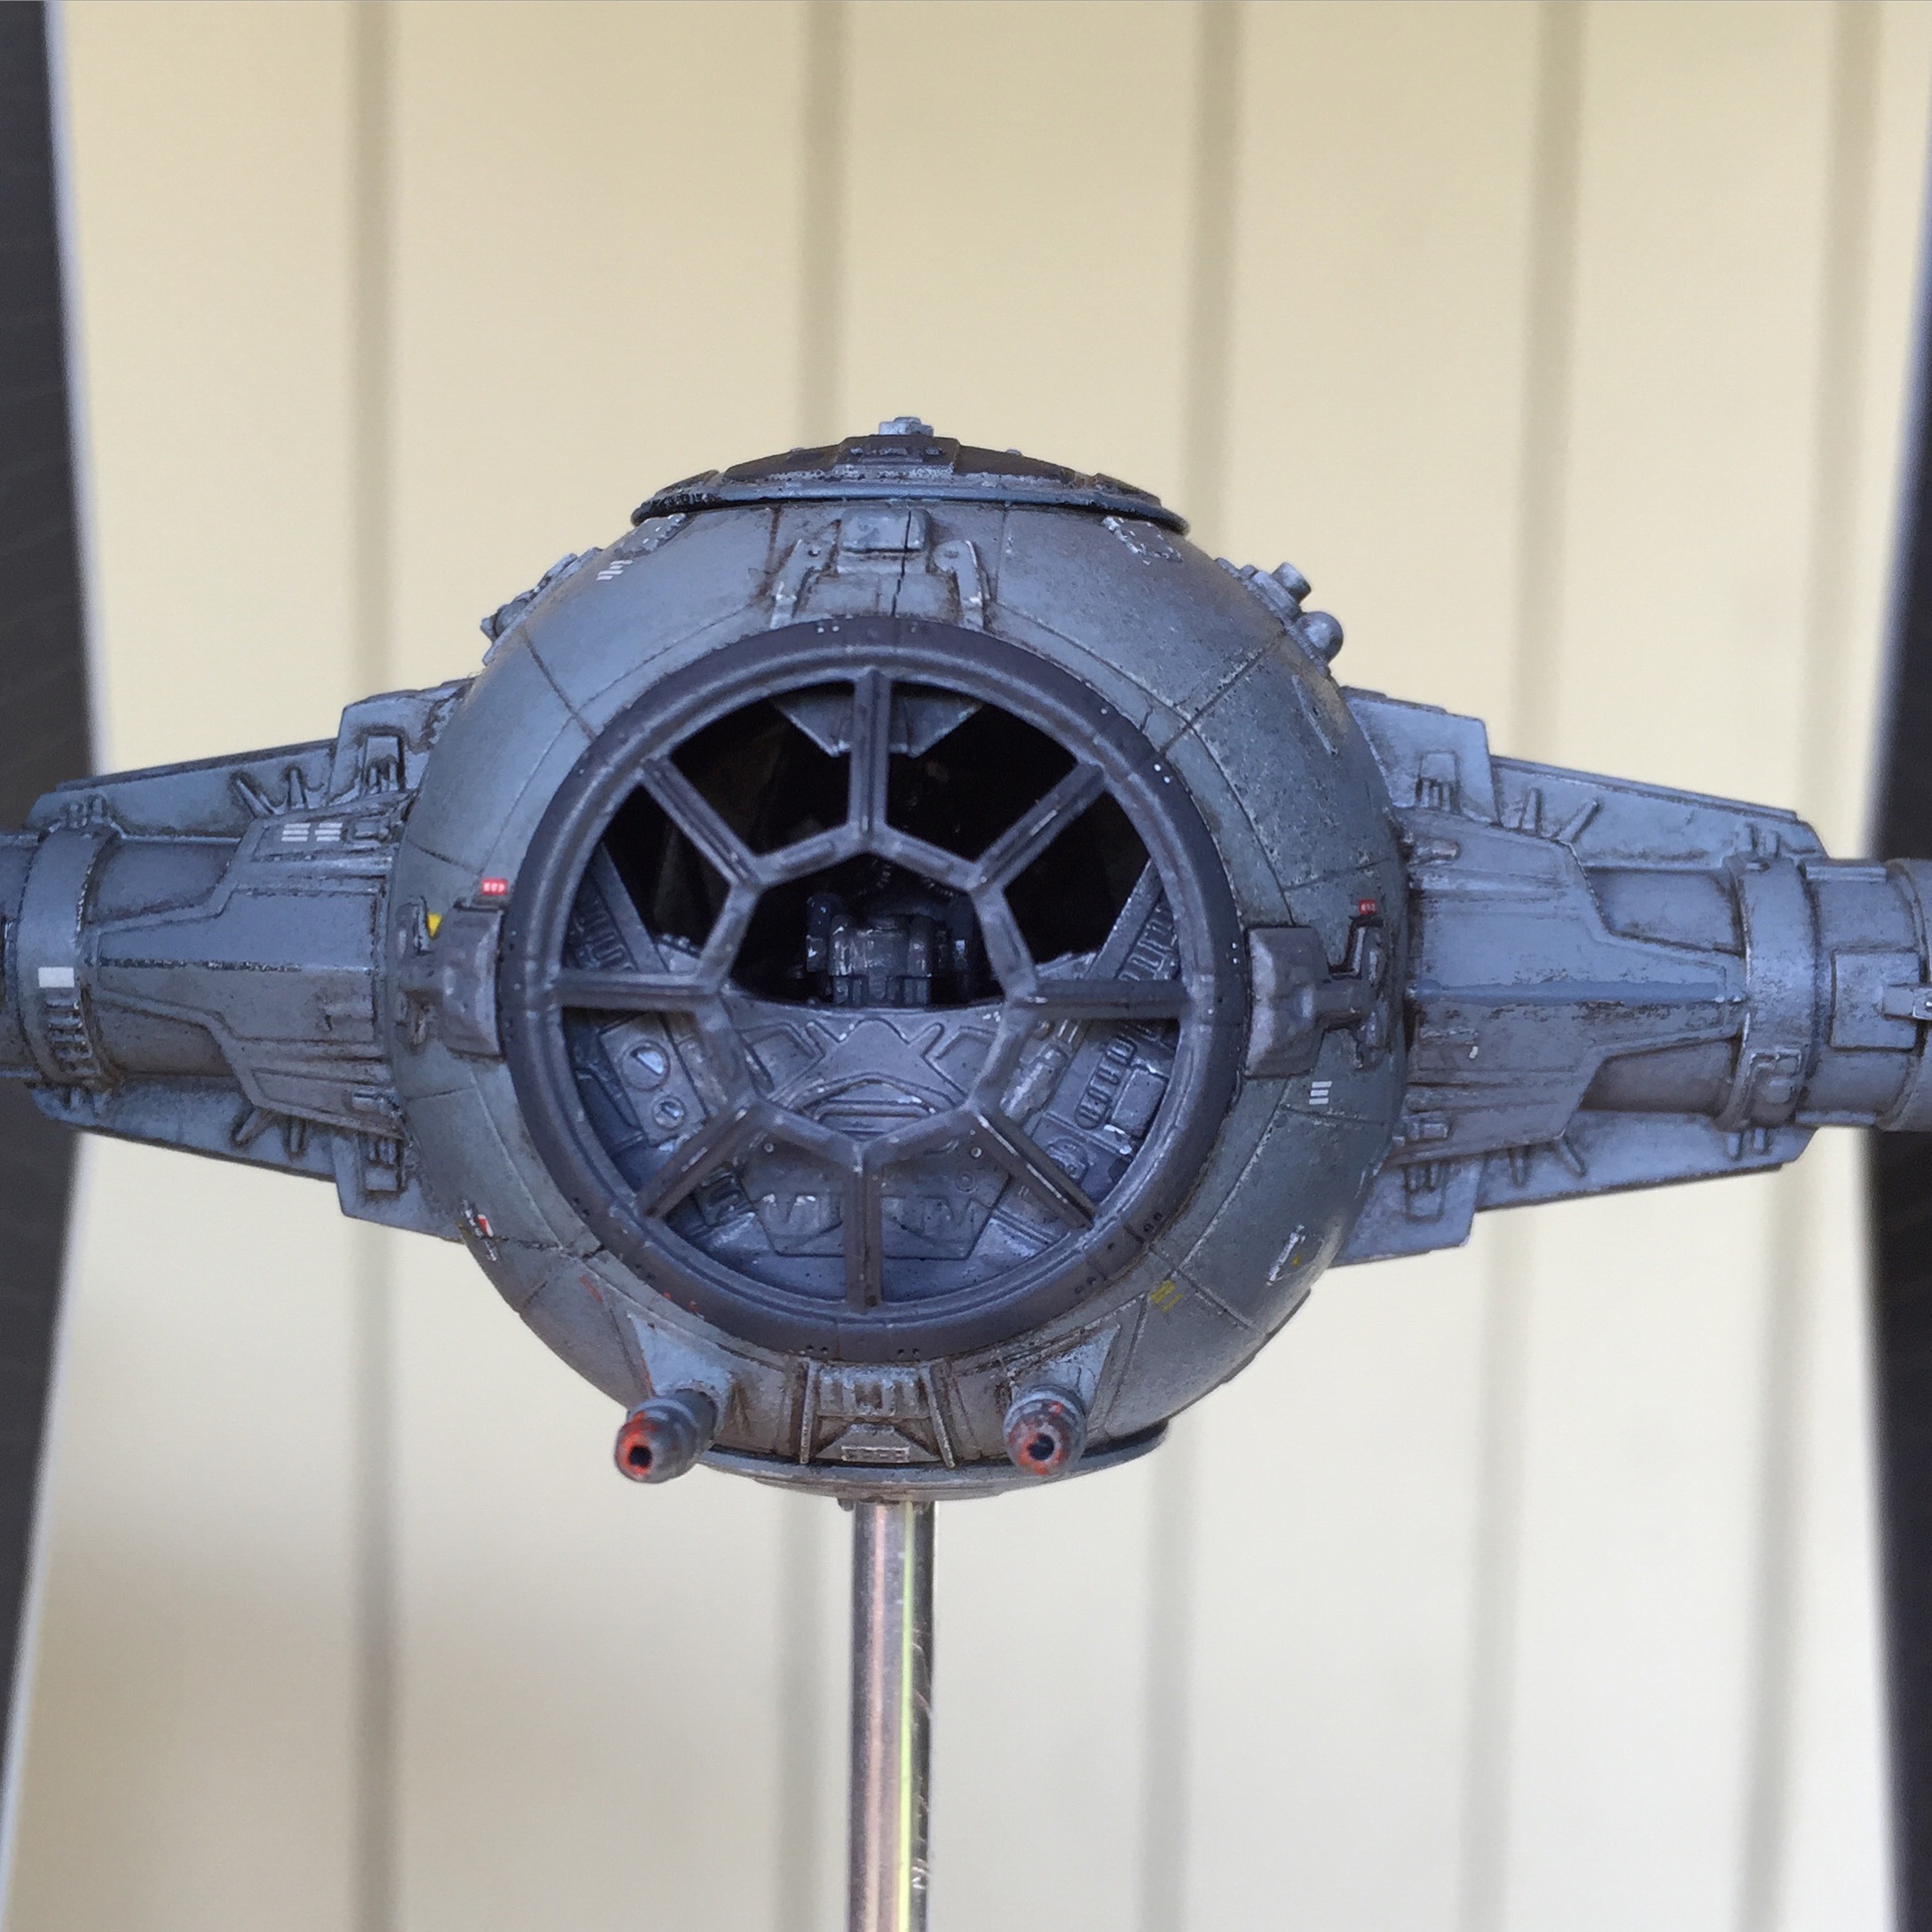
I finished my 1/72 TIE Fighter build today. This was my second build since a 30+ year hiatus and my first using what I'm calling "advanced techniques". Although they're pretty common to those on the RPF I had never used them before and share my experience.
The kit itself was great! I can't say anything that others haven't said already about the Bandai kits. Exceptional detail. In a way of unlearning what I've learned, as a kid I just read the instructions and glued and painted in sequence. The most challenging part for me on this build was in away working backwards. Building sub-assemblies, then painting, then assembling sub-assemblies, then weathering. I will say this, I can't believe my 48-year old, Diet Coke jangled nerves were able to put on all those tiny decals. Oh, and Micro Sol and Micro Set are amazing!
I found myself getting heavy handed which lead to me snapping off both laser cannons and different times. Lose a turn. All in all it was a great learning experience and I'm looking forward to applying the experience from this great kit to my next build.
For those interested here is a material list from this build:
PREP
Dawn Dish Soap
Tamiya Super Fine Primer
ASSEMBLY/PAINT
Insta-Cure+ Medium CA Glue
Tamiya Haze Grey (Spray)
Vallejo Model Color: German Grey, Medium Sea Grey (I found myself having to mix the two to come up with a shade I liked.)
WEATHERING/FINISH
Pledge Floor Care Finish
Micro Sol
Micro Set
Paynes Gray and Burnt Umber oil paint mixed to create "Starship Filth" color.
Odorless Mineral Spirits
Tester's Dullcoat (Thanks to everyone that recommended it. You were right; it's awesome!)


|