SEARCH FINESCALE.COM

Enter keywords or a search phrase below:

Imai 1/50 Catalan Ship Completed

25876 views
184 replies
1 rating 2 rating 3 rating 4 rating 5 rating
  • Member since
    July 2010
  • From: Tempe AZ
Imai 1/50 Catalan Ship Completed
Posted by docidle on Saturday, December 27, 2014 8:44 PM

*** I’m just replacing the missing photos that were loaded on PhotoBucket but have been removed. Otherwise the WIP loses it effectiveness ***

Enjoy,

Steve


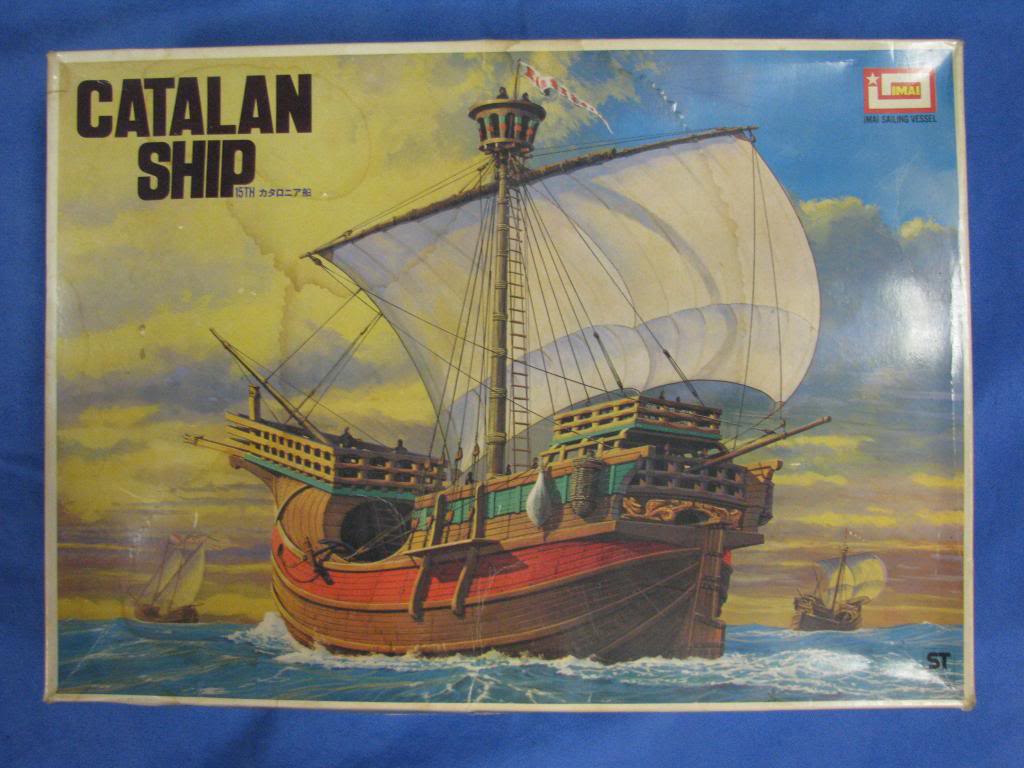
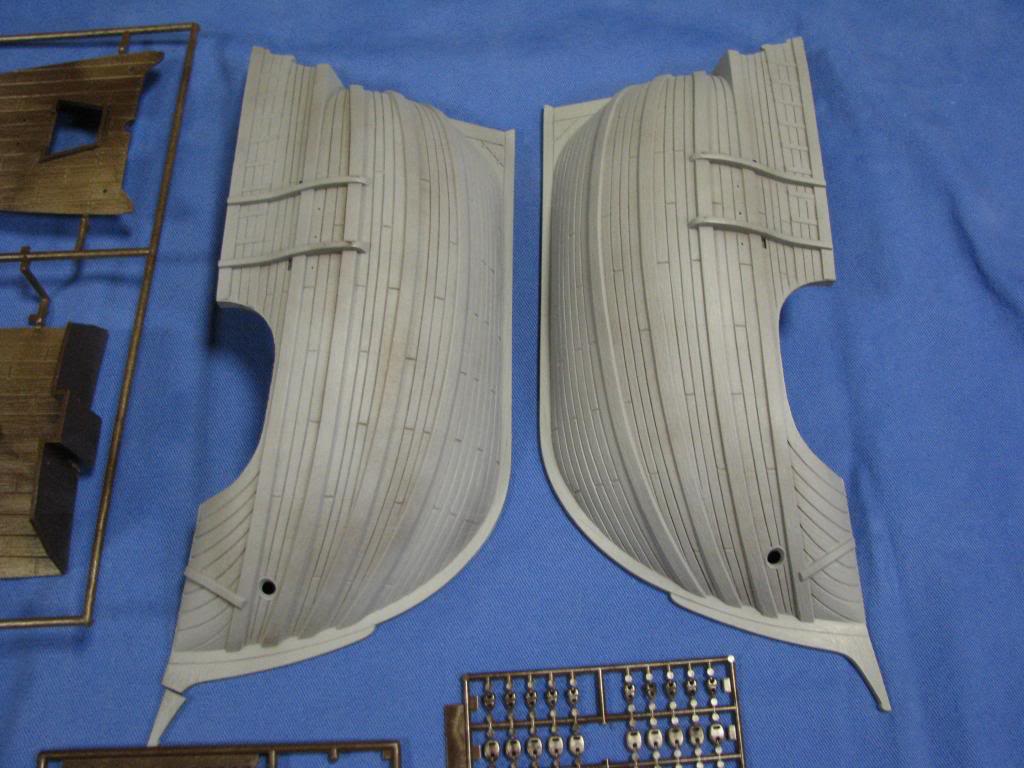
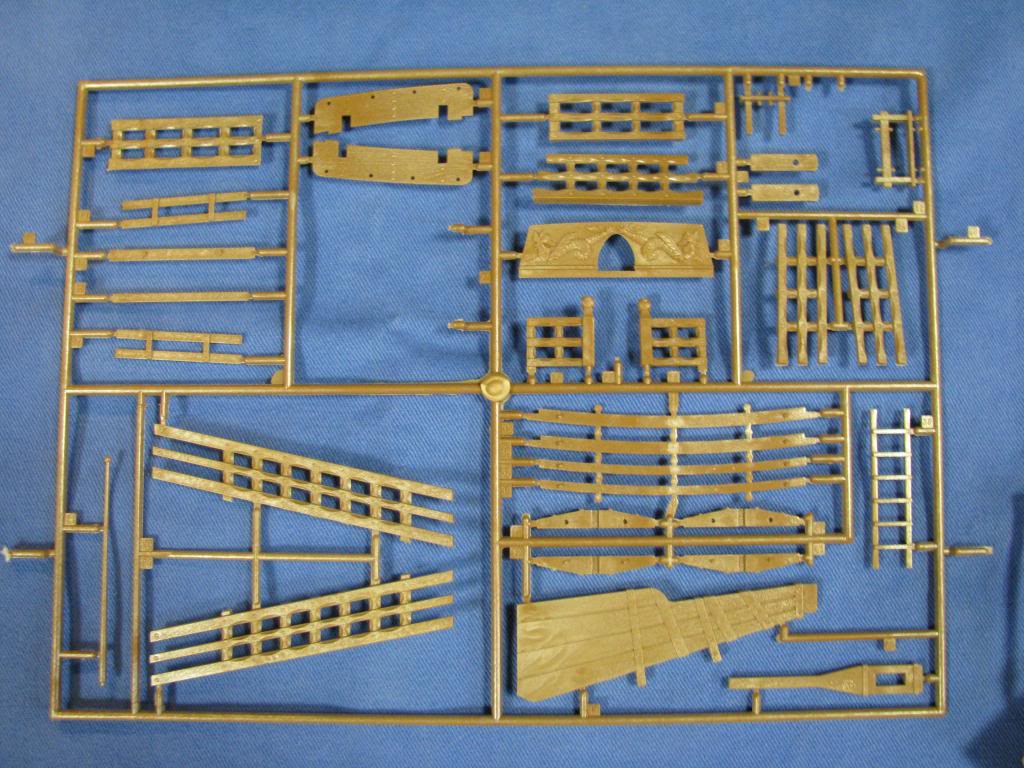
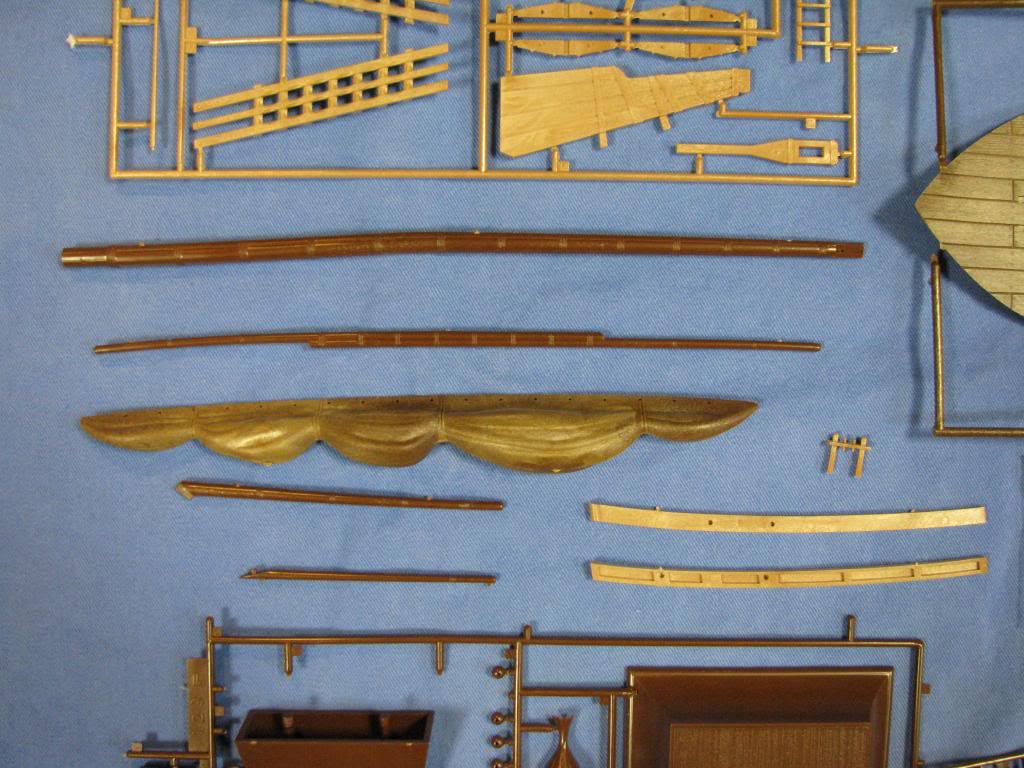
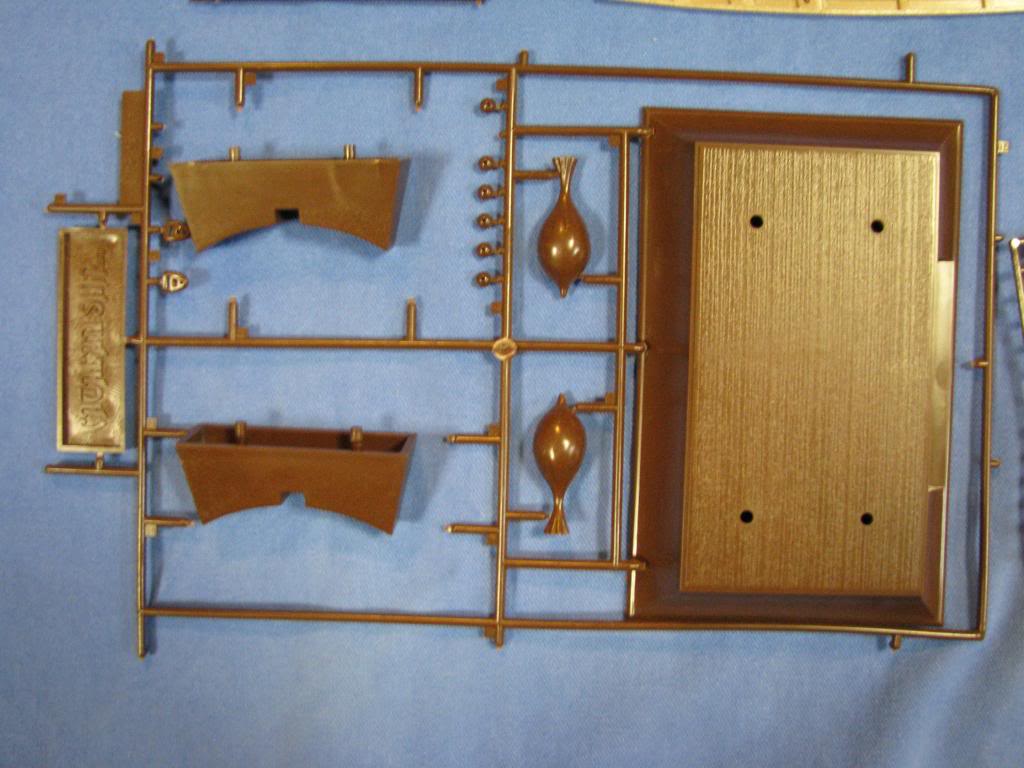
Since I am having difficulties rigging at this time, I have put the Nina/Pinta as well as the HMS Dreadnought on hold. Therefore, I started the Imai Catalan Ship since it has really large pieces which are easier than small delicate pieces to handle.  I will be ecstatic if I can make this ship look at least half as nice as Rod Millard's Catalan model.

The history of this odd looking model has been discussed in other posts, so it should be sufficient to say that this is a model of a model known as the Mataro Ship.

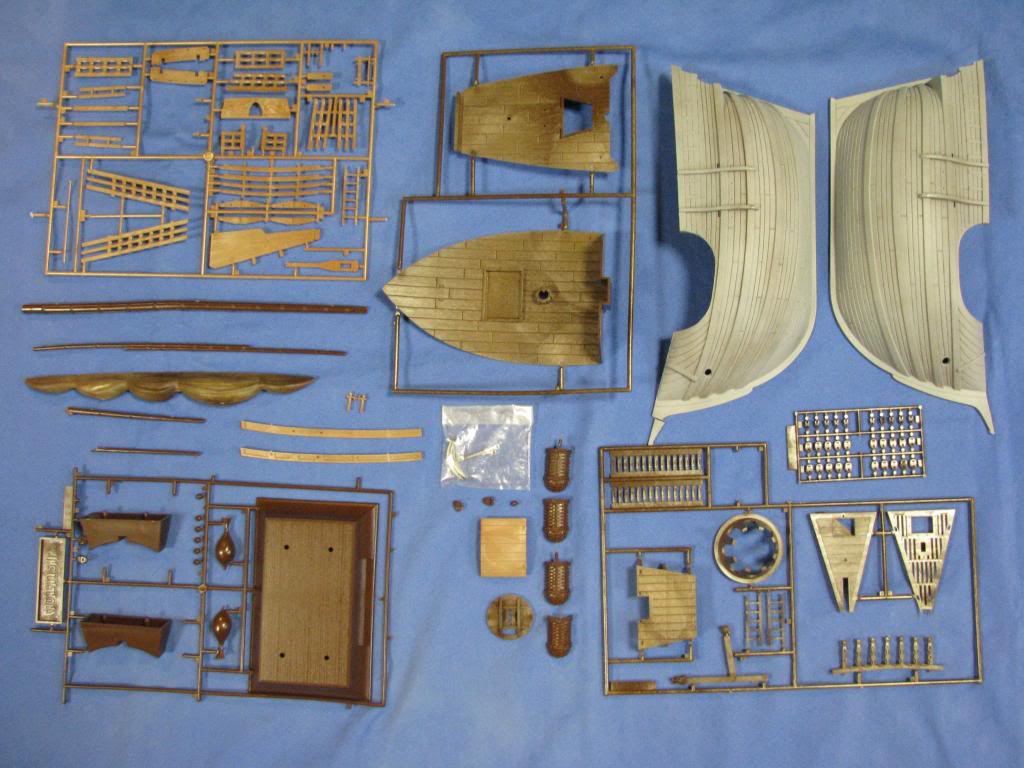
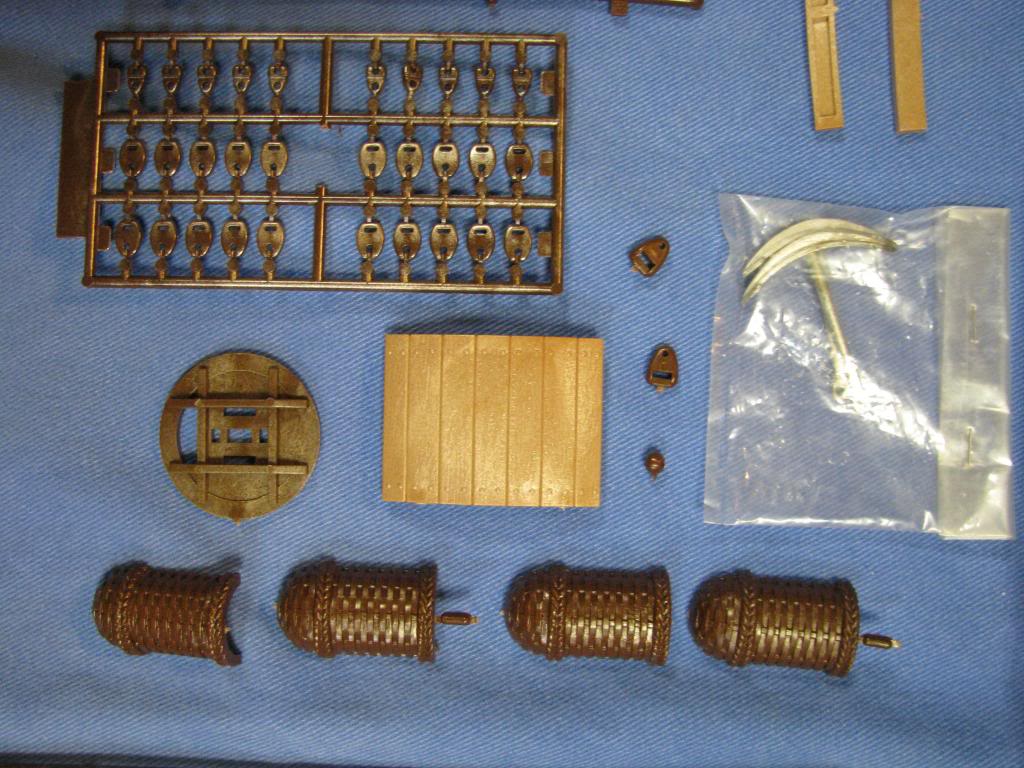
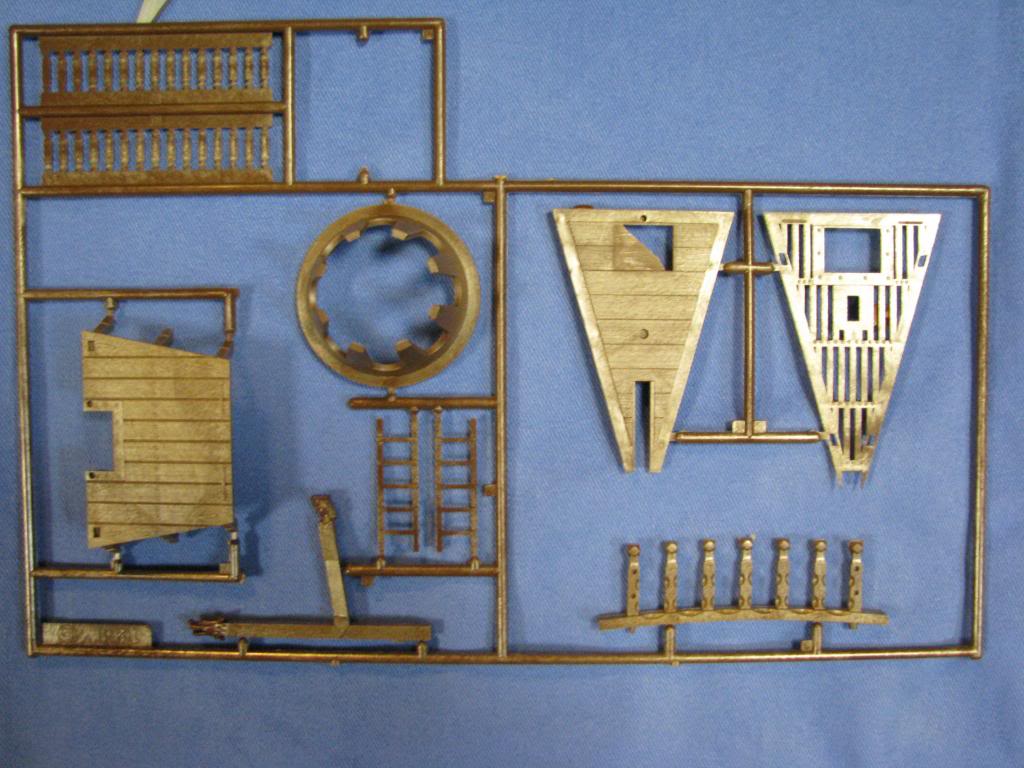
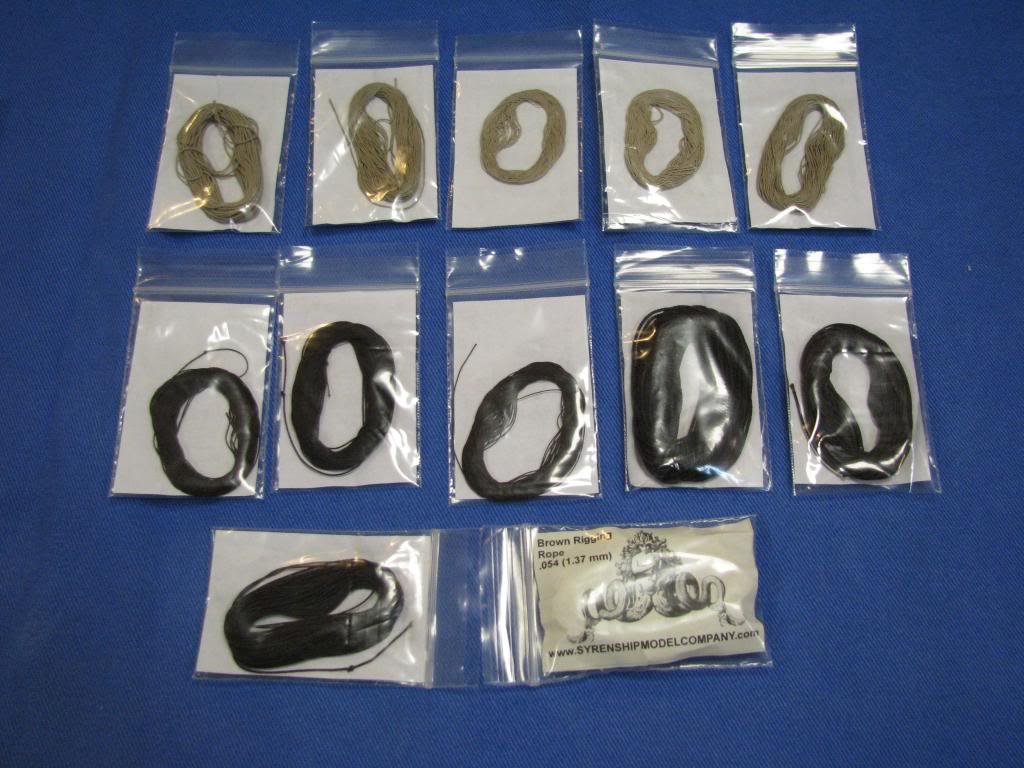
The first installment shows the box and the contents as well as the rigging line I purchased from Syren Ship Model Company.  At this point I plan on using the kit supplied blocks but I will probably change them out for Syren's wooden blocks.

Since the boys are out of school for Winter Break, I won't be posting regularly..... but then again, when have I ever done so in the past.........?

Enjoy,

Steve


  • Member since
    July 2010
  • From: Tempe AZ
Posted by docidle on Saturday, December 27, 2014 8:48 PM

This is something I never thought I would find with a Imai kit, flash.  The piece of decking that is second from the right has a hunk of flash in the hatchway.  Easily removed but....... dang.

Steve


  • Member since
    December 2002
  • From: Greenville,Michigan
Posted by millard on Sunday, December 28, 2014 11:00 AM

Steve

 Good luck with your build.The biggest thing is when you glue the hull sides together.you have to put the main deck in at the same time.Painting the deck and the inside of the hull is must.Plus its a real tight fit.I normal put the hulls together then slip the main deck in but not on this one.Questions or a problem you know how to get a hold of me.

Rod

  • Member since
    July 2010
  • From: Tempe AZ
Posted by docidle on Sunday, December 28, 2014 2:14 PM

Rod,

Thanks for checking out my build log.  I actually did go over your build log again for pointers.  Not only did I find the post about the deck and glueing it in with the hull, but also the post where you had some heavy duty clamps on the keel.  You can be sure I will ask if I run into any trouble or have a question.

Thanks,

Steve


  • Member since
    July 2010
  • From: Tempe AZ
Posted by docidle on Sunday, December 28, 2014 8:40 PM

Here is some of the beautiful detailing on the hull.  This is one of the reasons I am loving this kit.  Another is the ease of construction as well as the density of the parts.  The are some ejection marks I will have to deal with soon but most of them are fairly hidden.

Steve


  • Member since
    March 2012
  • From: Marysville, WA
Posted by David_K on Monday, December 29, 2014 9:02 AM

It really is a compelling kit.  Despite its simplicity, there's something awesome about it.

A great example of Imai's ability to make details really pop....

Can't wait to see what you do with her, Steve!

Dave

        _~
     _~ )_)_~
     )_))_))_)
     _!__!__!_         
     (_D_P_K_)
   ~~~~~~~~~~~~~
    ~~~~~~~~~~~

Current Project:  Imai/ERTL Spanish Galleon #2

Recently Finished: Revell 1/96 Cutty Sark

Next Up:  ???


  • Member since
    July 2010
  • From: Tempe AZ
Posted by docidle on Monday, December 29, 2014 10:53 PM

Thanks Dave!  I have some new ideas for this kit and hopefully they will work out.  And thank you for commenting.  I have noticed a slow down in build logs lately so I figured I would start one.

Steve


  • Member since
    July 2010
  • From: Tempe AZ
Posted by docidle on Monday, December 29, 2014 10:59 PM

Here is a small update and since I am on the iPad I'll only post one picture.

On the inside of the hull parts are a number of large ejection pin marks.  So I filled them in with some Green Putty from Squadron.  After that dried, I sanded them down for the first time.  The picture shows the location of these marks after my first sanding.  I will fill them again and then sand them smooth.  I will replace the detail with some styrene rod and then prime.

Steve


  • Member since
    July 2010
  • From: Tempe AZ
Posted by docidle on Tuesday, December 30, 2014 12:44 PM

Rinse, repeat ad infinitum........


This is what I eventually want to get to.  No I have not finished filling and sanding and the styrene rods are only dry fitted at this time.


  • Member since
    March 2012
  • From: Marysville, WA
Posted by David_K on Tuesday, December 30, 2014 4:46 PM

Looks like progress!  Woot!

I've never had too much against E. Pin marks...I usually just let them go...but I can see the difference it makes to remove them...big improvement!

I agree...there's not a lot of action in the way of sailing ship builds on here these days...

Most likely I'll just be observing for awhile...I've made some preliminary progress on the SR, but I don't expect I'll be posting too much about it, at least for awhile....and it's going to be a LONG time before I get 'er done!

Good work, Mister Steve...love the updates!

Dave

        _~
     _~ )_)_~
     )_))_))_)
     _!__!__!_         
     (_D_P_K_)
   ~~~~~~~~~~~~~
    ~~~~~~~~~~~

Current Project:  Imai/ERTL Spanish Galleon #2

Recently Finished: Revell 1/96 Cutty Sark

Next Up:  ???


  • Member since
    July 2010
  • From: Tempe AZ
Posted by docidle on Wednesday, December 31, 2014 7:39 AM

Thanks Dave.

Ejection pin marks are one of those things that you either leave alone or try to make disappear. Mike Ashey recommends sheet styrene punched to the size of the mark, glued and then putty around and over and finally sand.  I think I should have gone that way considering the depth of the marks on the hull.  Live and learn.  

The other issue I am dealing with right now are molding seams. Most are fairly easy to sand, such as the mast and yard but the one on the rudder took some sanding to get rid of it.

Steve


  • Member since
    November 2009
  • From: Twin Cities of Minnesota
Posted by Don Stauffer on Wednesday, December 31, 2014 9:18 AM

Looking great!  I love models of very old ships, so I will pick up that kit if i ever see it around.

Don Stauffer in Minnesota

  • Member since
    July 2010
  • From: Tempe AZ
Posted by docidle on Wednesday, December 31, 2014 4:16 PM

Don,

It is a really cool model.  Being an Imai kit, it is well engineered but I have found some issues, although they are minor compared with other models I have built.

Good luck finding one though, when they come up on eBay they can be fairly pricey.  There is a gold plated one that comes up every now and then that the seller wants 300 plus dollars....... Needless to say, he hasn't found a buyer yet.

Steve


  • Member since
    March 2012
  • From: Marysville, WA
Posted by David_K on Wednesday, December 31, 2014 6:57 PM

I saw one recently that was mostly painted (in terrible colors!) but mostly unassembled...the seller wanted 25 plus 15 shipping (or so)....I almost went for it, but I didn't want to re-do someone's abandoned project...plus there was no guarantee that all the parts were there....it was a great deal, though, and someone snatched it up within a day.  I'll get my shot to build one someday!

Meanwhile, I'll enjoy watching yours come to life, Steve!

D

        _~
     _~ )_)_~
     )_))_))_)
     _!__!__!_         
     (_D_P_K_)
   ~~~~~~~~~~~~~
    ~~~~~~~~~~~

Current Project:  Imai/ERTL Spanish Galleon #2

Recently Finished: Revell 1/96 Cutty Sark

Next Up:  ???


  • Member since
    July 2010
  • From: Tempe AZ
Posted by docidle on Wednesday, December 31, 2014 8:32 PM

Dave,

I know exactly which auction that was. I looked at it very carefully and pulled my instructions out to see if anything was missing.  There was about 3 parts missing that were rather important but at the moment I cannot remember which ones.

The paint job was rather "interesting".

You made a wise decision my former Padawan.

I posted a response to your deadeye question and hopefully helped.

Steve

I also got the first set of starboard main shrouds rigged on the Nina this morning before my Doctor visit.  It felt really good although my hand went numb by the end of it.  I plan on trying to do another one tomorrow!


  • Member since
    July 2010
  • From: Tempe AZ
Posted by docidle on Monday, February 23, 2015 11:57 PM

Another small update on this construction. I borrowed an idea that Evan used on his Constitution thread on ring bolts.

This is the hatch for the cargo hold made up a number of planks. I drilled holes at the ends of each plank to add the hardware to. You can see the components for the rings above the hatch. I will attach the jacks to the rings and then blacken them. After that, I will weather the hatch with oil paints as usual and then glue in the rings.

Steve


  • Member since
    December 2003
  • From: 37deg 40.13' N 95deg 29.10'W
Posted by scottrc on Tuesday, February 24, 2015 8:30 AM

Good idea on using the metal rings, you wont regret it.  

  • Member since
    July 2010
  • From: Tempe AZ
Posted by docidle on Saturday, February 28, 2015 5:12 PM

Thanks Scott, I agree. I had used metal jacks on the Cog builds that I did and it was okay.  When I saw Even(Force9) using this method I knew that it was the way to go.

Steve


  • Member since
    July 2010
  • From: Tempe AZ
Posted by docidle on Saturday, February 28, 2015 5:15 PM

Here are a couple of pictures of the rings blackened but not attached yet and the hatch weathered with oils.

Steve


  • Member since
    January 2015
Posted by rdiaz on Saturday, February 28, 2015 5:46 PM

I'm still amazed to see what you guys do with oils. I also use oil washes and oil dry brushing for weathering, and results are not even close! Looking forward to see this build progress...

  • Member since
    July 2010
  • From: Tempe AZ
Posted by docidle on Saturday, February 28, 2015 6:08 PM

Thanks Roberto. I hit on this technique after much trial and error with acrylic and enamel washes. I keep experimenting with oils now to see how to make a even better wood effect. Sometimes it works and others ..... well not so much.

If you want to see my first construction log where I used oils on, you can check out this thread.

Steve

cs.finescale.com/.../150254.aspx


  • Member since
    July 2013
Posted by steve5 on Sunday, March 1, 2015 9:27 PM

david , said he would like to see you do a tutorial on your weathering techniques., I would pay to see it., if you ever decide to do one , please let us hnow


  • Member since
    July 2010
  • From: Tempe AZ
Posted by docidle on Monday, March 2, 2015 10:42 AM

Steve,

I am setting up a website that will have "How To" videos such as the weathering technique, etc... on it for nominal fees. I'll let everyone know when it is up and running.

Steve


  • Member since
    July 2010
  • From: Tempe AZ
Posted by docidle on Monday, March 2, 2015 10:44 AM

Here is the cargo hatch completed with the rings inserted.  I used Even's(Force9) technique for making them and then blackened them. I don't think they came out too badly.

Steve


  • Member since
    March 2012
  • From: Marysville, WA
Posted by David_K on Tuesday, March 3, 2015 8:43 PM
Hatch looks sweet, Steve! I'm really looking forward to seeing this one finished! Dave
        _~
     _~ )_)_~
     )_))_))_)
     _!__!__!_         
     (_D_P_K_)
   ~~~~~~~~~~~~~
    ~~~~~~~~~~~

Current Project:  Imai/ERTL Spanish Galleon #2

Recently Finished: Revell 1/96 Cutty Sark

Next Up:  ???


  • Member since
    July 2010
  • From: Tempe AZ
Posted by docidle on Wednesday, March 11, 2015 7:28 PM

Got the base colors on the rudder. Will add the oils tomorrow.

Steve


  • Member since
    July 2010
  • From: Tempe AZ
Posted by docidle on Friday, April 24, 2015 3:48 PM

Here are a couple more pictures of the Catalan model construction. The first one shows the base color on the deck. The next shows the detailing work before the oil goes on. The decks still need some of the details painted so that is the next step.

Steve


  • Member since
    July 2010
  • From: Tempe AZ
Posted by docidle on Wednesday, November 18, 2015 12:28 PM

Getting back to the Catalan kit to save my hands a bit. Here is the the hull with colors on it. I am not sure if I am totally happy with the color choices so far. I feel the Red Brown is a liitle too Red although once the Artist Oils go on it will tone it down. I used the colors of the Catalonian flag, Yellow and Red for the upper works.

Steve


  • Member since
    March 2012
  • From: Marysville, WA
Posted by David_K on Thursday, November 19, 2015 10:05 AM

Looks good, Steve!  I'm excited to see how this one turns out.

BTW, I think you're right about the wales...that color will totally tone down once you get some oils on there...it's gonna look sweet!

These Imai Catalans are so rare, and so cool looking....I still have hope that one day I'll find one for an affordable price :)

Dave

        _~
     _~ )_)_~
     )_))_))_)
     _!__!__!_         
     (_D_P_K_)
   ~~~~~~~~~~~~~
    ~~~~~~~~~~~

Current Project:  Imai/ERTL Spanish Galleon #2

Recently Finished: Revell 1/96 Cutty Sark

Next Up:  ???


  • Member since
    July 2009
  • From: Jacksonville, Florida
Posted by Vagabond_Astronomer on Thursday, November 19, 2015 10:12 AM

The IMAI Catalan Ship. A model of a model. 

Looking forward to seeing this. One of the most important models for fans of Iberian shipbuilding from the period. 

Great work as usual, Steve!

"I have loved the stars too dearly to be fearful of the night..."
JOIN OUR COMMUNITY!

Our community is FREE to join. To participate you must either login or register for an account.

SEARCH FORUMS
FREE NEWSLETTER
By signing up you may also receive reader surveys and occasional special offers. We do not sell, rent or trade our email lists. View our Privacy Policy.