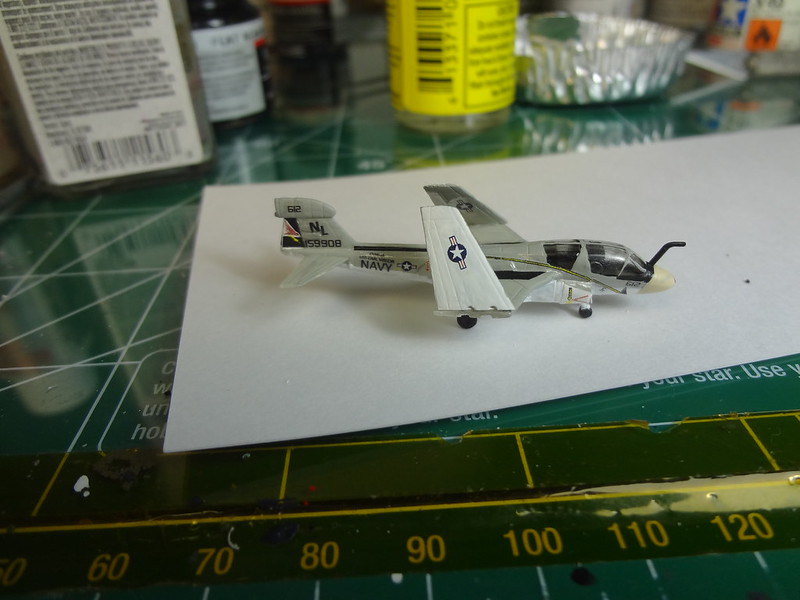
The two EA-6B's from VAQ-134 for hangar bay 1 are done. Next are the A-6E's from VA-52 then on to the E-2C's. The decals for these are from Star Fighter. I just added the "NL" and the ship/CVW decals. I really wish Trumpeter would make all their planes the same way. These had the canopy molded into the plane. Makes it difficult to decal and seal.