- Member since
January 2012
- From: Atlanta Metro, Georgia
|
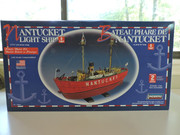
Nantucket Lightship by Lindberg - 1:95 scale build
Posted by fright
on Sunday, August 19, 2018 6:12 PM
I finished up on my first wooden boat and I thought I would take a break by turning my attention to this little ship with a wonderful history. I purchased this kit from Hobbylinc and it arrived well packaged and intact. I read a review that said this was an old mold and expect some flash and injection marks. After looking over the parts, I could see that it does have some issues that will require putty and sanding.
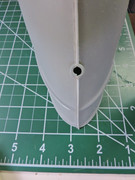
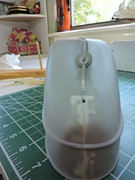
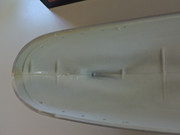
First off, I sprayed everything with primer gray. I then set about work by using CA glue to connect the two hull halves together. Two areas that did not align up on my model was the opening on the bow for the anchor and the opening for the propeller on the bottom aft end. I will try to do some putty work, drilling and sanding to help fix my problem. I ran a good bead of Testors model cement from a tube all along the interior seams of the hull. I am planning to install wiring for lights and I do not want the seam to open when I drill.
As for color scheme, I'm told that this kit represents this vessel just before she was refitted from steam to diesel power in April of 1960. Since I do not own an airbrush, I will use ModelMasters Guard Red on hull, Testors Flat Black for waterline strip and Red Oxide for anti-fouling red. Testors Gray for all deck(s), Flat white for all bulkheads, and Badger Union Pacific Armor yellow for my 'spar' on masts, funnel, ventilators, etc.
|