Thanks guys!![Toast]()
Before I proceed to the rest of the details, I wanna get the hanger deck situated.
That means...I gotta do some planes. As they are in the kit, the panel lines are pretty gross. As a test, I did a pair...I puttied the lines on the Hellcat, and just sanded down the TBF a bit.
Thoughts/opinions on the route to go are welcome!
Here they be...

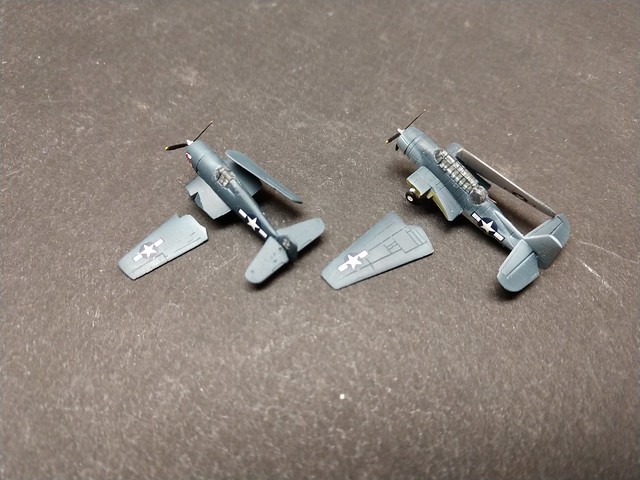
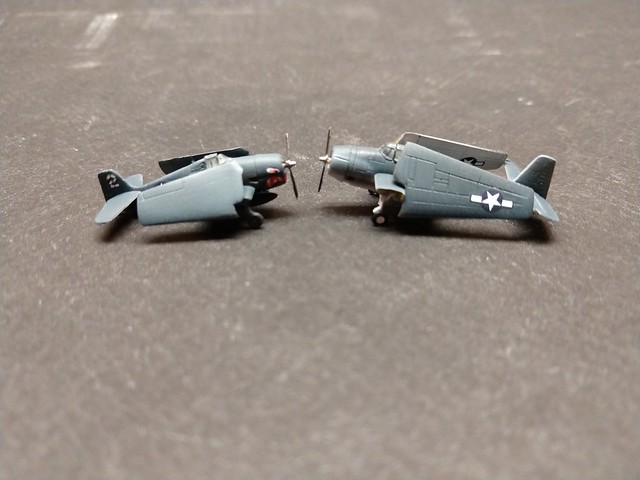
I missed a little bit of filling on the Hellcats tail...oops

