If you ask a 6 ship modelers how to do this you will get at least a dozen answers, most of them different.
My approach, your milage may vary.
Paint the ship & decks before attaching railings. (Of course if you are adding items such as applique hatchways, liferings, firehoses, etc., apply them before painting.) As far as painting sequence, I pain the deck, then go back and apply a myriad of small masking tape/paper masks to mask the deck around bollards and along bulkheads, gun tubs, turret barbettes, etc. Then paint the verticals. It gets more complicated if you are doing something with a dazzle pattern.
I also airbrush paint the PE on the fret. You will go back later and hand touchup any nicks or cracks.
Remove the masking. Measure your PE runs with a pair of draftsman's dividers. Measure logical breakpoints, bulkhead to bulkhead, bulkhead to gun tub, along to lader breaks, etc. Cut uout railing to this length. Resist the urge to do an entire side just because uou have a piece of brass that long. Work in manageable 2 to 3 inch lengths. Sand or file off any fret attachment nubs. Remember you will touch up later.
Form any shapes needed. Wrap around a drill shank or dowel (no purpose built tools needed) for a round. Make square bends with some square-jaw pliers, or use a pair of single edge razor blades in opposition, one above and one below at the bend. Raise the lower one in a hinge motion to the desired bend angle..
Apply pencil point size dots of glue to the railing at each end and every 1/2 inch or so. I use Aleenes Tacky Glue, a craft store item. Works as well as most of the hobby industry specialty glues and 1) it costs much less 2) it is readily available without sending off a special order. Apply the rail & wiggle just a bit to spread the glue. Aleenes has the benefit of grabbing quickly but it allows for some reposition time (try that with super glue).
clean up any squeeze outs with a Q-tip & water.
Work inside to out and top to bottom. That way you run less chance of disturbing prior work.
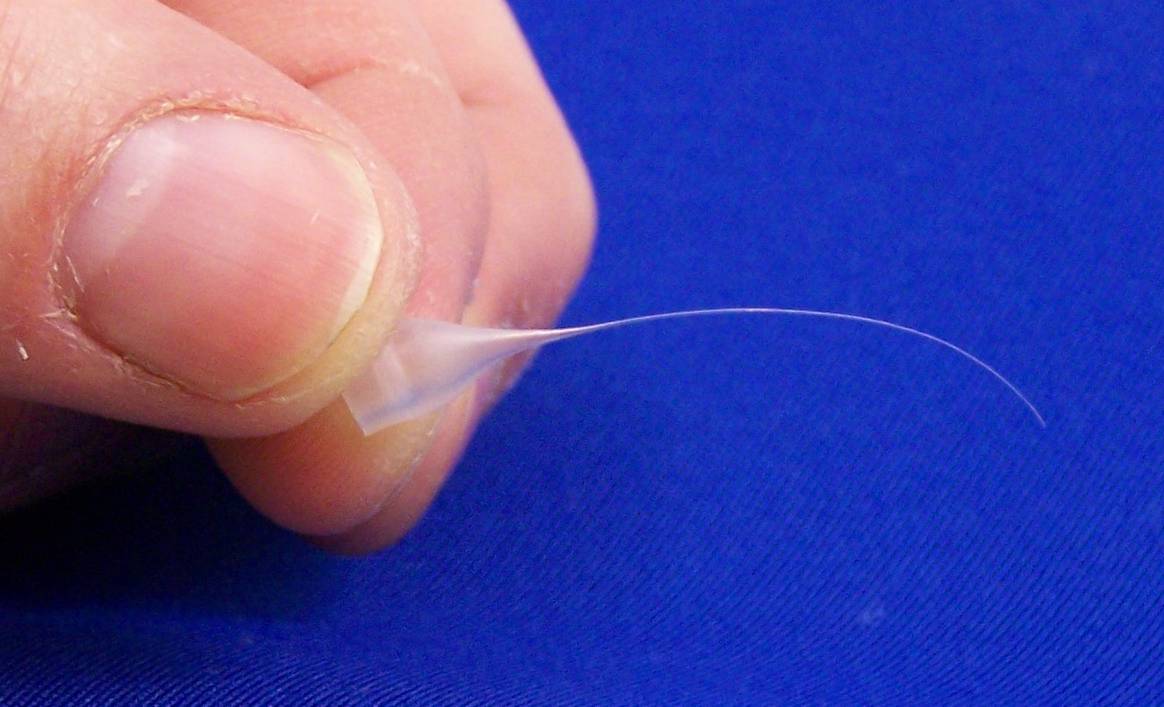
When your glue is dry go back with some superglue to premenantly attach the rail. I use very fien glue tips such as these:

Darren Scannell of the Resin Shipyard demonstrated how to make these using radio control actuator sheath material. See his procedure here: http://www.resinshipyard.com/pages/tip_pages/glue_tips.html
RC cable sheath is something like 5 dollars for a 2 foot length.
With this you are able to lay down a very fine drop of glue. Run a bead of glue along the inside of the gutter (bottom) rail.
Go back now and hand paint any nicks or cracks on the PE.
Spray a very light coat of clear flat to kill the shine on the PE