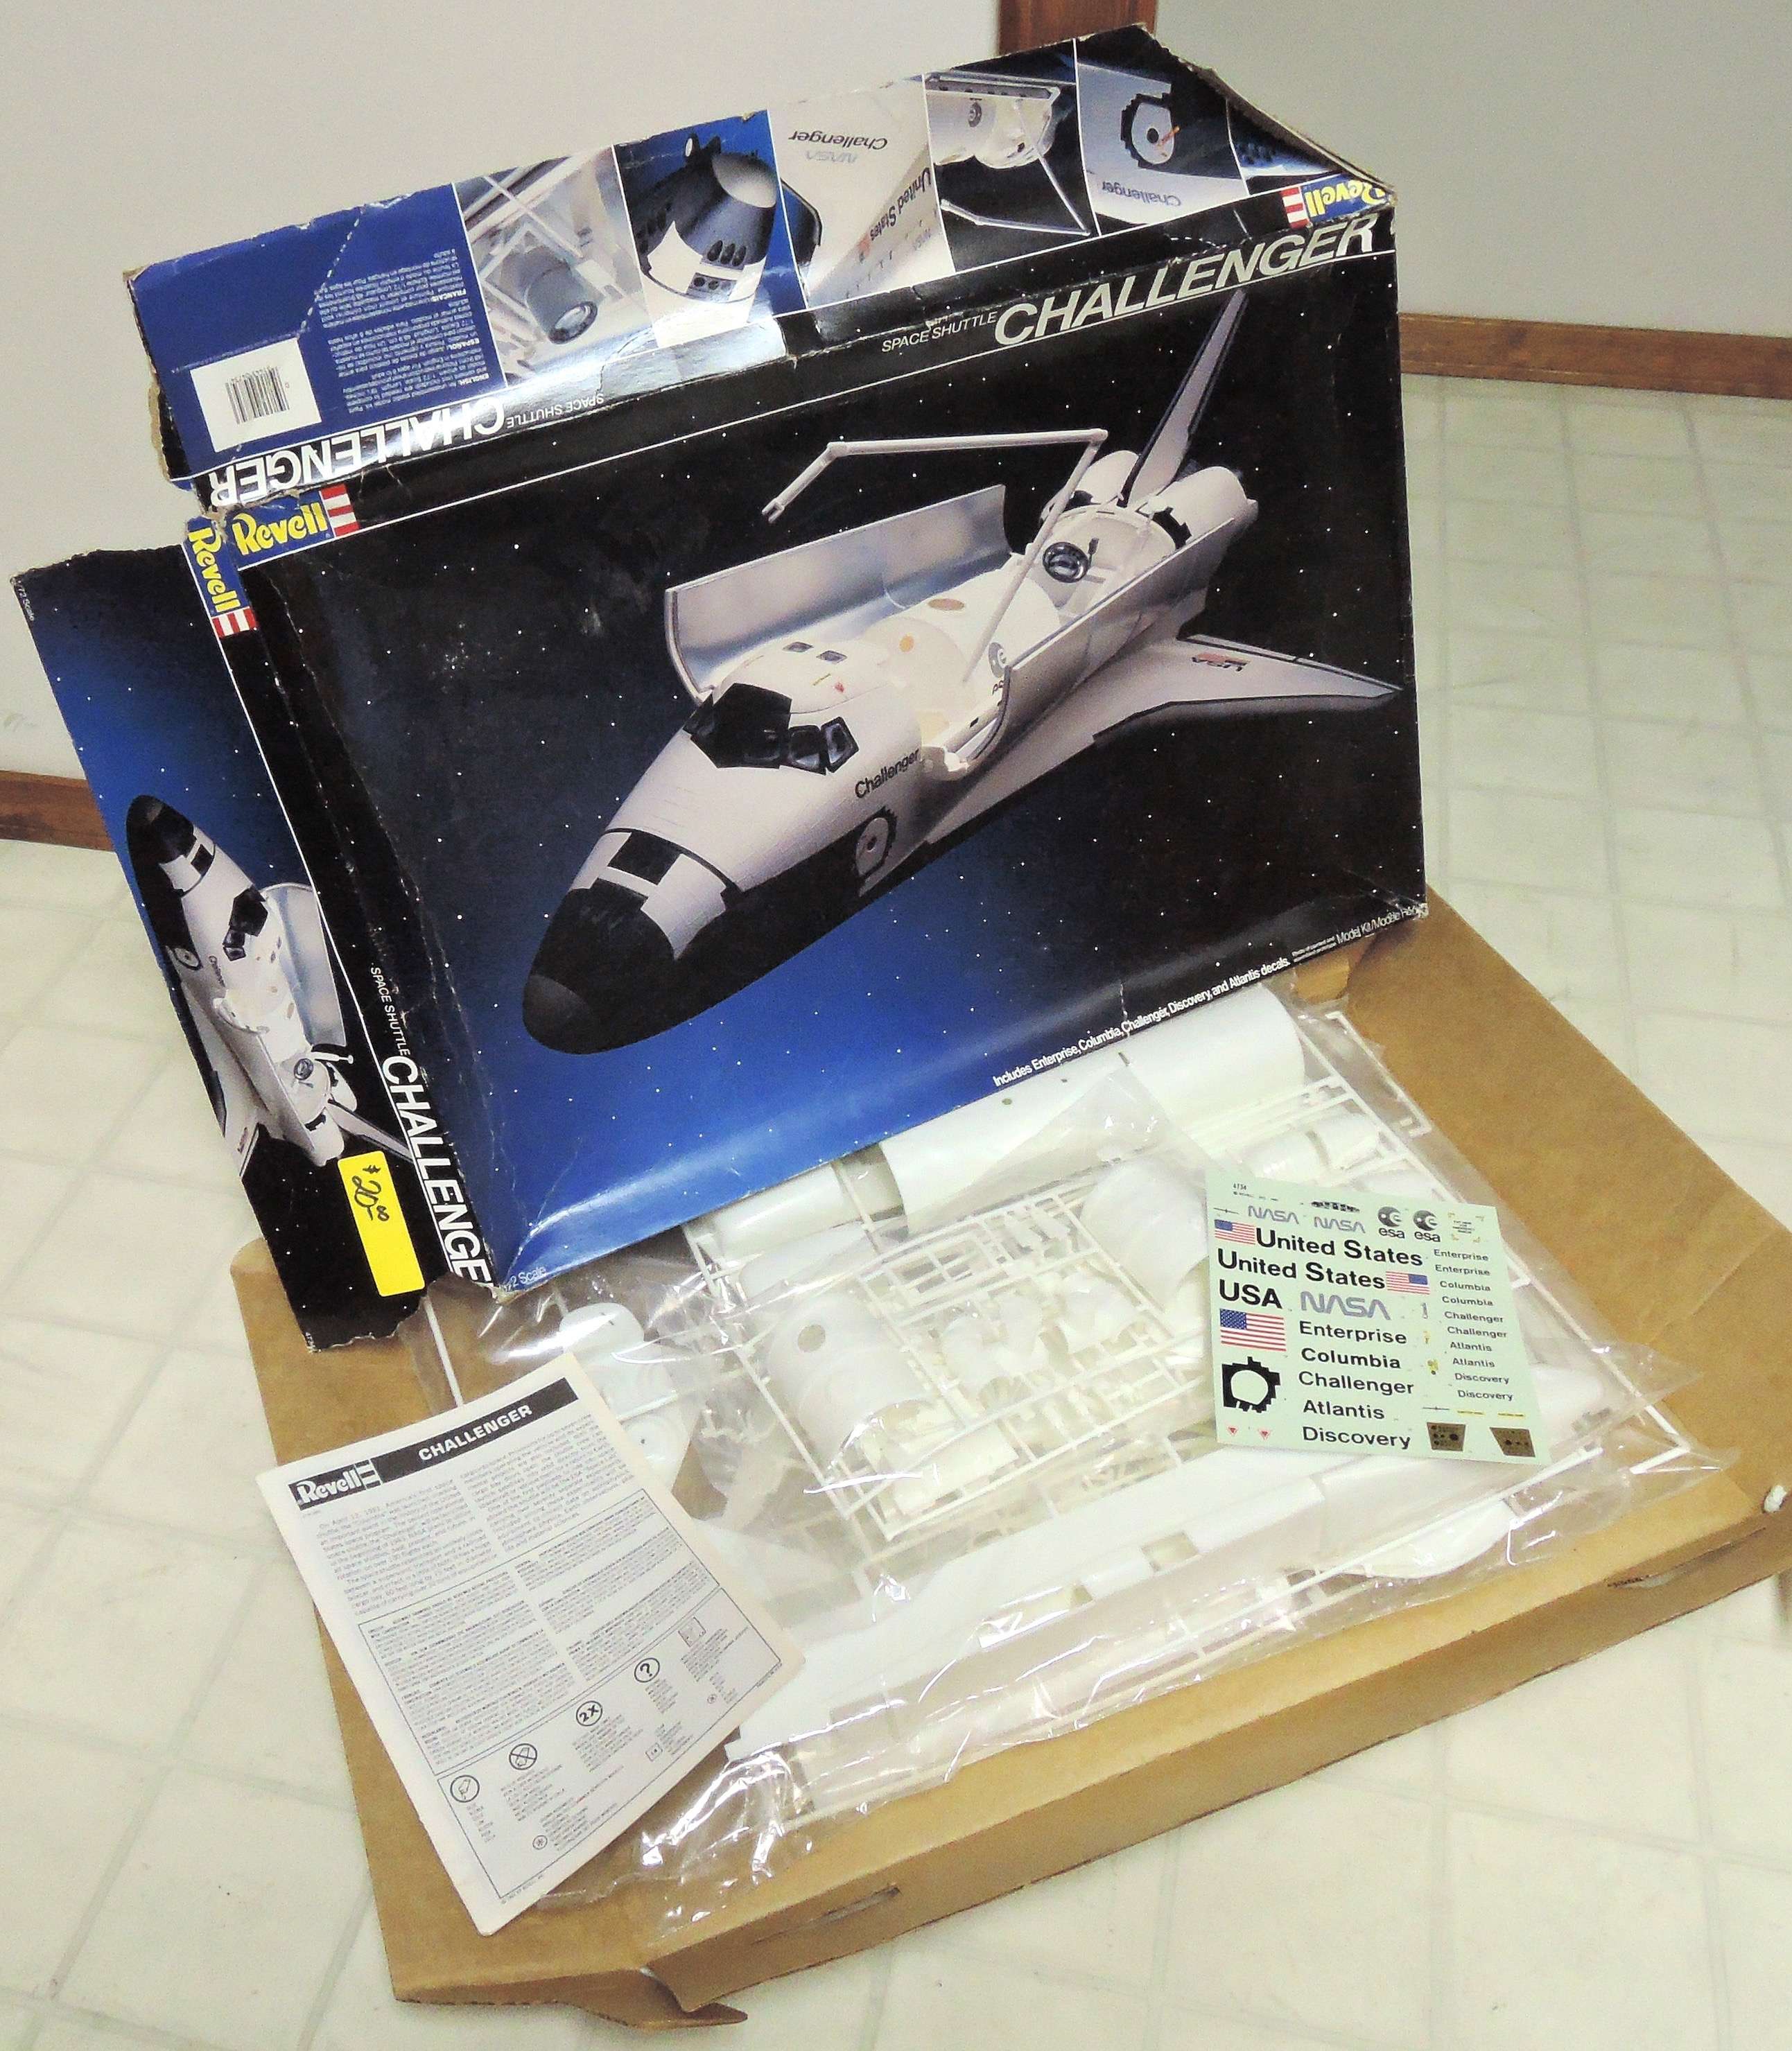
I've already made a report on the Aircraft post about finding this 1/72 Space Shuttle at a vendors booth at a model show over the weekend. There it was, in a well worn exploded box with a $20 price tag! A brief inspection of the product confirming all was well, the low dollar offer, which it never hurts to ask, lol, and I'm off with the gem for $15. Watta buy on something I've been looking for or at least been considering for my Museum which is really just my office. ![Confused]()
I'd just started my next kit on the list, a 1/48 F-4C which at my speed will probably take months. The Shuttle looks to be simpler and more fun and I think I'll tackle it first for a pre-Phantom break.
This looks to be a good one for a W.I.P. and I'll keep you posted.
Max