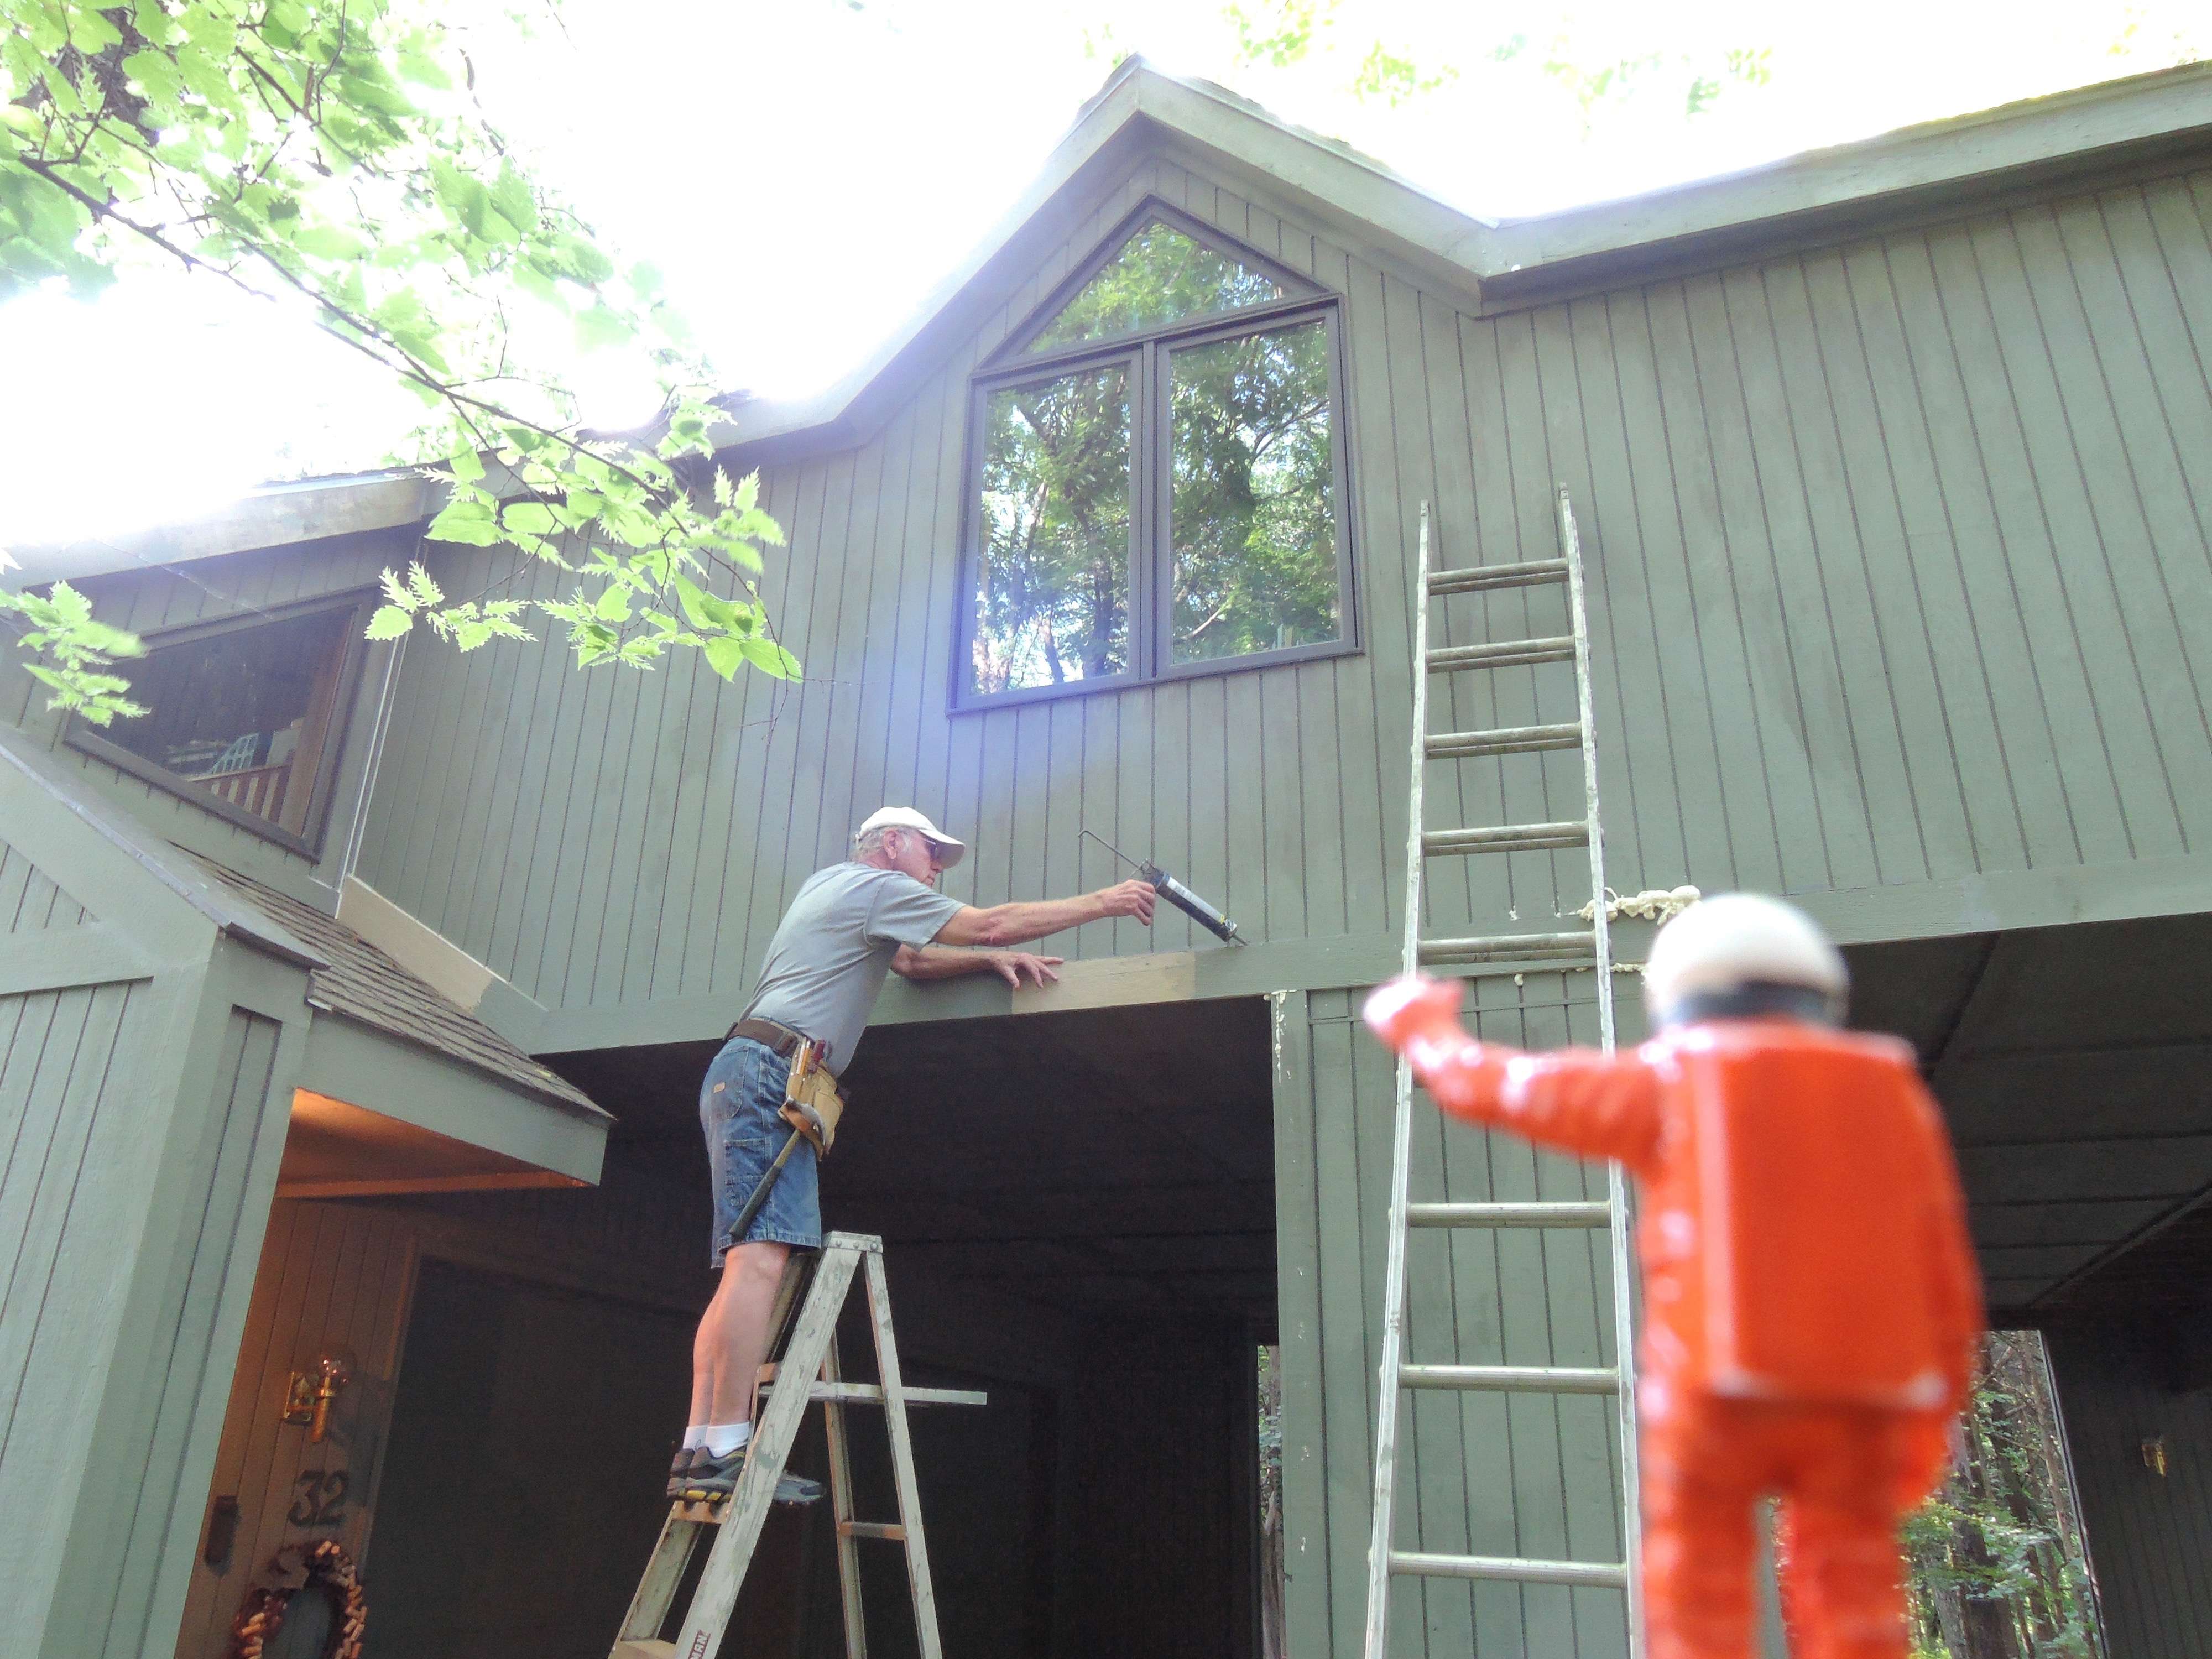
The house project keeps getting extended as I find more water damage and have to fix things before I can continue to paint. Two additional days of repair has left the little man restless as I am not working on his shuttle project. First things first I tell him, I've got to take advantage of this weather. Now I see him watching me on my project. I don't know if he's inspecting or just trying to make me feel guilty.
Just a quick report for your entertainment. ![Geeked]()
Max