vespa boy
All the fruit and the Honda are superb. Keep up the good work. All the little details add up.
Thanks Narayan, you know as well as I do all these details are like a jigsaw puzzle.
Well here's another part of the puzzle...Hot from the press,
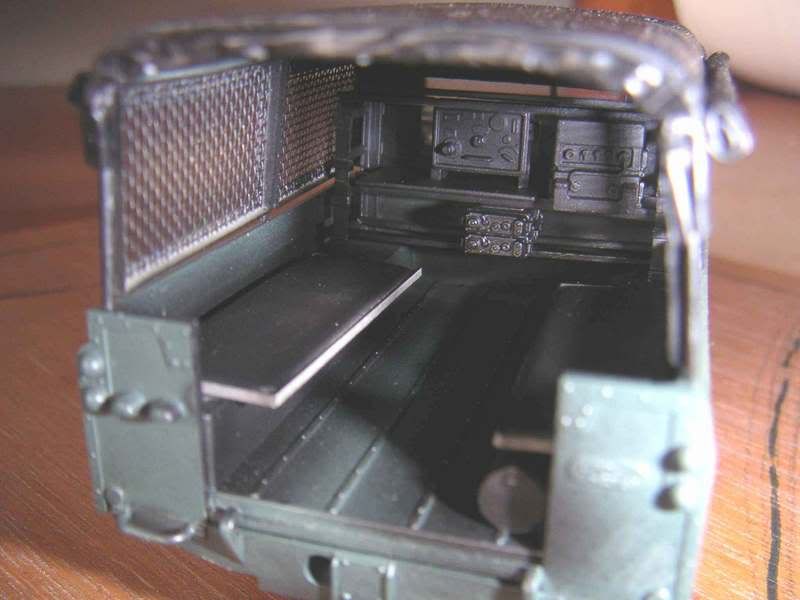
Here is the landrover interior. Basically I roumaged around my spare parts box for radios and such. The frame was from the Italeri jerry can set with lengths of plastic strip joined together with card for the table top.
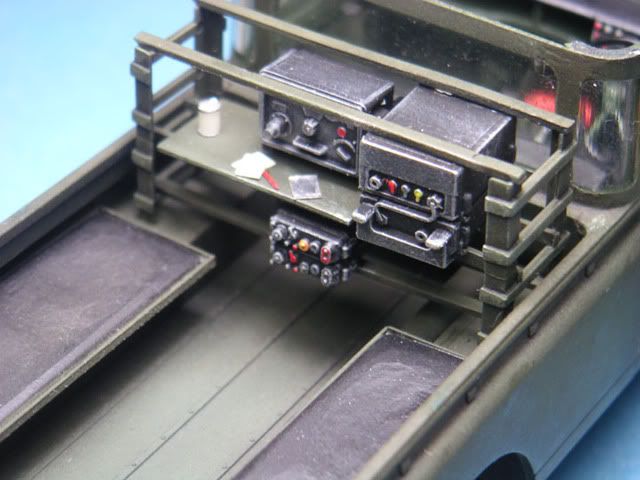
The kit didn't come with rear seats so they had to be fabricated. The real seats were just metal frames with cusions wrapped in black vinyl. I remember the seats being loose and would shift around in the frame. :lol:
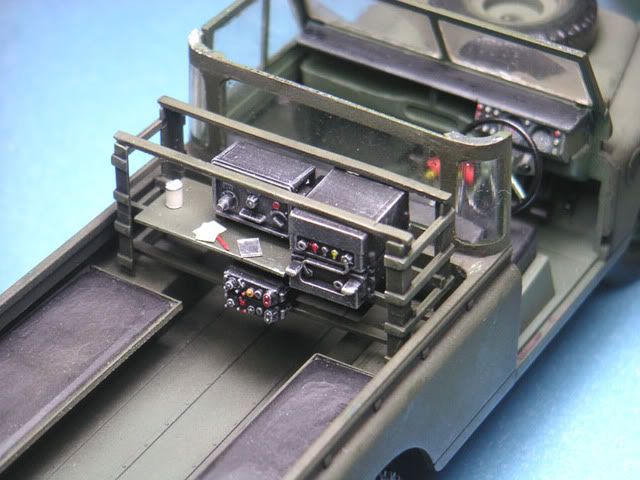
This is the best part of the headache I had to go through. The kit was left hand drive (for the Italian market) and so to make it into a Malaysian or at least Commonwealth version I had to shift the whole driving column to the right including the dash board and pedals (major surgery) :P
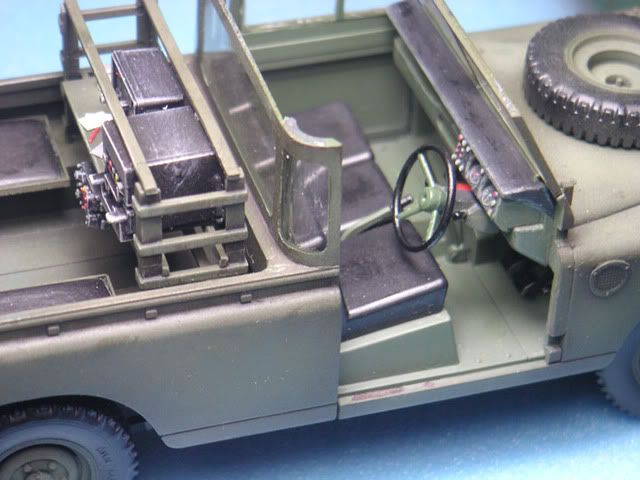
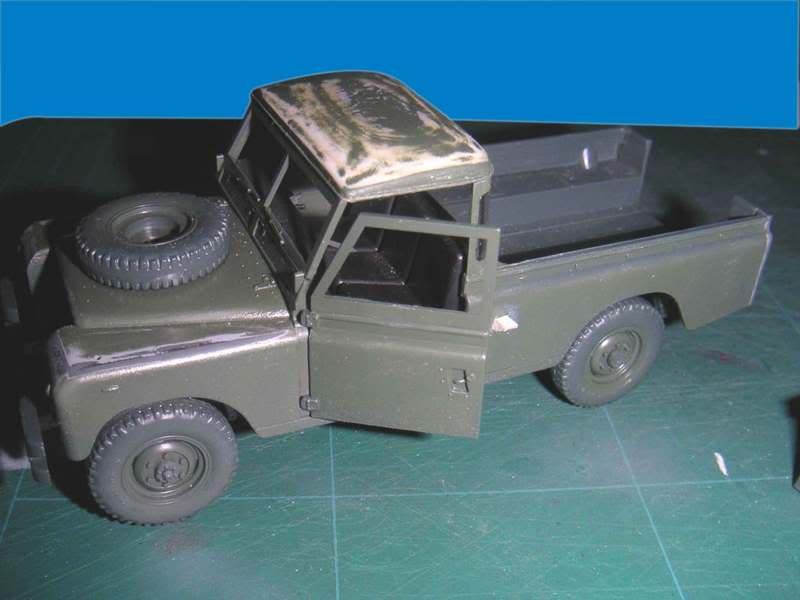
I also scratch built the rear portion of the cab with the curved windows and rear glass panel. The curved windows were made from acrylic clear tubes from Tamiya cut in half.
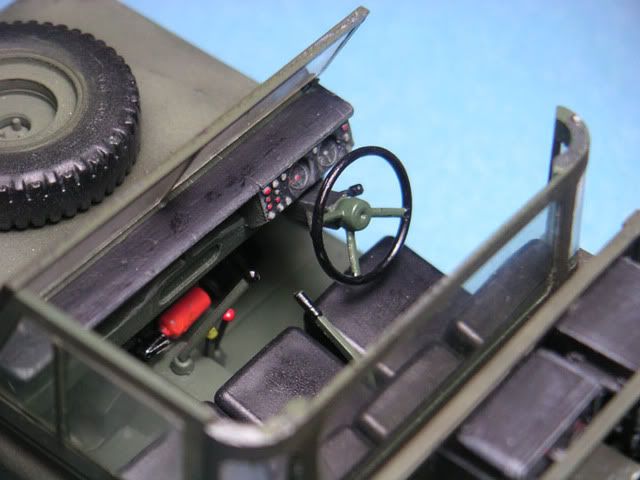
I'm covering this up with the roof after this which also is pre-fabricated to a bubble top roof as the kit came with a canvas roof. These pictures show the work before paint was added.
These close ups show the headlamp installed and painting of the signal lights. At this point I hadn't moved the rear view mirror stand yet.
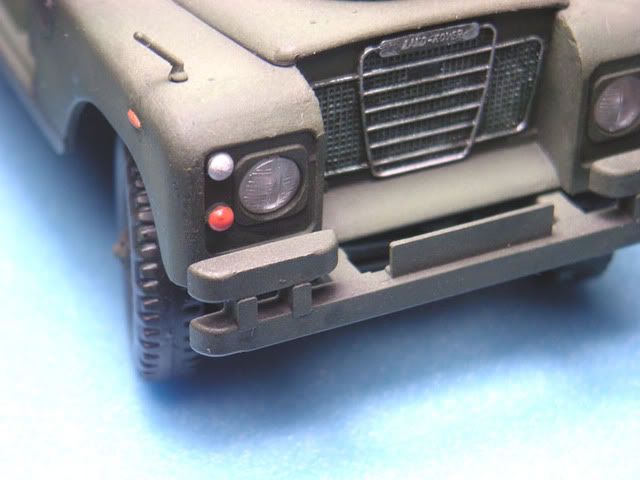
The grill got a bit of attention with Gunze silver and Buncho water colour wash.
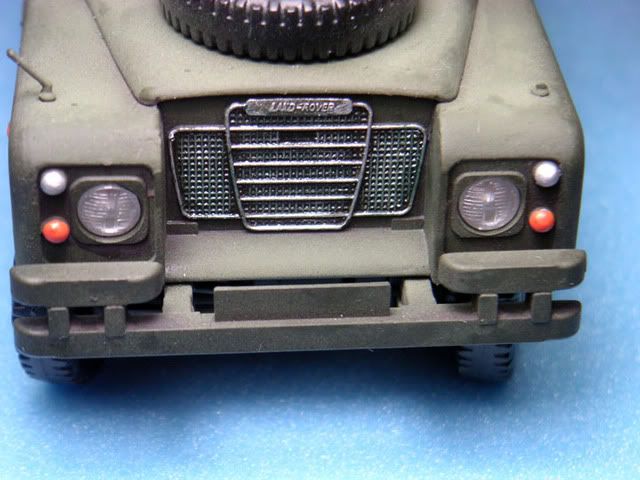
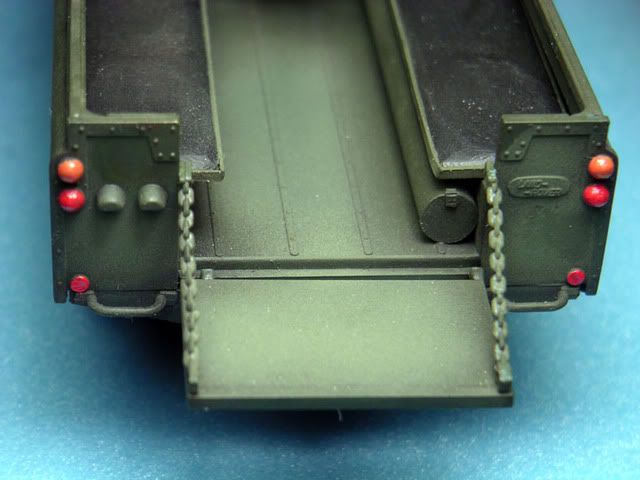
The rear lights also got treated. At this stage the Landrover ID plate hadn't been detailed yet. The rover is painted with pre-shades.
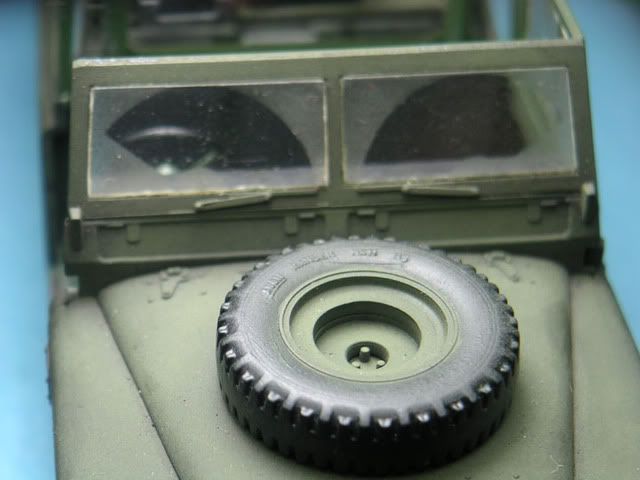
I always add this to all my vehicles. The windscreens on all vehicles on a long journey will always have dirt and the tell-tale wiper marks. Just make sure which direction the wiper wipes when applying this. A simple mask with masking tape cut to shape was used.
Here's where I went nutty and attempted something that turned out pretty ok lah.
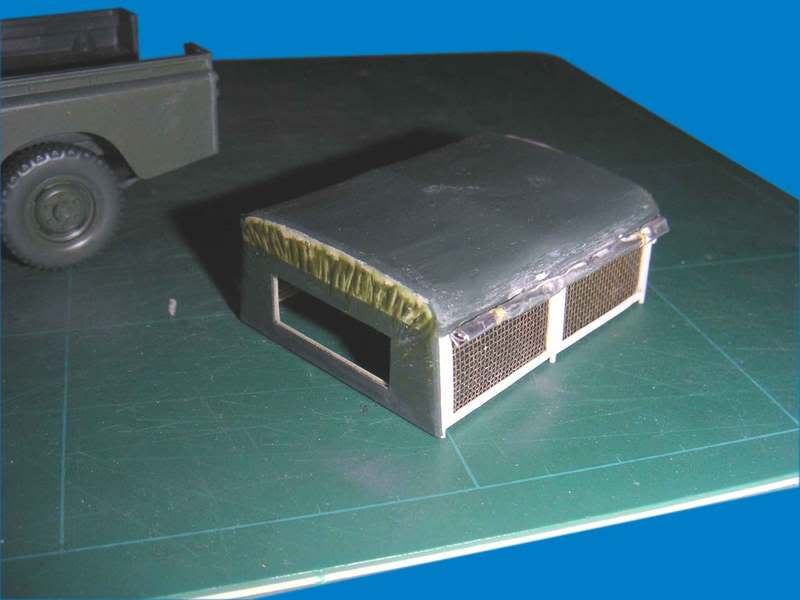
It started out with something the manufacturer had provided but I wasn't satisfied with... <_<
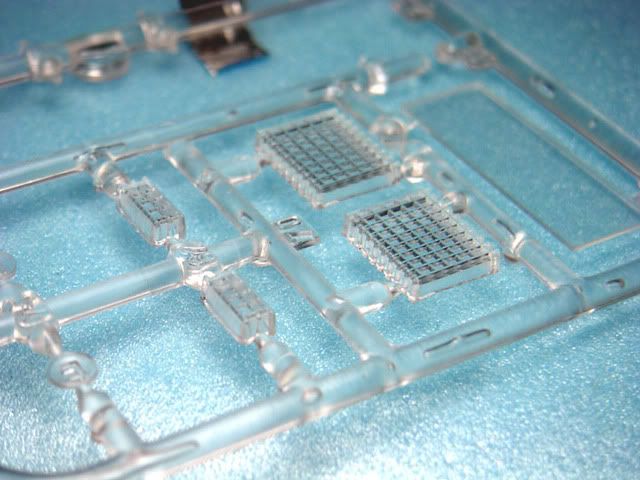
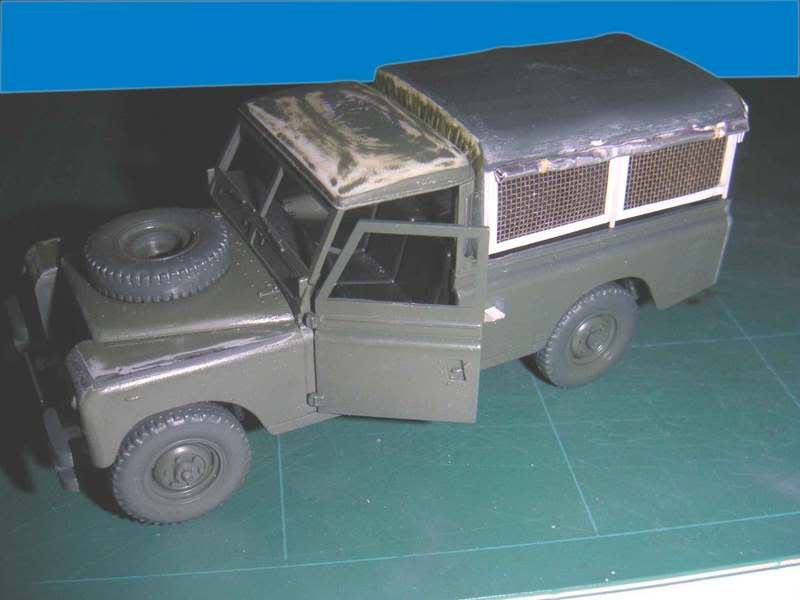
The transparencies looked ok but I thought wire mesh like the real thing would be better so I started with this...
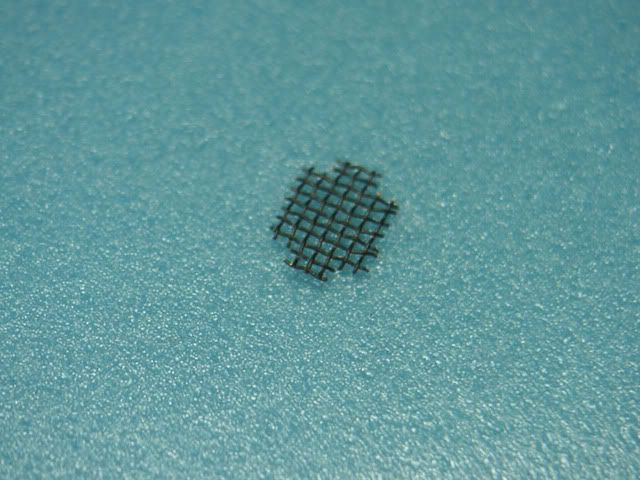
...bent it and locked it with some future and sprayed it...
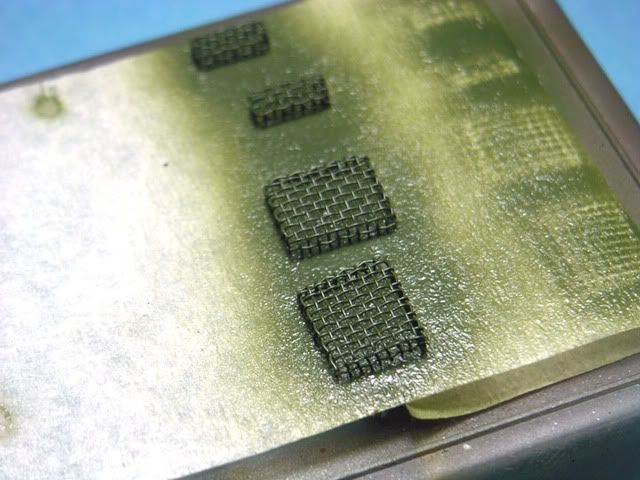
...another angle to the sprayed mesh...
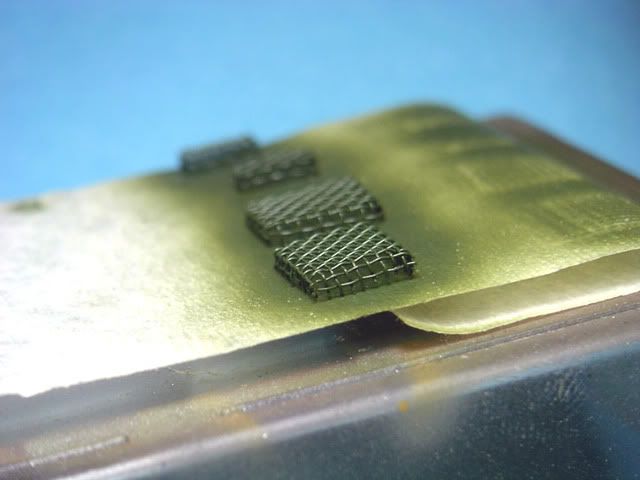
...then I applied it to the rover...
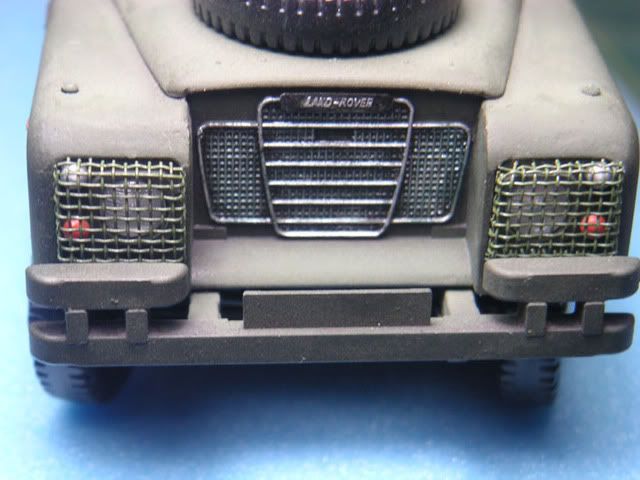
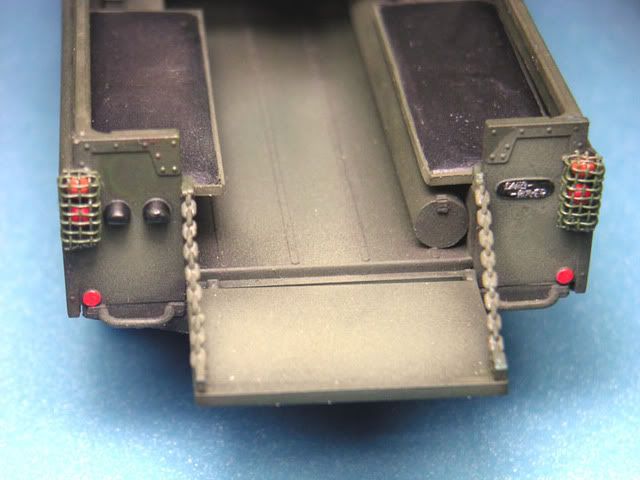
...close up shows it's kind of thick but from a respectable distance "boleh tahan lah"(means...can do).
Notice that I had already painted the number plate lights. Will have to remove one as of latest info compliments of a freinds input. :D
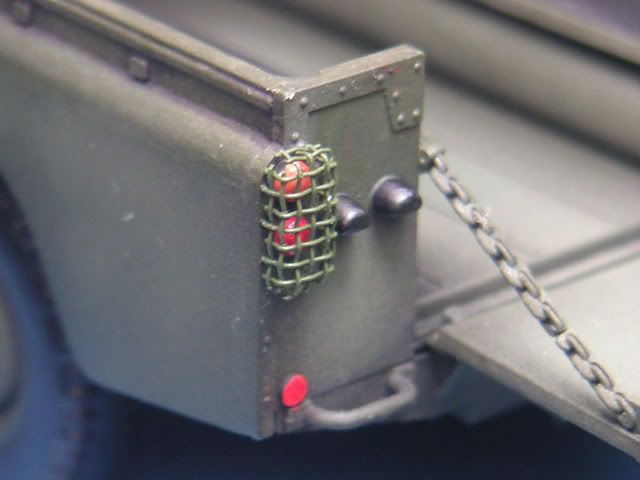
The bumper needs modifying to the single one...hope the unit ID plates on either side will hide the cuts.
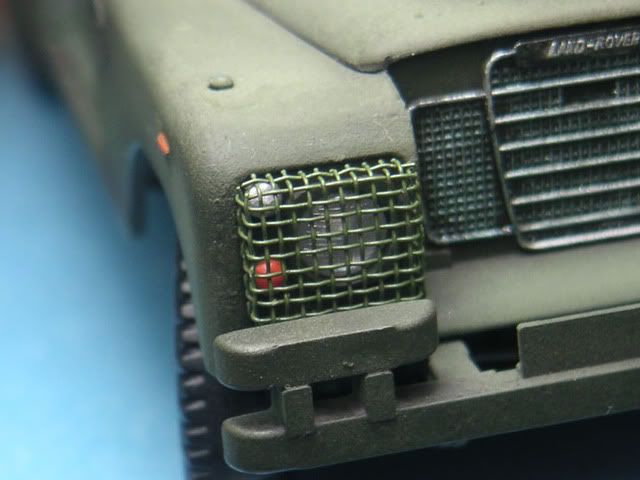
Enjoy :P ...Next will be the rear view mirror mod.
Cheers,
Richard