Part 2, The Extended Version, Casting My Wheels
Well, hopefully, after this post you won't have to see more from me regarding casting.
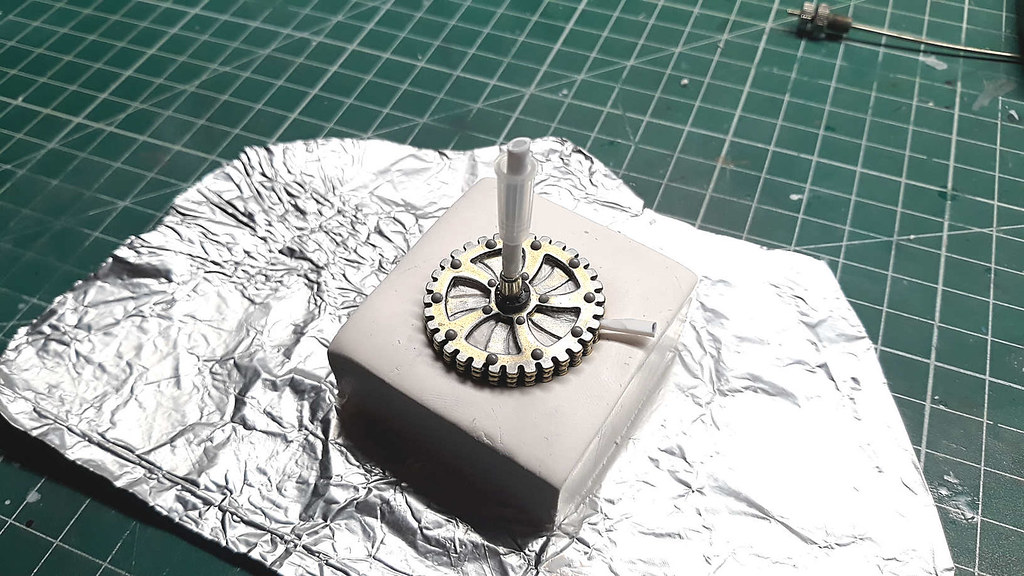
Below: The master is set onto Sculpey Clay, the pour spout and vent mounted, undercuts filled prior. The worst part of the whole process is:
1. Kneading the clay to a soft and pliable state. The stuff stiffens as it sits. It's a major workout making my hands strong. Now, I can crush rocks with a simple squeeze. 
2. Making these undercuts are a PITA. It is time consuming business.
I should mention that I used hot glue to mount the vent and the pour spout. Previously, I used CA, and I found that the silicone remained tacky in the areas where I used CA. I suspect the CA hindered the cure. The hot glue worked perfectly.
Below: The walls are made from foam board. A trick I learned from YouTube is to not score the foam all the way through. It works great to score the paper on the outer side, then bend the foam to make the corner. The advantage of this is that the inner paper layer remains intact, and this keeps silicone from leaking out. In short, you don't have to hot glue those corners. In the end, you need to seal only one corner.
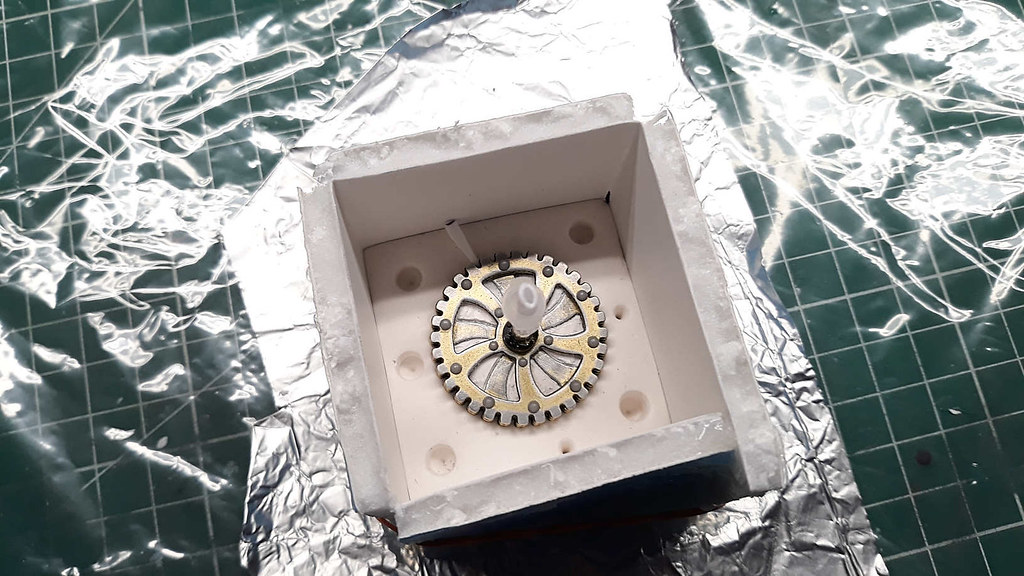
Below: Side 1 of the mold is poured.

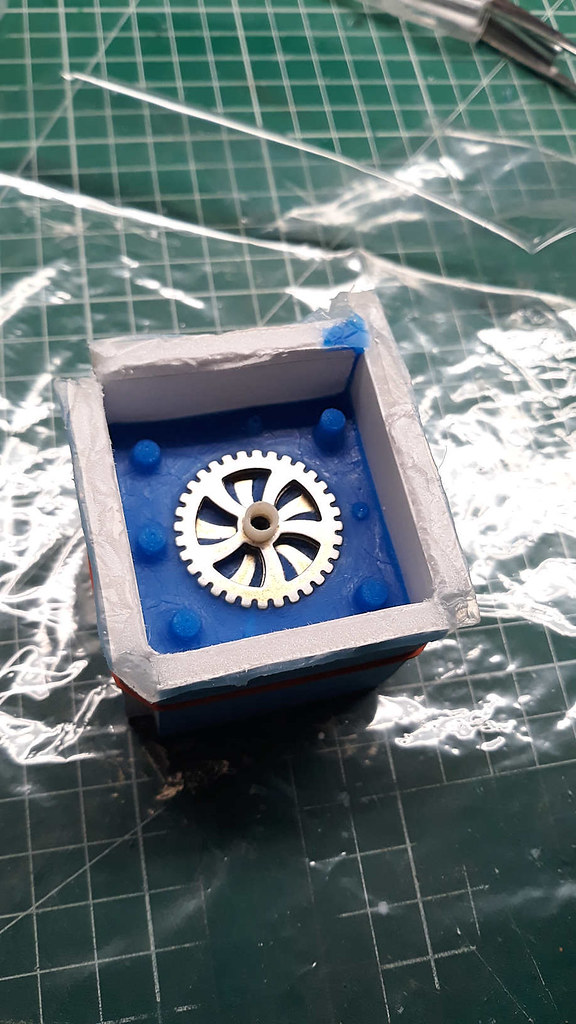
Below: The mold is flipped, the clay base is removed, and including removal of the undercuts. This step is a pita too because the clay is crumbly, and it takes time to clean it all out. Then a thin layer of vaseline is applied to all areas silicone.
Below: Sammie CAT at the Vet for checkup. Turns out he has thyroid issues. Nothing too serious, YET.
I learned some things with regarding the PBJ method, and using the low viscosity resin:
1. It is best to make the syringe spout on the deeper side of the mold. You can fill that side of the mold with the mold facing up, as shown. Notice the syringe is attached from below. I press the plunger filling the mold from below. This forces any air to the surface that may have been in the spout, and it gets vented before closing the mold. I then pour a small amount from the mixing cup into the other mold. I then flip that mold onto the deeper side. You lose less material doing it this way. I also find that there are less issues with air pockets this way because the deeper side is full, and nothing is lost in the flipping process. I learned this the hard way.
Then you band the mold, and I inject more resin into the mold until the resin comes out of the vent. Then it's ready for the PP. I have three minutes to do all this, from mixing all the way to clamping and pressurizing the pot. It's quite the race, and there is no room for error.
2. Whatever you do, do not remove and reinsert the syringe and inject more resin into the mold after it is closed. You will be forcing air into the mold. There will always be an air pocket ahead of that syringe and you'll force that air into the cast. I also learned this the hard way.
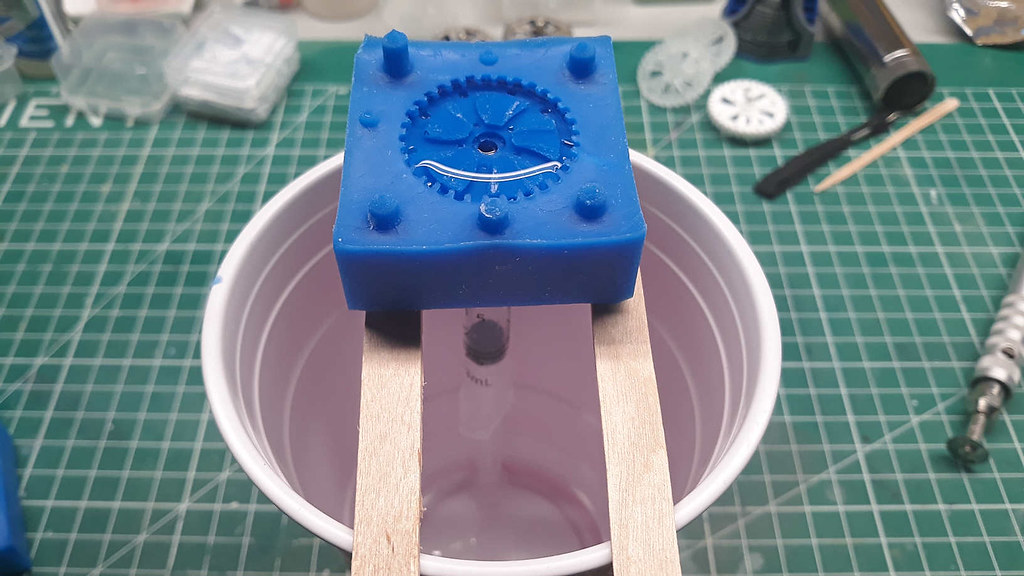
Below: The mold is split open.
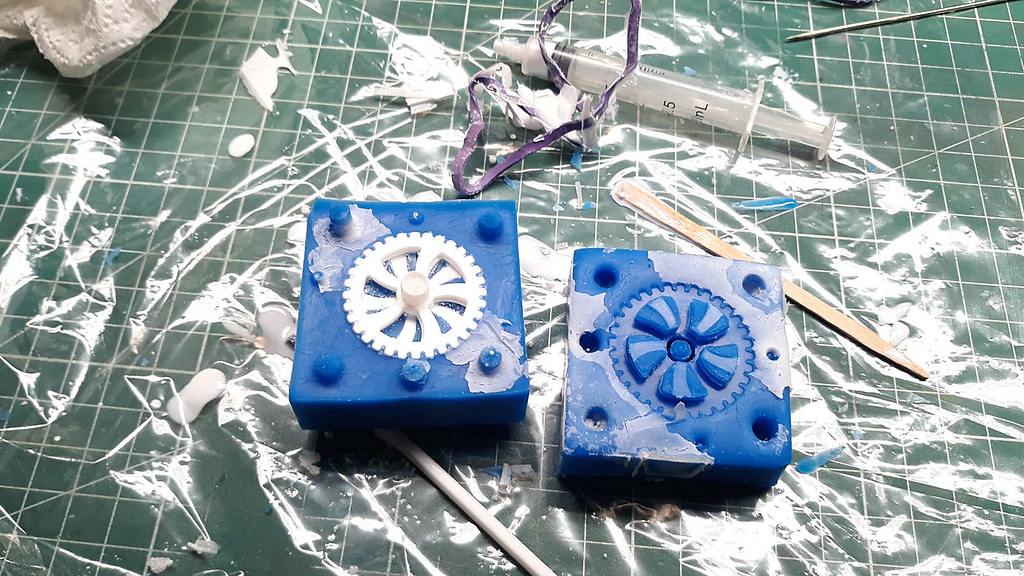

Below: And done.

Finally--I can move on! Jeez.