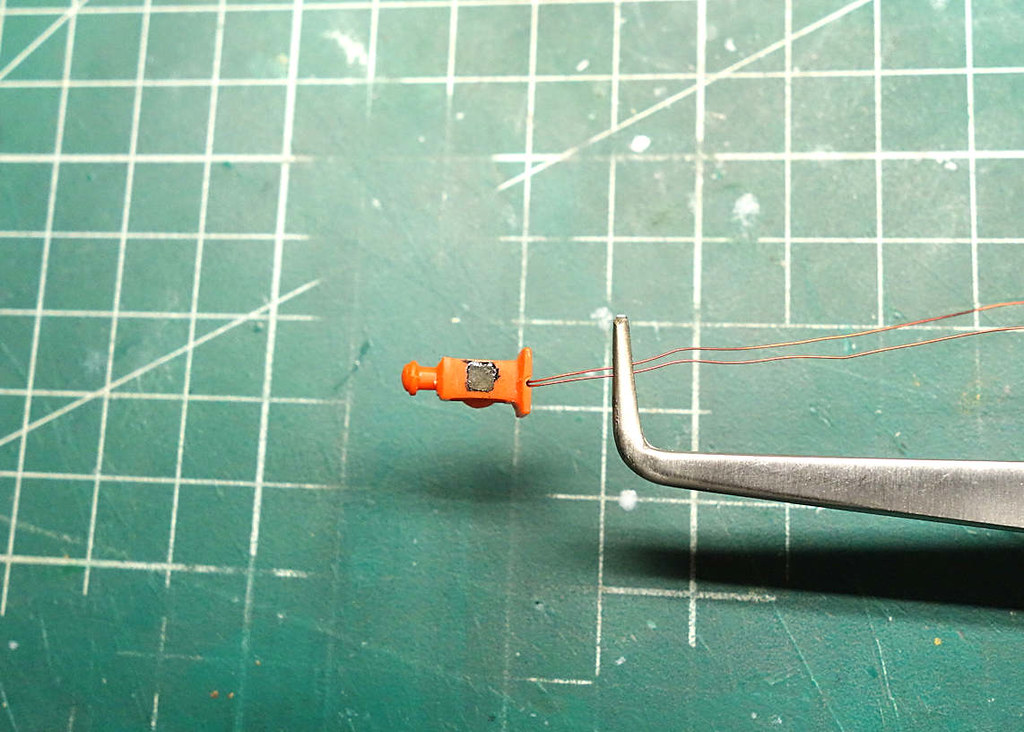
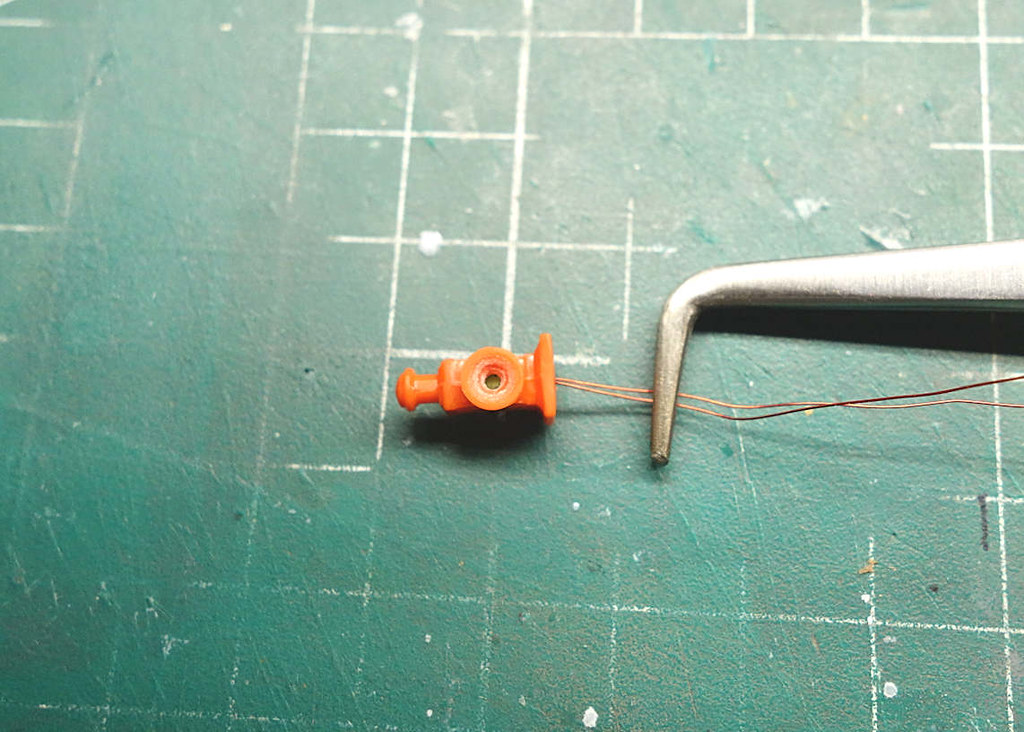
Typical LED chips come in sizes of 0402, 0605, 0805, 1206, and 1210. There are larger than the 1210 but it would not be typical to use them for modeling purposes. Nor do I stock the 0402 simply because they are just too small. For my lanterns, the 0805 seemed to fit best and are adequate in terms of light output.
Below: I purchased these through Amazon, and it gives you an idea of how they come. They are preloaded in strips for auto insertion equipment purposes. For my purposes, you simply pull back the tape gaining access to the LED.
![]()

Below: This gives you an idea of just how small these are. I can't imagine the 0402 size. Wires are soldered to the solder pads located on each end of the chip. Don't ask me how, but I was able to, and even with using the oversized solder tip that I have. I believe a person can order these pre-wired should one not want to deal with it.

The Process
1. To reduce light bleed, I painted the interior of the housing with black paint.
2. The wires are fed through and the chip is pulled into the lantern.
3. The LED is carefully positioned so that the LED faces the front of the housing, covering the entire opening.
4. From the back I tacked the LED in place using a small amount of CA.
5. I filled the chamber with 5-minute epoxy, being careful to create a sort of dome that can be sanded level. Not shown, but this worked very well. I have only minor filling to do on one of the lanterns, the other came out perfect.

You can see the LED face.

Making sure gremlins didn't crawl in. The lens is not installed.
I always marvel at the light intensity of these little things. I see spots when the power is turned off. Such cool technology.

For all you DIYers. I found this handy resistor calculator. You plug in the parameters, and it tells you what resistance you will need. The actual resistance value to use does not have to be exact, but fairly close.
http://www.hebeiltd.com.cn/?p=zz.led.resistor.calculator#single

TIP: Many times, the values noted are non-standard decade values. Keep in mind that you can combine resistors to get the overall value that you need. To make that work you must solder them in series for the values to combine.
Next up is to finish paint prep, paint, then attach the lenses.