Alright, guys. This is finally my F4U finished. I already finished it months ago, but I did not post it here because I was busy (sorry
) But, I am very happy with how it turned out. The last time I posted progress of my F4U was almost 9 months ago, and this is what has happened since.
So last time, I finished the cockpit, the tail gear, and the propellor. I told you guys about the problem with the main landing gears not being able to properly retract.
Anyway, I fixed that problem. What I did was everytime I wanted the main gears to retract, I just removed the tires and retracted the gear since it took little space (the strut, anyway).
Once I was done sealing the cockpit, I painted the engine. I forgot how I made the blue that recreated the R2800 Double Wasp's crankcase (I think it was Tamiya White and Blue together with grey mixed into it). I painted the engine aluminum, and the pushrods black. Once done, I sprayed the whole engine bay with semi-gloss and weatherd it a bit.
![](https://mail.google.com/mail/u/2?ui=2&ik=38b5d1a507&attid=0.7&permmsgid=msg-a:r-2498793402543443476&th=1872fa390ca7fc89&view=fimg&fur=ip&sz=s0-l75-ft&attbid=ANGjdJ9dRhTv5-tI4oc71UvBoxKUKuSnVWL1MC_sUhiVCZ95q_6n0qPvQ_2WxXb66Q09m52IUCBjGs8PyCetUVqDmFlNJ28dxVZF5l2xEQz9dQpWOlI6hbQmhiXwnRo&disp=emb&realattid=1872fa198a24b8a8f231)
![Pratt & Whitney R-2800 Double Wasp - Wikipedia](https://upload.wikimedia.org/wikipedia/commons/f/f2/Pratt_%26_Whitney_R-2800_Engine_1.jpg)
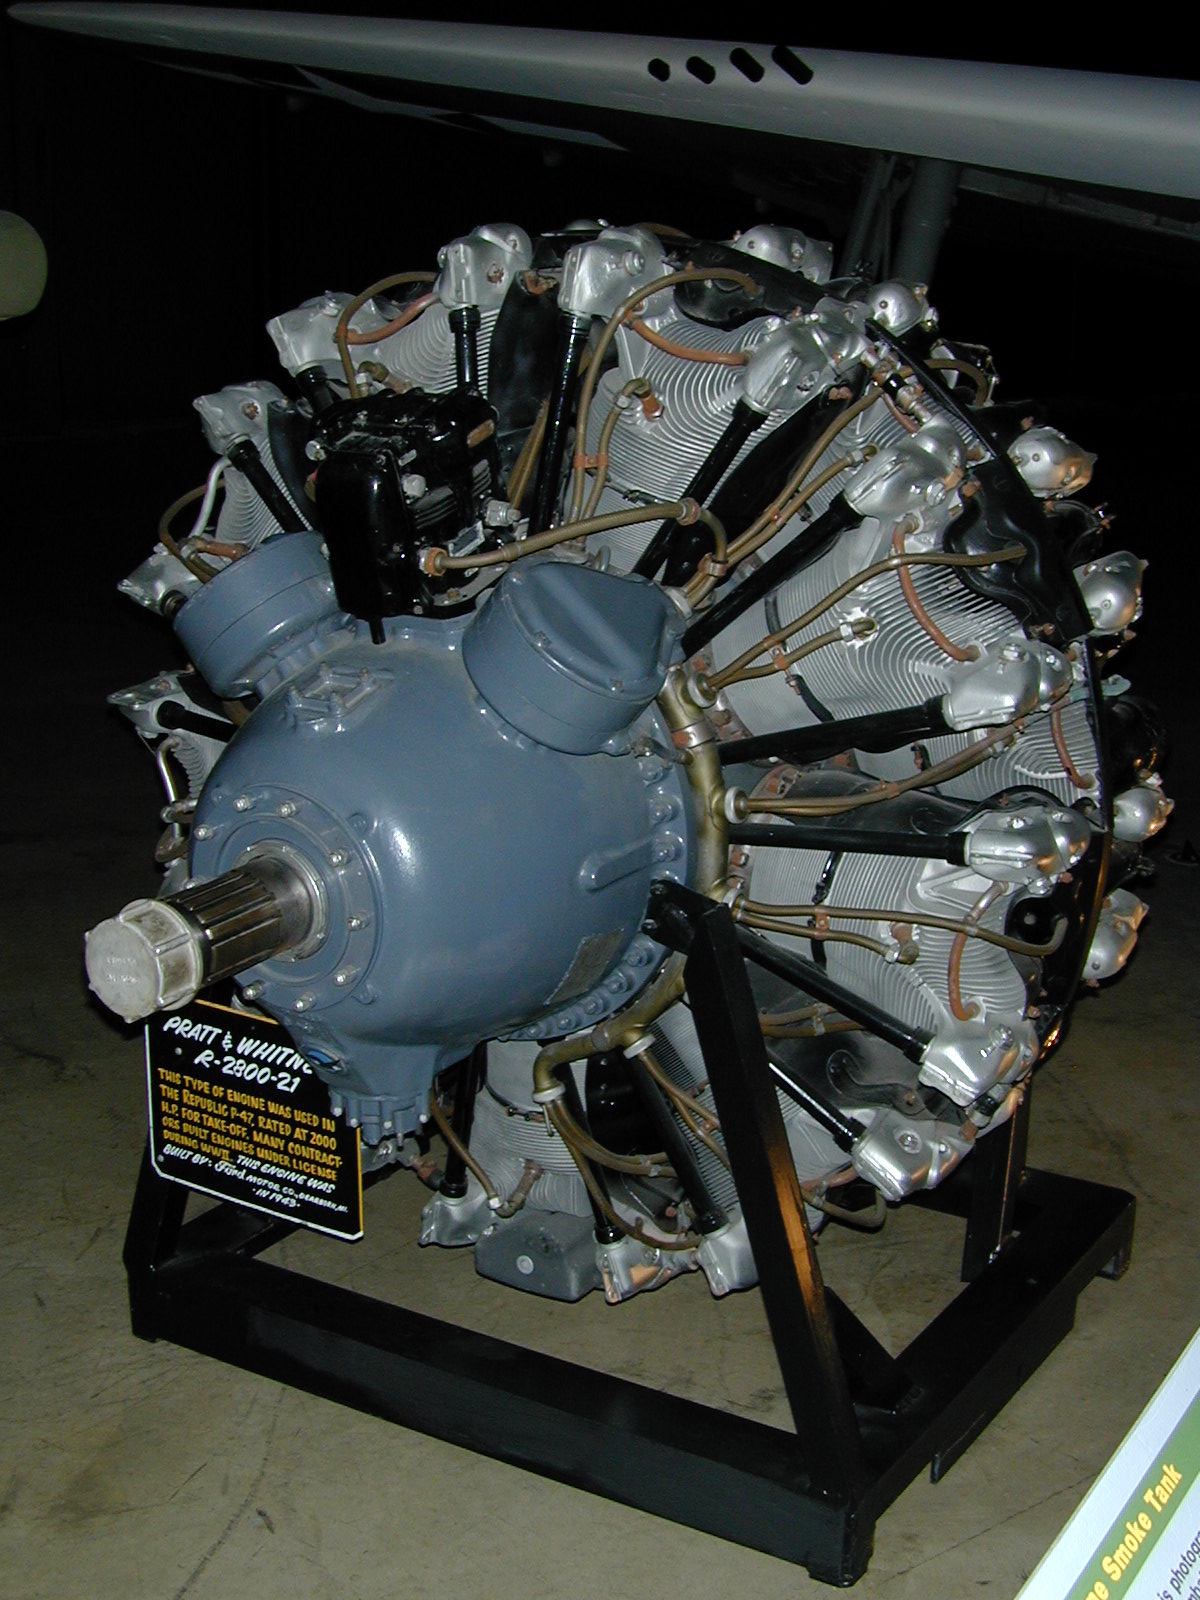
Because the engine is not separated from the front assembly (it's already molded in contrary to Tamiya engines), it was a bit hard to detail it. Painted the inside lining black to simulate depth and shadows.
I then sealed the engine with tape, and puttied some nasty gaps:
![](https://mail.google.com/mail/u/2?ui=2&ik=38b5d1a507&attid=0.2&permmsgid=msg-a:r-2498793402543443476&th=1872fa390ca7fc89&view=fimg&fur=ip&sz=s0-l75-ft&attbid=ANGjdJ_OcefdhdoLSrSnt6usyRpl_p--pEar6EXSyIMBZseHN3we4CLE6j7SLRKRZ_UHXy41wUJov4DdNxPoBIRH7cFgRWoUeuUTRDo4kRC7xfoQ0RrV_XZKFPBP3fk&disp=emb&realattid=1872fa19a9e513880232)
I sanded it down, and then I primed it with Tamiya Surface Primer L.
Once that's done, I sprayed a basecoat of XF-17 Sea Blue. Before spraying, I learned that the blue itself was too dark for smaller models, so I decided to marble in a lighter version of the XF17 ( I added some white and blue). This was the result.
You can see each panel with this technique, and I thought it was a good try,
![](https://mail.google.com/mail/u/2?ui=2&ik=38b5d1a507&attid=0.1&permmsgid=msg-a:r-2498793402543443476&th=1872fa390ca7fc89&view=fimg&fur=ip&sz=s0-l75-ft&attbid=ANGjdJ8UU0ot2cfEEyIAPXBXWzh4IJ_zo84D6HBNtFC229AykNrcRAM6KO9Y-mW-N3xeW_NjxC05tEAoQocNUoYuQdNbvQFTN7yNrVpCpPhMC9QtD7L6_qJNEj6uByU&disp=emb&realattid=1872fa1e582d0ce90223)
Once I was done was that, I then sprayed gloss on top of the marbled coat to prepare for the decals.
The decals were a bit thick, but using Mirco Set and Micro Sol helped it to conform to the curves the plane has.
![](https://mail.google.com/mail/u/2?ui=2&ik=38b5d1a507&attid=0.3&permmsgid=msg-a:r-2498793402543443476&th=1872fa390ca7fc89&view=fimg&fur=ip&sz=s0-l75-ft&attbid=ANGjdJ9n-ETpcEORn4PZaSjX-79hv_keV8WEPxSx_lq6rrXpD6eEhpKFBUoq4BkUvGPJLErkEQG7-hJdbHqKEsAIjHe9cRDKRQqNFXVSJk_S0_G84qxwlktFlJqtZS0&disp=emb&realattid=1872fa24d9de4e019f74)
The final steps of the model were sealing the decals with Semi-Gloss. I weathered the fuselage a bit, and added some scratches from where the pilot will exit the cockpit.
I also added a smoke stain to where the exhaust is with Tamiya Buff and Flat Black. Once this was finished, I attatched the armaments and the bombs and rockets, and the propeller as well (which I have slightly weathered).
This is the final result.
![](https://mail.google.com/mail/u/2?ui=2&ik=38b5d1a507&attid=0.6&permmsgid=msg-a:r-2498793402543443476&th=1872fa390ca7fc89&view=fimg&fur=ip&sz=s0-l75-ft&attbid=ANGjdJ9LYP4w5Vw2h3ZTO5tEVhxPbnuq3R4EhDZ4RuS1pJ5Bracv3jM_SbbqLV42TFG6rMJycDVB5s0KGE6_QgpjTiEvZ_SxIvB7EN5vU19aley9sqL0W4p-axQt2wY&disp=emb&realattid=1872fa301498484e1326)
![](https://mail.google.com/mail/u/2?ui=2&ik=38b5d1a507&attid=0.4&permmsgid=msg-a:r-2498793402543443476&th=1872fa390ca7fc89&view=fimg&fur=ip&sz=s0-l75-ft&attbid=ANGjdJ9g9D866BVRU_K9ejO3q9jsnpPrEfAeNB3FjTZTkVOa1KI6CqsW7BOgMOGNImbeIWC1d9G392lyvvqp8kpKY4yB1oT8WIqUE0K9CQz4rnbc6UK5J26tbRFZynU&disp=emb&realattid=1872fa2ff67cd83a02a5)
![](https://mail.google.com/mail/u/2?ui=2&ik=38b5d1a507&attid=0.5&permmsgid=msg-a:r-2498793402543443476&th=1872fa390ca7fc89&view=fimg&fur=ip&sz=s0-l75-ft&attbid=ANGjdJ87qplXYDYP306Xw-_j4bwuTKwOz5PZxrHaZY7X0L7EJdS9WVLa5IiJEL3Lf6mx0EkRzgHrcifBa-RfcCt-j4tDhFhxH6kNemc8Y5PQh_M2vLflBe20t47H4CQ&disp=emb&realattid=1872fa302f68e457e217)
![](https://mail.google.com/mail/u/2?ui=2&ik=38b5d1a507&attid=0.8&permmsgid=msg-a:r-2498793402543443476&th=1872fa390ca7fc89&view=fimg&fur=ip&sz=s0-l75-ft&attbid=ANGjdJ-wv5NYFrbLOCfPXXkEcbYLOfzmKqiaOUJZxLjeQmyeTQPl2hR1Buql4mpg4uQpUVMPenMWxt7rUo90VfjEAUMan8iI60SOfURQQsq_qR9k12VY4YrrL9F4S9s&disp=emb&realattid=1872fa37cb623d9a1248)
![](https://mail.google.com/mail/u/2?ui=2&ik=38b5d1a507&attid=0.5&permmsgid=msg-a:r-2498793402543443476&th=1872fa390ca7fc89&view=fimg&fur=ip&sz=s0-l75-ft&attbid=ANGjdJ87qplXYDYP306Xw-_j4bwuTKwOz5PZxrHaZY7X0L7EJdS9WVLa5IiJEL3Lf6mx0EkRzgHrcifBa-RfcCt-j4tDhFhxH6kNemc8Y5PQh_M2vLflBe20t47H4CQ&disp=emb&realattid=1872fa302f68e457e217)
Needless to say, I was very pleased with the result. I was able to make a good model even with the problems this kit has (fitment issues, manual problems). I was happy to finish this from the summer, and I again apologize for the long wait for this.
I hope you enjoyed reading about my model!
Teenage Modeler