The mighty bomb rack!
Tamiya molds the Brewster bomb rack as a single part, with big solid chunks that you embed into the bomb. I’m sure it’s very sturdy. 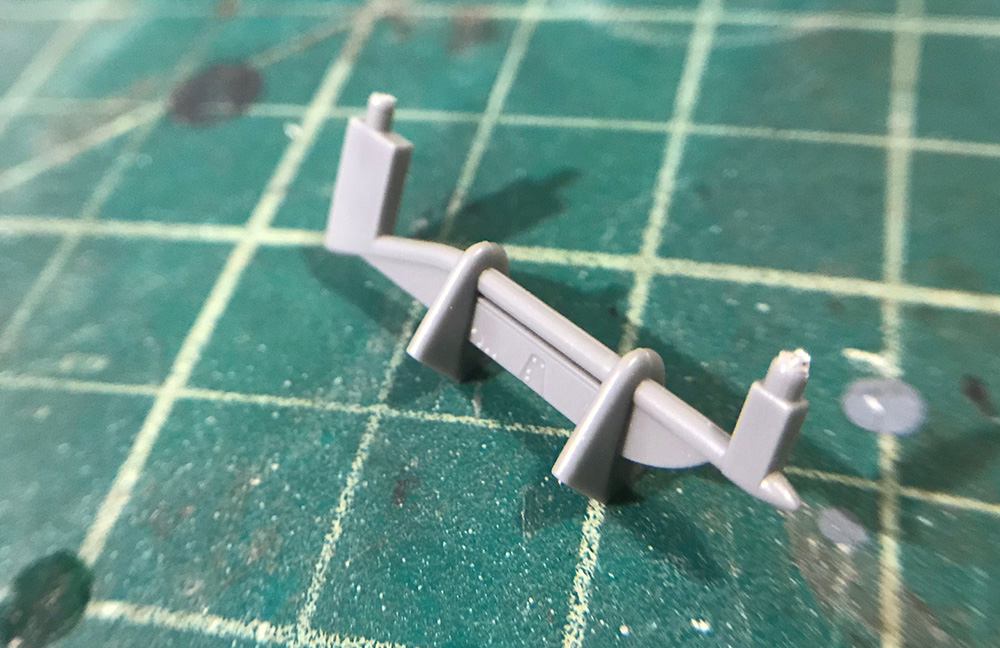
However, it’s not very representational. The rack should feel spindly and crude. There’s a misconception that these were produced in the field by the ground crew, but that’s not the case—they were designed and built by Brewster, who were not exactly known for elegant design (the F2A Buffalo?).
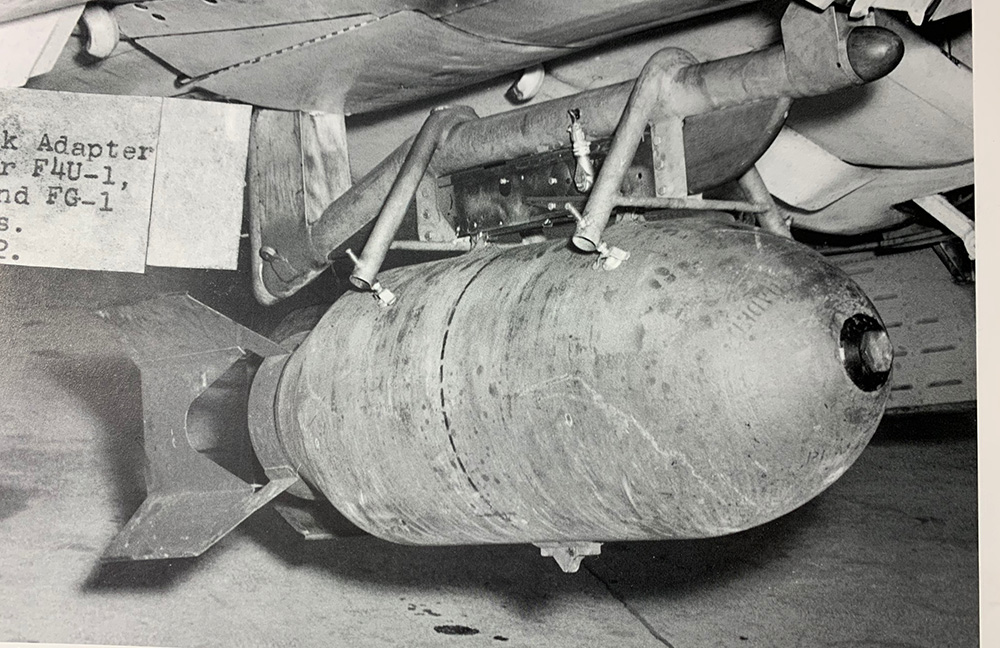
I’m going to cut away the bomb holding chunks and replace with brass tubing.
We need to get a 1mm tube to bend tightly without crimping too much. The first step is to anneal by heating and gradually allowing to cool. 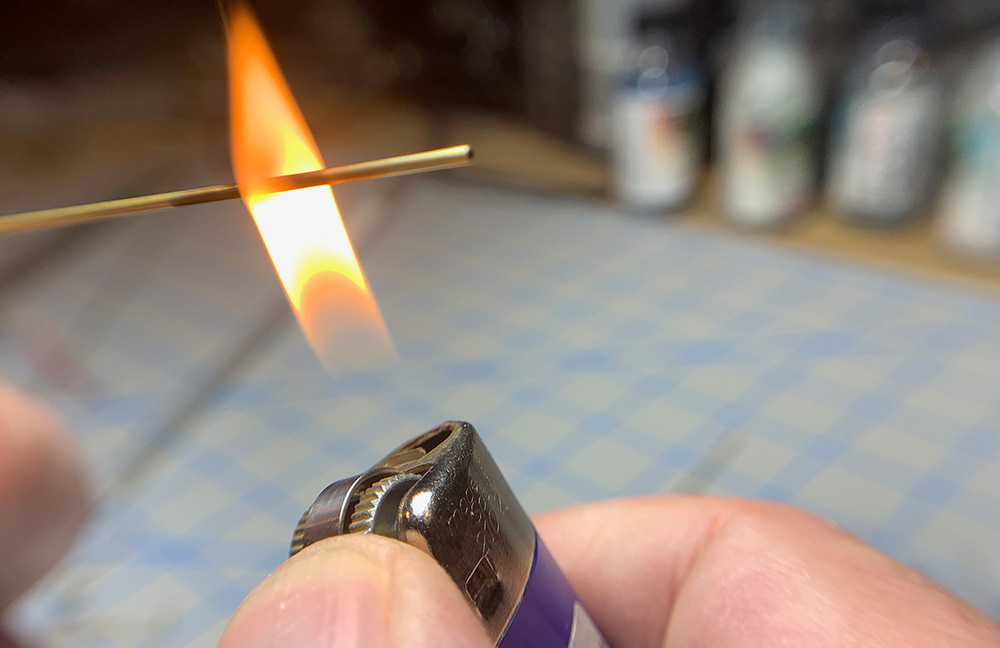
Next, we need something inside the tube (this is called a mandrel in tube bending circles). 0.7mm lead wire will do, plus it’s easy to drill out after the bend. Rolling with the flat end of tweezers gets it straight.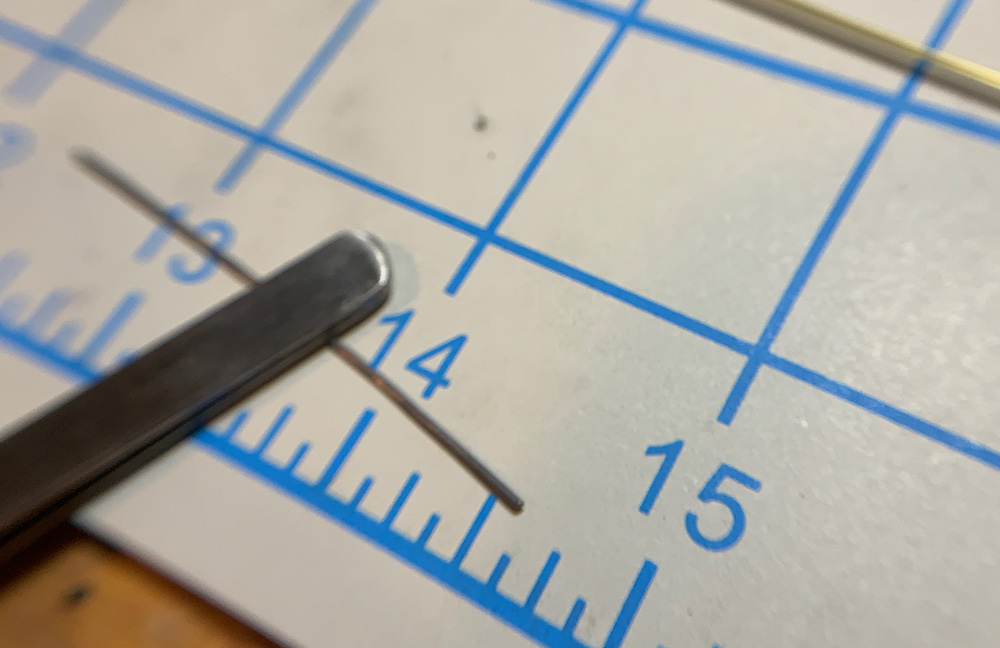
(Bad focus job here, but hey! Someone got a new cutting mat…)
The moment of truth. In the argot of pipe bending, a nail in a piece of scrap 2x4 is our bend die. A pair of 123 blocks are our compression die. You can see the lead wire mandril sticking out of the bent end.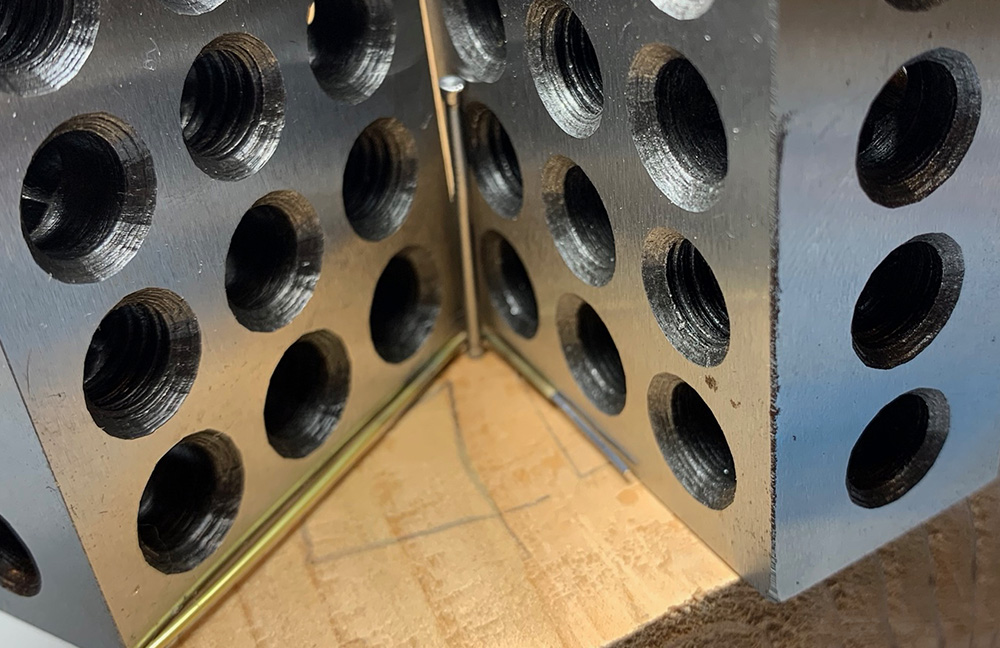
The 123 (1” x 2” x 3”) are nice because they’re heavy and perfectly straight (more or less). I got them for my experiments in machining, but they come in handy for all kinds of things.
To cut, roll on a smooth surface with a sharp knife. Because I have an odd shape, I have it hanging off the end of my bench.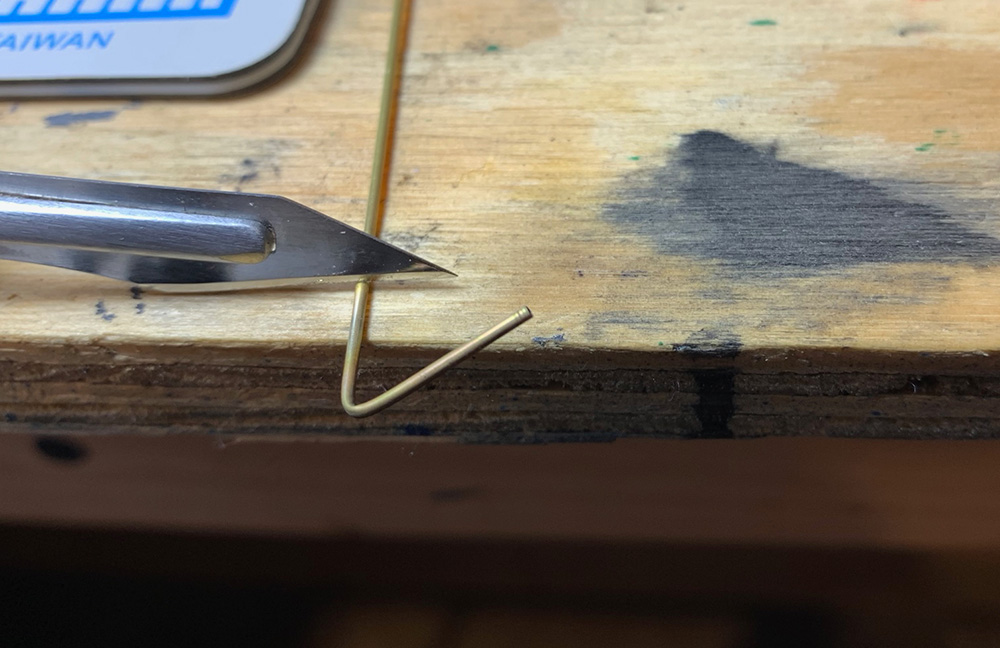
I’m attempting the mounting holes seen in the reference pic. After locating the spot with a pin, drilled out in a drill press with carbide bits. You could probably do it with a hand tool, but this was quick and somewhat precise. 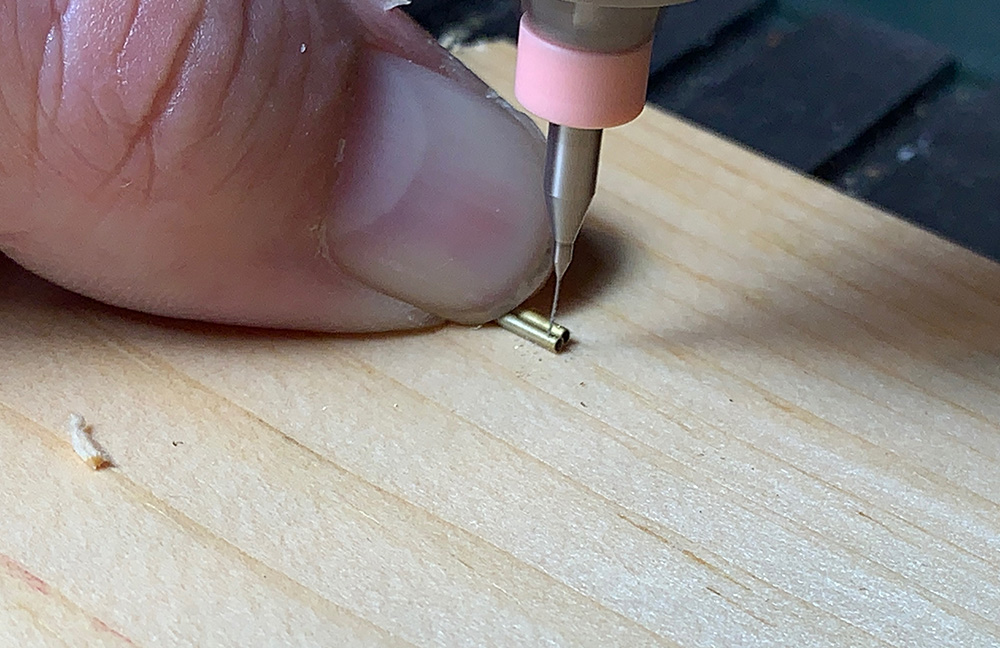
And the bars mounted. These are a lot better than the stock rack, but looking at it here, they’re definitely over-scale. Bother. Not sure if I’m going to redo with a slightly smaller diameter tube, though now I have the procedure down, it shouldn’t be that big of a deal.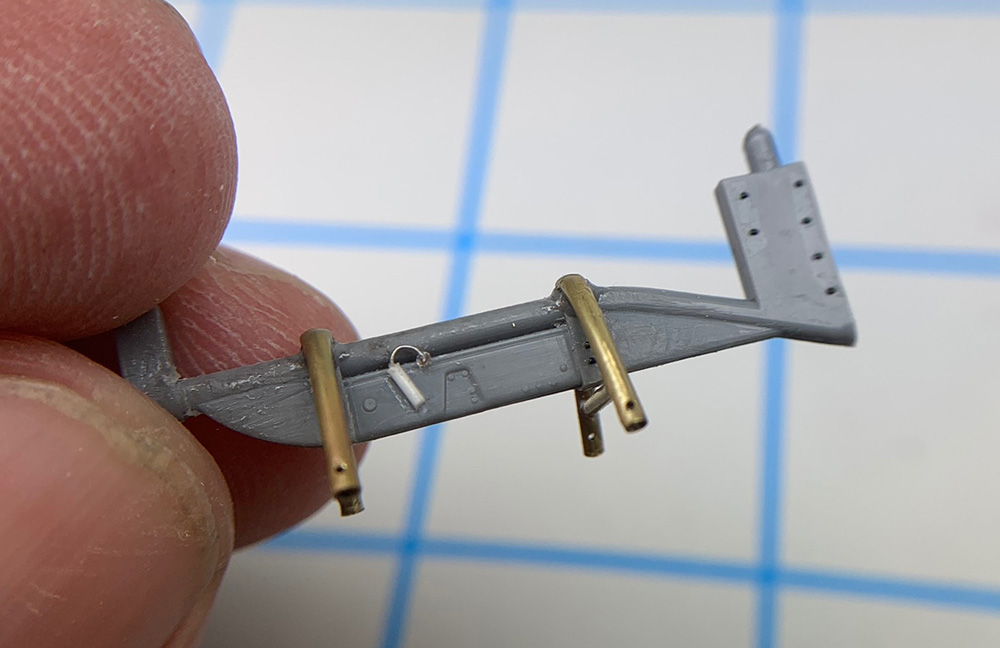
I also added a few details to the main mounting part, including the fuse looking thing and rivets. These were done with Archer resin rivets. After getting a coat of primer on, the carrier film was a bit bunched here and there, so I scraped off and re-did with a beading tool.
The overscale diameter is bugging me... Will probably go back with the next size down.
Next time: the bomb
Thanks for looking!