Today's progress:
Completed the cockpit -- the instruments don't look the way panels do in larger scale planes when I drybrush them, more's the pity, but the lid will be closed and there won't be more than an impression to be seen. First, the pit with seats installed anf the pesky front stick repaired:
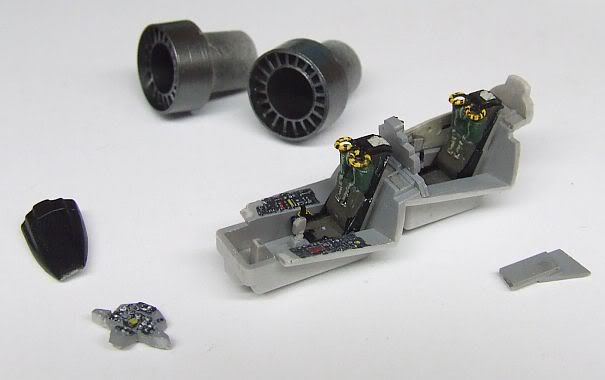
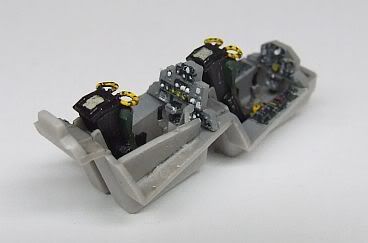
Pit with forward panel installed:
And cockpit installed in the fuiselage:

I sprayed the seekers of all dozen Sparrows in progress at this point, tomorrow I'll mask them and do a round with white, taking in the Sidewinders and landing gear parts. Then I'll production line all the missiles at some point in the near future, satin coat, decals, accent panel lines, more satin, paint the drilled-out exhausts and the seekers of the AIM-9s black...
In photos at this scale the pit looks blobby and blotchy to me, but that's the best I can do with my eyesight and vision aids, not to mention dexterity. The good news is, photos like these are rather larger than real life.
Cheers, gonna try to seal up the fuselage before I hit the hay...
Mike/TB379