Yes bish here are an harrier  just now painting the green camoufage parts after the grey
Also had re-engraved ll the panel lines :too fine engraved as the super etendard. If had time take some picture after finishing the session.
Azoren the 3rd academy (italeri) sue on this forum in short time 
Good goodies you add to it
Edit:
The gr3 updates
basic camo is on (humbrol 144 grey and 116 green), also re-engraved panels detail
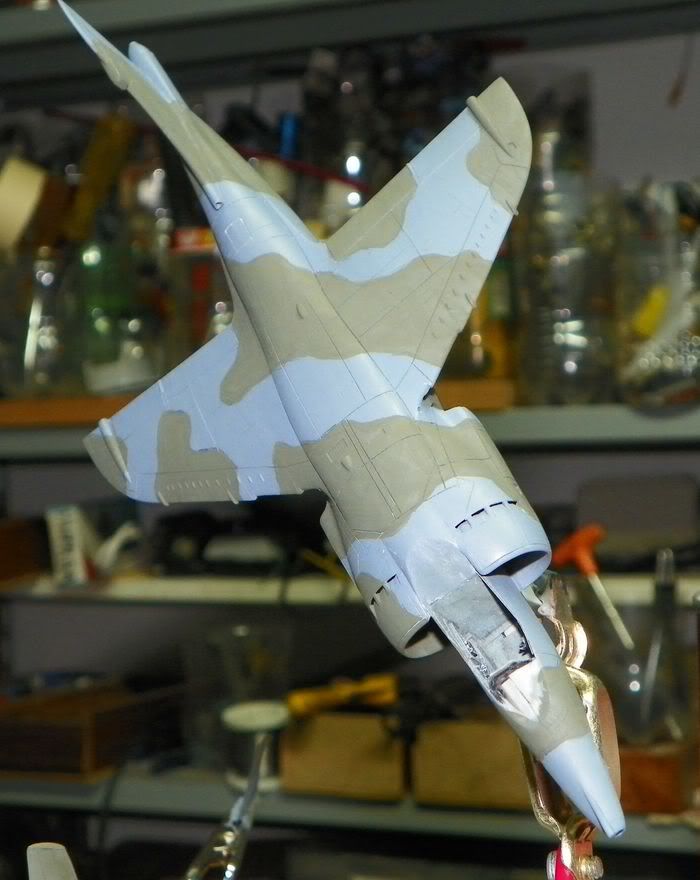

Added the two holes near the wings base, engraved also A.p.u. doors and other important panels missing on the kit in the above engine zone